EvlampyUltra-frugal LLM shell for VS Code. No agentic loop. One request, one response. Installation Launch VS Code Quick Open ( Ctrl+P), paste the following command, and press enter.Copied to clipboard |

Evlampy
English | Русский Evlampy is a VS Code extension that provides a maximally simple and economical wrapper for working with LLMs. The project was created as an alternative to existing AI agents (Claude Code, Codex, Cursor, Roo-Code). The main problem with autonomous agents is that they burn an unreal amount of tokens on reading files themselves, executing commands, editing files one by one, and trying to solve tasks in the background. Evlampy is fundamentally stripped of any agentic loop; it one-shots tasks. One request — one response. That's it. It's like a regular chat with an LLM, but much more convenient. By dropping an autonomy, Evlampy uses 10x fewer tokens compared to other agents. ConceptYou shouldn't let models do work they can't do. System design is still done by the developer. Even if an LLM generates a design document, the developer still has to spend significant mental effort to thoroughly validate it and clean up the AI slop. Ultimately, they will comb through the same code, figure out the task, and spend roughly the same amount of time as if they worked without an agent at all.
Usage
You can edit a previous user message or retry an assistant response. If the model thinks it lacks context or needs to run a command, it will simply tell you in plain text. It won't take any autonomous actions. Installation
ConfigurationEvlampy uses global VS Code settings. To set your API key and models, open the Command Palette ( If you need specific settings for a single project (e.g., a different This creates a local
Codex subscriptionTo use a Codex subscription instead of an API key:
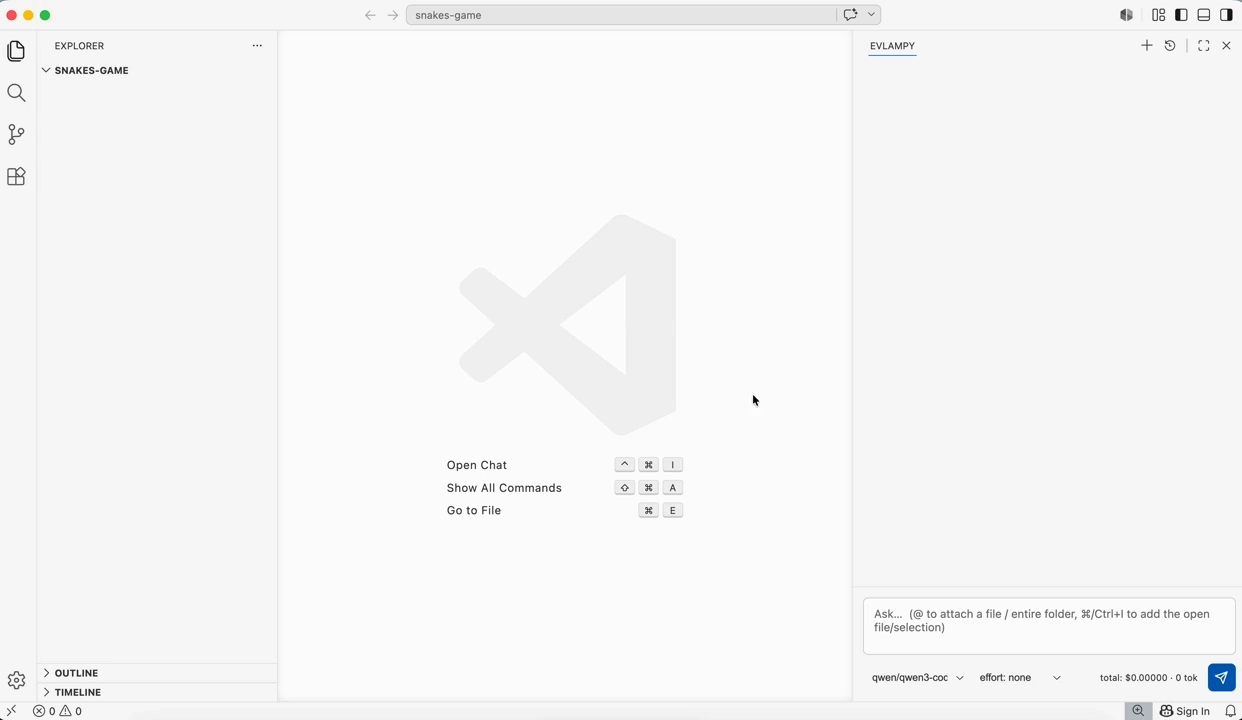
Dollar cost is not reported in this case. Demo
Development
|