NotebookAwesomeNumbered & nameable cell headers, a color-coded cell navigator, and custom run sequences for Jupyter notebooks. Jump, search, color-tag, and run cells in any order. Works in VS Code, Cursor, Windsurf, and all VS Code-compatible editors. Installation Launch VS Code Quick Open ( Ctrl+P), paste the following command, and press enter.Copied to clipboard |

NotebookAwesomeCell numbering, naming, navigation, and custom run order — for Jupyter notebooks.
Big notebooks turn into a scroll-hunt fast. NotebookAwesome gives every cell a number and an optional name right in its header, a sidebar / popup navigator to jump anywhere in one click, color tags to group your work, and custom run sequences so you can execute just the cells you want, in the order you want. Available for VS Code, Cursor, Windsurf, Google Colab, and Browser Jupyter Notebooks (Chrome, Edge, Firefox, Brave). Free and open source.
🌐 Browser Extension (Google Colab & Browser Jupyter)NotebookAwesome is available as a Manifest V3 Cross-Browser Extension for Google Chrome, Microsoft Edge, Brave, Opera, and Firefox. 🌟 Features in Google Colab & Browser Jupyter:
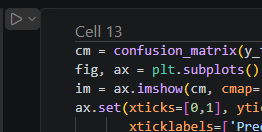
✨ Features Overview🔢 Numbered headersA header above each cell shows its number, updated automatically as you add, remove, or reorder cells. No more "wait, which cell was that?"
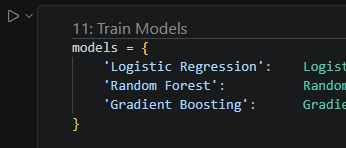
🏷️ Nameable cellsGive any cell a real name —
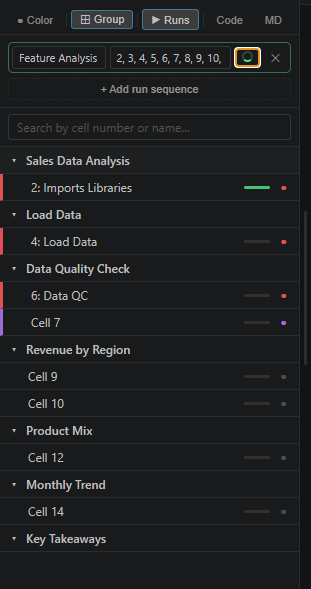
▶️ Custom run orderRun only the cells you want, in the order you list them. Define named sequences like
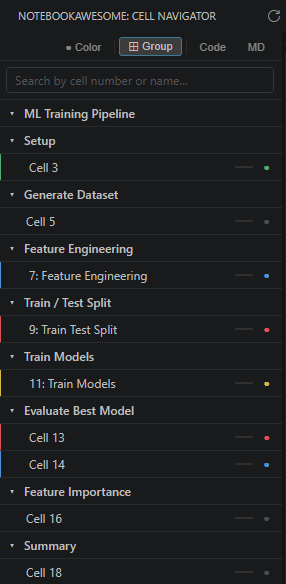
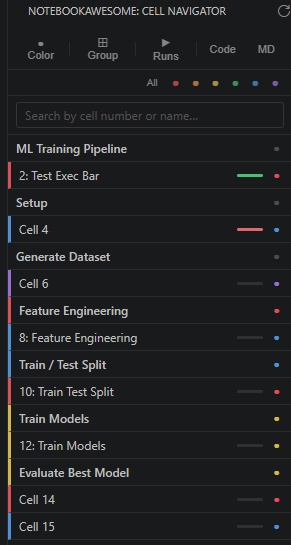
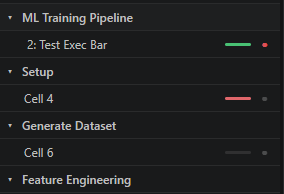
🧭 Cell navigatorThe sidebar / popup lists every cell with its number and name. Click any row to jump straight to it. Search by number or name, filter to just Code or Markdown, and collapse sections under Markdown headings for a clean outline of huge notebooks.
🎨 Color tagsTag cells with colors from a customizable palette, then filter the navigator to a single color to focus on just those cells — great for marking TODOs, review spots, or pipeline stages.
📊 Execution statusEach code cell shows a run indicator in the navigator: a left-to-right green sweep while running, solid green on success, red on failure — so you can watch a Run All march down your notebook.
💾 Everything travels with the fileNames, colors, and run sequences are stored in the notebook's own metadata ( 🚀 Install💻 VS Code / Cursor / Windsurf
🌐 Google Colab & Browser Jupyter (Chrome, Edge, Firefox, Brave)
|