Moritsuke
Moritsuke (盛り付け) is the Japanese art of plating: arranging food so the whole dish looks good. This extension does the same for websites.
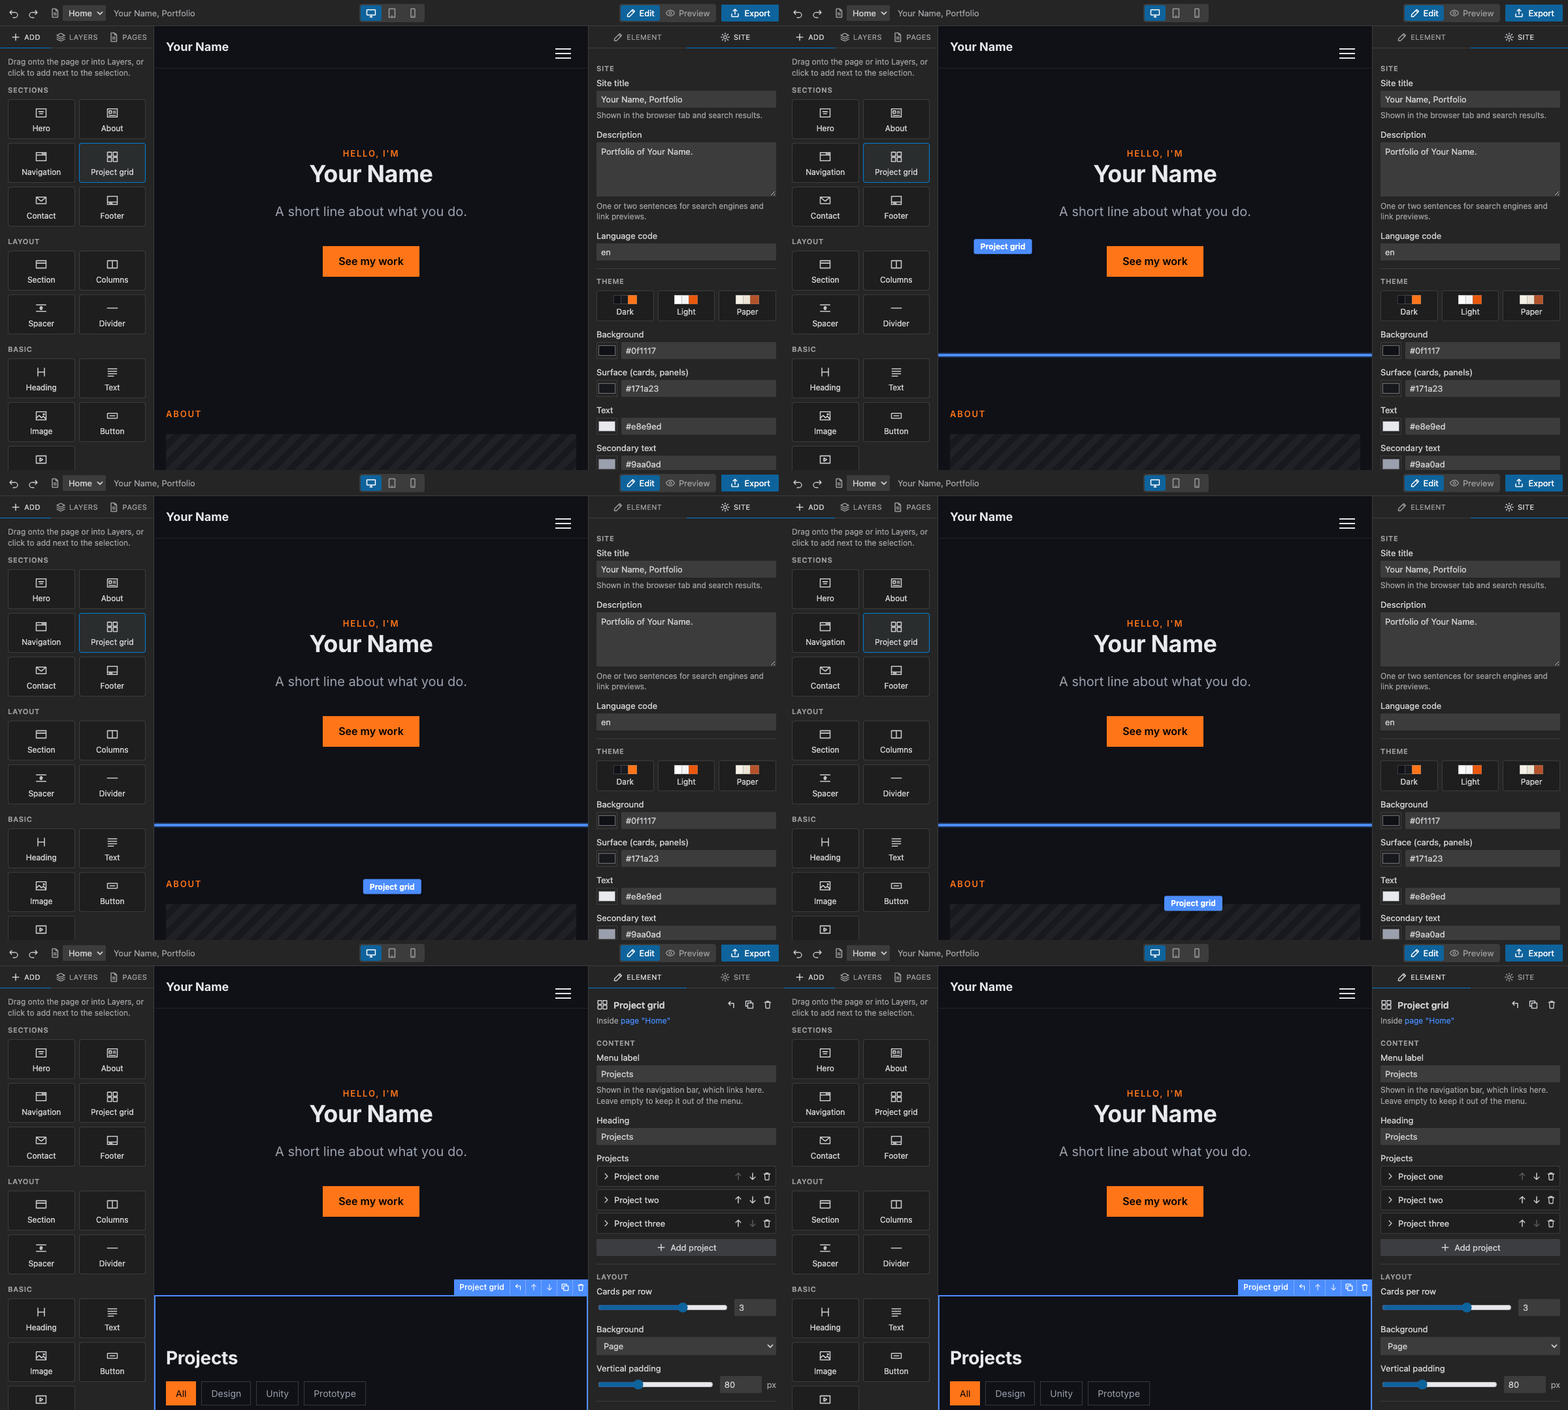
Build a website by dragging and dropping, right inside VS Code. No code needed: pick a template, drag sections onto the page, type your text, choose your colours, and export a finished website you can put online.
Install from the Marketplace · Project page on GitHub · Tutorial · Releases
If you do write code, you can add your own CSS and JavaScript, paste HTML, and edit the project file directly. Your changes show up in the editor as you type.
New here? The tutorial is a step-by-step guide with pictures, from getting started to putting your website online.
Install
From the Marketplace (easiest, and VS Code keeps it up to date):
- In VS Code, open the Extensions view (the four-squares icon on the left, or Cmd+Shift+X on Mac, Ctrl+Shift+X on Windows).
- Search for Moritsuke and click Install.
Or open the extension page and click Install.
From a .vsix file (for example, downloaded from the releases page):
- Open the Extensions view.
- Click the ⋯ menu at the top of that view and choose Install from VSIX…
- Pick the
moritsuke-….vsix file.
You can also drag the .vsix file onto the Extensions view, or run code --install-extension moritsuke-0.8.2.vsix in a terminal.
Get started
- Click the Moritsuke icon (a small browser window) in the bar on the far left of VS Code.
- Choose Create New Project: give it a name, pick a template (Portfolio, Minimal portfolio) or a Blank page, and choose where to save it.
- The editor opens. Start building.
Already made a website with Moritsuke? Choose Add Existing Project and pick its folder. Your websites stay listed in the side bar and in the Moritsuke tab, so you can come back to them any time.
VS Code also shows a short Get started with Moritsuke guide after installing (Help → Welcome to open it again). For the full walkthrough with pictures, see Getting started in the tutorial.
Building your website
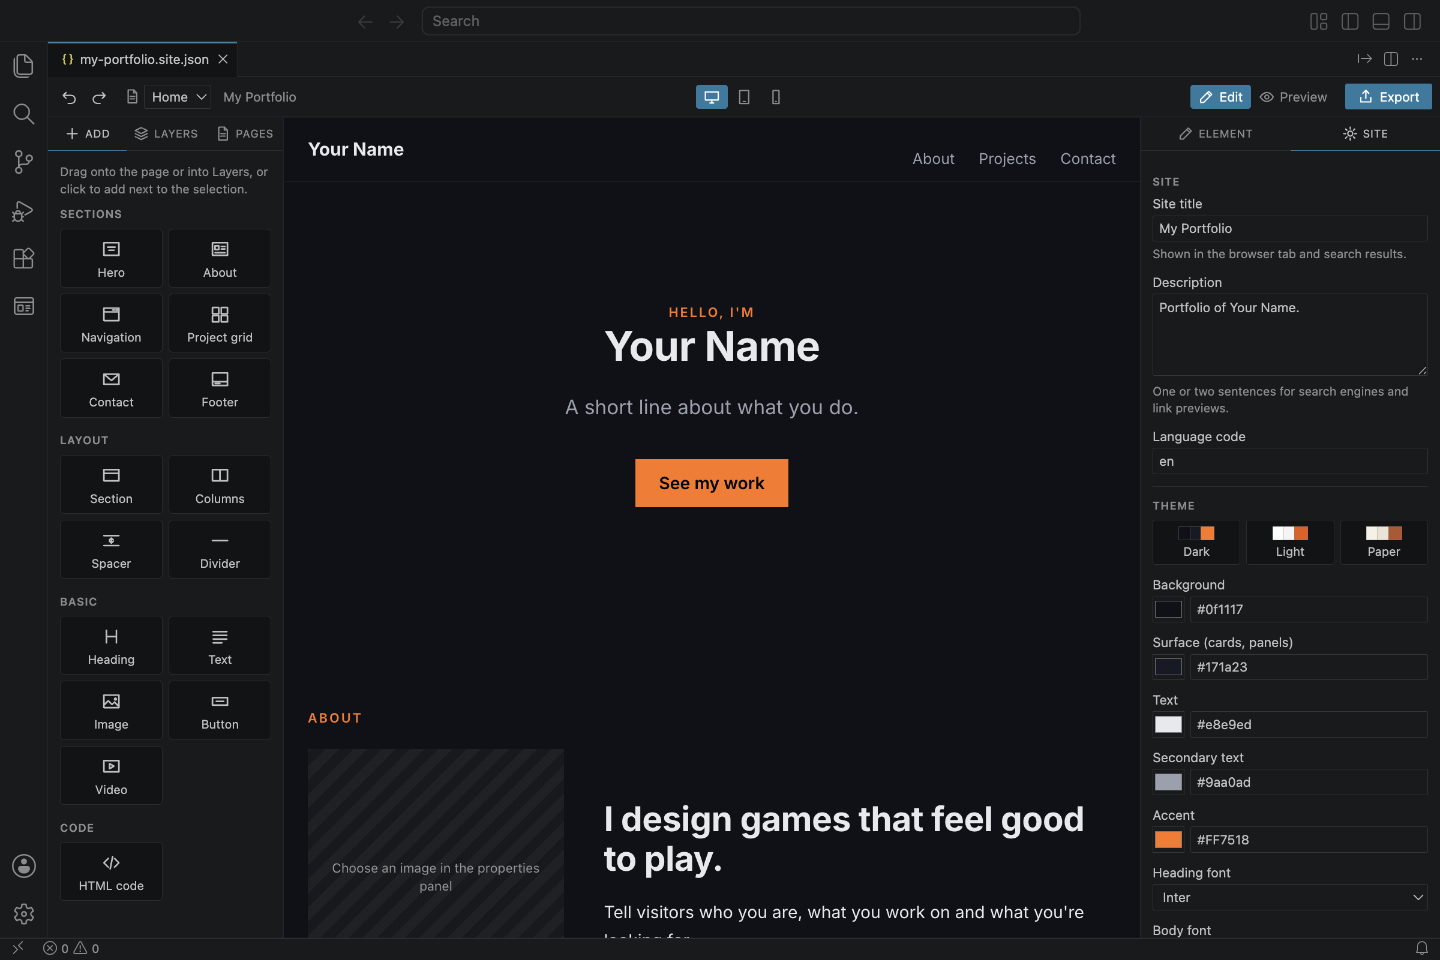
| Where |
What it's for |
| Add (left) |
Everything you can put on a page. Drag it onto the page, or click it to add it next to what's selected. |
| Layers (left) |
What's on the page, as a list. Drag to reorder. |
| Pages (left) |
Your pages: add, rename, reorder, delete. The first page is the home page. |
| Page (middle) |
Click to select, drag to move. Double-click text to type directly on the page. |
| Element (right) |
Settings of what you selected: text, image, layout and on/off features. |
| Site (right) |
Site title, colours, fonts, corner roundness, export folder. |
- Desktop / Tablet / Phone (top) show how the page looks on each screen size.
- Preview lets you use the page like a visitor: open the menu, filter projects, follow links between pages.
- Undo with Cmd+Z (Mac) or Ctrl+Z (Windows), save with Cmd+S or Ctrl+S.
- The navigation bar and footer can be shown on every page: change them once and every page updates.
What you can add
| Group |
Elements |
| Sections |
Hero, About, Navigation, Project grid, Contact, Footer |
| Layout |
Section, Columns, Spacer, Divider |
| Basic |
Heading, Text, Image, Button, Video (YouTube link or a video file) |
| Code |
HTML code (for embeds and your own markup) |
Features you can switch on or off include: sticky navigation, a collapsible menu on phones, project filters, a project detail panel, black-and-white images until hover, a contact form (opens the visitor's email app, or sends to your own server), and a back-to-top link.
Export (putting it online)
Click Export. Your website is saved in a folder called site next to your project: one HTML file per page, the styles, a small script and your images. Open index.html to see it in your browser, or upload the folder to any web host (GitHub Pages, Netlify, your own server…).
For people who write code
- Site tab → Code:
custom.css loads after the builder's styles, so it can override anything; custom.js runs in Preview and on the exported site. Both open beside the editor, and CSS changes show on the page as you type.
- Advanced section on every element: give it CSS classes and an ID to target it from your code.
- HTML code element for embeds and hand-written markup.
- Site file (JSON) opens the project file beside the editor. Edits in either one show up in the other right away.
- Settings → Moritsuke → Export On Save keeps the
site folder up to date whenever you save, so a live-reload server (like the Live Server extension) refreshes your browser automatically.
- The export is plain HTML, CSS and JavaScript with no framework and no build step.
A project is a folder with a .site.json file, an assets folder for images, and optionally custom.css / custom.js.
Updates
Moritsuke looks for a new version once a day and tells you when one is out. Choose Update now and it downloads the new version, checks it and installs it; VS Code then asks you to reload. What's new opens the release notes instead.
The version you have is at the bottom of the Moritsuke tab, with a Check for updates link. You can also open the Command Palette (Cmd+Shift+P on Mac, Ctrl+Shift+P on Windows) and run Moritsuke: Check for Updates. To stop the daily check, turn off the Check For Updates setting.
Your projects work across versions. A project made in a newer version still opens in an older one: parts the older version doesn't know are switched off, but they stay in the file and work again once you update. Moritsuke tells you when you open such a project.
Settings
| Setting |
What it does |
| Open Projects Tab |
Open the Moritsuke tab when you click the side bar icon (on by default). |
| Projects Folder |
Where new projects are saved. Empty means Documents/Moritsuke. |
| Export On Save |
Export the website every time you save. |
| Check For Updates |
Look for a new version once a day and offer to install it (on by default). |
Support
Moritsuke is free. If it helps you, you can buy me a bowl of pho:
Support me on Ko-fi
Found a problem or have an idea? Open an issue on GitHub.

