Antigravity CLI — VS Code Extension
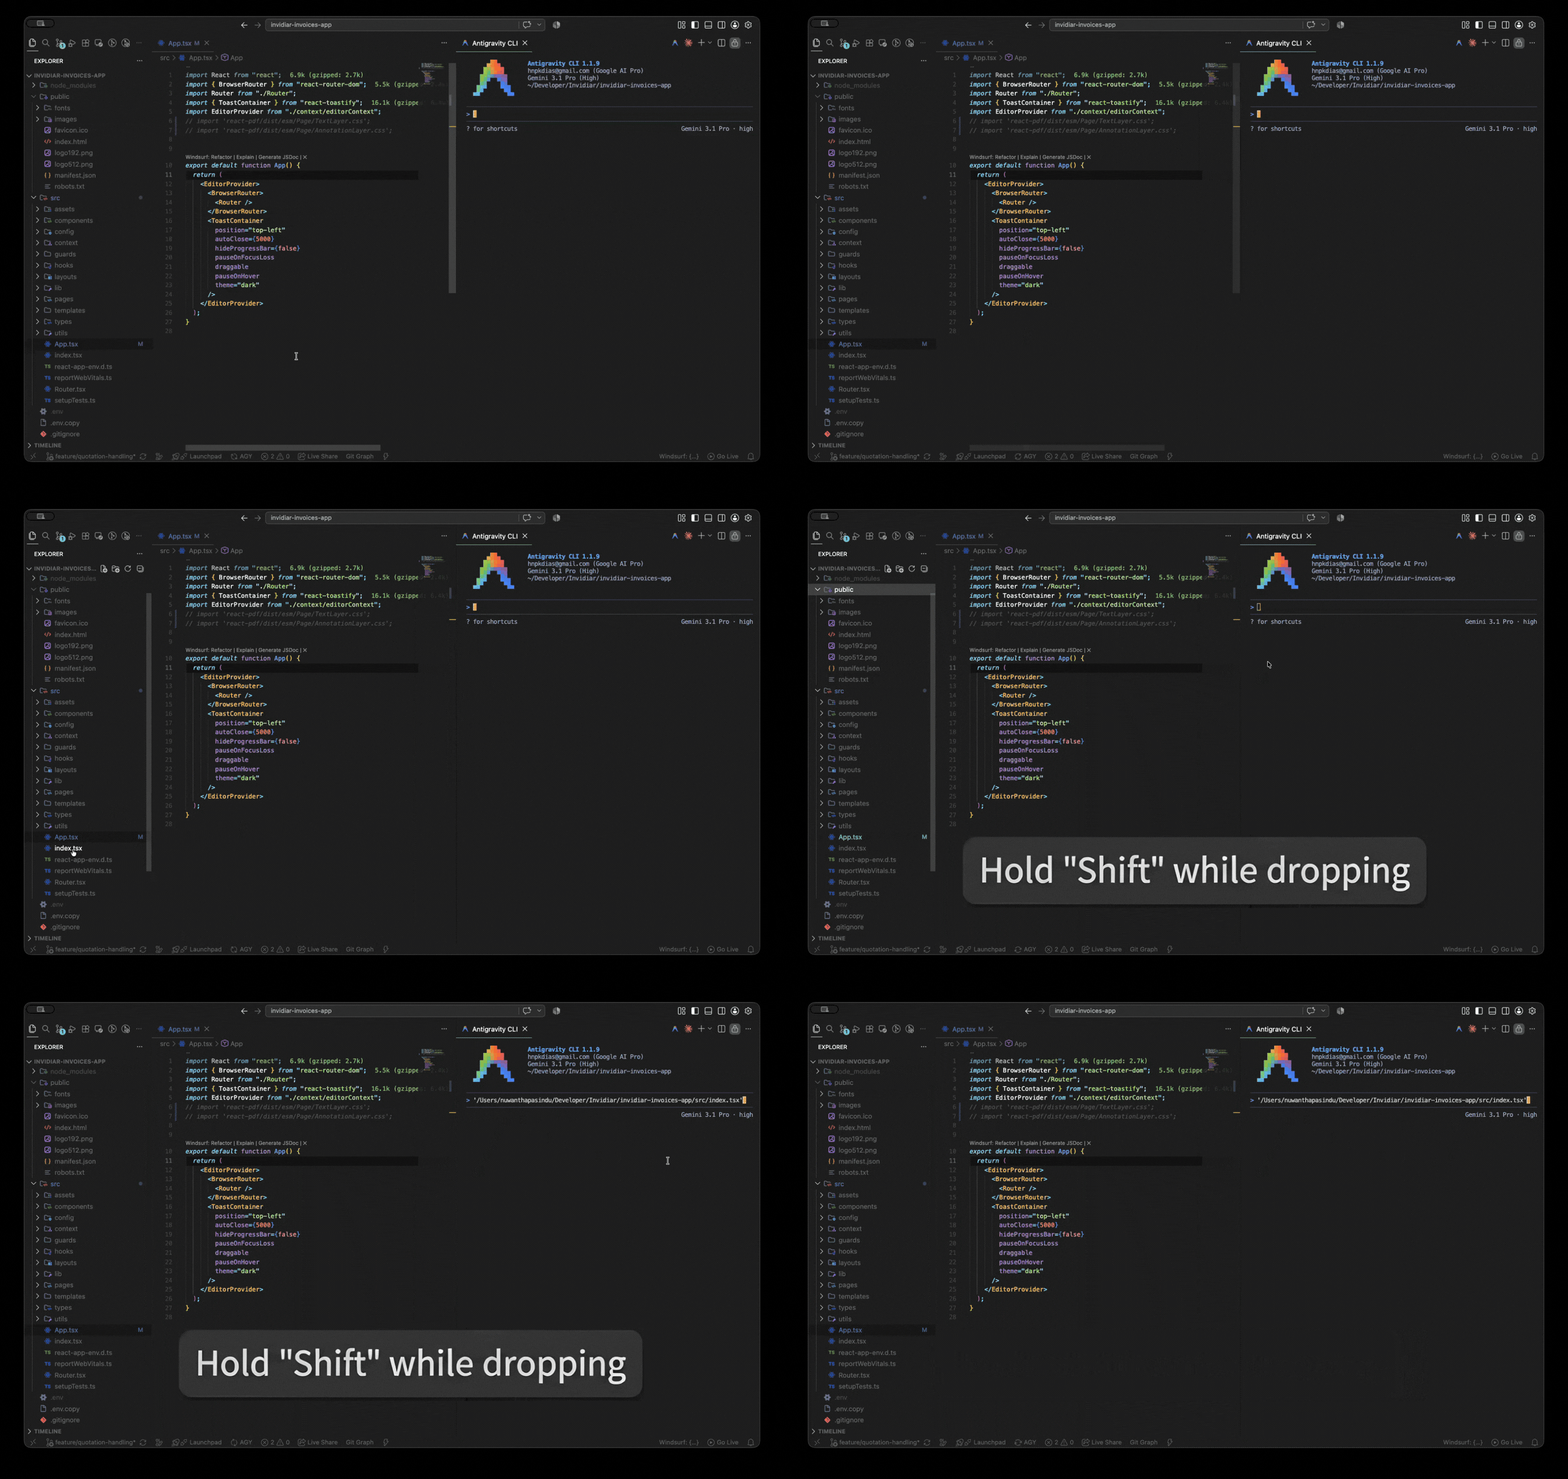
Open the Antigravity CLI (agy) directly inside VS Code — on the right side panel, just like Claude Code and Codex.



Table of Contents
Overview
Antigravity CLI is a VS Code extension that integrates the agy (Antigravity CLI) AI coding assistant into your editor environment. Instead of switching to a separate terminal window, agy opens as a right-side editor panel — keeping your code visible on the left and the AI assistant on the right.
This extension mirrors the UX of Claude Code and Codex extensions, but is purpose-built for the Antigravity CLI.
Features
| Feature |
Description |
| Activity Bar Icon |
Antigravity icon in the left sidebar — click to open the welcome panel |
| Right-Side Terminal |
agy opens as an editor tab on the right (not the bottom panel) |
| Top-Right Button |
Icon button in every editor's top-right corner for instant access |
| Status Bar Item |
AGY indicator at the bottom-left — always visible, click to open |
| Keyboard Shortcut |
Cmd+Shift+A (Mac) / Ctrl+Shift+A (Windows/Linux) |
| Command Palette |
Full command palette support for Open / Restart / Stop |
| Smart Reuse |
Focuses existing terminal instead of opening duplicates |
| Auto-Close |
Terminal closes automatically when you run /exit in agy |
| Configurable |
Set a custom agy path and default launch arguments |
What's New in v0.0.2
Requirements
Before installing the extension, make sure you have:
- VS Code
v1.85.0 or higher
- Node.js
v18+ and npm (only needed if building from source)
- Antigravity CLI (
agy) installed and available in your PATH
Verify agy is installed
agy --version
If agy is not found, install it from the official Antigravity docs.
Installation
Install from VS Code Marketplace (Easiest)
The extension is published on the VS Code Marketplace — install it in one click:
Install Antigravity CLI on VS Code Marketplace
Or search for Antigravity CLI in the VS Code Extensions panel (Cmd+Shift+X).
Install from VSIX
If you prefer to install manually from a .vsix file:
Step 2 — Install via VS Code UI
- Open VS Code
- Press
Cmd+Shift+P (Mac) / Ctrl+Shift+P (Windows/Linux)
- Type
Extensions: Install from VSIX... and press Enter
- Select the downloaded
.vsix file
Or install via the terminal:
code --install-extension antigravity-cli-0.0.2.vsix
Step 3 — Reload VS Code
Cmd+Shift+P → Developer: Reload Window
The Antigravity icon will appear in the Activity Bar.
Install from Source
If you want to build and install the latest version directly from the source code:
# 1. Clone the repository
git clone https://github.com/Nuwanthapasindu/antigravity-cli-vs-code-extension.git
cd antigravity-cli-vs-code-extension

# 2. Install dependencies
npm install

# 3. Compile TypeScript
npm run compile

# 4. Package into a VSIX file
npm run package

# 5. Install the VSIX into VS Code
code --install-extension antigravity-cli-0.0.2.vsix

# 6. Reload VS Code
# Cmd+Shift+P → Developer: Reload Window
Building from Source
Prerequisites
# Check Node.js version (v18+ required)
node --version

# Check npm version
npm --version
Step-by-Step Build
1. Clone the repository
git clone https://github.com/Nuwanthapasindu/antigravity-cli-vs-code-extension.git
cd antigravity-cli-vs-code-extension
2. Install dependencies
npm install
This installs all devDependencies including TypeScript, @types/vscode, and @vscode/vsce.
3. Compile TypeScript
npm run compile
This compiles all .ts files from src/ into out/ using the tsconfig.json configuration.
Expected output — four compiled files in out/:
out/
├── extension.js
├── statusBarManager.js
├── terminalManager.js
└── welcomeViewProvider.js
4. Package the extension
npm run package
This runs vsce package and produces antigravity-cli-0.0.2.vsix.
Note: The VSIX file contains only the compiled out/ files, resources/, icon.png, package.json, and README.md. Source files and node_modules are excluded via .vscodeignore.
Running & Debugging
The fastest way to test your changes is to use the Extension Development Host — a sandboxed VS Code instance that runs your extension live.
Launch with F5
Open the project folder in VS Code:
code /path/to/antigravity-cli-vs-code-extension
Make sure you have compiled the code at least once:
npm run compile
Press F5 (or go to Run → Start Debugging)
VS Code will:
- Start a TypeScript watch build (
npm run watch)
- Launch a new Extension Development Host window
- Load your extension automatically in that window
Watch Mode (Auto-recompile)
To automatically recompile on every file save:
npm run watch
While watch mode is running, press F5 to launch the host. Changes you save will recompile instantly — just run Developer: Reload Window in the host to pick them up.
Debugging Tips
- Set breakpoints in any
src/*.ts file — they work directly in the host via source maps
- Use the Debug Console (
Cmd+Shift+Y) in the main VS Code window to view console.log output from your extension
- Open the Output panel (
Cmd+Shift+U) and select Extension Host to see extension logs
Usage
Once installed and reloaded, use any of these methods to open the agy terminal:
| Method |
Action |
| Activity Bar |
Click the Antigravity icon in the left sidebar → click Open AGY Terminal |
| Top-Right Button |
Click the Antigravity icon in the top-right corner of any editor tab |
| Status Bar |
Click AGY at the bottom-left of VS Code |
| Keyboard Shortcut |
Cmd+Shift+A (Mac) / Ctrl+Shift+A (Windows/Linux) |
| Command Palette |
Cmd+Shift+P → Antigravity CLI: Open Terminal |
Other Commands (Command Palette)
Antigravity CLI: Open Terminal     → Opens or focuses the AGY terminal
Antigravity CLI: Restart Terminal  → Kills and restarts the AGY terminal
Antigravity CLI: Stop Terminal     → Closes the AGY terminal
Exiting
Type /exit inside agy — the terminal panel will close automatically.
Configuration
Open VS Code Settings (Cmd+,) and search for antigravity to configure:
| Setting |
Type |
Default |
Description |
antigravity.executable |
string |
"agy" |
Path to the agy binary |
antigravity.defaultArgs |
string[] |
[] |
Arguments passed to agy on every launch |
Example: Custom executable path
If agy is not in your PATH, set the full path:
// settings.json
{
  "antigravity.executable": "/Users/yourname/.local/bin/agy",
  "antigravity.defaultArgs": []
}
Project Structure
antigravity-cli-vs-code-extension/
│
├── src/                          ← TypeScript source files
│   ├── extension.ts              ← Entry point (activate / deactivate)
│   ├── terminalManager.ts        ← Terminal lifecycle management
│   ├── statusBarManager.ts       ← Status bar item (idle / running states)
│   └── welcomeViewProvider.ts    ← Sidebar webview panel HTML
│
├── out/                          ← Compiled JavaScript (auto-generated)
│   ├── extension.js
│   ├── terminalManager.js
│   ├── statusBarManager.js
│   └── welcomeViewProvider.js
│
├── resources/
│   └── icon.svg                  ← Fallback SVG icon
│
├── .vscode/
│   ├── launch.json               ← F5 debug configuration
│   └── tasks.json                ← TypeScript watch build task
│
├── icon.png                      ← Extension icon (activity bar, terminal tab, marketplace)
├── package.json                  ← Extension manifest (commands, keybindings, menus)
├── tsconfig.json                 ← TypeScript compiler configuration
├── .eslintrc.json                ← ESLint rules
├── .vscodeignore                 ← Files excluded from the VSIX package
├── .gitignore
└── README.md
Contributing
- Fork the repository
- Clone your fork:
git clone https://github.com/YOUR_USERNAME/antigravity-cli-vs-code-extension.git
- Create a feature branch:
git checkout -b feat/your-feature-name
- Make changes, compile, and test with
F5
- Commit with a descriptive message:
git commit -m "feat: describe your change"
- Push and open a Pull Request
License
MIT — see LICENSE for details.