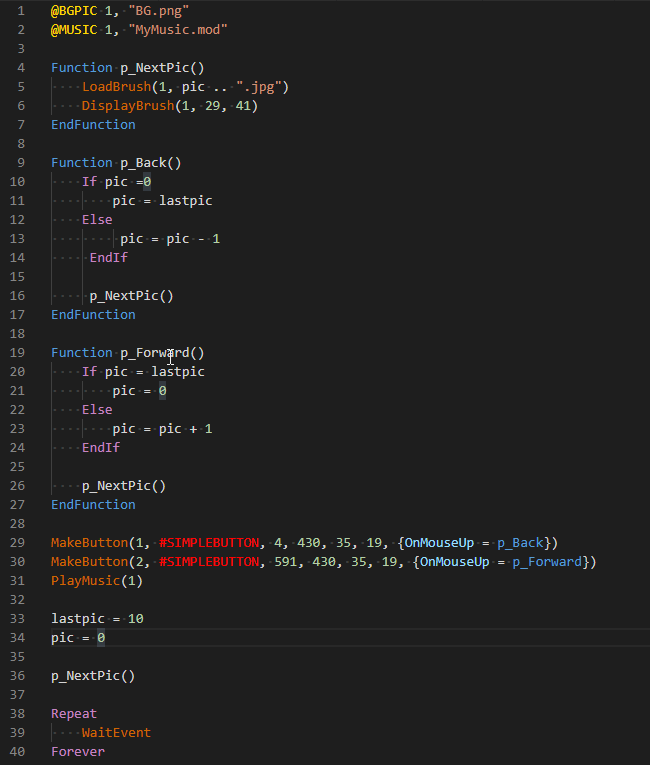
Hollywood for Visual Studio Code (hw4vsc)DISCLAIMER: This is not an official product by Airsoft Softwair. This extension adds support for Hollywood version 10: Xcelicious to Visual Studio Code (Windows, macOS, Linux). Hollywood is a multimedia-oriented programming language designed to create applications and games and is available for AmigaOS, Windows, macOS, and Linux. Hollywood (and therefore this extension) is capable of compiling to the following target plattforms:
In order to make use of the extension you need to buy a copy of Hollywood here: https://www.hollywood-mal.com/purchase.html More information about Hollywood is available here: https://www.hollywood-mal.com You can find the Hollywood documentation here: https://www.hollywood-mal.com/docs/html/hollywood/ NOTICE: The major version number of this plugin correspondes with the major version number of Hollywood. Therefore the first release version of this extension was 8.0.1. Table of Contents
FeaturesFirst of all you can use the great inbuilt editing features of Visual Studio Code like quick file navigation including fuzzy search (press Additionally this extension supports:
InstallationThere are several ways to install this extension:
Alternatively you can use this direct link: https://marketplace.visualstudio.com/items?itemName=michaeljurisch.hollywood-mal or
or Download/check out the content of the GitHub repo and copy it to your extension folder:
Now create or open a ConfigurationOpen User or Workspace Settings by pressing There are two types of settings supported by this extensions: User Settings and Workspace Settings. While the first ones are globally set for all Visual Studio Code instances the latter ones are set just in a workspace which you can imagine as a project. In order to create a workspace for your code, create a folder for your project, open it in Visual Studio Code, select For a detailed description, please consult the docs User and Workspace settings Path to Hollywood executeableSetting: In order to run and compile your Hollywood scripts you have to define the location of the Hollywood main program on your computer. Although you could use the standard Normally this should be a User Setting (and not a Workspace Setting), so the executeable is defined globally for all your Hollywood projects.
Example settings.json: Define main fileSetting: Whether your Hollywood project consists of one or more files, you should define the main Hollywood file of your project. This will help you compiling and running your project via Tasks. This is a setting that should be defined as a Workspace Setting (so create a Workspace first if you haven't done yet (
Example in YOUR_PROJECT.code-workspace: Define main output fileSetting: This settings lets you define the name of the compiled program which is the output of the compiling process. It comes in handy when using Tasks. The setting should not contain a file extension like This is a setting that should be defined as a Workspace Setting (so create a Workspace first if you haven't done yet (
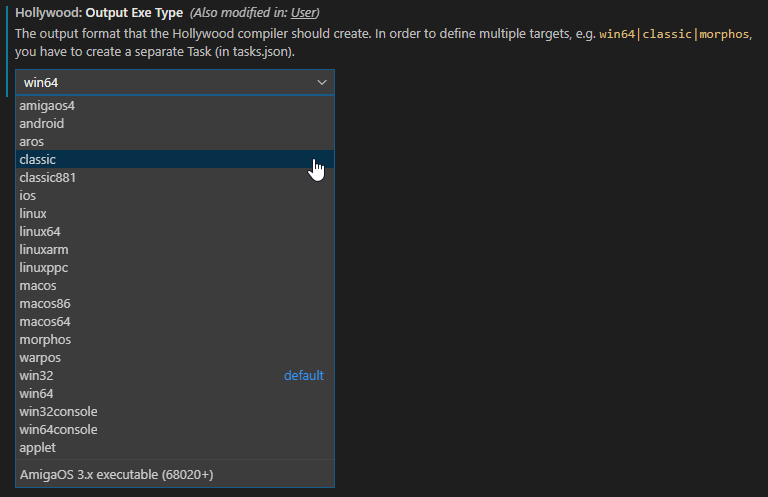
Example in YOUR_PROJECT.code-workspace: Define standard executable output formatSetting: This setting specifies the output format of the executable that the Hollywood compiler shall create. The best approach is to define this in the user settings (so it is defined globally for all your projects) and override it in workspace settings if needed, so you can have different output formats for different workspaces/projects.
Example in YOUR_PROJECT.code-workspace: In order to define multiple targets, e.g. For a complete list of all output formats check the Run and compileYou have to create Tasks in Visual Studio Code in order to run or compile a Hollywood file/project. For a deeper dive into Tasks it is recommended to read the official Visual Studio Code documentation for Tasks. Create TasksFor every project you have to create the task definitions. There are two ways to achieve this:
Configure TasksSeveral working tasks are shown in the example file, so be sure to consult the file. A minimal task confguration consists of 4 or 5 properties.
NOTICE: By default the current working directory is the current workspace root. If you ever need to change this for your task because your source code that has to be compiled is in a different folder you can change the current working directoy by using the This is a complete example of a task definition: Run a TaskIf you have set default task simple press For all other tasks you have to follow these steps:
Run a script with F5If you have already worked with the official Hollywood IDE you may be used to press F5 to run the current script. You can adopt the same behaviour with this extension through overriding the keybinding. In this example we will run the project's main script by starting the corresponding task we created above and you can see in the task.json example. In order to override the setting you have to follow these steps:
It is important to set the
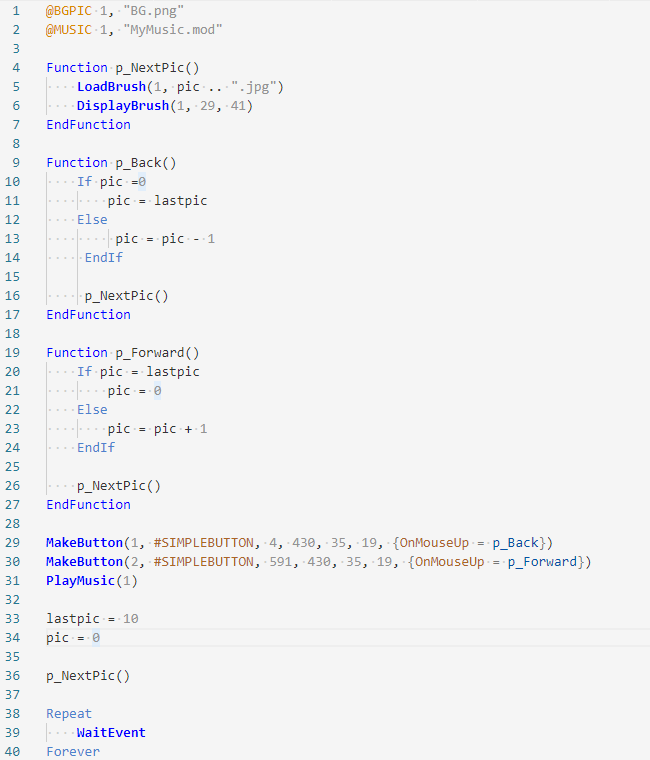
Dark and Light Theme
Dark Theme
Light Theme There are two ways to activate or switch the theme:
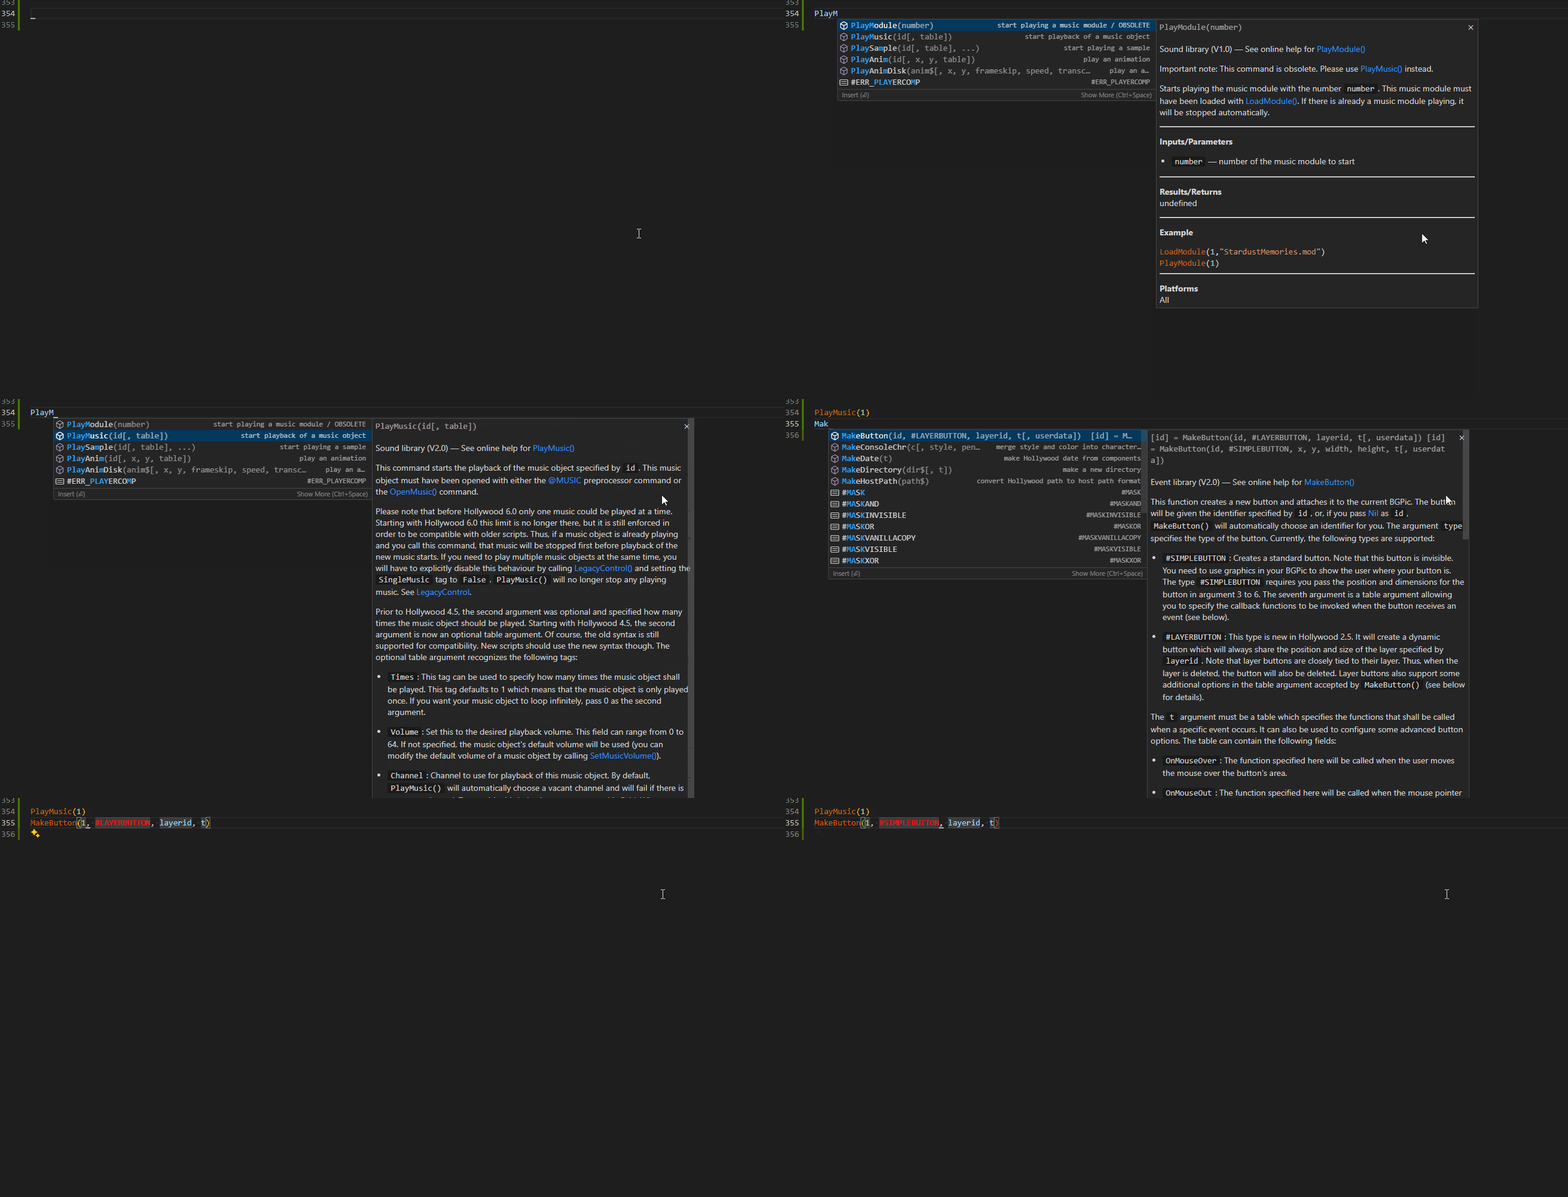
IntellisenseIntelliSense is a general term for various code editing features like code completion, quick info, and some more. This plugin currently provides code completion and quick info support (with extensive help) for all inbuilt Hollywood functions includig preprocessor commands and constants (no help texts for those). As soon as you start typing, a box with matching commands is opened. Pressing
Additonally you will see the quick help section for each command. If that is not the case or you want to hide this box, simply press If you right away press Notice: Loading this amount of definition data for code completion and quick help could initally take some time when you opening or creating a project. Go to definitionThis feature lets you jump to variable, constant, or function definitions/declarations by pressing If you hover over a symbol and press
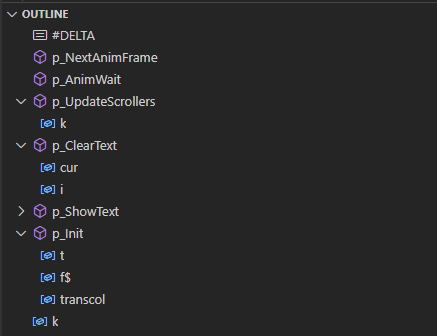
For additonal information see the official Visual Studio Code documentation Document Symbols/Go to SymbolAll defined/declared document symbols (variables, constants, functions) are shown in the Outline view and Breadcrump view which can also be used for code navigation. Keep in mind that only variables introduced by
Each symbol is represented by its own icon:
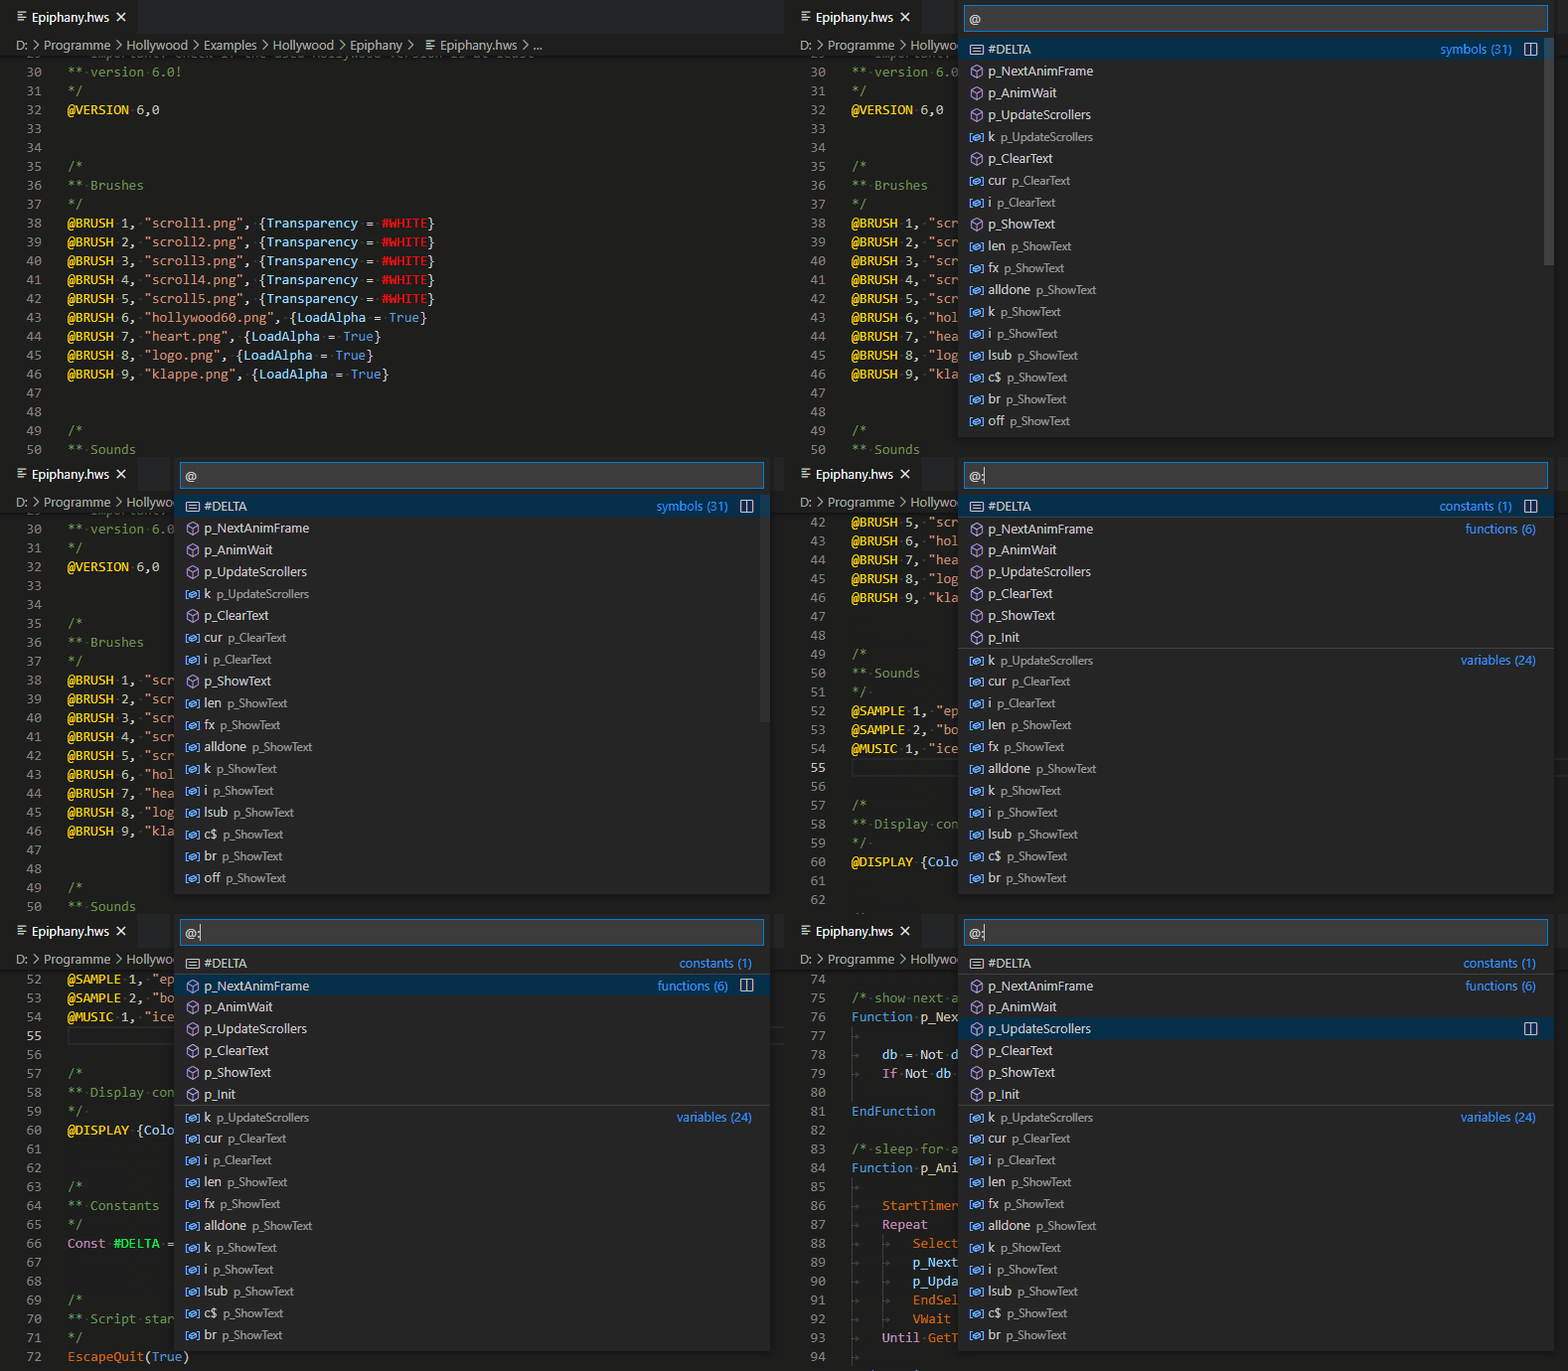
You can also show a list of all symbols (also for navigating) by
For additonal information see the official Visual Studio Code documentation Code SnippetsYou can use code snippets to quickly generate code patterns you regularly need, like function definitions, loops and so on. Please have a look at the Snippets section for a list of all supported snippets. Thank youI would like to thank the following people for their help and support:
SupportIf this extension is helpful to you and you want to support me feel free to buy me a coffee or send a tip via PayPal. If you find a bug or want to see a feature added, please fill an Issue on the GitHub page. I try my best to improve this extension. TODOs / FutureThis extension is far from complete or bug free. The overall goal is: Provide nearly or the same feature subset as the official Hollywood IDE for Windows and hw4cubic for Amiga. This includes and adds: |


