Titlebar-less VSCode for macOS
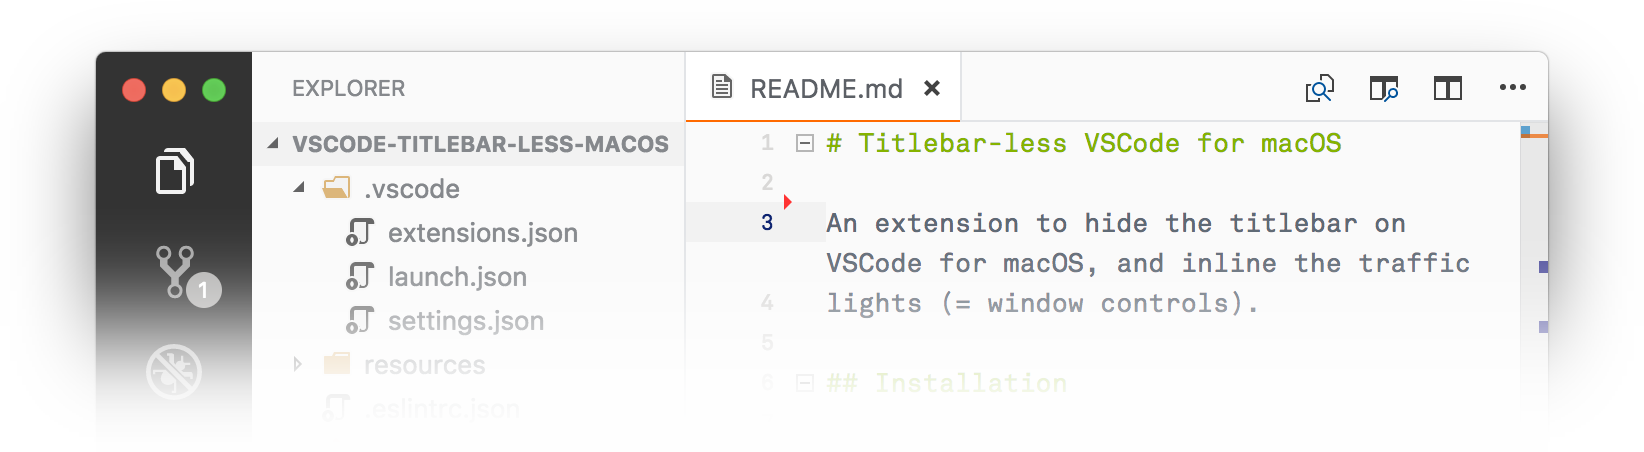
Originally extension, and now a recommended combination of third party
extensions and settings, designed to hide the titlebar on VSCode for macOS, and
inline the traffic lights (= window controls).
Deprecation Notice
This extension does not work on VSCode 1.40 or newer, and has therefore been
deprecated.
Recommended Replacement
Custom UI Style
As of VSCode 1.94, you may use Custom UI Style
instead, which you can configure to achieve the same UI style by adding these
settings in your settings.json file, see [Issue #16](https://github.com/subframe7536/vscode-custom-ui-style/issues/16):
{
  "window.titleBarStyle": "native",
  "window.customTitleBarVisibility": "never",
  "custom-ui-style.electron": {
    "titleBarStyle": "hiddenInset"
  },
  "custom-ui-style.stylesheet": {
    ".monaco-workbench": {
      "--activitybar-width": "78px",
      "--titlebar-height": "37px",

      // Titlebar
      ".part.sidebar.left .composite.title": {
        "&, .title-actions, .global-actions, .monaco-toolbar": {
          "height": "var(--titlebar-height)"
        },

        ".title-label": {
          "line-height": "var(--titlebar-height)"
        }
      },

      // Tabs
      ".title.tabs": {
        "--editor-group-tab-height": "var(--titlebar-height) !important",
      },

      // Wide activity bar
      ".split-view-view:has(> .part.activitybar.left)": {
        "&, .part.activitybar.left, .content": {
          "min-width": "var(--activitybar-width)",
        },

        // Make the split-view after the wide activity bar smaller.
        // Also handle the situation where the sidebar is hidden,
        // in which case the editor itself needs to shrink / auto-size.
        "& + .split-view-view.visible, & + .split-view-view:not(.visible) + .split-view-view.visible": {
          "--offset": "calc(var(--activitybar-width) - 48px)",
          "margin-left": "var(--offset)",

          "> *:first-child": {
            "width": "auto",
            "margin-right": "var(--offset)",

            // Auto-size the editor when the sidebar is hidden.
            ".content": {
              "&, .split-view-view": {
                "&, .monaco-editor": {
                  "&, .overflow-guard, .overlayWidgets" : {
                    "&, .monaco-scrollable-element, .sticky-widget": {
                      "width": "unset !important",
                      "left": "0",
                      "right": "0"
                    },

                    ".sticky-widget": {
                      "right": "14px !important"
                    }
                  }
                }
              }
            }
          },
        }
      },

      ".monaco-sash.vertical.minimum": {
        // TODO: Improve collapsing of the sidebar.
        "left": "calc(var(--activitybar-width) - var(--vscode-sash-size) / 2) !important"
      },

      ".part.activitybar.left": {
        ".monaco-action-bar": {
          ".action-label": {
            "width": "var(--activitybar-width)"
          }
        }
      },

      "&:not(.fullscreen)": {
        // Make room for traffic lights.
        ".part.activitybar.left > .content": {
          "padding-top": "var(--titlebar-height)"
        },

        // Move editor title when side-bar is hidden, when side-bar is on the
        // right or when activity-bar is hidden and side-bar is not on the right
        "&:has(.sidebar.right)": {
          ".monaco-split-view2.horizontal .split-view-view:not(.visible) + .split-view-view.visible .editor .title .tabs-and-actions-container": {
            "padding-left": "var(--activitybar-width)"
          },

          ".auxiliarybar.left .composite.title": {
            "padding-left": "var(--activitybar-width)"
          }
        },

         // Allow dragging on the activity-bar, status-bar, tabs-container, side-bar title...
        ".activitybar, .statusbar, .tabs-container, .sidebar .composite.title": {
          "-webkit-app-region": "drag",

          // ...but still allow to click actions and items without dragging.
          ".content .monaco-action-bar, .statusbar-item, .tab, .title .title-actions .action-label": {
            "-webkit-app-region": "no-drag"
          }
        }
      },

      ".statusbar": {
        // Don't indent the statusbar items.
        "> .items-container > .statusbar-item.left.first-visible-item": {
          "padding-left": "0"
        },

        // Show the host button again, and make it as wide as the .activitybar.
        "#status\\.host": {
          "&": {
            "display": "block !important",
            "width": "calc(var(--activitybar-width) - 1px)"
          },
          ".codicon": {
            "margin": "0 auto"
          }
        }
      }
    },

    // Make line numbers a bit smaller.
    ".editor .margin-view-overlays .line-numbers": {
      "font-size": "85%"
    },

    // Show search inputs and results in monospaced font.
    ".search-widget textarea, .find-widget textarea, .search-view .results .match": {
      "font-family": "var(--cus-monospace-font) !important"
    }
  }
}
Replacement History
Apc Customize UI++
Before Custom UI Style, Apc Customize UI++
was recommended as a replacement, which you could configure to achieve the same
UI style by adding these settings in your settings.json file, see
[Issue #52](https://github.com/drcika/apc-extension/issues/52):
{
  "window.titleBarStyle": "native",
  "window.customTitleBarVisibility": "never",
  "window.density.editorTabHeight": "compact",
  "apc.electron": {
    "titleBarStyle": "hiddenInset",
  },
  "apc.header": {
    "height": 37
  },
  "apc.sidebar.titlebar": {
    "height": 37
  },
  "apc.activityBar": {
    "size": 77,
    "itemSize": 48,
    "itemMargin": 0
  },
  "apc.stylesheet": {
    // Don't indent the sidebar title.
    ".custom-sidebar-titlebar .sidebar .composite.title": "padding-left: 0;",
    // Don't indent the statusbar items.
    ".monaco-workbench .part.statusbar>.items-container>.statusbar-item.left.first-visible-item": "padding-left: 0;",
    // Show the host button, and make it as wide as the .activitybar.
    ".statusbar #status\\.host": "display: block !important; width: calc(var(--activity-bar-action-size) - 1px); background: [#555](https://github.com/lehni/vscode-titlebar-less-macos/issues/555) !important;",
    ".statusbar #status\\.host .codicon": "margin: 0 auto;",
  }
}
Customize UI
Before Apc Customize UI++, Customize UI
was recommended as a replacement, which you could configure to achieve the same
UI style by adding these settings in your settings.json file:
{
  "window.titleBarStyle": "native",
  "customizeUI.titleBar": "inline",
  "customizeUI.activityBar": "wide",
  "customizeUI.stylesheet": {
    // Center action items in .activitybar.
    ".monaco-workbench .activitybar > .content :not(.monaco-menu) > .monaco-action-bar .action-item .action-label": "margin: 0 auto;",
    // Show the host button, and make it as wide as the .activitybar.
    ".statusbar #status\\.host": "width: 76px; background: [#555](https://github.com/lehni/vscode-titlebar-less-macos/issues/555) !important;",
    ".statusbar #status\\.host .codicon": "margin: 0 auto;"
  }
}
Deprecated Installation Instructions
Follow the instructions in the
Marketplace,
or run the following in the command palette:
ext install lehni.vscode-titlebar-less-macos
Alternatively, you can run this command in the command line:
code --install-extension lehni.vscode-titlebar-less-macos
Usage
The extension adds 2 new commands to the command palette:
Titlebar-Less: Enable // Enable titlebar-less mode on macOS (patches core files)
Titlebar-Less: Disable // Disable titlebar-less mode on macOS (restores core files)
After executing either of these commands, you need to fully restart VSCode in
order to see the extension's effect. Simply reloading the window is not enough.
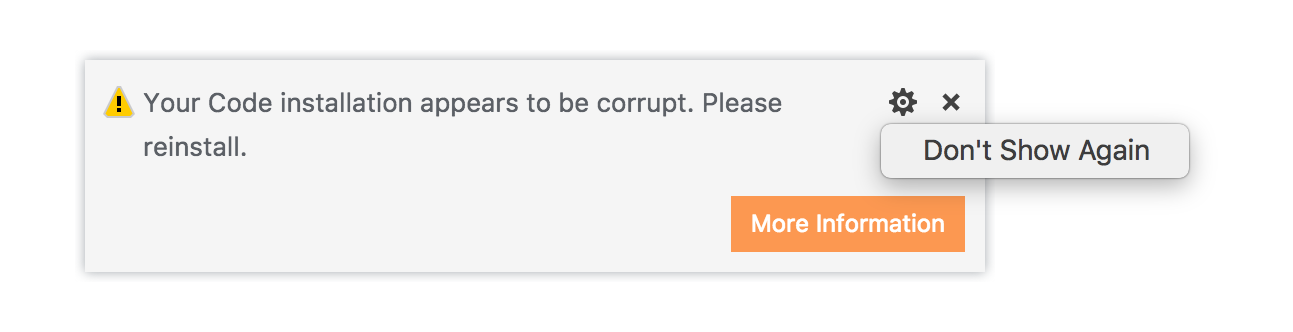
If VSCode complains about it being corrupted after the restart, you have two
options:
Install the
vscode-fix-checksums
extension and adjust the internal checksums to prevent this error from being
displayed. This will also solve the display of [Unsupported] in titles and
menus.
Choose Don't Show Again:
See Disclaimer / A Word of Caution for
details.
See Required User Settings, if the title bar doesn't look right after the restart.
Required User Settings
This extension only works with the following User Settings. In order to change
them, choose Code > Preferences > Settings in the menu, and add / change
these lines:
"window.titleBarStyle": "custom",
"window.nativeTabs": false,
Applying the Patches as Root
Due to security restrictions on some systems, VSCode may need to run as root
in order to be able to apply the patches. To do so, open the Terminal.app and
run:
sudo "/Applications/Visual Studio Code.app/Contents/MacOS/Electron"
Or this if you're using VSCode Insiders:
sudo "/Applications/Visual Studio Code - Insiders.app/Contents/MacOS/Electron"
Once you ave applied the patches by executing Titlebar-Less: Enable as root,
quit VSCode and start it normally without root privileges again.
Disclaimer / A Word of Caution
This extension modifies files that are part of the core of VSCode, so use it at
your own risk.
This extension creates backup files before modifying the core files, and these
can be restored at any time using the Titlebar-Less: Disable command.
If anything goes wrong, you can always reinstall VSCode from
code.visualstudio.com without loosing
any settings or installed extensions.
Updating VSCode / Titlebar-Less
When either VSCode or this extension is updated to a newer version, you can
reapply the extension's modifications of the core files simply by running this
command again, followed by a restart of the full application:
Titlebar-Less: Enable
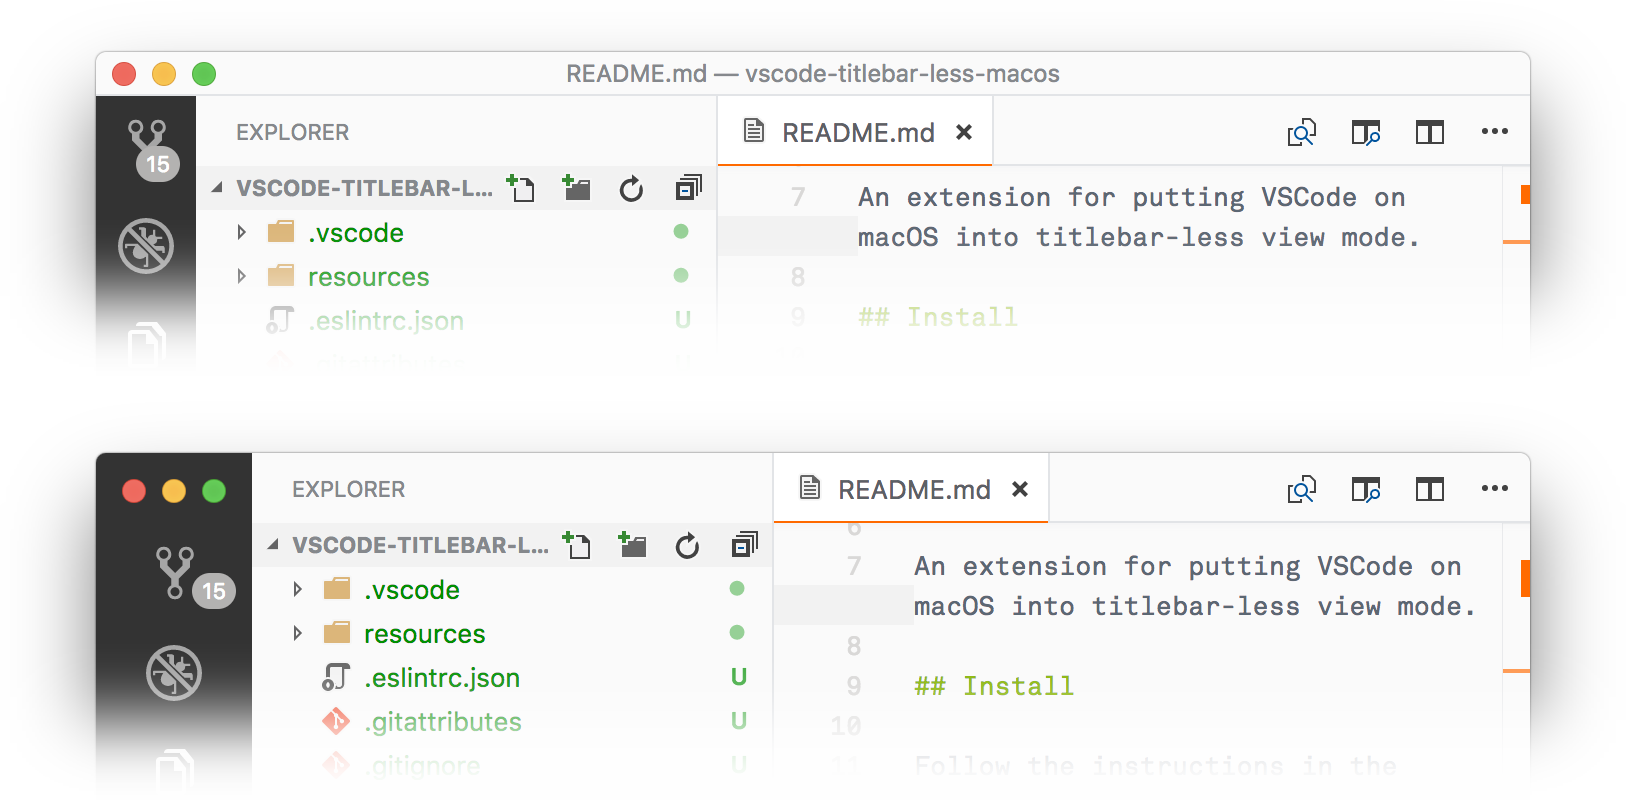
Before / After
Inspiration
https://github.com/Microsoft/vscode/issues/12377
In particular, @orta's work on a similar fork.
License
MIT © Jürg Lehni, 2018
