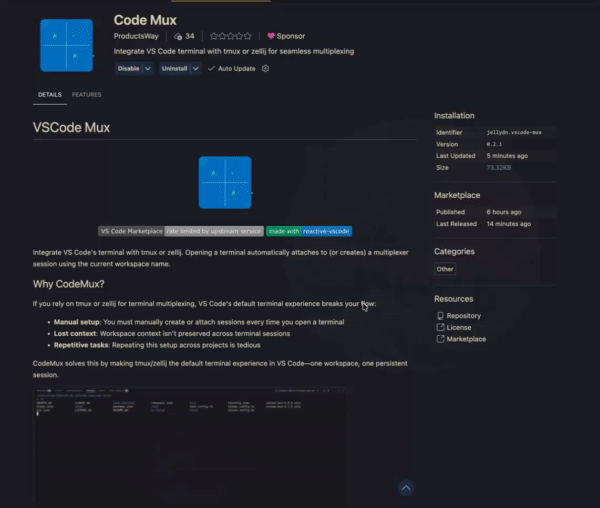
VSCode Mux


Integrate VS Code's terminal with tmux or zellij. Opening a terminal automatically attaches to (or creates) a multiplexer session using the current workspace name.
Why CodeMux?
If you rely on tmux or zellij for terminal multiplexing, VS Code's default terminal experience breaks your flow:
- Manual setup: You must manually create or attach sessions every time you open a terminal
- Lost context: Workspace context isn't preserved across terminal sessions
- Repetitive tasks: Repeating this setup across projects is tedious
CodeMux solves this by making tmux/zellij the default terminal experience in VS Code—one workspace, one persistent session.
How It Works
CodeMux registers a custom terminal profile that automatically launches your preferred multiplexer when you open a new terminal:
- First terminal: Creates a new session named after your workspace (e.g.,
myproject)
- Subsequent terminals: Attach to the existing session, preserving your panes and running processes
- Multiple windows: Each VS Code window gets its own numbered session (
myproject-2, myproject-3, etc.)
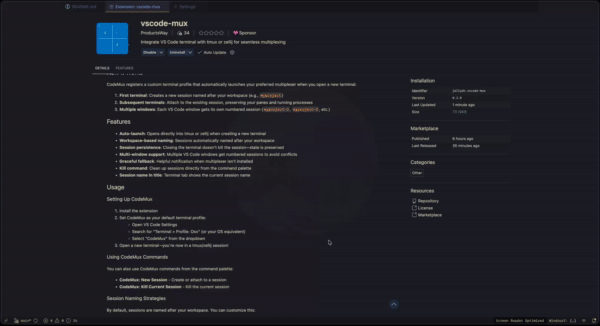
Features
- Auto-launch: Opens directly into tmux or zellij when creating a new terminal
- Workspace-based naming: Sessions automatically named after your workspace
- Session persistence: Closing the terminal doesn't kill the session—state is preserved
- Multi-window support: Multiple VS Code windows get numbered sessions to avoid conflicts
- Graceful fallback: Helpful notification when multiplexer isn't installed
- Kill command: Clean up sessions directly from the command palette
- Session name in title: Terminal tab shows the current session name
Usage
Setting Up CodeMux
- Install the extension
- Set CodeMux as your default terminal profile:
- Open VS Code Settings
- Search for "Terminal > Profile: Osx" (or your OS equivalent)
- Select "CodeMux" from the dropdown
- Open a new terminal—you're now in a tmux/zellij session!
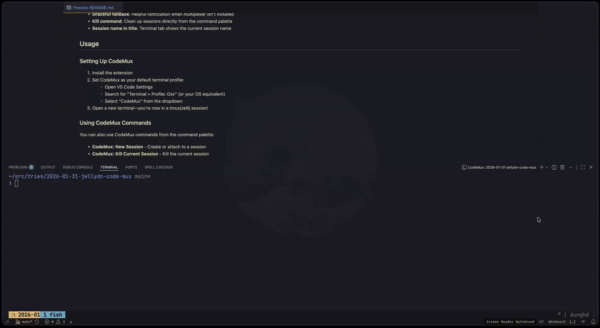
Using CodeMux Commands
You can also use CodeMux commands from the command palette:
- CodeMux: New Session - Create or attach to a session
- CodeMux: Kill Current Session - Kill the current session
Session Naming Strategies
By default, sessions are named after your workspace. You can customize this:
| Strategy |
Example Session Name |
workspace |
my-project (uses workspace name) |
folder |
src (uses folder basename) |
custom |
dev-environment (uses custom name) |
Multiple Windows
When opening the same workspace in multiple VS Code windows:
- Window 1:
myproject
- Window 2:
myproject-2
- Window 3:
myproject-3
Configuration
| Key |
Description |
Type |
Default |
codemux.multiplexer |
Terminal multiplexer to use |
string |
"tmux" |
codemux.sessionNameStrategy |
How to derive session name from workspace |
string |
"workspace" |
codemux.customSessionName |
Custom session name when sessionNameStrategy is 'custom' |
string |
"" |
codemux.autoAttach |
Automatically attach to existing session |
boolean |
true |
codemux.attachIfExists |
When creating a new session, attach to existing session if one matches the workspace name |
boolean |
true |
codemux.suppressMissingNotification |
Suppress notification when multiplexer is not installed |
boolean |
false |
codemux.windowsSupport |
Allow CodeMux to attempt running on Windows (useful with WSL or compatible shells) |
string |
"disabled" |
Commands
| Command |
Title |
codemux.killSession |
CodeMux: Kill Current Session |
codemux.newSession |
CodeMux: New Session |
Requirements
- VS Code: 1.97.0 or higher
- Operating System: macOS or Linux (Windows is opt-in via
codemux.windowsSupport)
- Multiplexer: tmux or zellij must be installed and available in your PATH
Installing tmux
# macOS (Homebrew)
brew install tmux

# Ubuntu/Debian
sudo apt-get install tmux

# Fedora
sudo dnf install tmux
Installing zellij
# macOS (Homebrew)
brew install zellij

# Ubuntu/Debian
cargo install zellij

# Or download from GitHub releases
Limitations
The following features are explicitly out of scope:
- Windows support: Disabled by default; enable
codemux.windowsSupport if you want to try it (e.g. with WSL or compatible shells)
- Pane/layout management: CodeMux doesn't manage panes within tmux/zellij—use their native features
- Editor sync: VS Code editor splits don't sync with multiplexer panes
- Multi-root workspaces: Uses the first folder or workspace name
- Auto-cleanup: Sessions persist until manually killed
Troubleshooting
Terminal opens to a plain shell
If the multiplexer isn't launching:
- Check that tmux or zellij is installed:
which tmux / which zellij (or where tmux / where zellij on Windows)
- Verify the
codemux.multiplexer setting matches your installed tool
- Check VS Code's Output panel for CodeMux error messages
Can't attach to existing session
If you see "session already exists" errors:
- Set
codemux.autoAttach to false to always create new sessions
- Or manually kill the old session:
tmux kill-session -t <name> / zellij kill-session <name>
Author
👤 Huynh Duc Dung
Show your support
If this project has been helpful, please give it a ⭐️.


License
MIT License © 2026