NSIS for Visual Studio Code

Language syntax, IntelliSense and build system for Nullsoft Scriptable Install System (NSIS).

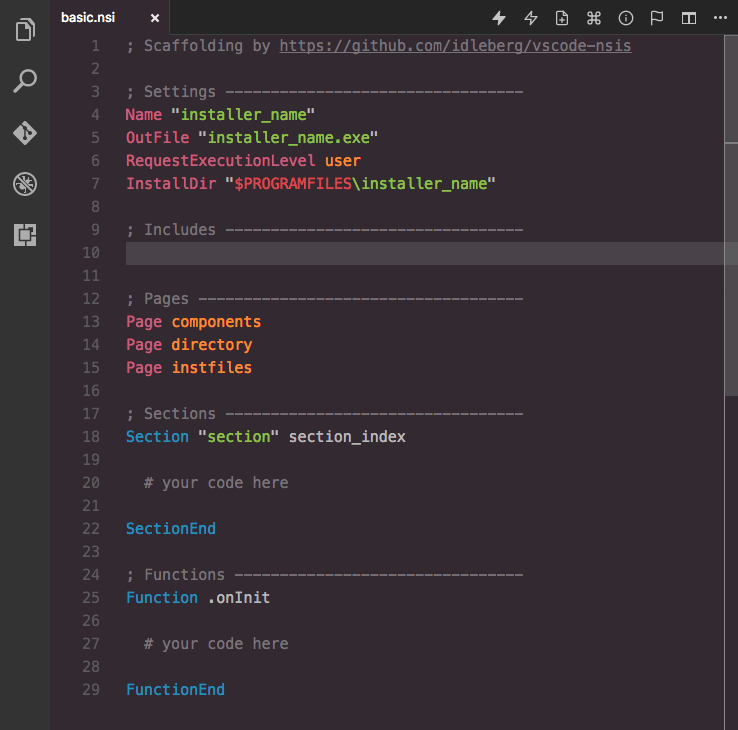
Screenshot of NSIS in Visual Studio Code with Hopscotch theme
Features
- Language syntax for NSIS and NSIS Language Files
- IntelliSense for core NSIS commands, variables and predefines
- IntelliSense for core plug-ins:
- AdvSplash
- Banner
- BgImage
- Dialer
- InstallOptions
- LangDLL
- Math
- nsDialogs
- nsExec
- NSISdl
- Splash
- StartMenu
- System
- UserInfo
- VPatch
- IntelliSense for core libraries (“Useful Headers”):
- FileFunc
- LogicLib
- Memento
- Modern UI
- MultiUser
- Sections
- StrFunc
- WinMessages
- WinVer
- WordFunc
- x64
- NSIS Diagnostics
- IntelliSense for Haskell NSIS
- Drunken NSIS
- Build Tools
- Environment Variables
You can further extend NSIS support with IntelliSense for third-party plug-ins.
Installation
Extension Marketplace
Launch Quick Open, paste the following command, and press Enter
ext install idleberg.nsis
CLI
With shell commands installed, you can use the following command to install the extension:
$ code --install-extension idleberg.nsis
Packaged Extension
Download the packaged extension from the the release page and install it from the command-line:
$ code --install-extension path/to/nsis-*.vsix
Alternatively, you can download the packaged extension from the Open VSX Registry or install it using the ovsx
command-line tool:
$ ovsx get idleberg.nsis
Clone Repository
Change to your Visual Studio Code extensions directory:
# Windows Powershell
cd $Env:USERPROFILES\.vscode\extensions
# Windows Command Prompt
$ cd %USERPROFILE%\.vscode\extensions
# Linux & macOS
$ cd ~/.vscode/extensions/
Clone repository as nsis
:
$ git clone https://github.com/idleberg/vscode-nsis nsis
Install dependencies:
cd nsis && npm install
Usage
IntelliSense
With most commands, you can specify available options before completion. For instance, rather than completing RequestExecutionLevel
and then specifying an option, you can directly choose RequestExecutionLevel user
from the completion menu.
To complete compile time commands, variables or predefines, make sure to omit special characters like !
, $
and brackets:
include
completes to !include
INSTDIR
completes to $INSTDIR
NSIS_VERSION
completes to ${NSIS_VERSION}
However, you have to type __LINE__
to complete to ${__LINE__}
.
There are several special cases for your convenience:
MB_OK
completes to MessageBox MB_OK "messagebox_text"
onInit
completes to a Function .onInit
block
LogicLib
completes to !include "LogicLib.nsh"
Drunken NSIS
Fuzzy syntax completions are available through “Drunken NSIS”, which tries to iron out some of the inconsistencies of the NSIS language, for instance word order.
Example:
Interchangable word order of NSIS language and library functions
ReadFile
completes to FileRead
INIStrRead
completes to ReadINIStr
SetSectionText
completes to SectionSetText
SetLog
completes to LogSet
FirstFind
completes to FindFirst
${LineFind}
completes to ${FindLine}
Building
Before you can build, make sure makensis
is in your PATH environment variable. Alternatively, you can specify the path to makensis
in your user settings.
makensis
Example:
{
"nsis.pathToMakensis": "C:\\Program Files (x86)\\NSIS\\makensis.exe"
}
To trigger a build, select NSIS: Save & Compile” from the command-palette or use the default keyboard shortcut Ctrl+Shift+B. The strict option treats warnings as errors and can be triggered using Ctrl+Alt+Shift+B.
Options
You can tweak your default settings by editing your user settings.
Setting |
Description |
pathToMakensis |
Specify the full path to makensis |
preprocessMode |
Linter runs in the much faster pre-process mode, but ignores warnings |
processHeaders |
Specifiy whether to compile .nsh files |
overrideCompression |
Overrides compression settings to speed up diagnostics |
showNotifications |
Show build notifications indicating success or failure |
alwaysShowOutput |
Output channel will only be shown on errors |
alwaysOpenBuildTask |
Specify whether to open the newly created build task |
showVersionAsInfoMessage |
Specify whether to show version as message |
showFlagsAsObject |
Specify whether to format compiler flags as JSON |
useWineToRun |
Runs compiled installers using Wine |
muteANSIDeprecationWarning |
Toggle ANSI deprecation warning |
Commands
Action |
Syntax |
Shortcut |
Compile NSIS |
source.nsis |
Ctrl+Shift+B |
Compile NSIS (strict) |
source.nsis |
Ctrl+Alt+Shift+B |
Create Build Task |
source.nsis |
– |
Command Reference |
source.nsis |
– |
Show Version |
source.nsis |
– |
Show Compiler Flags |
source.nsis |
– |
Open Settings |
source.nsis |
– |
Convert Language File |
source.nlf |
- |
Task Runner
If you prefer Visual Studio Code's built-in Task Runner to build scripts, you can create tasks.json
in the project root using the NSIS: Create Build Task command from the command-palette.
Note: The created Task Runner will adapt to the user settings specified in settings.json
.
Environment Variables
This extension supports a variety of ways to provide environment variables such as NSISDIR
or NSISCONFDIR
. The following precedence applies:
terminal.integrated.shell.*
setting
.env
files
- system-wide environment variables
Note: Some operating systems require Visual Studio Code to be launched from terminal in order to access system-wide environment variables.
Additionally, you can pass special environment variables prefixed with NSIS_APP_
as definitions to your installer script.
Example
# .env
NSIS_APP_ENVIRONMENT=development
# installer.nsi
!if ${NSIS_APP_ENVIRONMENT} == "development"
DetailPrint "Valuable Debug Information"
!endif
License
If not otherwise specified (see below), files in this repository fall under The MIT License and the GNU General Public License, version 2.0.
An exception is made for files in readable text which contain their own license information, or files where an accompanying file exists (in the same directory) with a “-license” suffix added to the base-name name of the original file, and an extension of txt, html, or similar. For example “tidy” is accompanied by “tidy-license.txt”.