
Demo Time empowers you to script flawless coding
demonstrations and present slides seamlessly within Visual Studio Code.
Eliminate typos and missteps, ensuring engaging and stress-free
presentations.


Features
- Scripted Demos: Automate your coding demonstrations to maintain a perfect
flow.
- Code Highlighting: Emphasize specific code segments to draw audience
attention.
- Integrated Slides: Present slides directly within VS Code for a cohesive
experience.
- Customizable Actions: Execute various VS Code commands and tasks as part
of your demo.
- PowerPoint Integration: Seamlessly move from slides to code using the
PowerPoint integration.
Getting Started
- Installation: Install the extension.
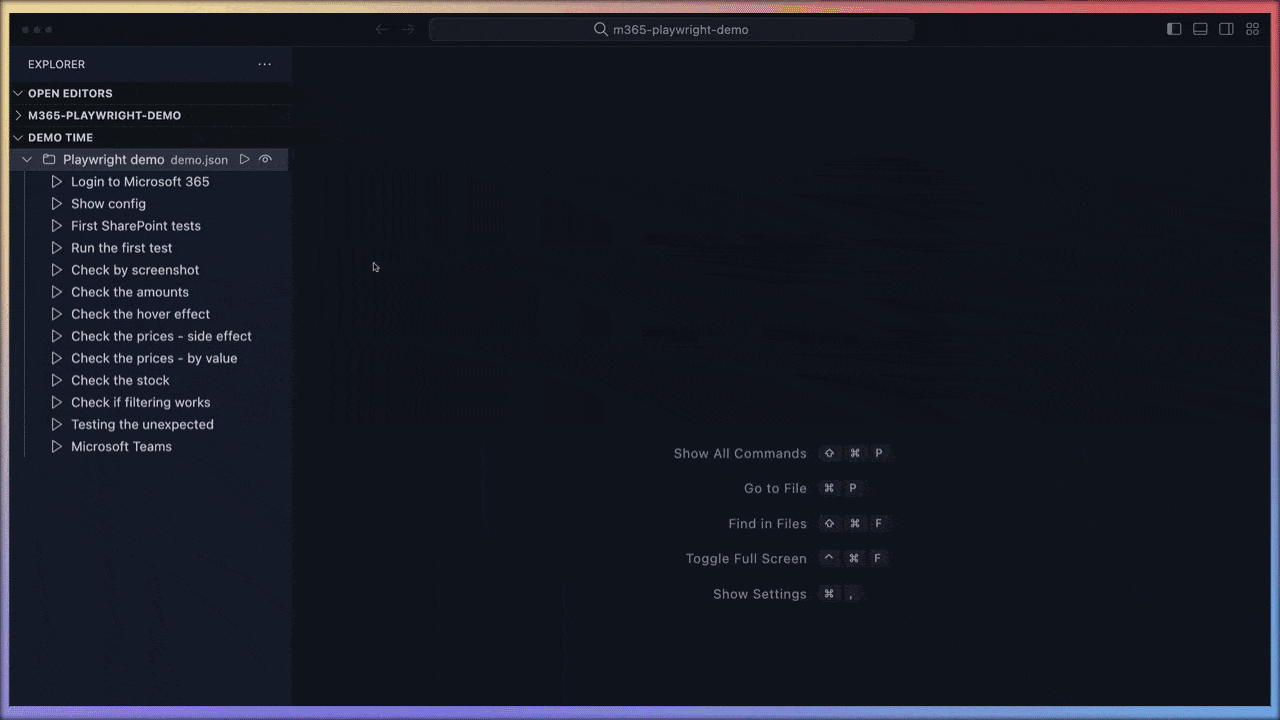
- Initialization: After installation, initialize the extension in your
project by opening the Explorer panel in VS Code. Locate the Demo Time
view and click on the "Initialize" button. This action creates a
.demo
folder in your workspace containing either a demo.json or demo.yaml file,
depending on your chosen format.
- Creating Demos: Populate the act file with your actions, defining each
step and action as required. More information about the available actions
can be found in the supported actions
documentation section.
Documentation
For detailed instructions, advanced configurations, and best practices, please
refer to the comprehensive documentation available at
https://demotime.show. This resource offers in-depth
guides and examples to help you maximize the extension's capabilities.
Demo Time Terminology
Demo Time follows a theatrical hierarchy to keep your demos organized and easy
to follow: Play → Act → Scene → Move.
- Play: Your full demo project (
.demo folder) containing all acts and
assets.
- Act: A single demo file (
*.yml or *.json) focused on one topic.
- Scene: A section within an act that groups related moves.
- Moves: The individual steps in a scene that run in order (for example:
create a file, open it, highlight a block).
Example act file
Here is an example act file in JSON format:
{
  "$schema": "https://demotime.show/demo-time.schema.json",
  "title": "Sample demo",
  "description": "This is a sample demo configuration to show the capabilities of the extension.",
  "version": 3,
  "scenes": [
    {
      "title": "Step 1",
      "description": "This is step 1",
      "moves": [
        {
          "action": "create",
          "path": "sample.json",
          "content": "{\n  \"firstName\": \"Elio\",\n  \"lastName\": \"Struyf\"\n}"
        },
        {
          "action": "open",
          "path": "sample.json"
        },
        {
          "action": "highlight",
          "path": "sample.json",
          "position": "2:3"
        }
      ]
    },
    {
      "title": "Step 2",
      "description": "This is step 2",
      "moves": [
        {
          "action": "snippet",
          "contentPath": "./snippets/insert_and_highlight.json",
          "args": {
            "MAIN_FILE": "sample.json",
            "CONTENT_PATH": "content.txt",
            "CONTENT_POSITION": "3",
            "HIGHLIGHT_POSITION": "4"
          }
        }
      ]
    }
  ]
}
You can also explore a comprehensive example in the following GitHub
Repositories:
Testing
Run linting and unit tests with:
npm run lint
npm test
Tests use Jest with built-in coverage. New tests are
located in the tests/ directory.
Support
If you enjoy my work and find them useful, consider sponsor me and the ecosystem
to help Open Source sustainable. Thank you!
You can also show your support by getting
Demo Time merch!
License
This project is licensed under the Apache License 2.0 - see the
LICENSE file for details.


