Vector Simulation and Test Environment for Visual Studio Code
This extension supports you in creating and using environments for CANoe Server Editions.
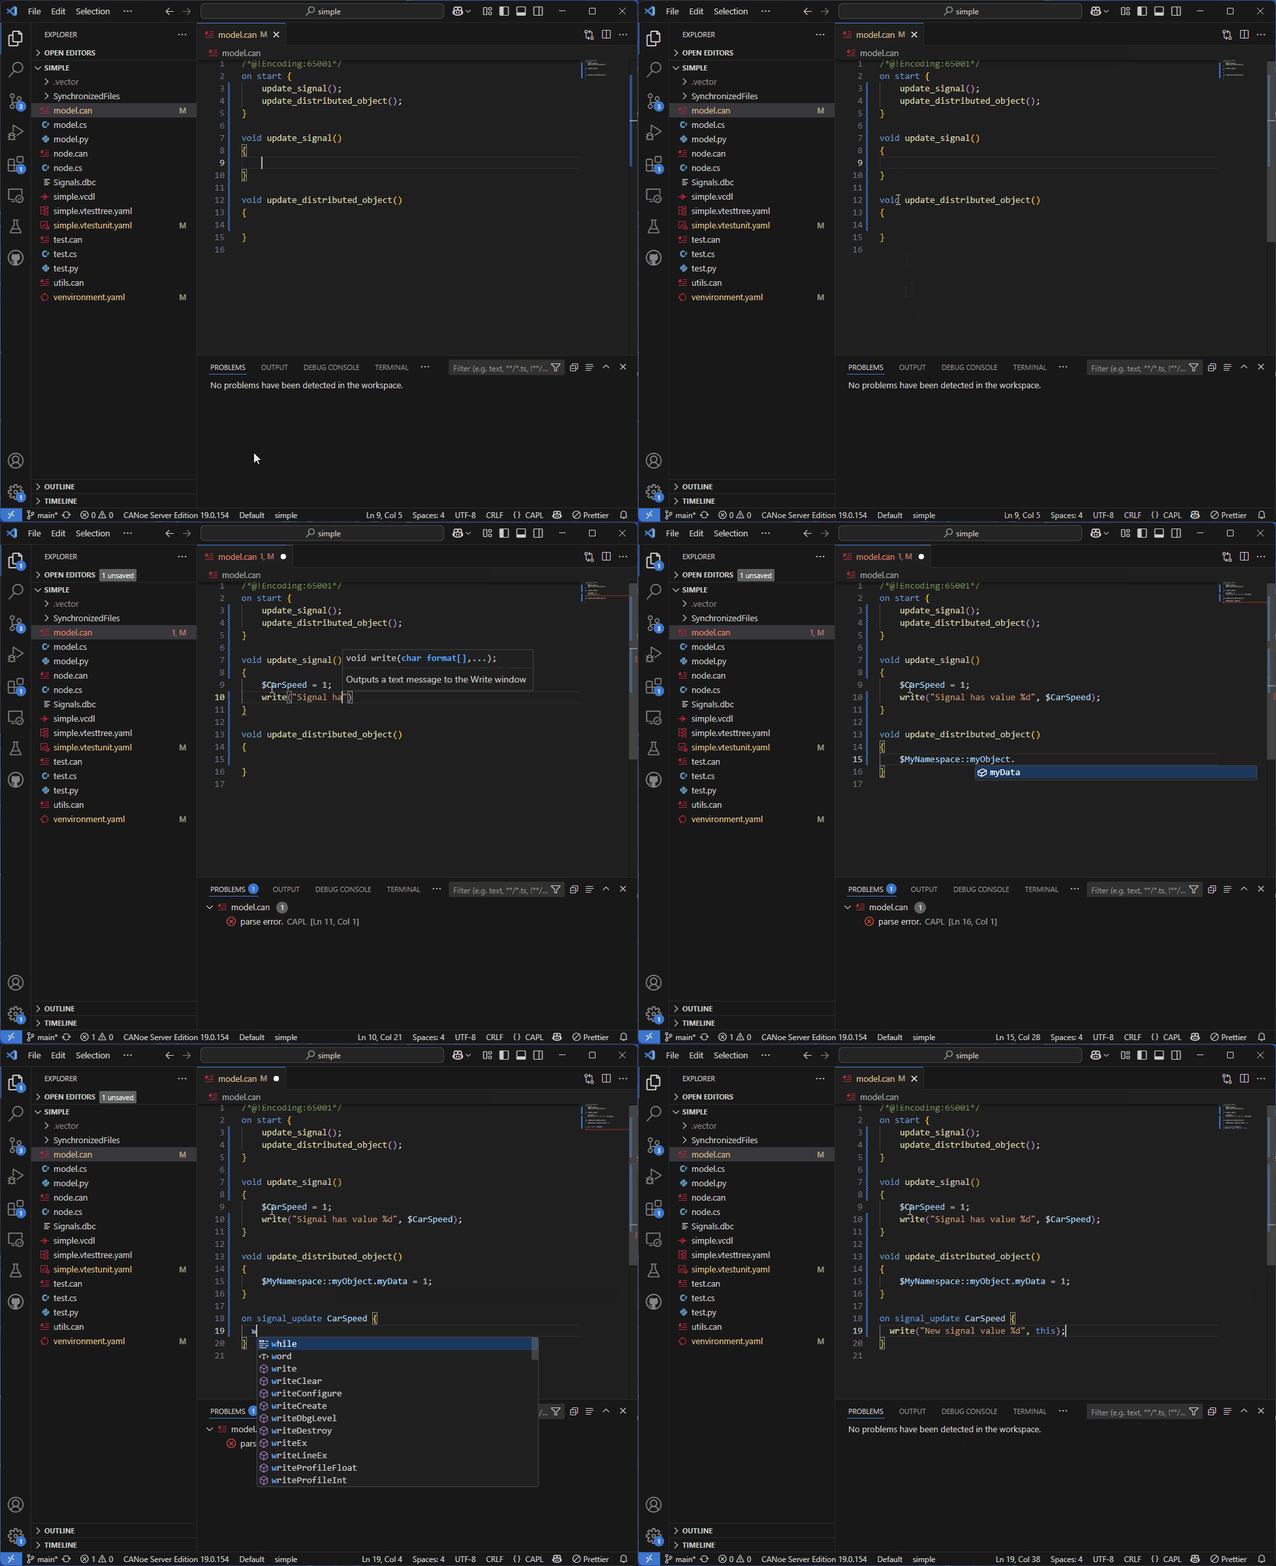
It enables you to use symbols from the Vector toolset environment in your CAPL, Python and C# source files.
Furthermore it provides editing support for the corresponding configuration files venvironment.yaml and venvironment-basic.yaml.
Prerequisites
The Vector Simulation and Test Environment extension requires a Vector toolset to be installed.
The Vector toolset comes with any CANoe or CANoe Server Edition.
At least version 18 of the Vector toolset is required.
For full CAPL editing support we recommend version 19 or higher.
The currently selected toolset is shown in the status bar.
By default, the latest installed version is used.
To select a specific version, use the command Select Vector toolset.
For editing application models and simulation nodes, please install the respective programming language extensions CAPL, Python, and C#.
Usage
The Vector Simulation and Test Environment extension discovers all environments in the current workspace by their description files venvironment.yaml or venvironment-basic.yaml.
If there is more than one description file in the workspace you are asked to choose one of them.
You can change your selection later by using the command Select environment description file.
If there is more than one scenario defined in the selected description file you are asked to choose one scenario.
To change that selection click the environment button in the status bar or use the command Select environment.
To facilitate creating the first or additional environment description files, there is the command Create environment description file.
If you are using a Server Edition of CANoe, you can find some sample configurations via the Open sample configuration command.
Editing application models and simulation nodes
If your environment contains application models or simulation nodes written in CAPL, Python, or C#, the extension will automatically generate type libraries and project files for those languages.
They allow you to use symbols from the environment like e.g., bus signals and distributed objects.
For C# editing, you'll find a solution file in .vector/ActiveVectorSolution.sln.
Please load it via the command OmniSharp: Select Project.
If you can't find this command, use .NET: Open Solution.
For Python editing you'll find a virtual Python environment in the .vector directory.
You'll be automatically offered to load it by the Python extension.
Please make sure that you have the Python version installed that is required by your Vector toolset. After you have changed your system's Python installation, you may want to recreate the virtual environment via the Recreate virtual Python environment command.

Editing environment description files
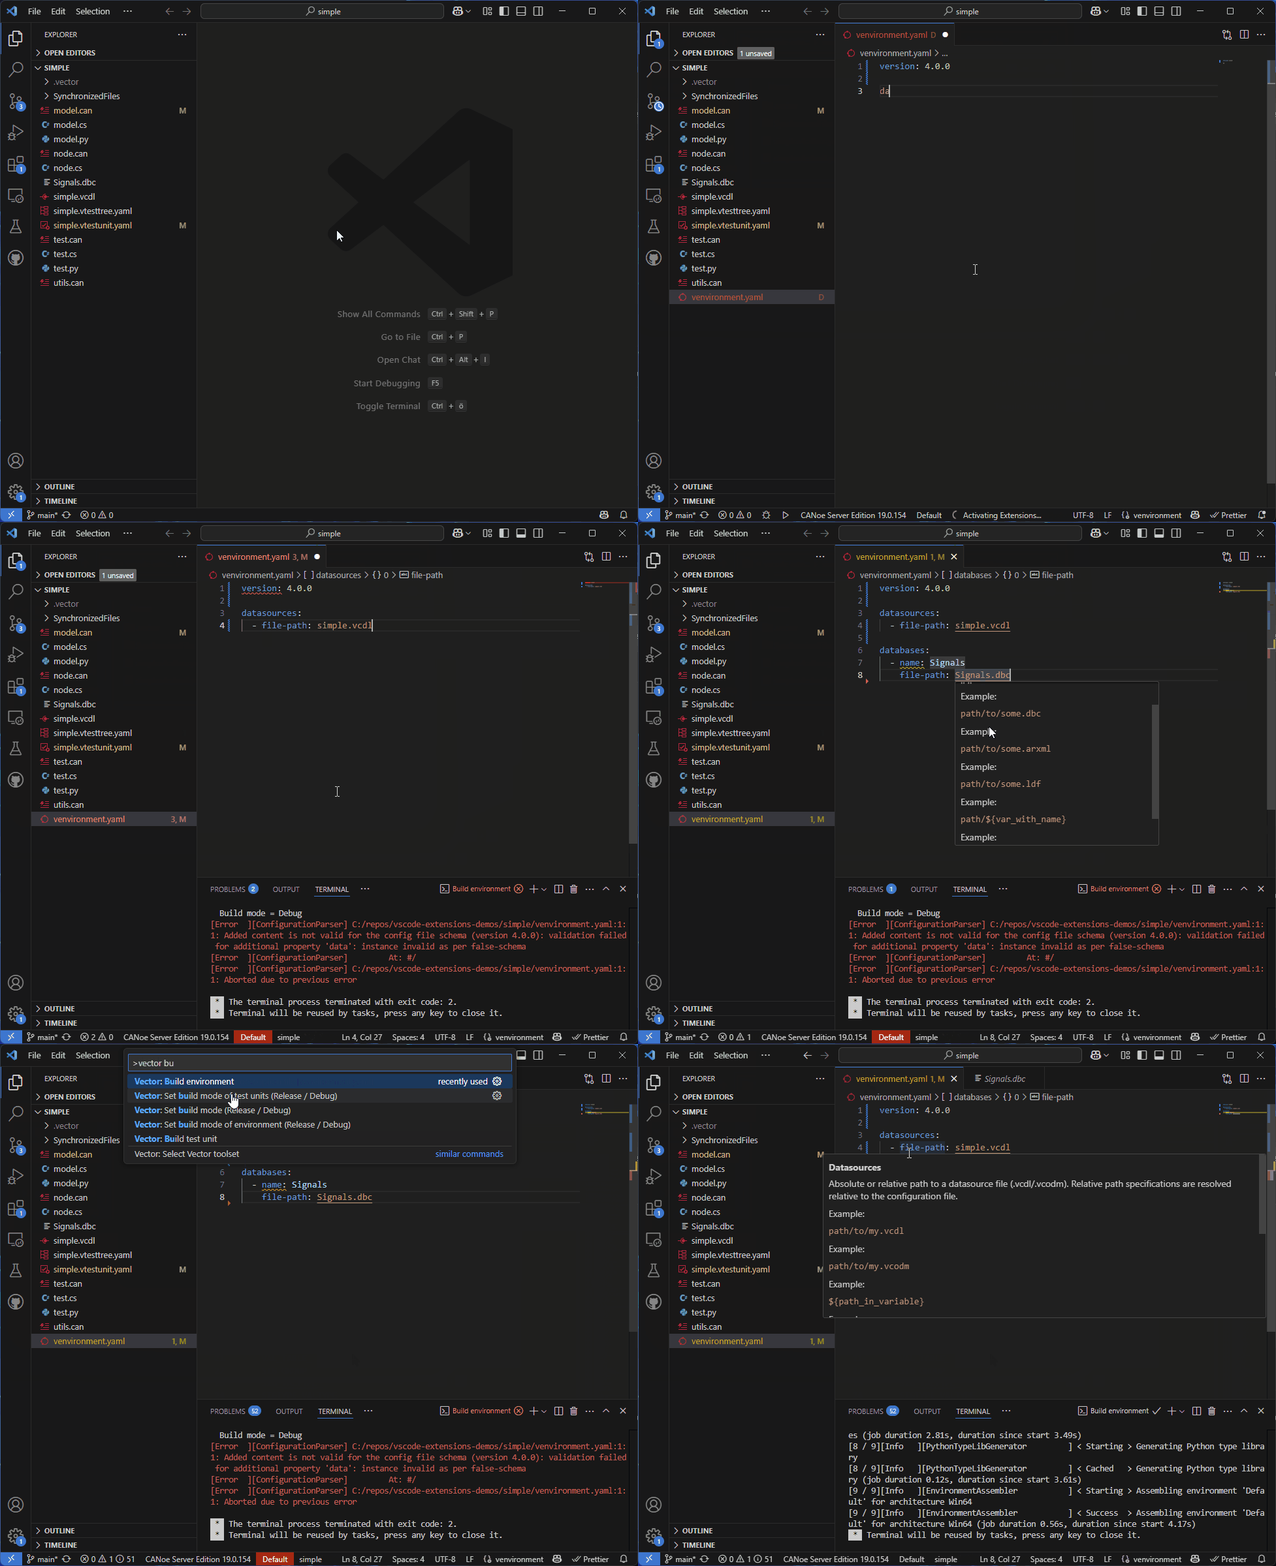
The extension provides editing support for the configuration files venvironment.yaml, venvironment-basic.yaml, *.venvplus.yaml, and *.venvplus-basic.yaml.
This includes syntax highlighting, code completion, and validation.
The editing support is Vector toolset aware which means that the support will adapt to the file versions available in your Vector toolset.

Building the environment
The extension builds the environment automatically in the background.
If you notice that the environment is outdated it is also possible to build the environment manually via the provided build task.
You can start it via the commands Build environment or Tasks: Run Build Task.
The latter can be called by default with the keybinding Ctrl + Shift + B.
The build task can also be customized via a tasks.json file.
This is useful if you want to pass additional arguments, like the target architecture, to environment-make.
For example, a task that builds for the 32-bit architecture might look like follows:
{
	"type": "venvironment",
	"label": "Vector Simulation and Test Environment: Build environment",
	"group": {
		"kind": "build",
		"isDefault": true
	},
	"problemMatcher": [],
	"args": ["--arch=Win32"]
}
Upgrading environment description files
This extension can also help you in keeping your environment description files up-to-date.
If an upgrade is possible you will see an information diagnostic at the version definition when you open your environment description file.
When you apply the quick fix associated with the diagnostic your environment description file and all included files will automatically be upgraded.
The installation directory of the currently active Vector toolset will be added by default to the environments of all terminals within VS Code.
I.e., it will be prepended to the PATH environment variable and system-wide environment variables related to the toolset will be overwritten (<ToolsetName>_InstallDir and <ToolsetName>_InstallDir64).
This allows you to conveniently run the CLI tools from your Vector toolset without knowledge of the installation directory.
You can turn this off in the extension settings (vectorgroup.simulation-and-test-environment.contributeToTerminalEnvironments).
FAQ
I have just created a venvironment.yaml or venvironment-basic.yaml file in my workspace but the extension does not activate. What can I do?
This extension takes .gitignore into account when finding available description files.
Ensure that venvironment.yaml or venvironment-basic.yaml are not excluded by .gitignore.
My C# file is not validated and there is no IntelliSense. What can I do?
- Make sure that the C# file is listed as a simulation node or application model in the environment description file.
- Make sure that the C# extension is installed.
- Make sure that the generated C# solution
ActiveVectorSolution.sln is loaded.
Depending on the configuration of your C# extension, this can be done via one of the commands OmniSharp: Select Project or .NET: Open Solution.
- Make sure that a .NET SDK is installed on your system.
It is required by the C# extension.
We recommend .NET SDK version 8.0.
- Have a look into the output of the C# extension and see if it gives any hints.
C# IntelliSense is not recognizing changes in my environment. What can I do?
In case of any troubles with C# IntelliSense, we recommend configuring the C# extension to use the OmniSharp Language Server instead of the default one.
You can do this by enabling the following two workspace settings:
dotnet.preferCSharpExtensiondotnet.server.useOmniSharp
Please note that this will disable the C# Dev Kit in your workspace.
What is the .vector directory for?
The .vector directory contains build artifacts and generated project files.
We recommend excluding it from version control, e.g., by adding it to your .gitignore file.


