Repo Exporter 🚀
The ultimate tool for sharing codebase context with AI and team members.
Repo Exporter helps you turn your project structure into beautiful text diagrams and connects your AI assistant directly to your actual files via the Model Context Protocol (MCP).
✨ Features
- 📋 Instant Context Export — Generate beautiful ASCII tree diagrams of your project
- 🗺️ Interactive Dependency Graph — Visualize folder & package dependencies on a canvas
- 🤖 AI Integration (MCP) — Give your AI agent direct access to read, create & delete files
- 🎯 Smart Filtering — Automatically respects
.gitignore to exclude clutter
- 📎 Flexible Output — Copy to clipboard, save to file, or view in a new tab
- 🖼️ Canvas Visualization — Interactive pan, zoom, and focus mode for exploring dependencies
⚡ Quick Setup
Quick setup guide for getting started
🎬 Complete Demo (2 Min)
Watch the complete walkthrough showcasing all features
📦 Installation
For VS Code:
Search for Repo Exporter in the VS Code Marketplace and click Install.
For Antigravity / Cursor:
Search for Repo Exporter in the Open VSX Registry and click Install.
🚀 Quick Start
Usage A: Exporting Tree Structure
- Open your project in VS Code.
- Right-click any folder in the Explorer.
- Select Repo Exporter: Export Structure.
- Choose Copy to Clipboard and paste it into ChatGPT/Claude!
Usage B: Setting up for AI (MCP)
- Open Command Palette (
Cmd+Shift+P).
- Run Repo Exporter: Setup MCP Server.
- Select your AI tool (Antigravity, Cursor, etc.).
- Restart your IDE.
- Ask your AI: "Create a new component structure in
src/components/Navbar" and watch it work!
Usage C: Dependency Graph Visualization
- Open Command Palette (
Cmd+Shift+P).
- Run Repo Exporter: Show Dependency Graph.
- Switch between Folder and Package modes to explore dependencies.
- Click on nodes to focus and see connected dependencies!
Once connected, your AI assistant gains these tools:
| Tool |
Description |
export_repo_structure |
Get a map of the project |
bulk_create_files |
Create multiple files/folders efficiently |
bulk_delete_files |
Remove verified paths |
bulk_rename_files |
Rename or move multiple files/folders |
🗺️ Canvas Visualization
Explore your project's dependencies with an interactive graph canvas:
- Folder Mode — See how your folders are connected through imports
- Package Mode — Visualize package-level dependencies in monorepos
- Focus Mode — Click any node to highlight its direct connections
- Zoom & Pan — Navigate large codebases with ease
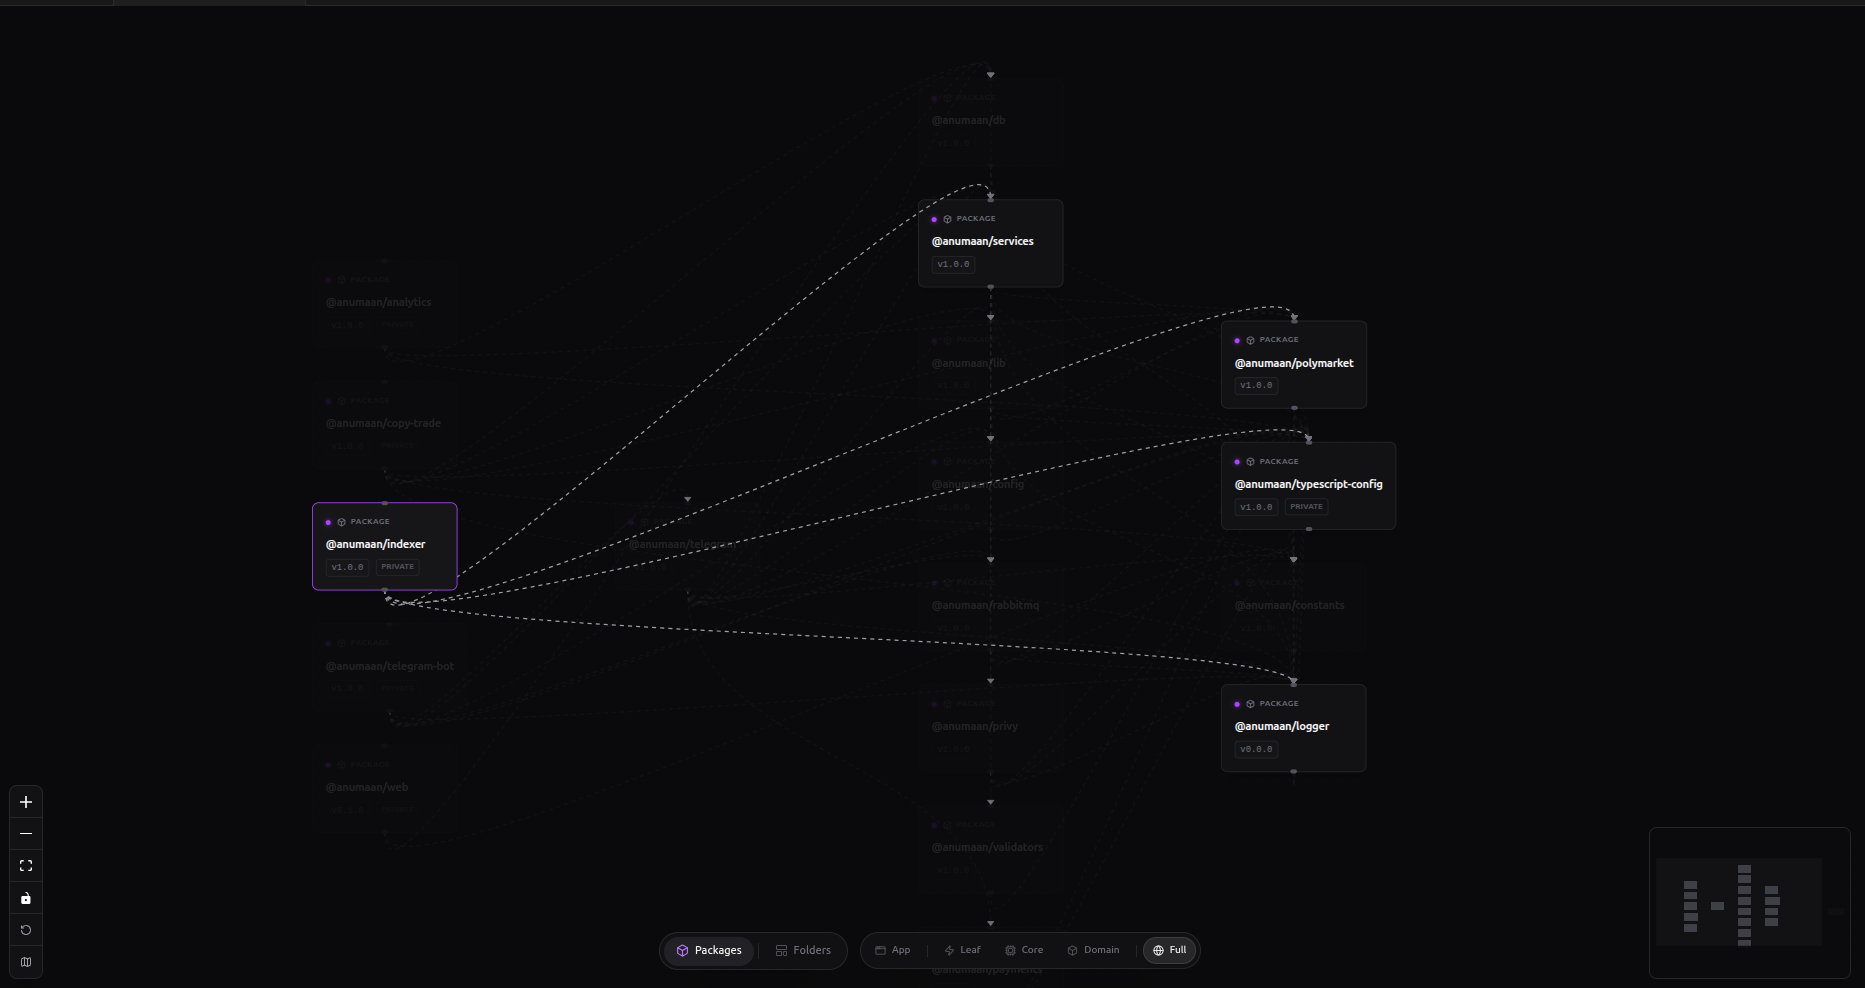 Interactive dependency graph with folder and package modes
🎨 Example Output
When you export your repository, you get a clean text diagram like this:
my-nextjs-app/
├── src/
│   ├── app/
│   │   ├── layout.tsx
│   │   └── page.tsx
│   ├── components/
│   │   └── Navbar.tsx
│   └── lib/
│       └── utils.ts
├── package.json
└── README.md
Enjoy coding with context! 🌟
