Xinq - SQL Query Management for VS Code



A VS Code extension for managing SQL queries in XML-based .xinq definition files. Built for .NET developers working with SQL Server and T-SQL.
This project is derived from soheilpro/Xinq, the original Visual Studio Xinq extension.
Latest release: 1.1.0 — see CHANGELOG.md for the full list of features and fixes.
Features
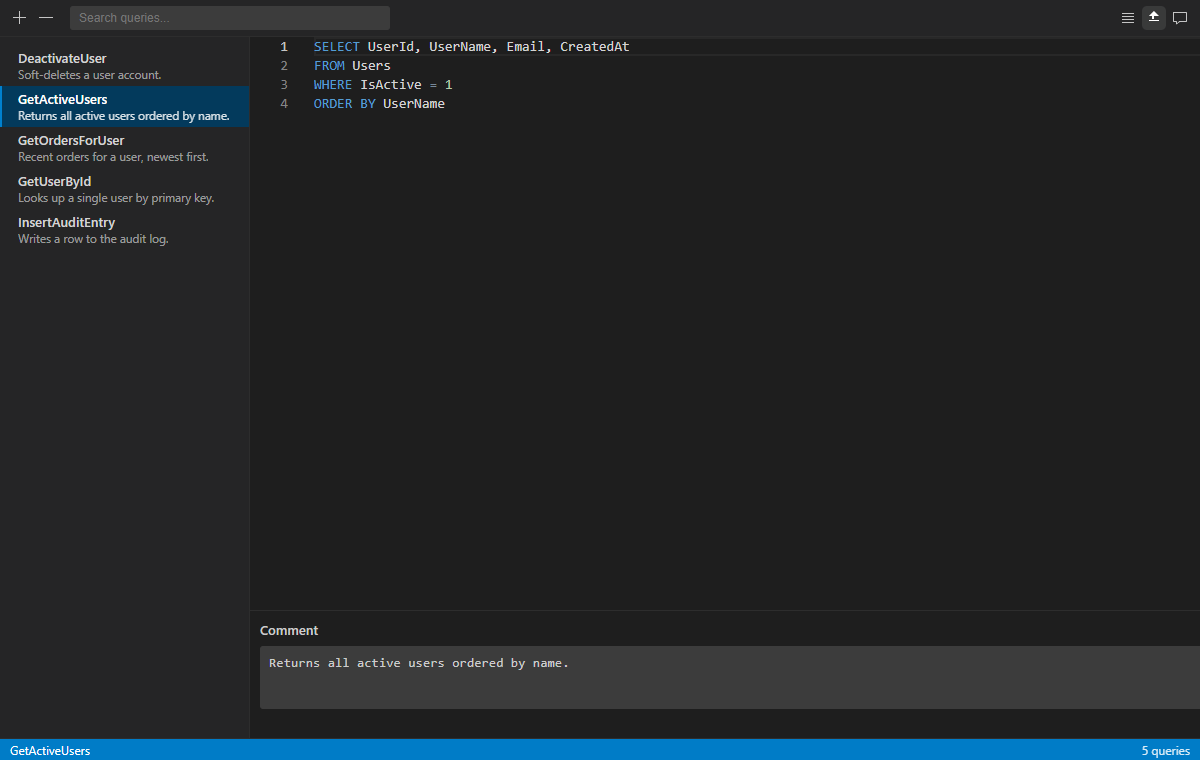
Query management
- Custom editor for
.xinq files with a query list and SQL editor
- Inline rename, comments, duplicate, and remove
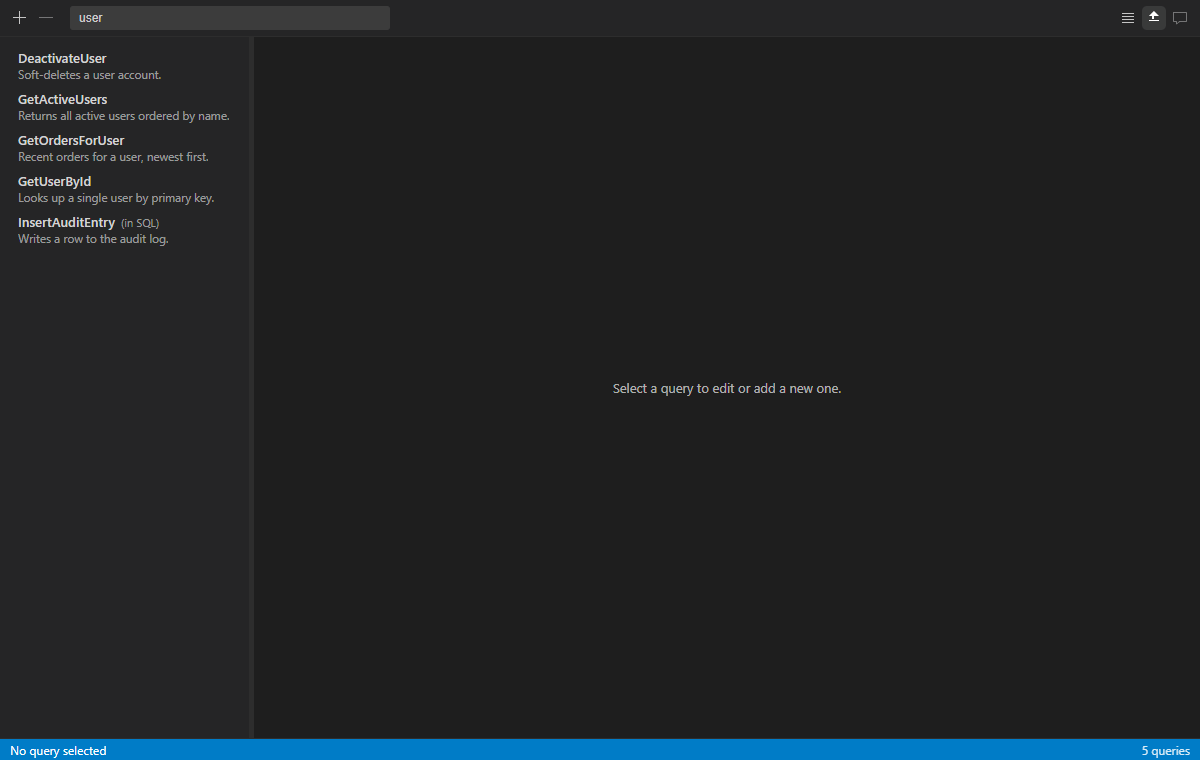
- Search by query name, comment, or SQL text
- Optional grouping by regex prefix patterns
- Sort A–Z / Z–A, or drag to reorder (when ungrouped and not filtering)
SQL editing
- Embedded mode (default): Monaco editor in the Xinq view with T-SQL highlighting, completions, and snippets
- Native mode: compact query list with SQL opened in a real VS Code editor tab (
xinq.editor.sqlEditor)
- Uses your VS Code editor font settings in embedded mode
Developer experience
- Generates C#
.Designer.cs classes on save
- Updates
.csproj entries for generated files
- Warnings in the Problems panel for duplicate or invalid query names
- Settings for SQL editor mode, save-time sorting, and generator version
- Keyboard shortcuts for common actions
A ready-made sample file is included in the repository at examples/Queries.xinq.
Note: in untrusted workspaces the editor works read-only style — C# code generation and .csproj updates are disabled until you trust the workspace. Virtual workspaces (e.g. remote repositories without a local filesystem) are not supported.
Installation
From VS Code Marketplace (recommended)
- Open VS Code
- Go to Extensions (Ctrl+Shift+X)
- Search for Xinq
- Click Install
Or install directly from the Visual Studio Marketplace.
Manual installation
- Download the
.vsix from GitHub Releases
- In VS Code: Extensions → Install from VSIX...
- Select the downloaded
.vsix file
Quick Start
1. Create a New Xinq File
- Right-click a folder in the Explorer
- Select New Xinq File
- Choose a location and name for your query file
2. Add Your First Query
- Click Add Query in the toolbar (or press Shift+N)
- Enter a descriptive name
- Write SQL in the editor pane (Monaco by default; or a native VS Code tab if you set
xinq.editor.sqlEditor to native)
- Optionally add a comment
3. Generate C# Code
- Save the
.xinq file (Ctrl+S)
- The extension generates a matching
.Designer.cs file
- Use the generated C# class in your .NET code
Usage
Creating Queries
<xinq>
  <queries>
    <query name="GetUsers">
      <comment>Get all active users from the database</comment>
      <text><![CDATA[
        SELECT UserId, UserName, Email, IsActive
        FROM Users
        WHERE IsActive = 1
        ORDER BY UserName
      ]]></text>
    </query>
  </queries>
</xinq>
Generated C# Code
namespace YourNamespace
{
    internal class Queries
    {
        private static Query _getUsers = new Query(@"SELECT UserId, UserName, Email, IsActive
FROM Users
WHERE IsActive = 1
ORDER BY UserName");

        /// <summary>
        /// Get all active users from the database
        /// </summary>
        internal static Query GetUsers {
            get { return _getUsers; }
        }
    }
}
Configuration
Extension Settings
xinq.editor.sqlEditor: Where to edit SQL — embedded (Monaco in the Xinq view, default) or native (VS Code SQL tab)xinq.save.sortQueriesByName: Sort queries alphabetically when saving (default: false)xinq.generator.version: Version string for generated code attributes (default: "1.0.9.0")
Accessing Settings
- Open VS Code Settings (Ctrl+,)
- Search for
xinq
- Modify the settings as needed
Keyboard Shortcuts
Shortcuts work inside the Xinq editor webview:
| Shortcut |
Action |
| Shift+N |
Add new query |
| Delete |
Remove selected query |
| F2 |
Rename selected query |
| Ctrl+D |
Duplicate selected query |
| Ctrl+C |
Copy selected query SQL |
| Ctrl+F |
Focus search |
| Arrow Up/Down |
Move between queries |
| Home / End |
Jump to first / last query |
Development
- Clone the repository
- Install dependencies:
npm install
- Compile:
npm run compile
- Open in VS Code and press F5 to debug
Building and testing
npm run compile — Compile TypeScriptnpm run watch — Watch mode compilationnpm run lint — Run ESLintnpm run test:unit — Run fast unit tests (no VS Code download)npm test — Run the full test suite in a VS Code hostnpm run package — Create a .vsix package
Requirements
- VS Code: 1.87.0 or later
- Node.js: 18.x or later (for development)
License
This project is licensed under the MIT License — see the LICENSE file for details.
Support
Changelog
See CHANGELOG.md.

