Synthwave x Fluoromachine 🝰 Avant Noir
Find on Visual Studio Marketplace:
https://marketplace.visualstudio.com/items?itemName=OhaiHFO.synthwave-x-fluoromachine-avant-noir
This is a fork of @webrenders's Synthwave x Fluoromachine VS Code theme, which in turn is a fork of @robbowen's Synthwave '84 VS Code theme, merged with @fullerenedream's Fluoromachine theme for VSCode.
This Avant Noir variation darkens the UI, and boosts the general color tone - making the important things pop more.
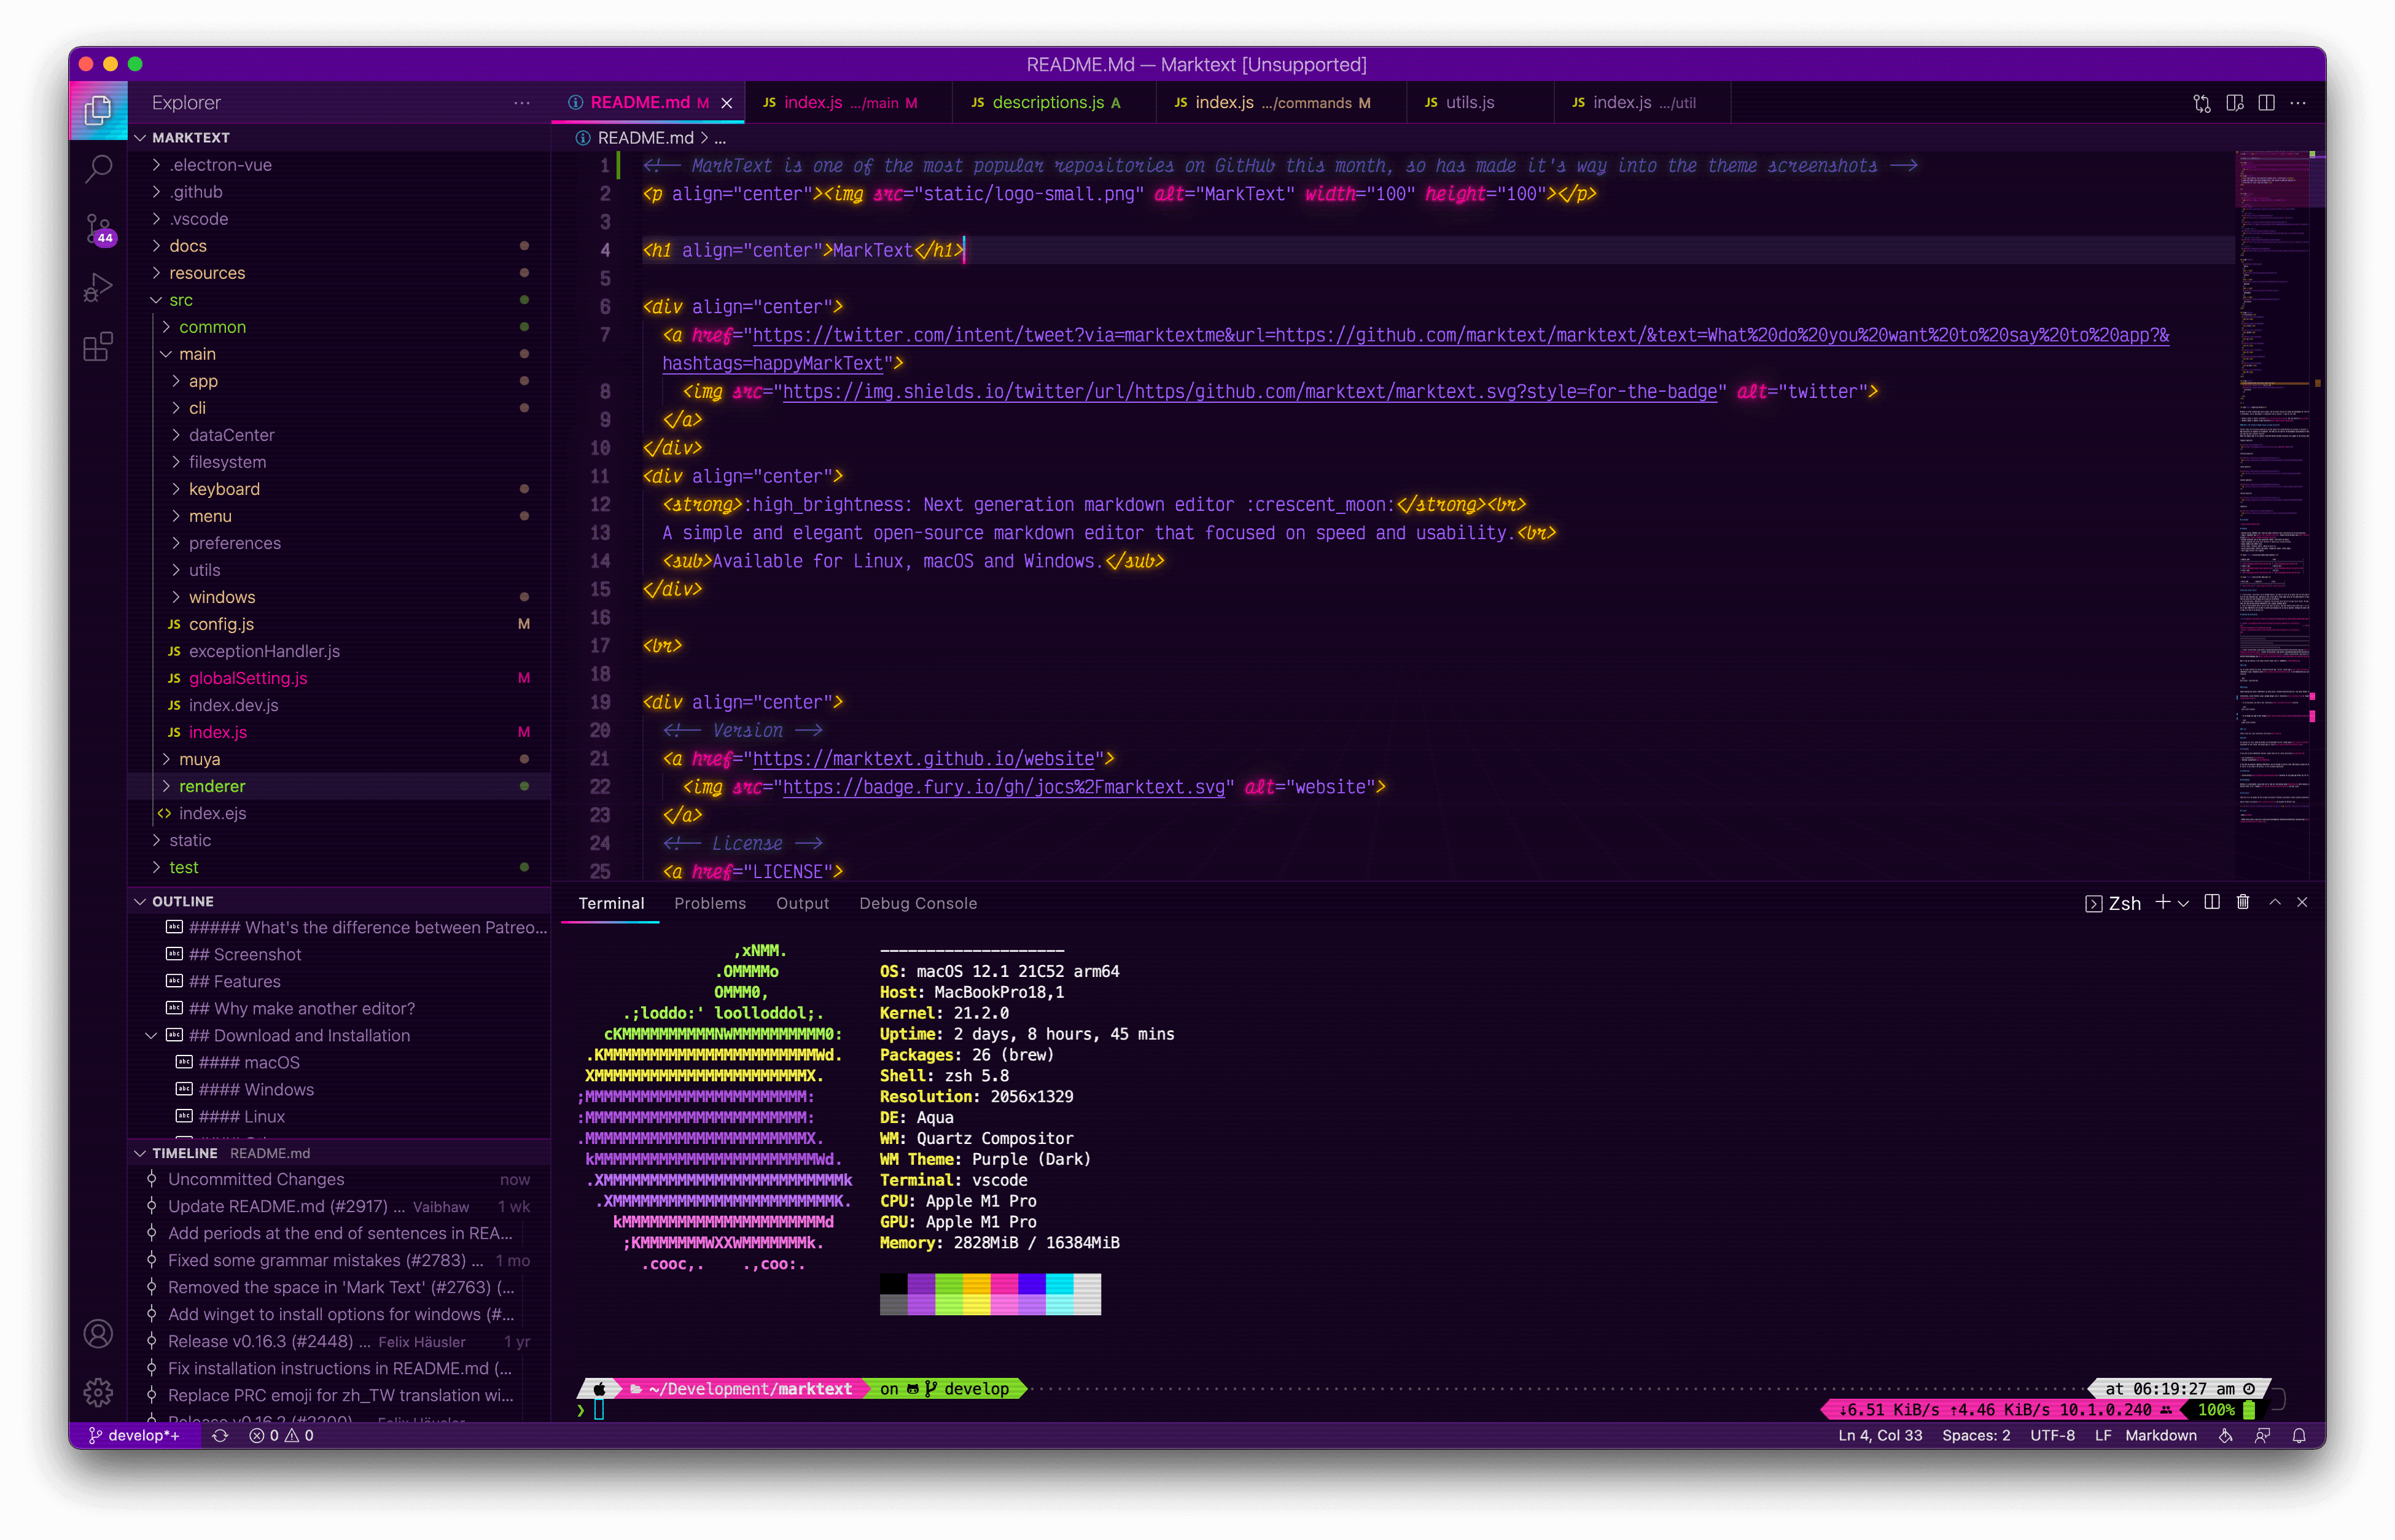
Table of Contents
Editions
This theme is available in 2 editions:
- Base Edition
- Extended Edition
Base Edition
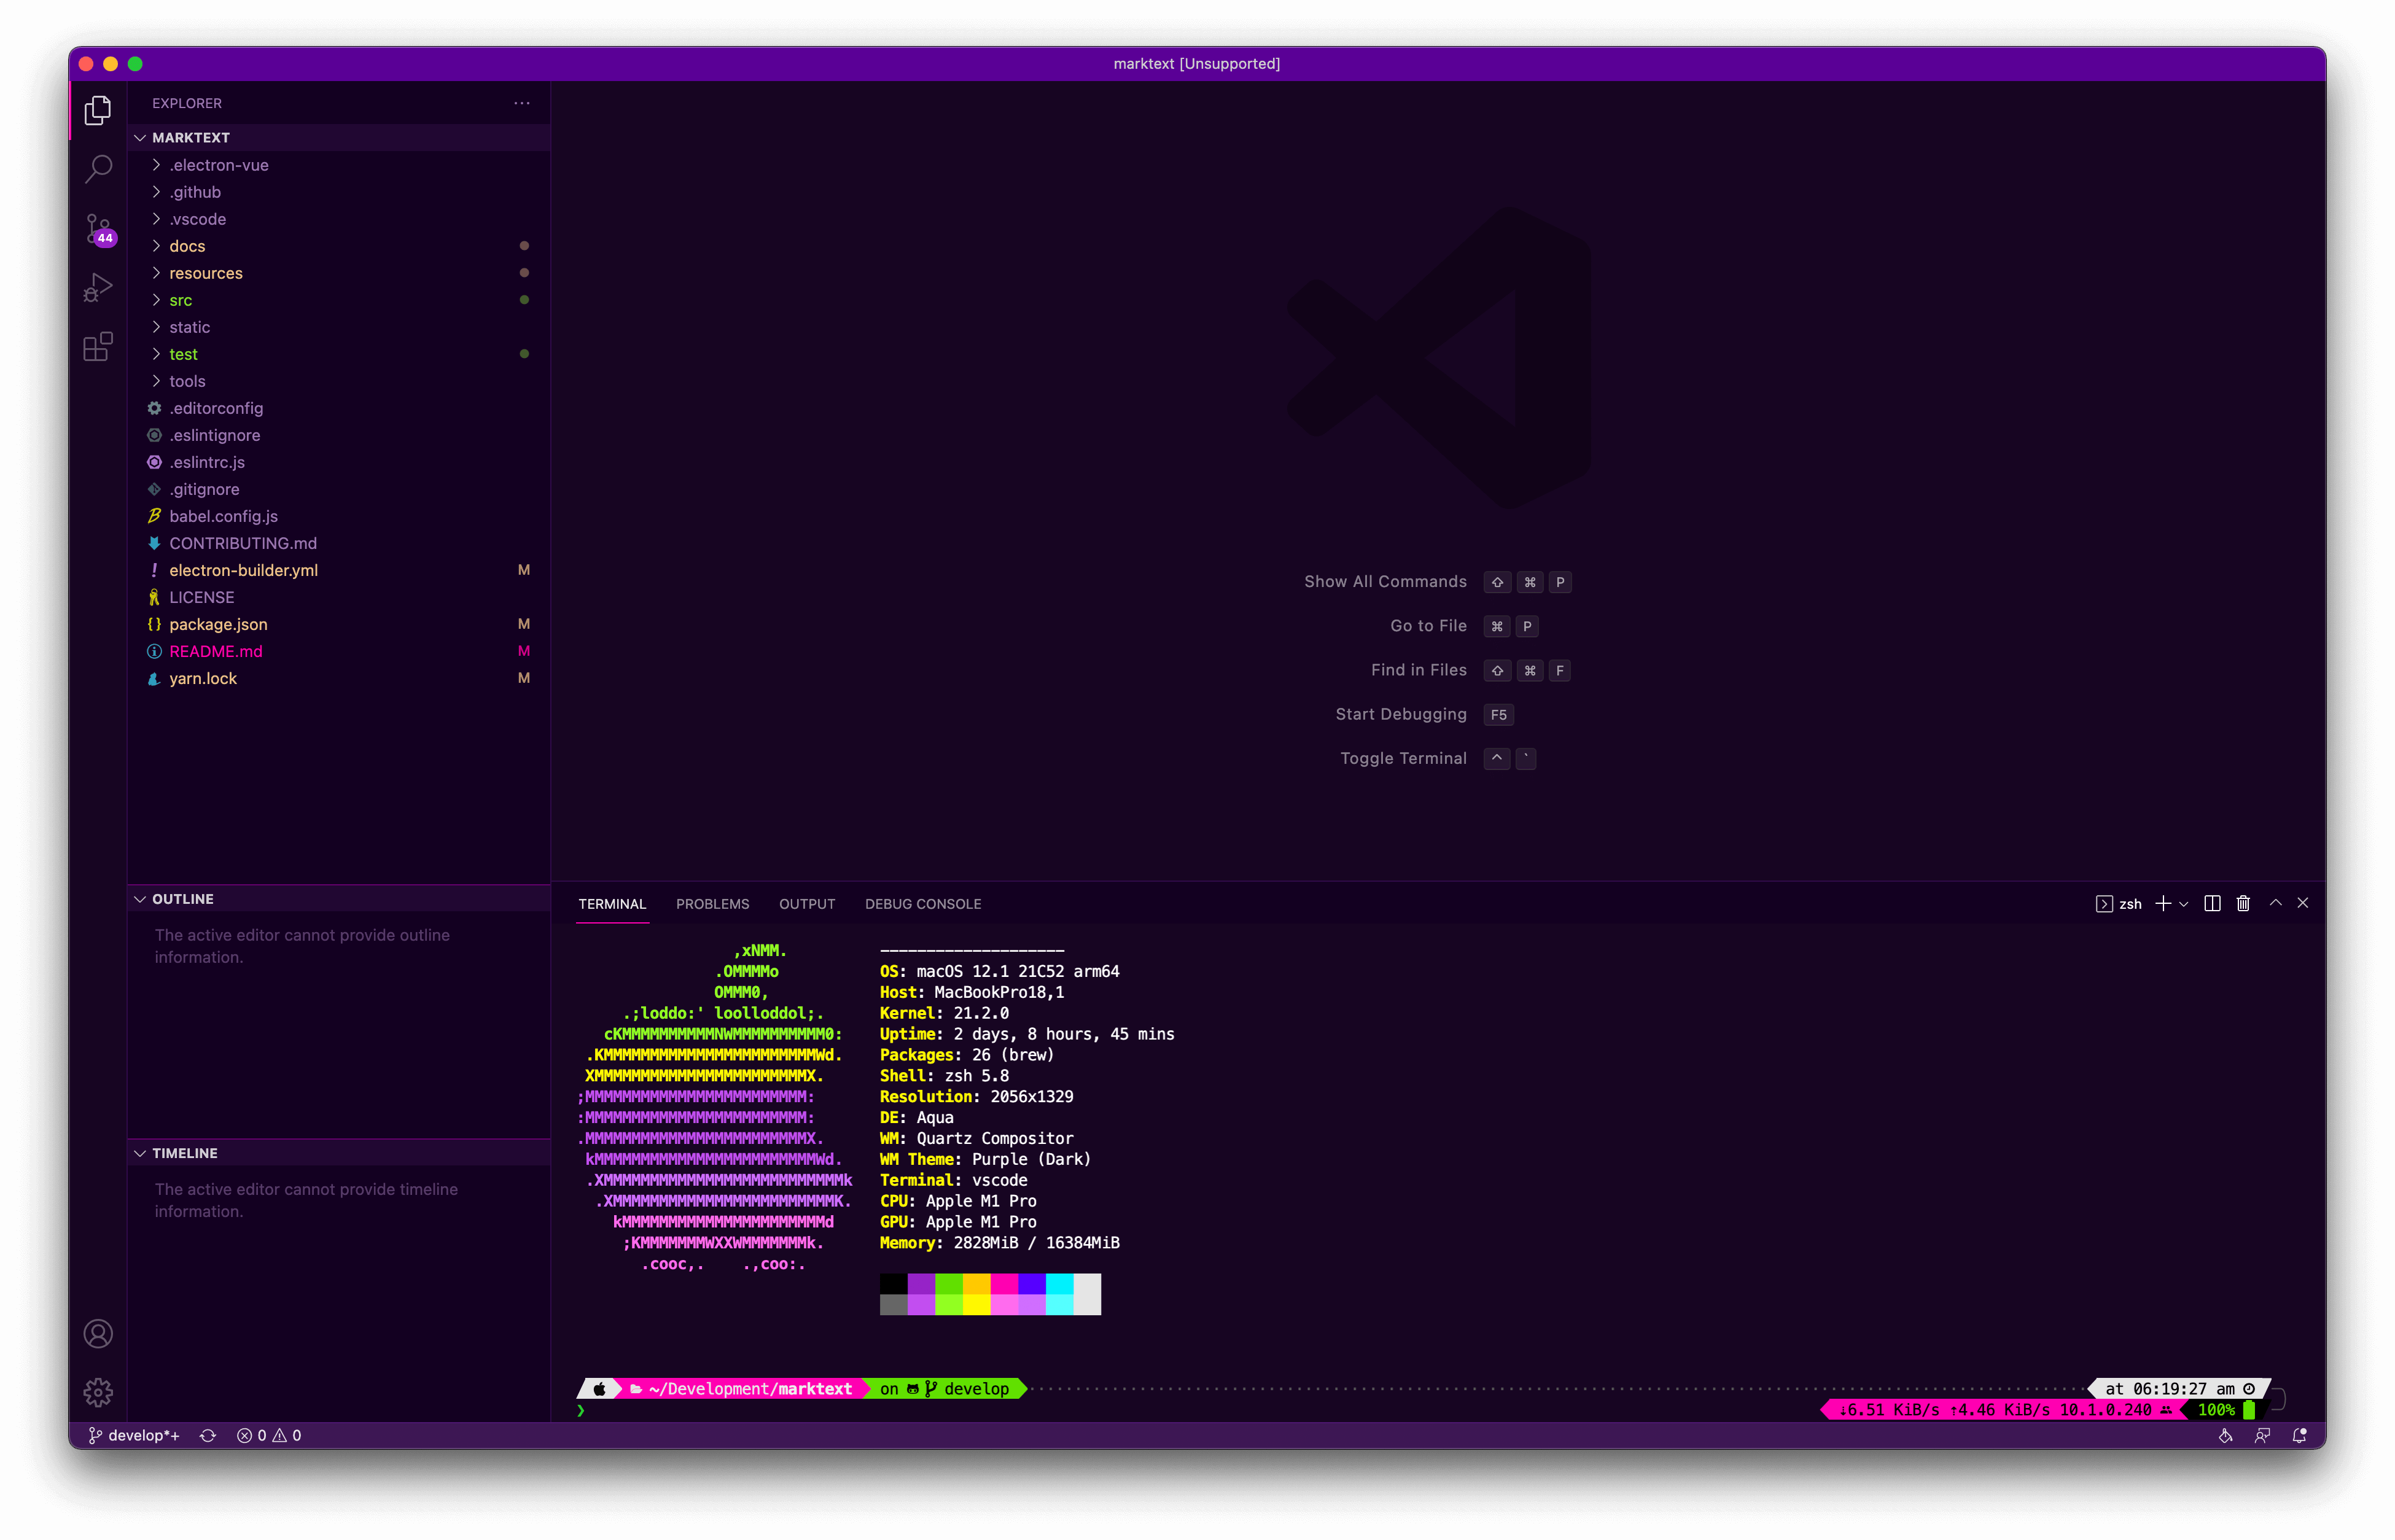
The base edition is the easiest to install, but lacks some of the features of the extended edition.
This theme has been designed with progressive enhancement in mind, and as such the base theme should be perfectly functional without the additions of the extended version.
Extended Edition ☀️😎
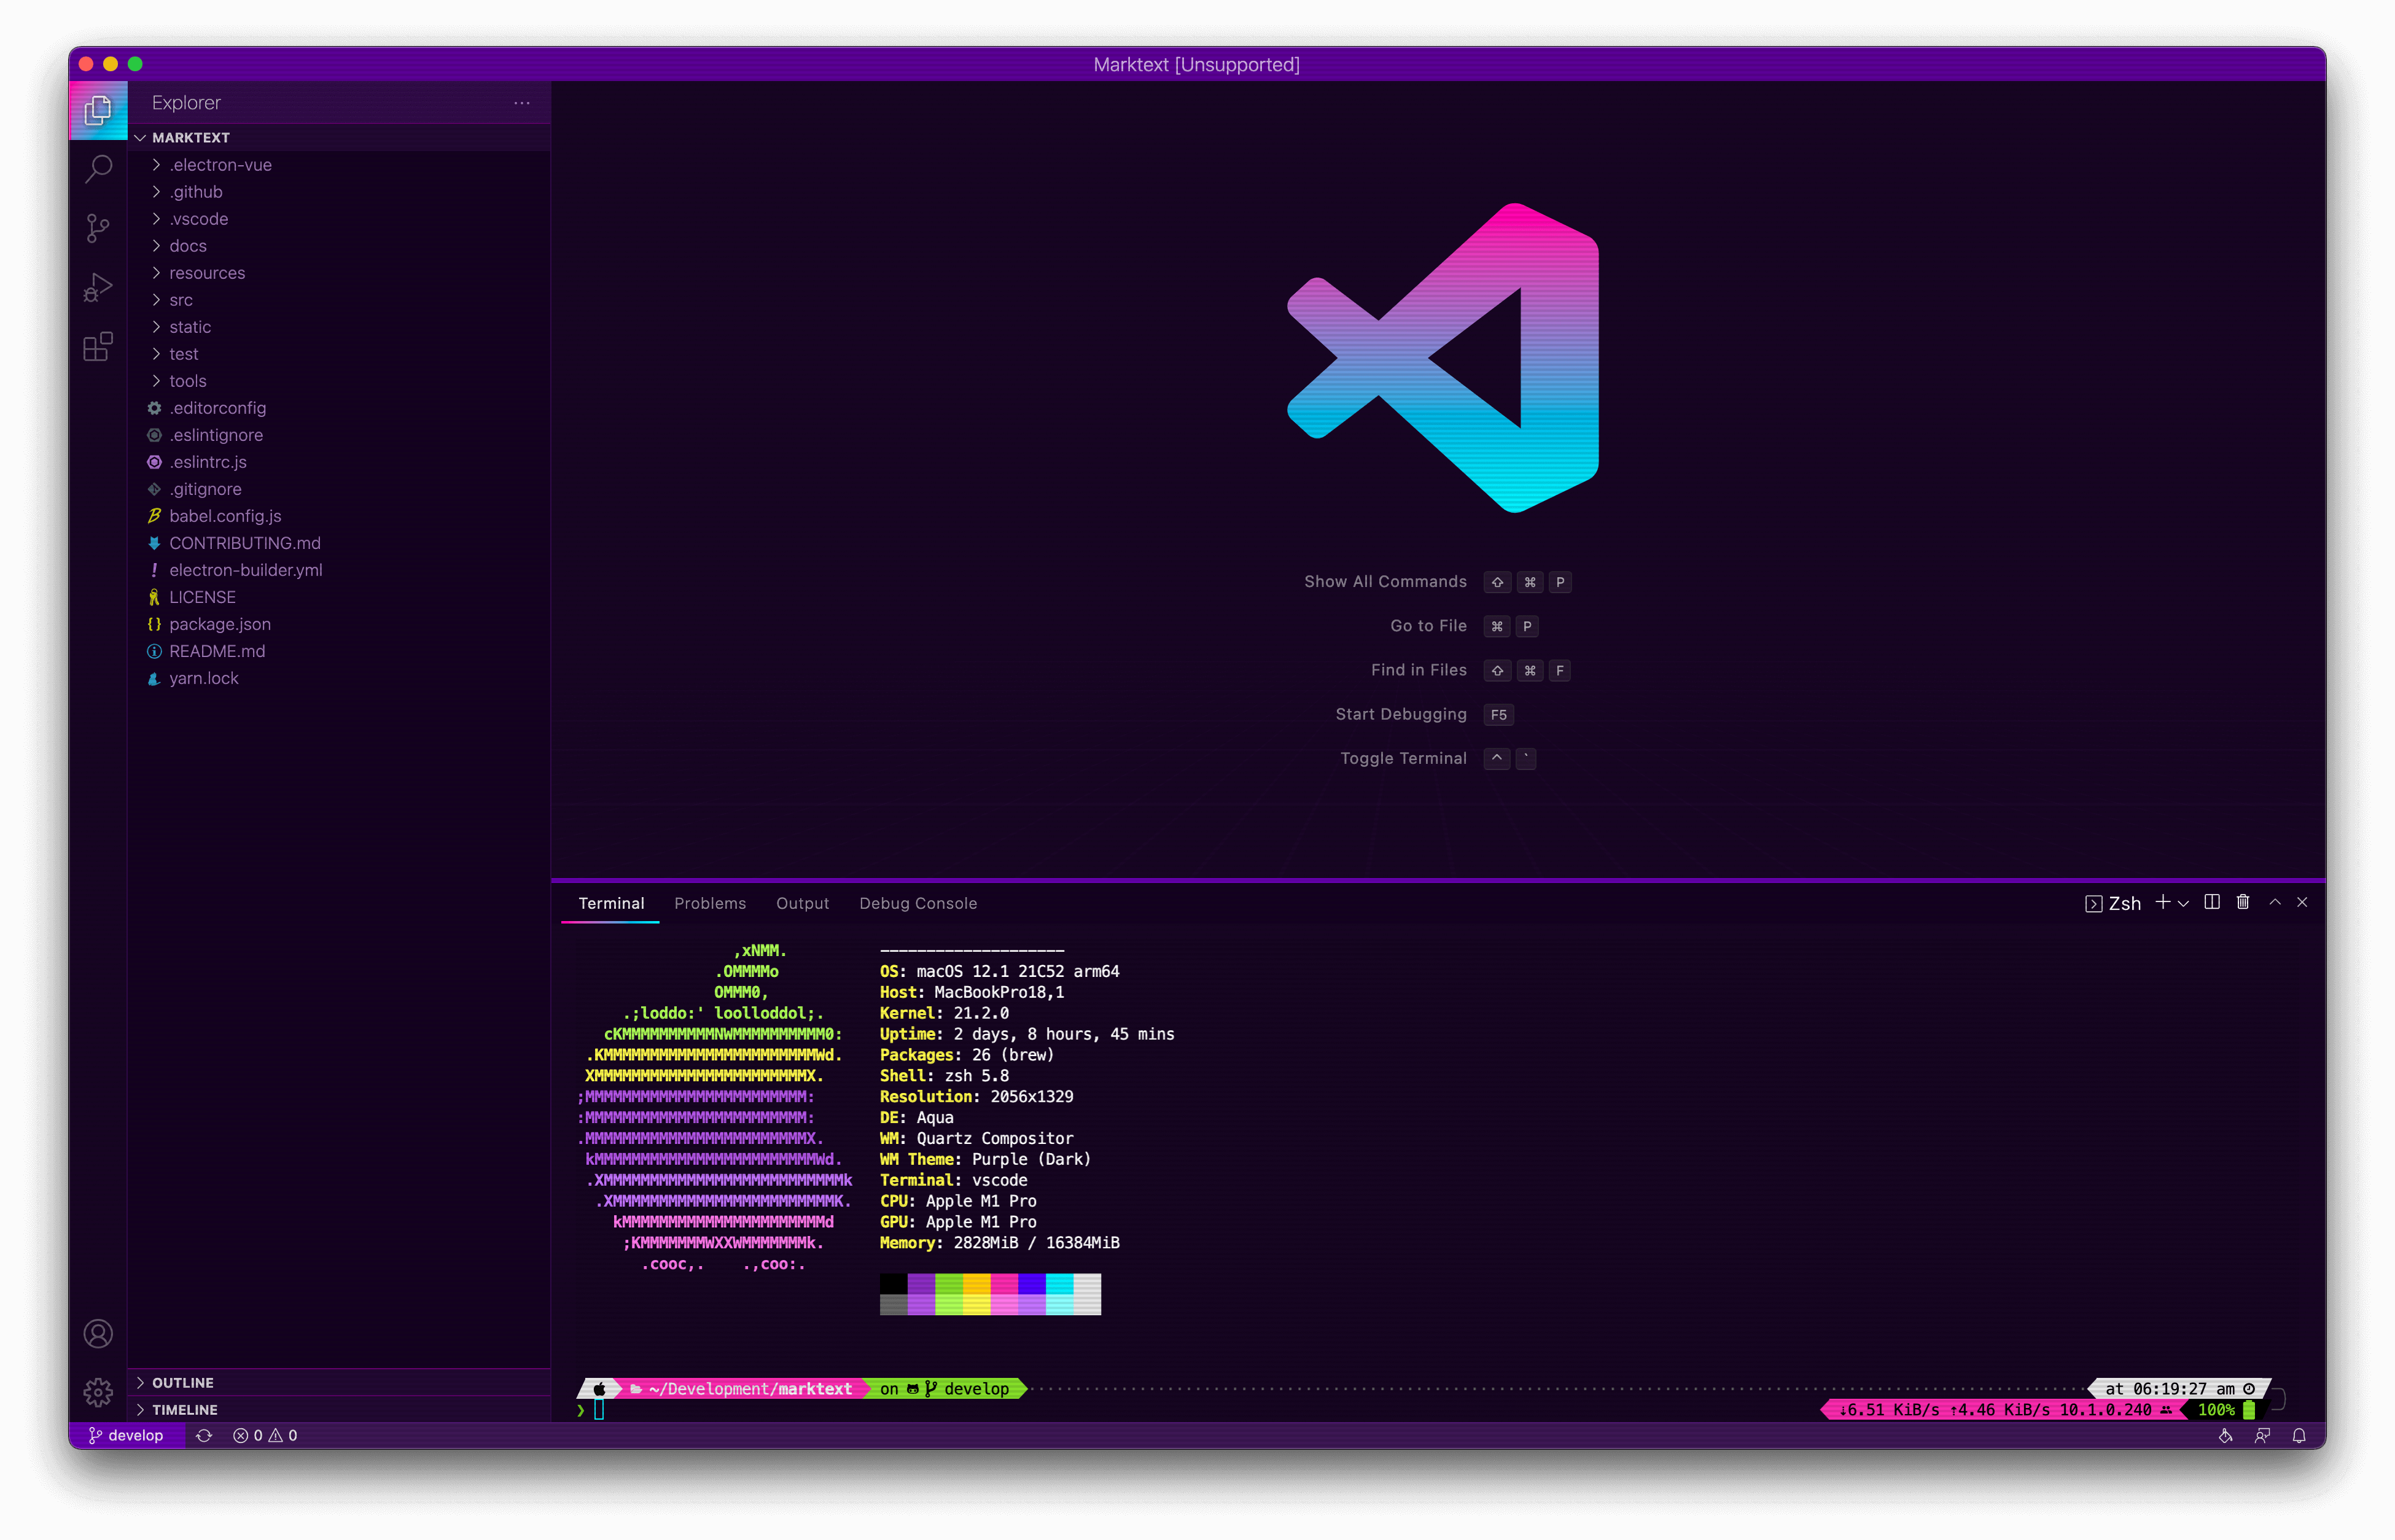
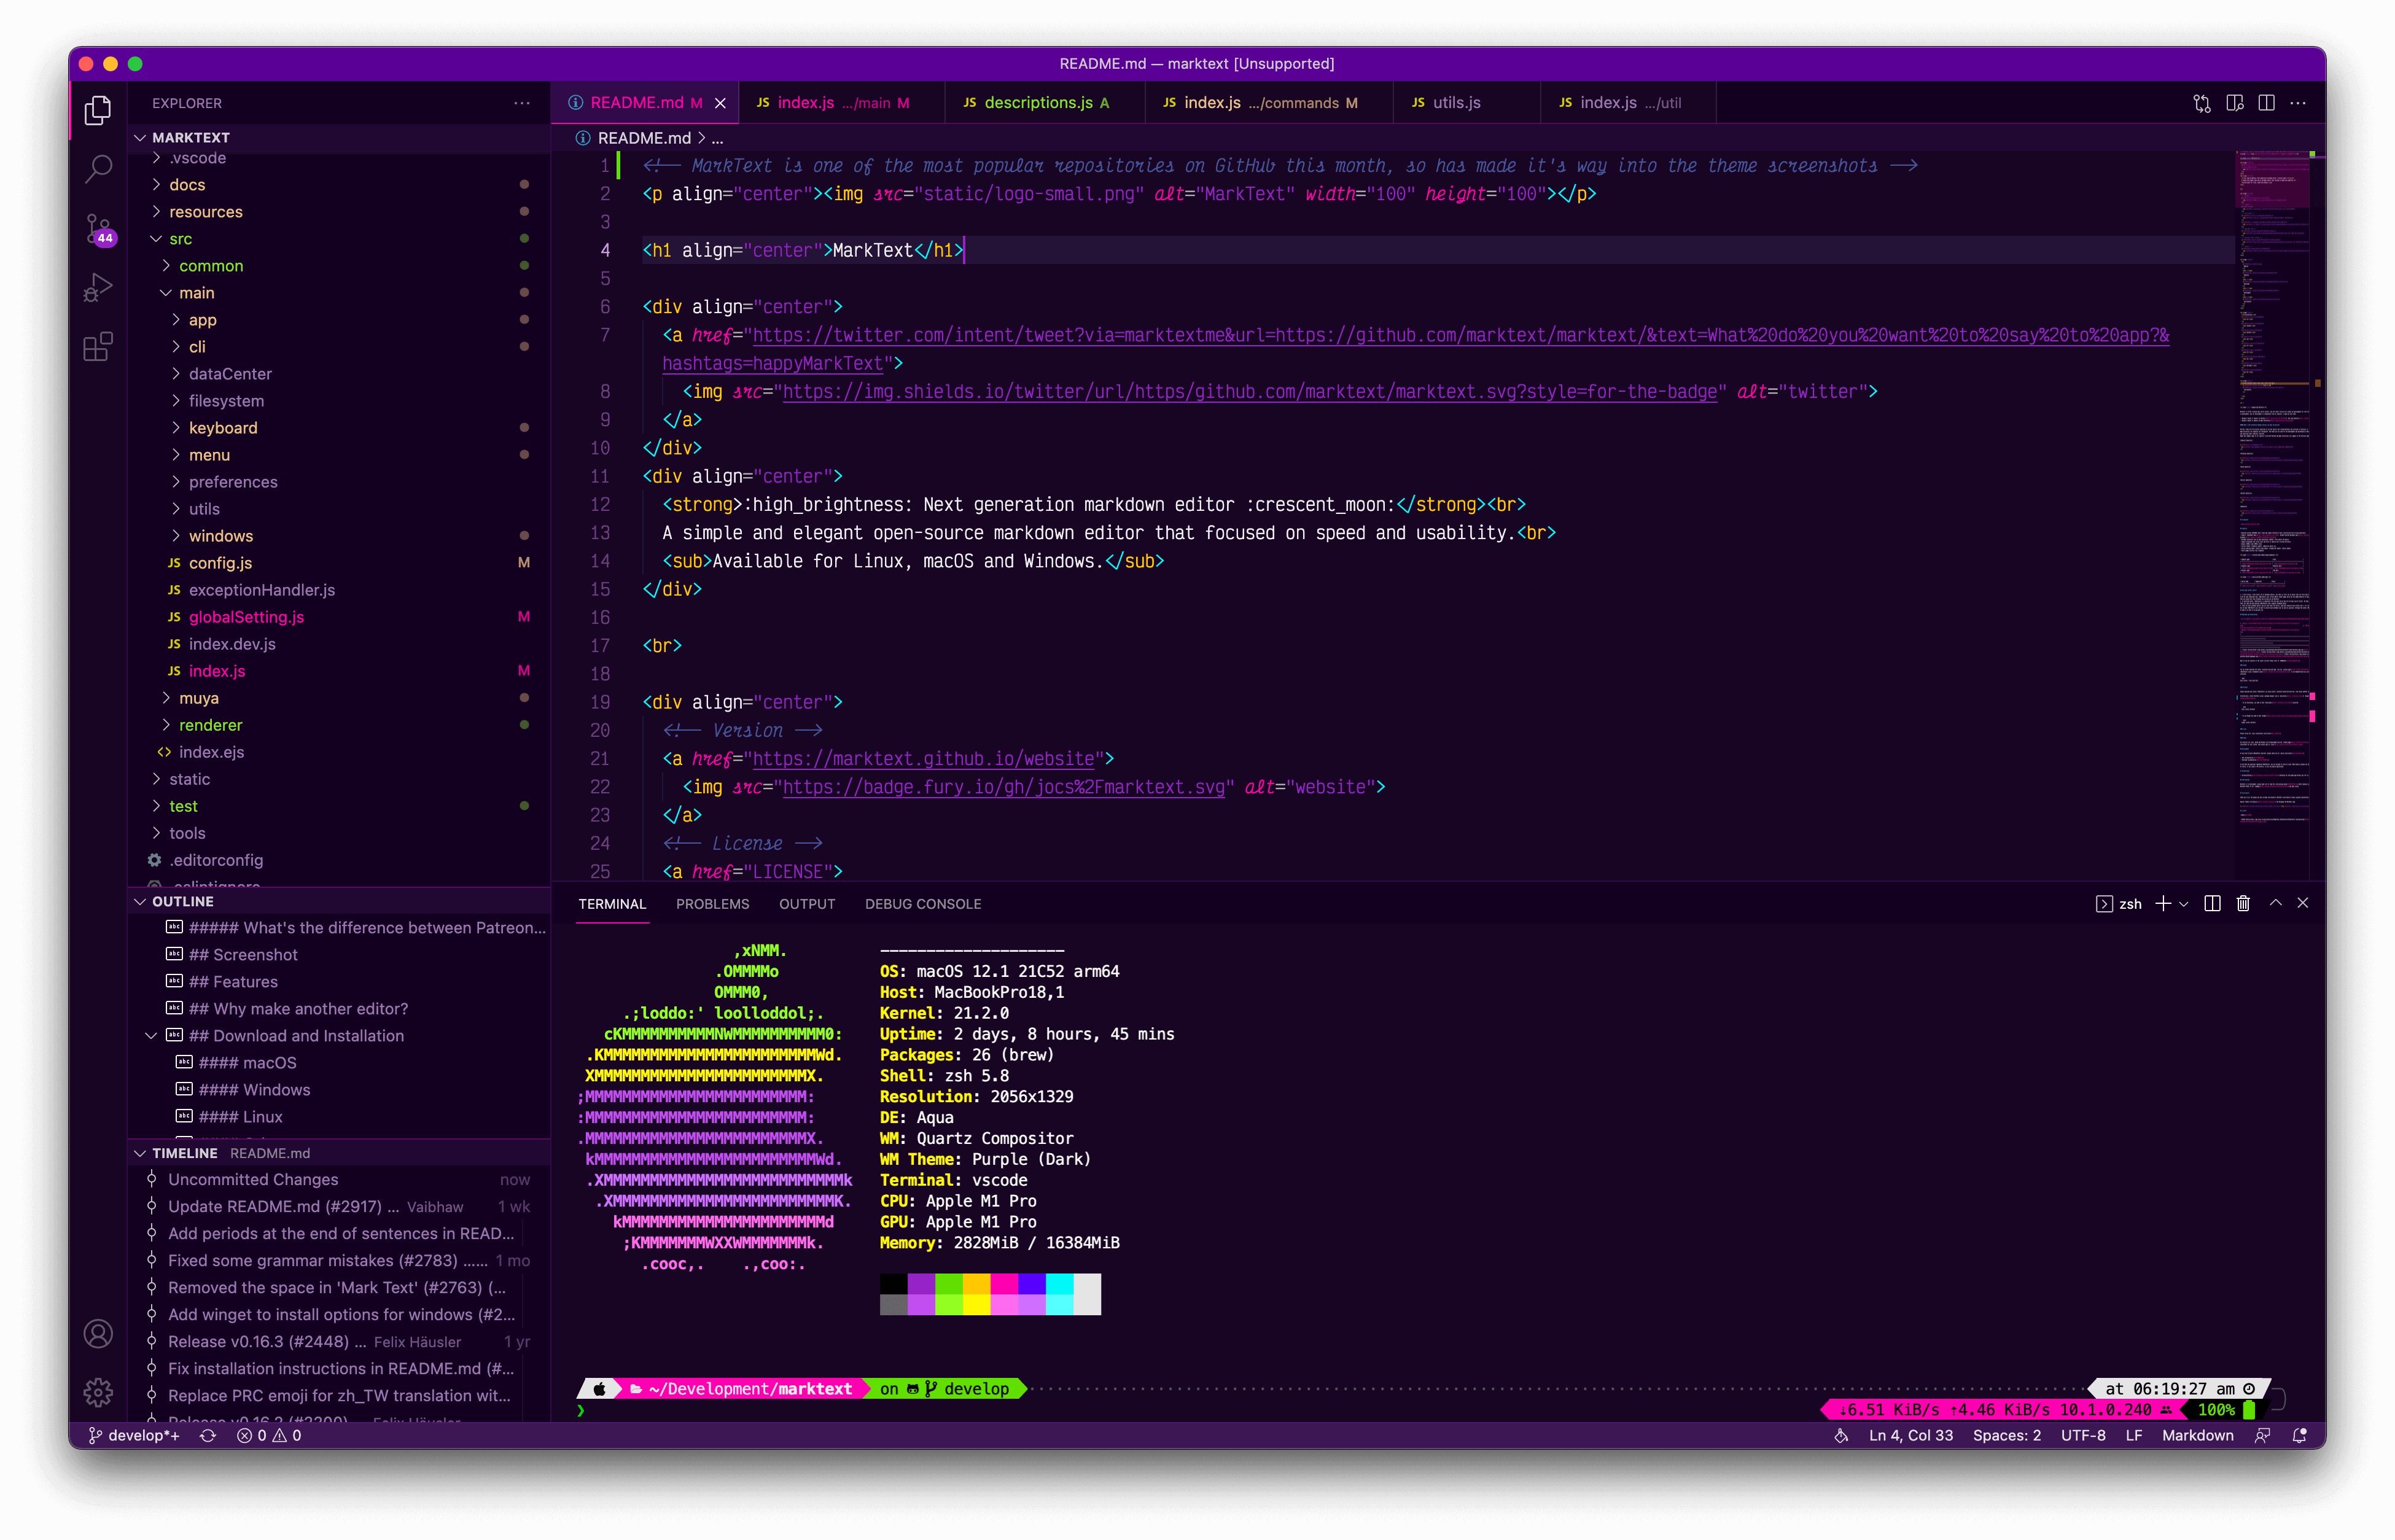
The extended edition utilises a custom stylesheet in order to expand on the capabilities of the vscode theming engine.
There's a couple of steps involved in getting it installed, but nothing too crazy, it shouldn't take much more than a few minutes.
Comparison of Editions (Screenshots)
| 🚥 Base Edition |
🌈 Extended Edition |
 |
 |
 |
 |
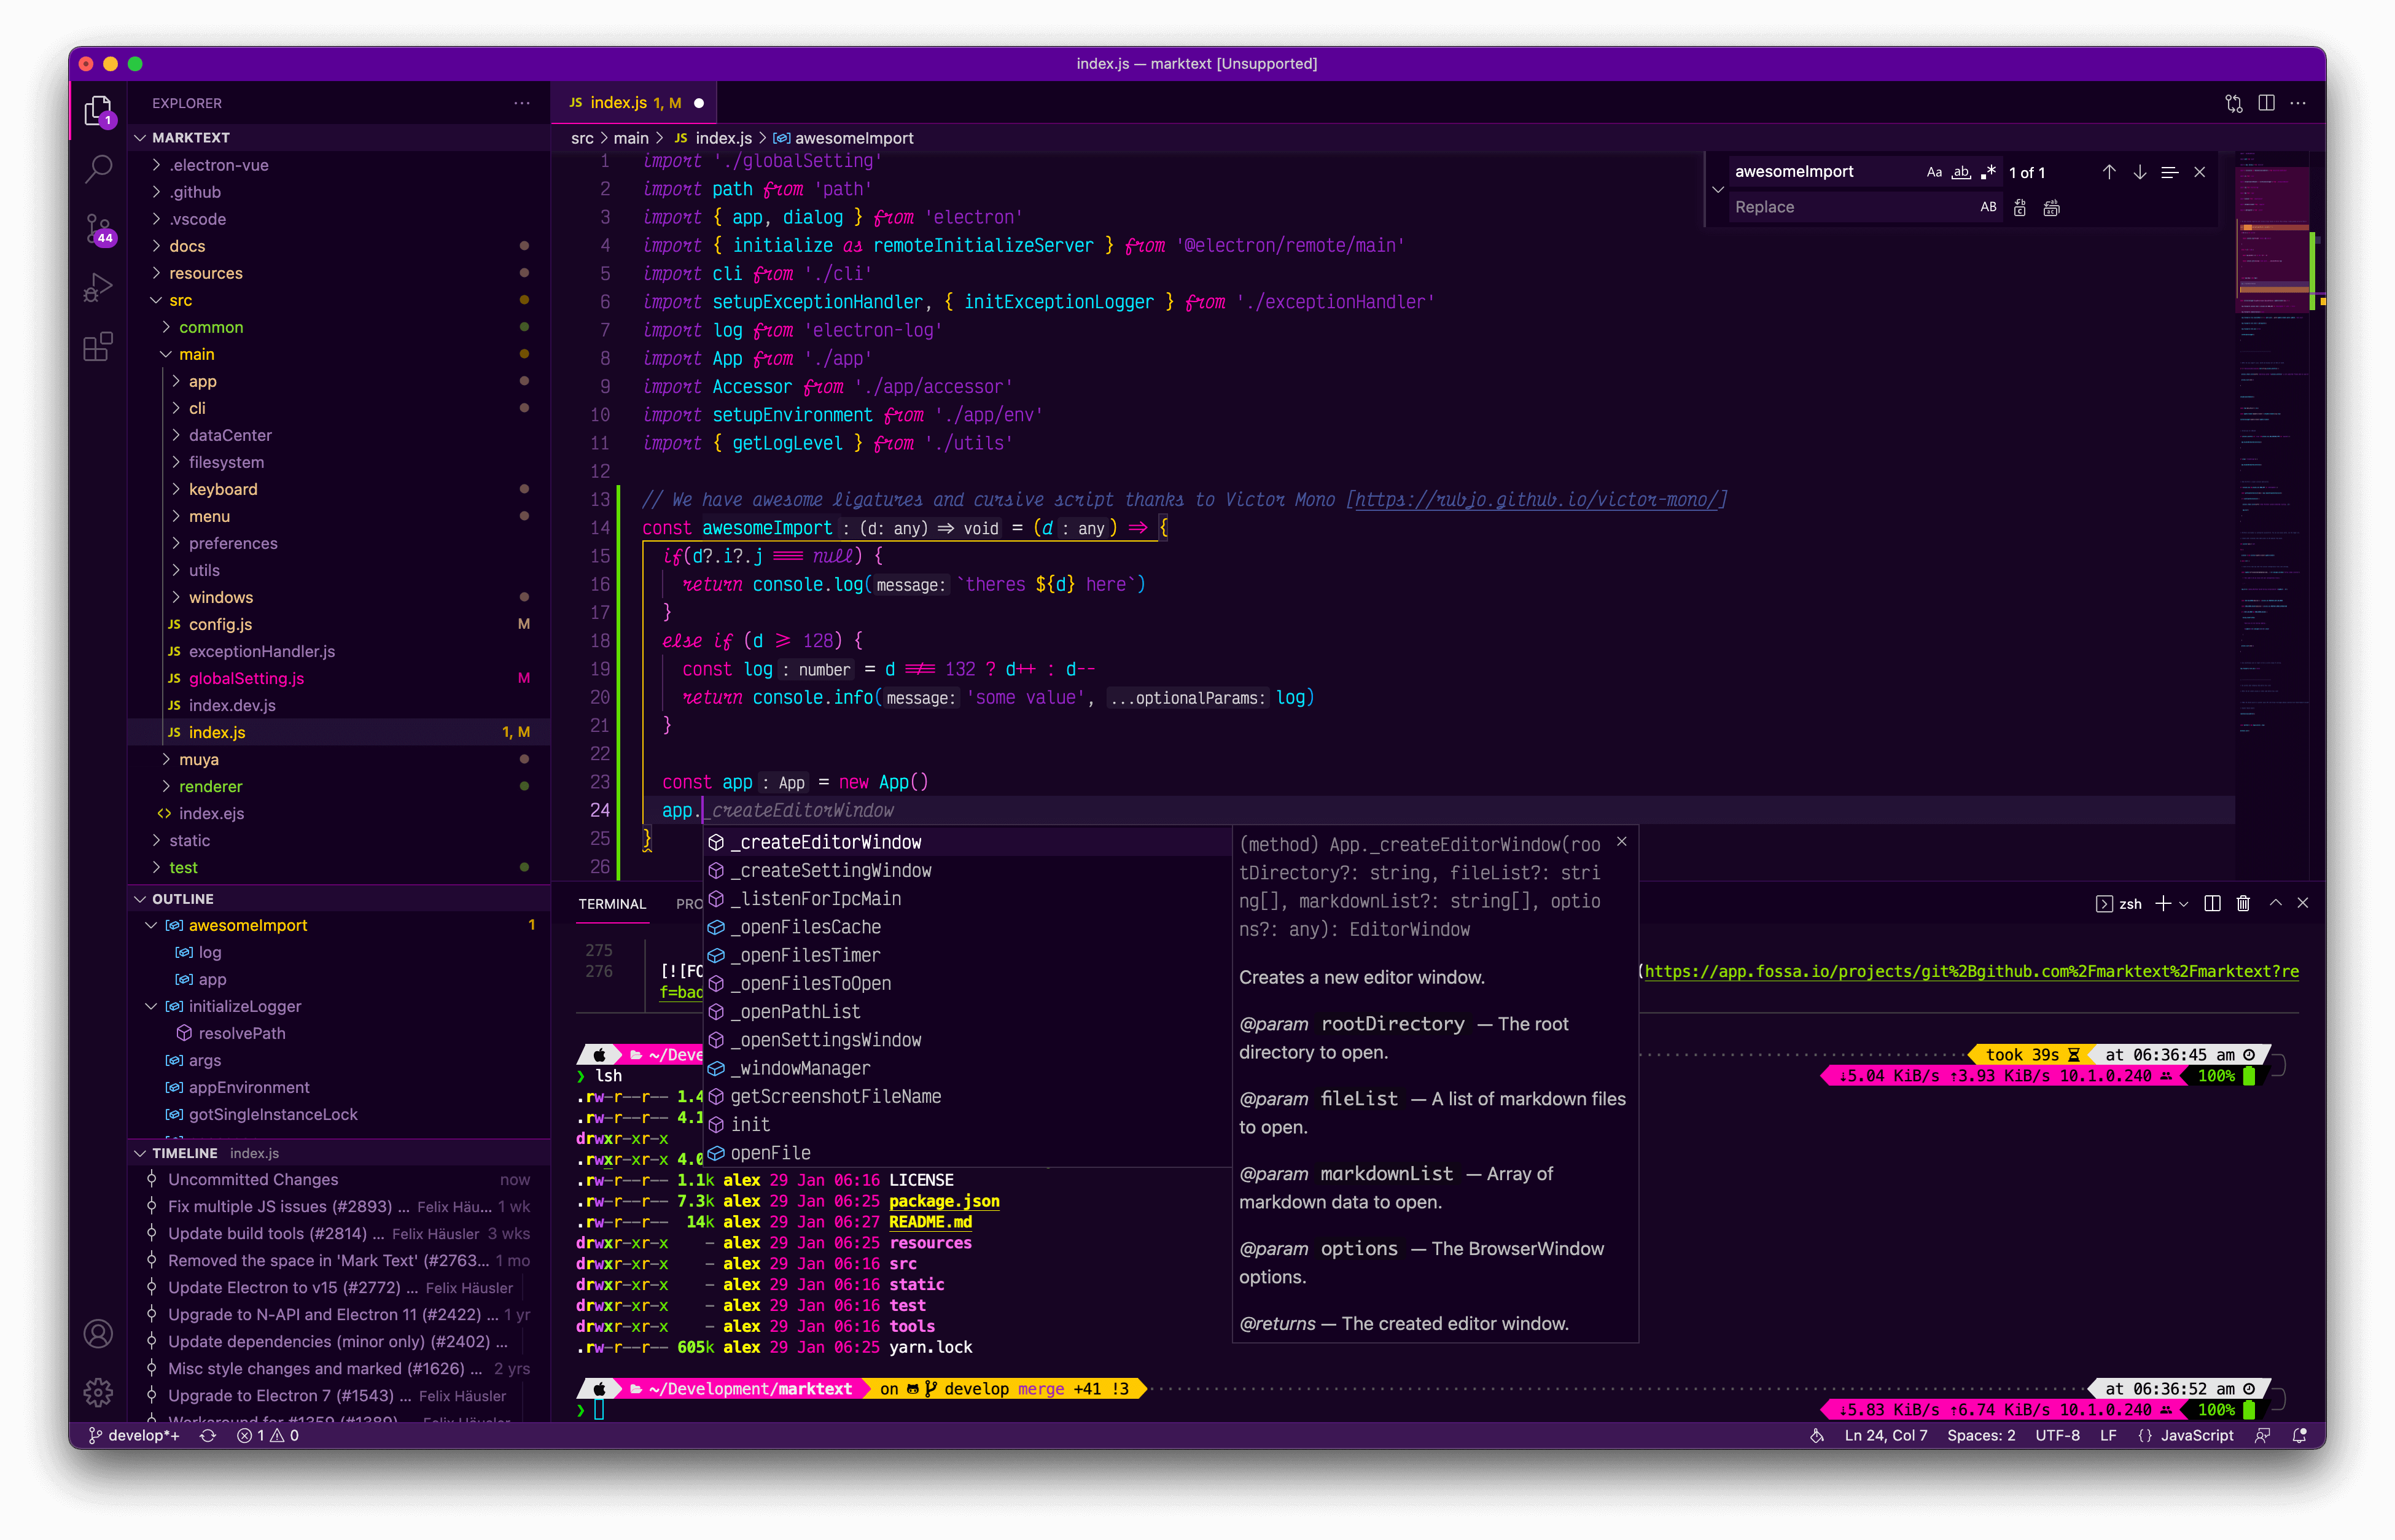 |
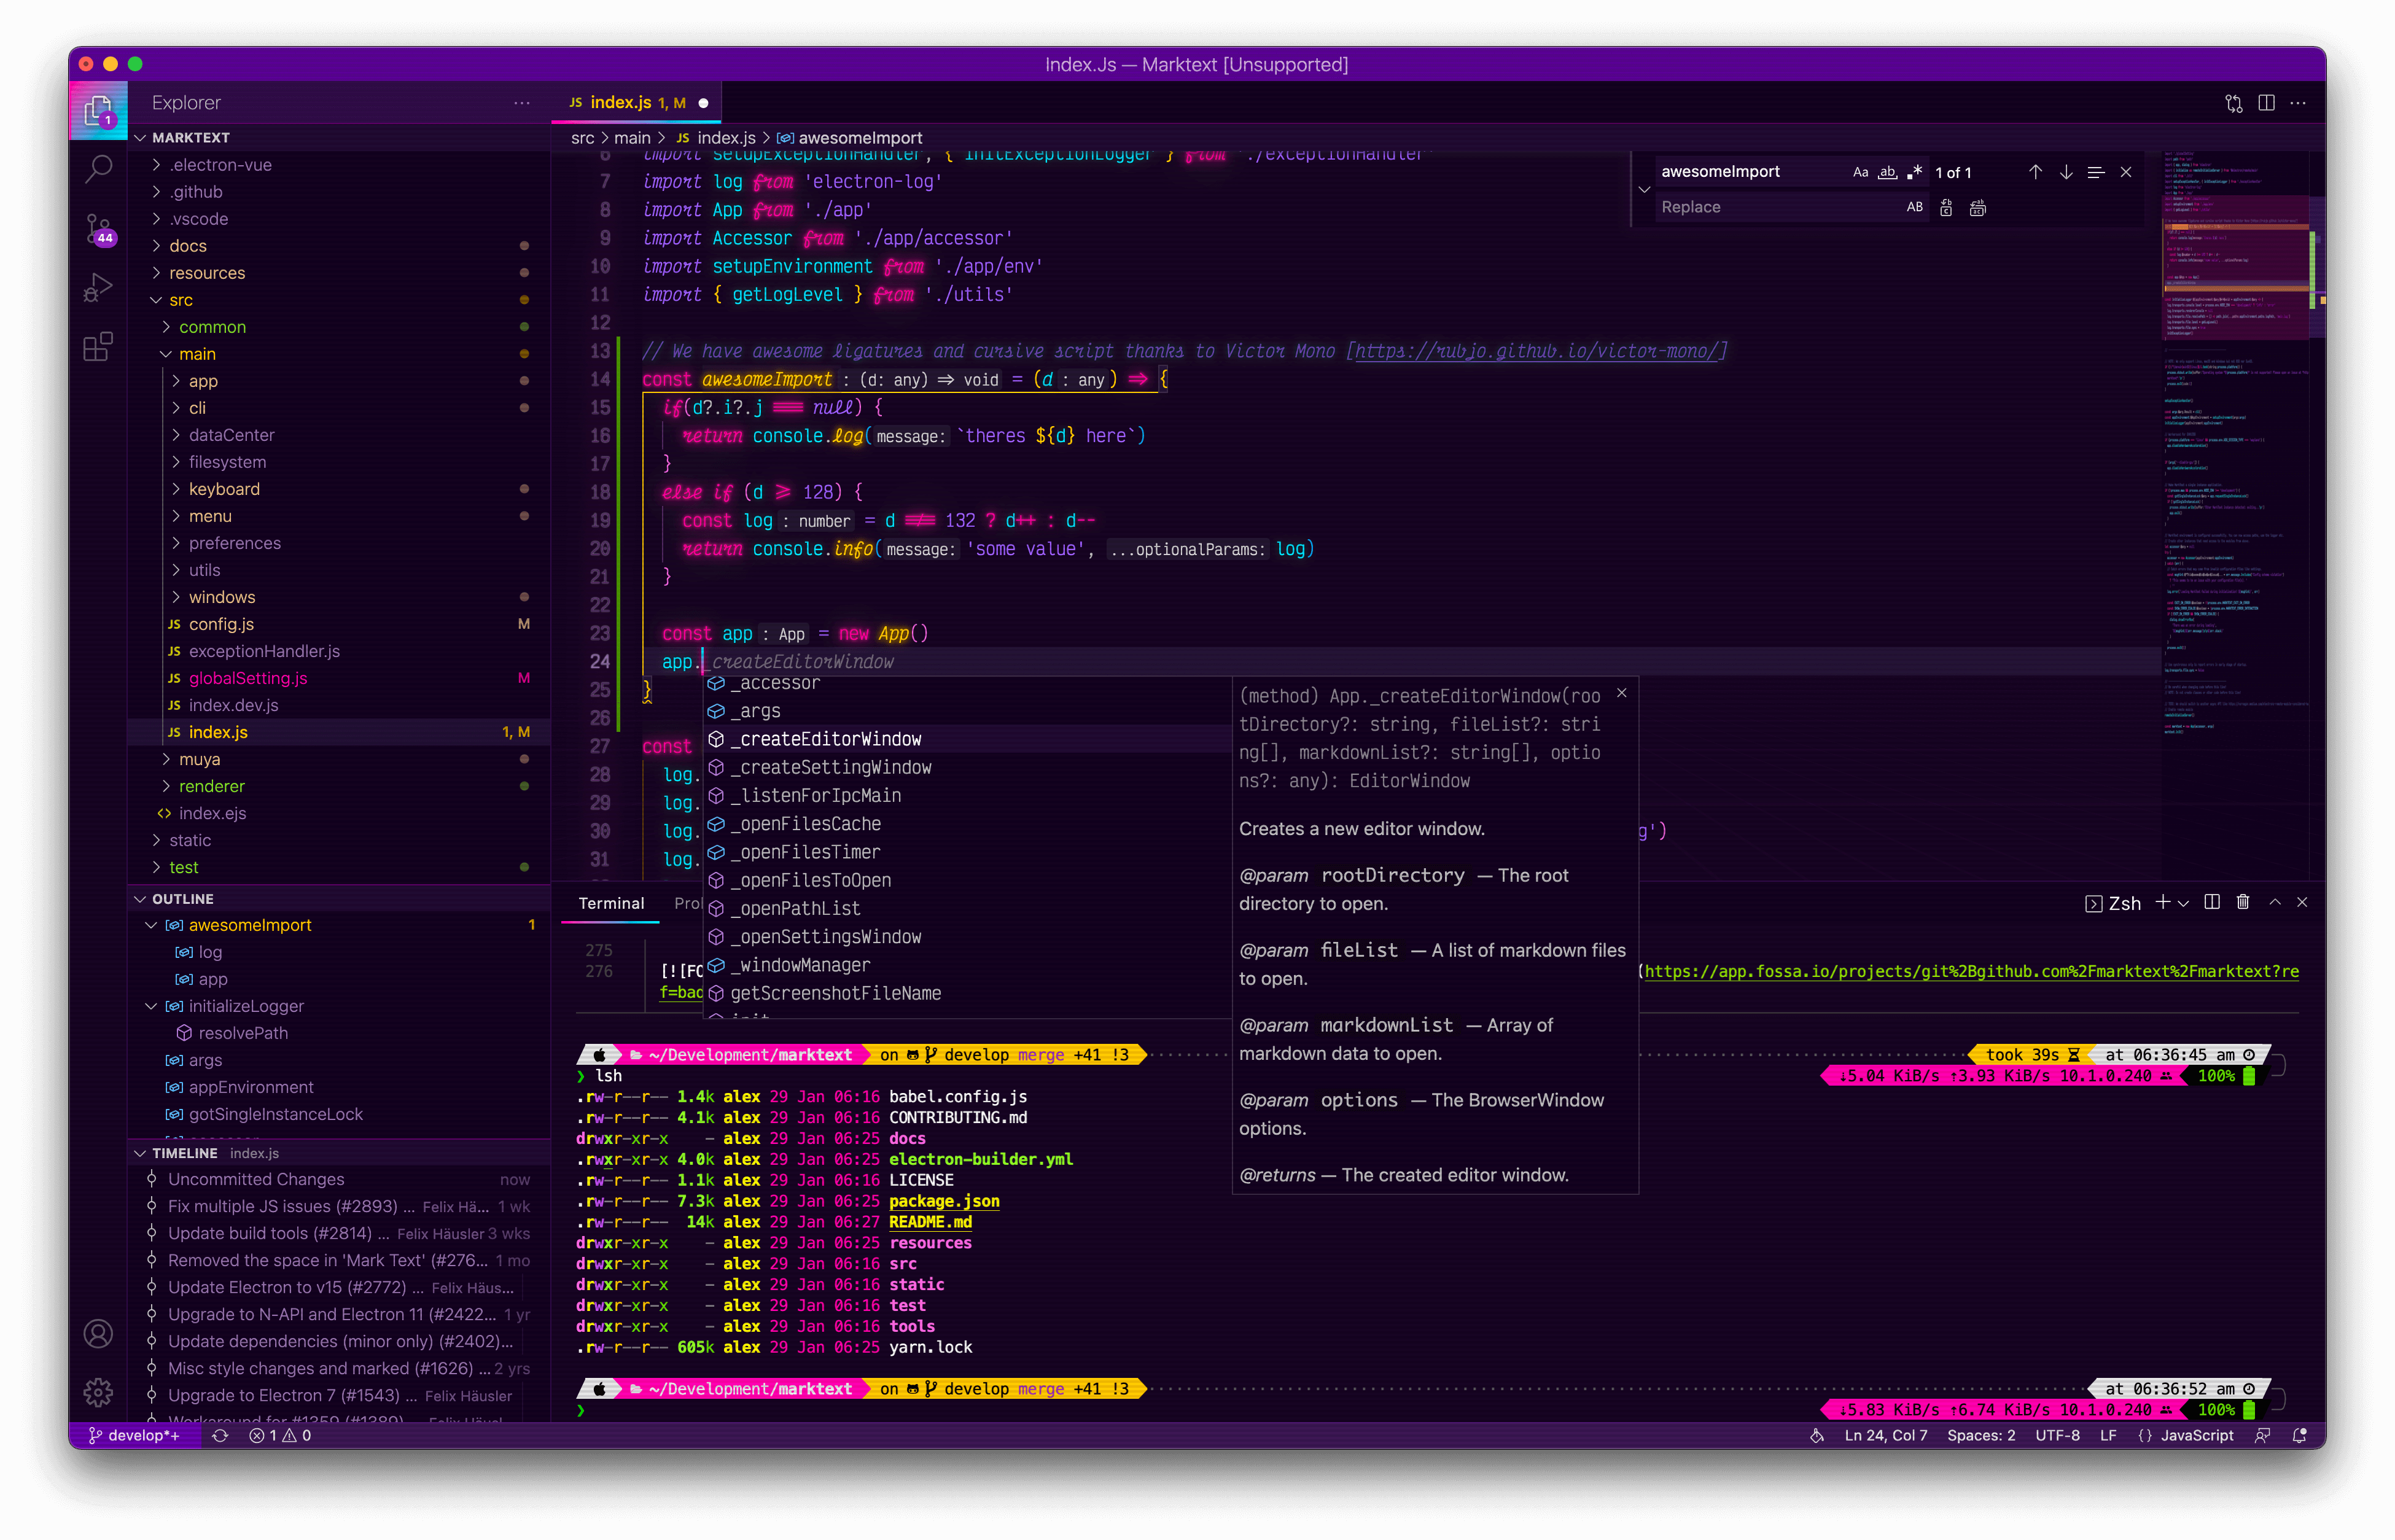 |
Installation
Option 1: Base Edition
- Install this theme from within vscode or on the vscode themes website
Option 2: Extended Edition
Install this theme
Install the Custom CSS and JS Loader extension for vscode
Link the CSS file from this extension in your vscode settings.json:
On Macs, the path to your vscode extensions might look something like the snippet below:
  "vscode_custom_css.imports": [
    "file:///Users/{your username}/.vscode/extensions/ohaihfo.synthwave-x-fluoromachine-avant-noir-0.1.2/synthwave-x-fluoromachine-avant-noir.css"
  ]
On Windows, the path may resemble:
  "vscode_custom_css.imports": [
    "file:///C:/Users/{your username}/.vscode/extensions/ohaihfo.synthwave-x-fluoromachine-avant-noir-0.1.2/synthwave-x-fluoromachine-avant-noir.css"
  ]
- Finally, open the vscode command panel ( Mac: cmd + shift + p / Windows: ctrl + shift + p ), and select
Reload Custom CSS and JS.
Note: You'll need to run the Reload Custom CSS and JS command again, every time vscode updates.
Editor Font
The font being used in the screenshot above is Victor Mono which includes Ligatures and optional semi-connected cursive italics.
Enabling Ligatures
To enable ligatures within your editor pane, add the following snippet to your vscode settings.json:
"editor.fontLigatures": true,
Enabling Italics
To enable italics within your editor pane, add the following snippet to your vscode settings.json:
  "editor.tokenColorCustomizations": {
    "textMateRules": [
        {
            "scope": [
                //following will be in italic (=FlottFlott)
                "comment",
                "entity.name.type.class", //class names
                "keyword", //import, export, return…
                "constant", //String, Number, Boolean…, this, super
                "storage.modifier", //static keyword
                "storage.type.class.js", //class keyword
            ],
            "settings": {
                "fontStyle": "italic"
            }
        },
        {
            "scope": [
                //following will be excluded from italics (VSCode has some defaults for italics)
                "invalid",
                "keyword.operator",
                "constant.numeric.css",
                "keyword.other.unit.px.css",
                "constant.numeric.decimal.js",
                "constant.numeric.json"
            ],
            "settings": {
                "fontStyle": ""
            }
        }
    ]
  },
Terminal
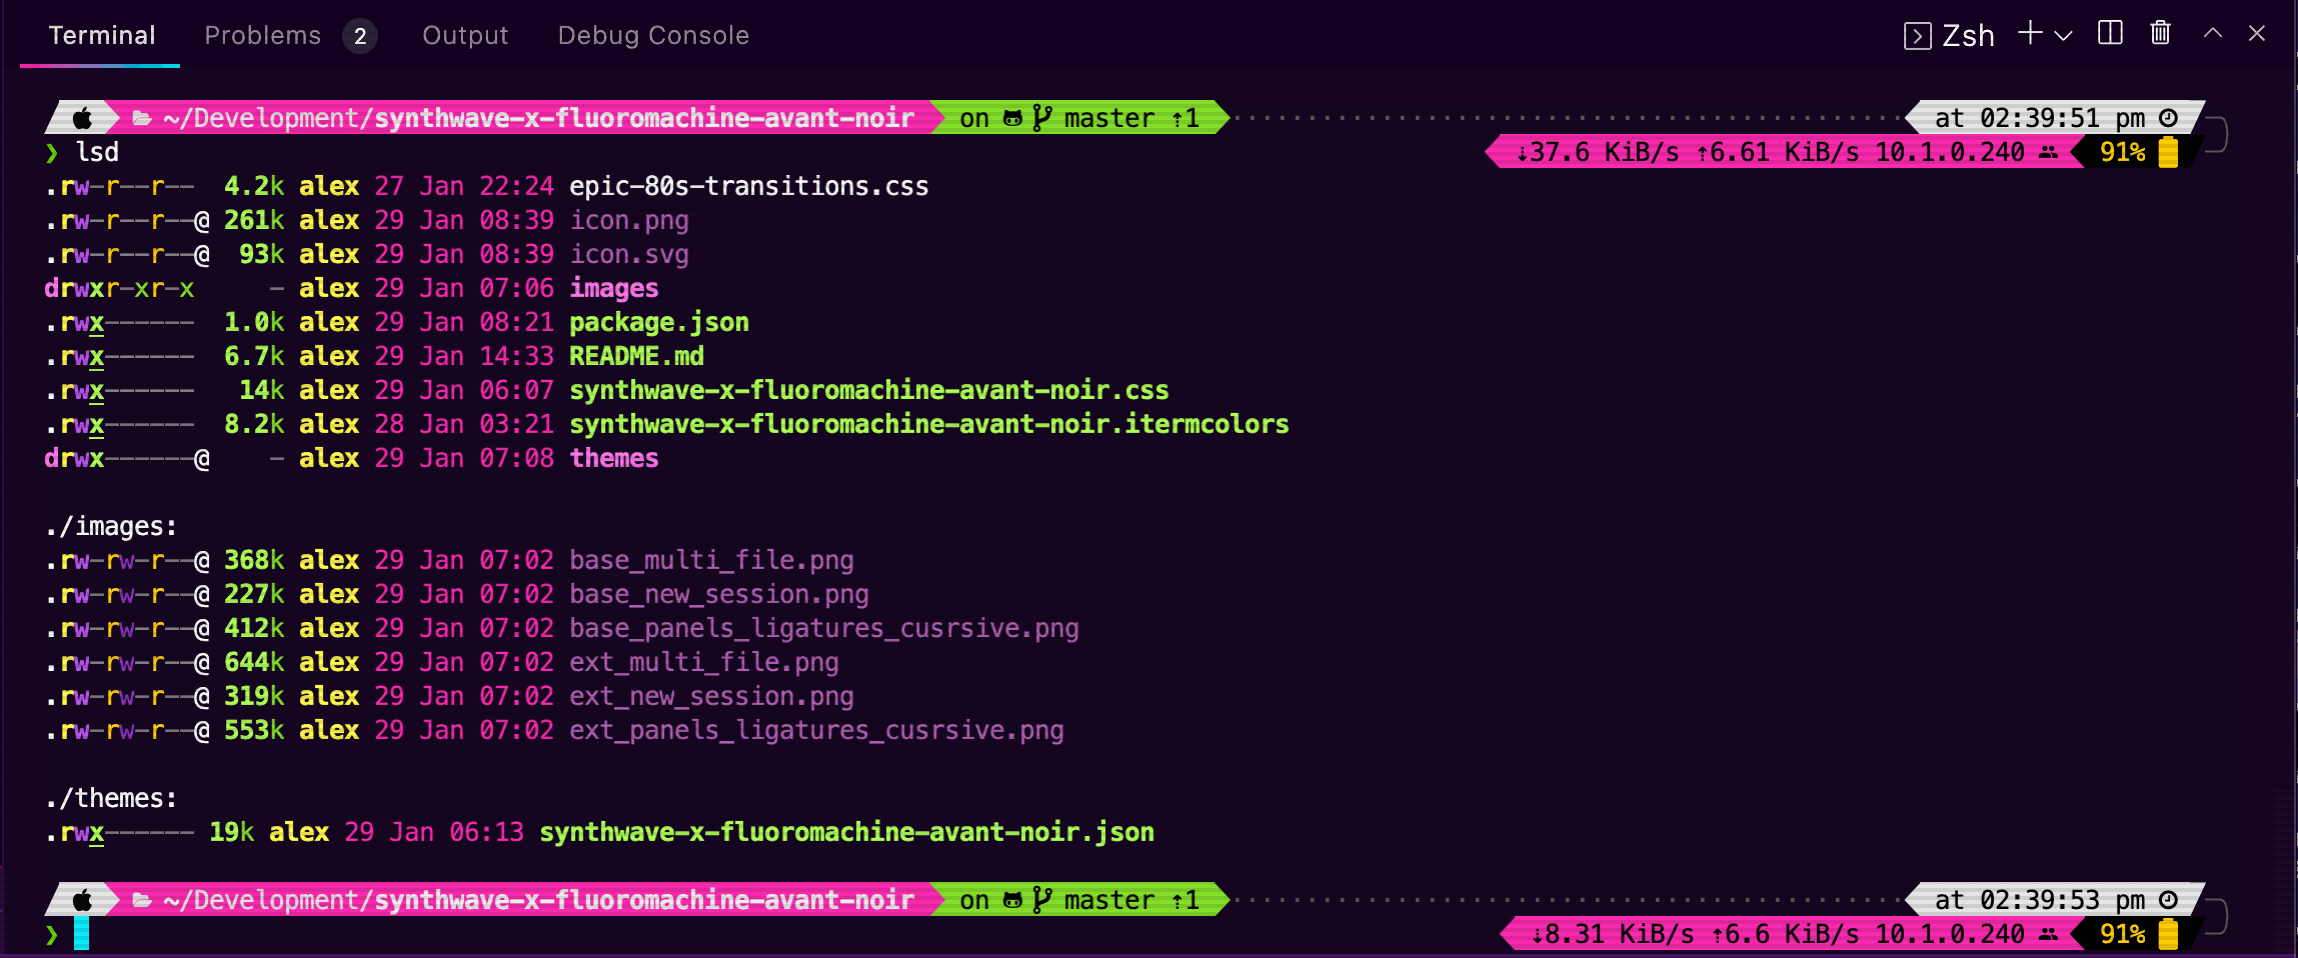
The terminal theme being used in the screenshot is powerlevel10k for ohmyzsh, and is using the Meslo Nerd Font patched for Powerlevel10k


