Fernir RunnerFernir Runner adds numerous conveniences for development and working with commands. Quick test execution, test case generation, project linting, creation and configuration of your own custom buttons. To get started:
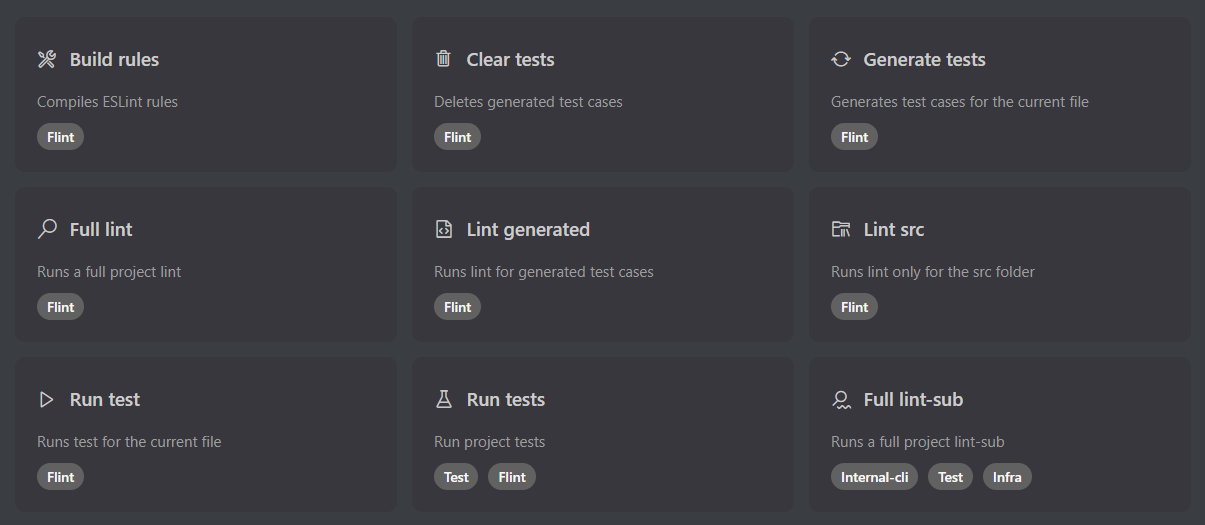
After installation, you'll be able to see basic buttons on the bottom panel and a side menu for settings. Each command consists of 3 parts: name, description, and the project where it will be executed. When launching a command, it will automatically change the execution path to the required project. If a command applies to 2+ projects, you'll get a choice of where to execute this command.
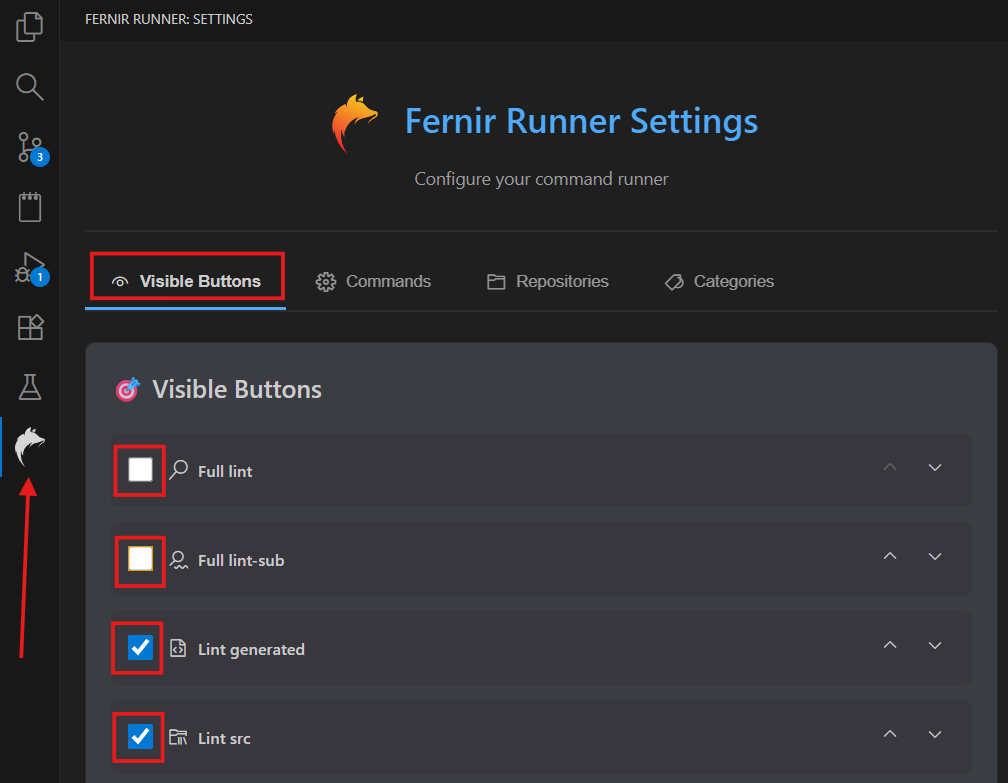
If you don't need some buttons, open the extension's side menu, and in the
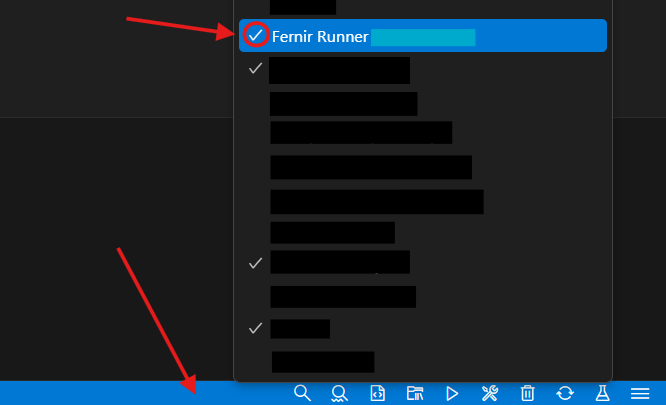
You can also change the priority for buttons using the arrows nearby. If other elements from other extensions are bothering you, right-click on the status bar, uncheck the extra elements you don't need.
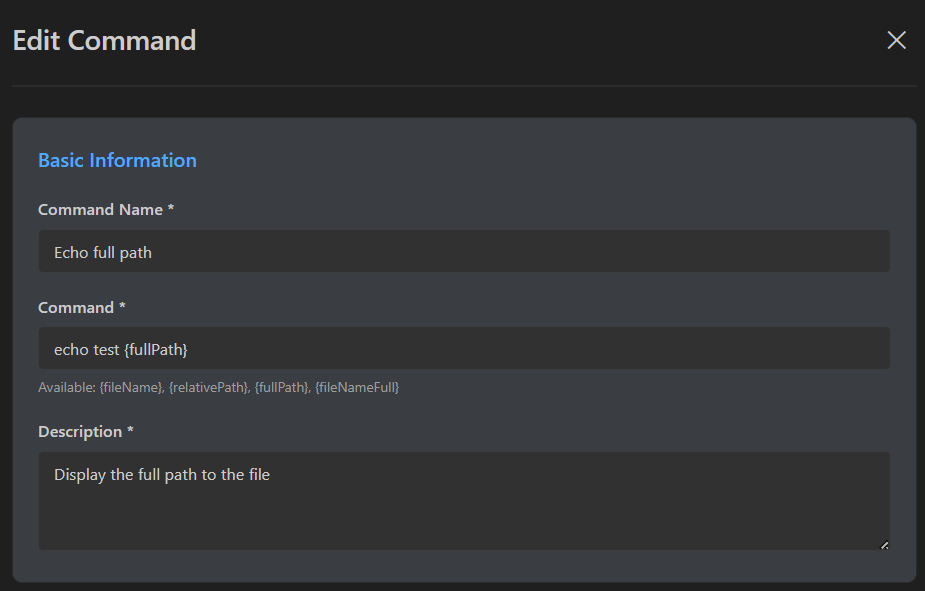
To create your own custom commands, go to the commands tab and click
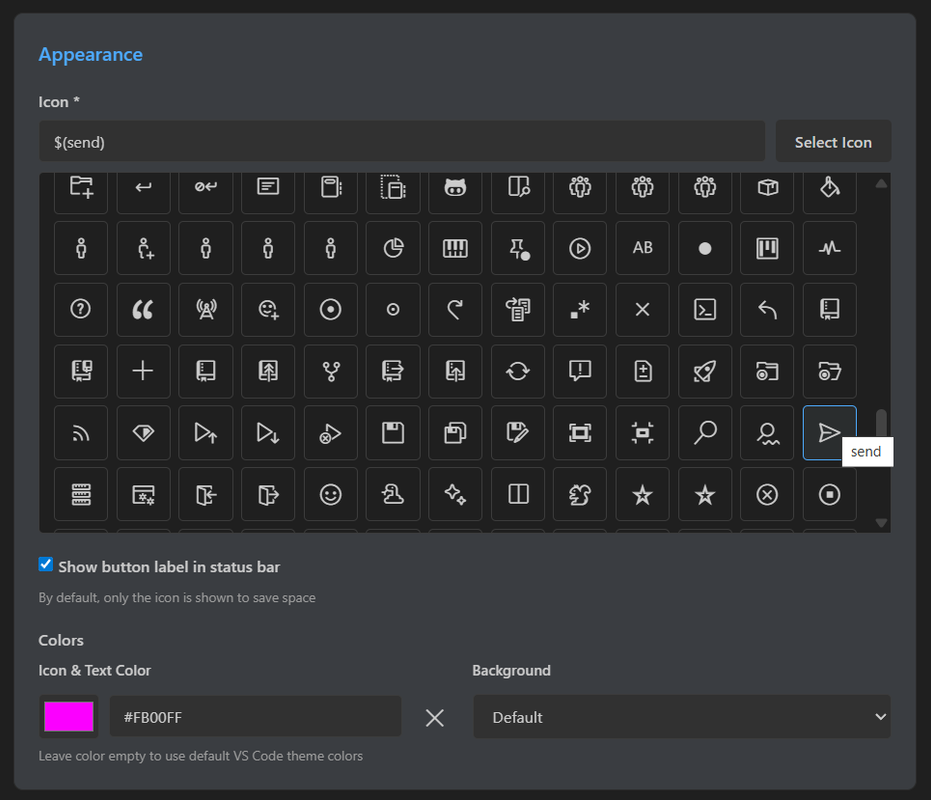
Next, you can customize your button: Choose an icon from the list, check whether you need to display the command name in the status bar, select a color for the icon and name. You can also choose 1 of 3 background options for the button: normal, red, and yellow. If you choose the last two, the icon and text color won't change.
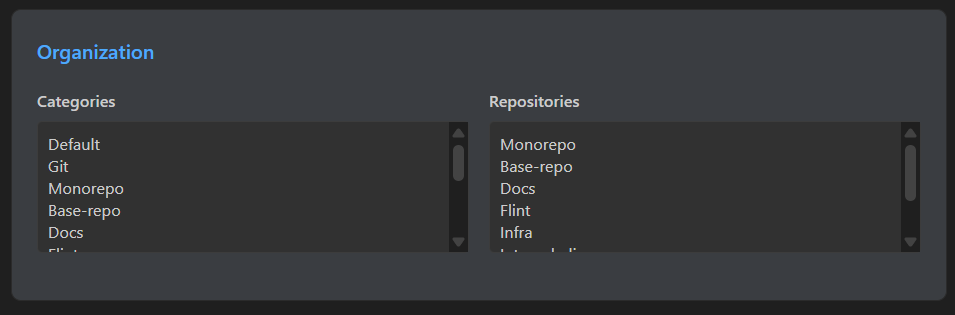
If your command only applies to specific monorepo projects (or others), you can select the repository where this command will be executed. When launching the command, it will automatically navigate to the specified location. You can also select a command category for convenient display in the list of all commands. To select multiple categories or repositories, hold
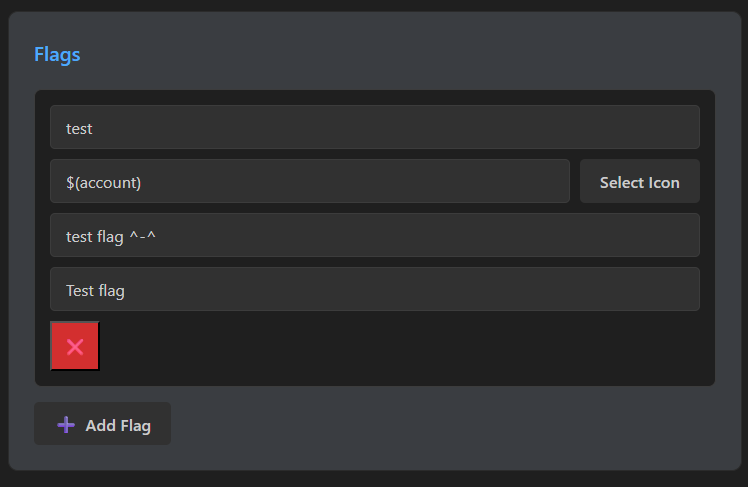
For some cases, it's sometimes useful to have parameters that can be quickly changed when launching a command. For this, you can create them in the Flags section. All selected flags are added to the end of the main command when launched.
Now when launching the command, you'll have this choice:
As a result, you'll get this output:
Extension DevelopmentInstalling dependencies Development mode Press Production build |