Format the class file and arrange fields, properties and methods as per StyleCop rules.
Features
- Format the class file (.cs) to arrange members of class in the proper order.
- Using statements are brought inside namespace block.
- Unwanted namespaces are removed.
- Unwanted space are removed.
- Proper space introduced where ever required.
- Adds header comments on members of the class.
- Modifies the comment on the members if signature of the member is changed
- Can group members by regions
Members of the class are arranged in following order
- Constants
- Fields
- Constructors
- Properties
- Methods
Furthermore the members are also sorted by access modifiers as follows
- public
- internal
- protected
- private
How to use
After installation can execute format code command from two different place.
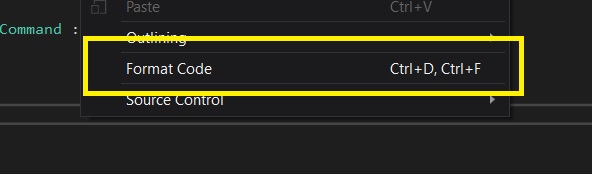
Option 1
- Go to any .cs file and open in code editor.
- Right click on the code file and you will get option to "Format Code" as shown below.
- You can also invoke this command using Keyboard shortcut "Ctrl+D, Ctrl+F"
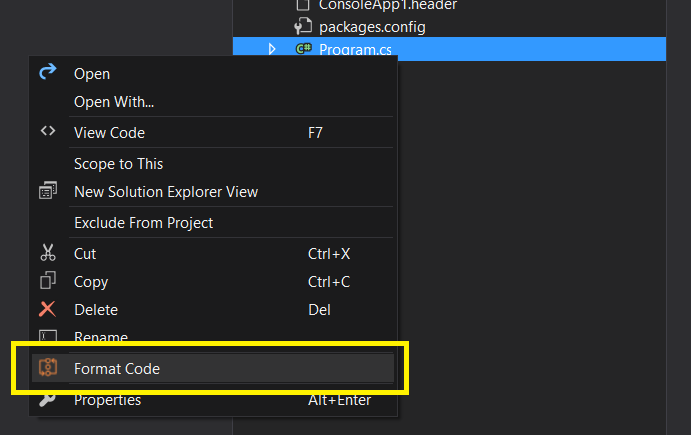
Option 2
- Go to solution explorer
- Select the .cs file which needs to be formatted
- Right click on the file and you will get "Format Code" option on the menu as shown below.
Option 3
- Go to solution explorer
- Select the any project which needs to be formatted
- Right click on that project and you will get "Code Formatter > Format Code" option on the menu as shown below.
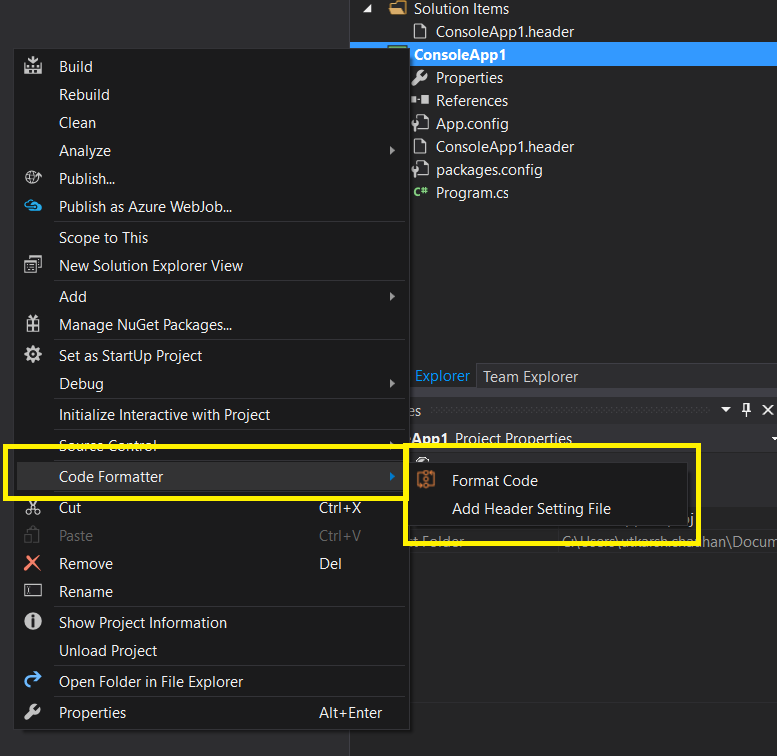
Option 4
- Go to solution explorer
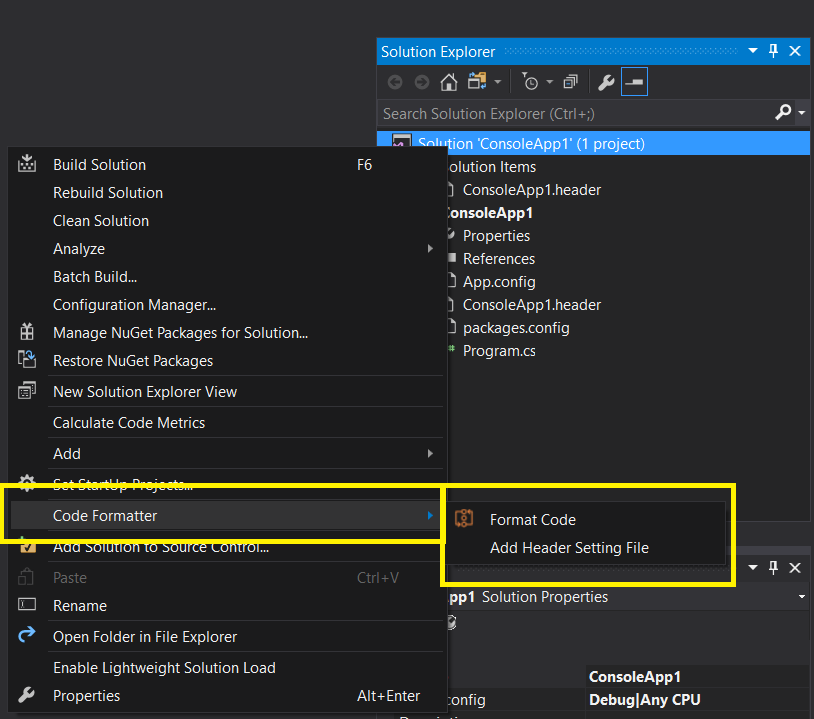
- Select the solution node
- Right click on that solution node and you will get "Code Formatter > Format Code" option on the menu as shown below.
In Option 3 and 4, all the .cs file present within the Project or solution respectively will get formatted automatically.
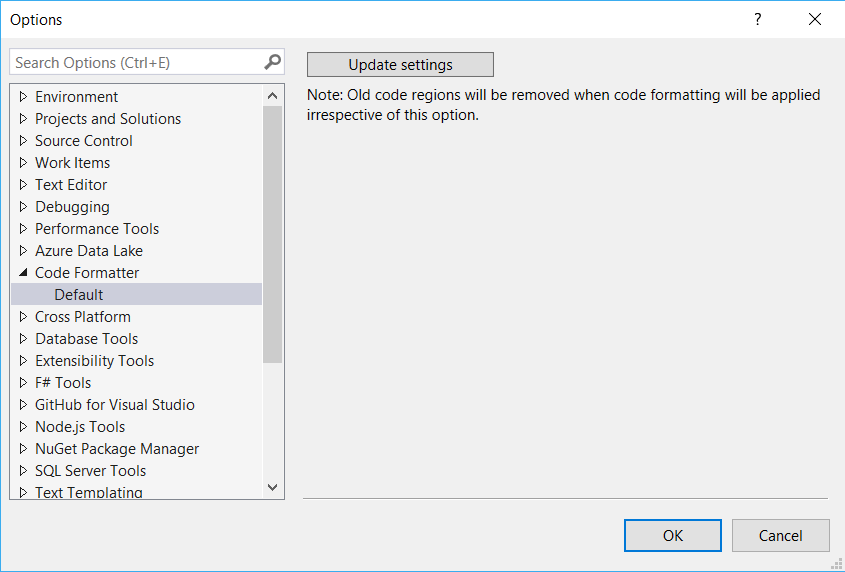
Settings
Settings for tool can be accessed from Visual Studio options screen as shown below.
General Settings
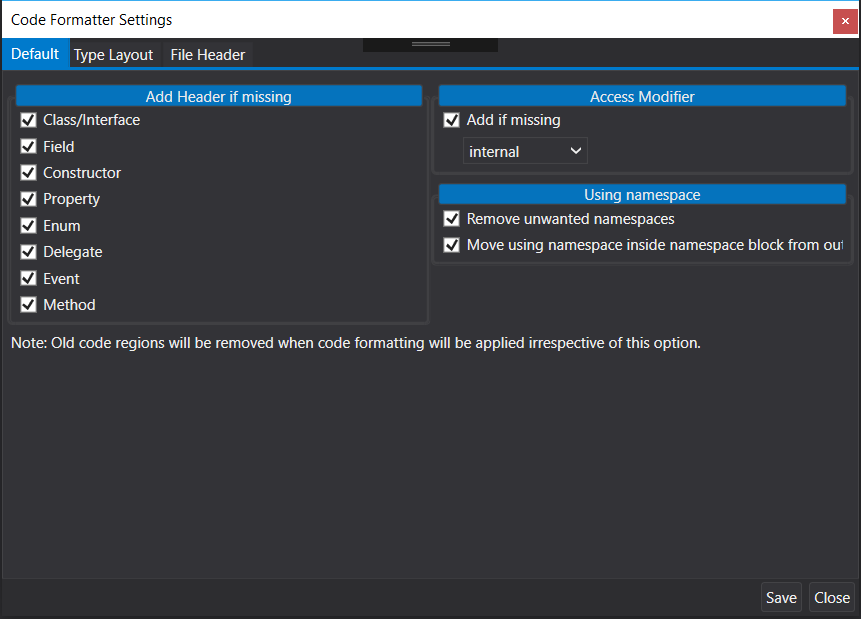
Type Layout
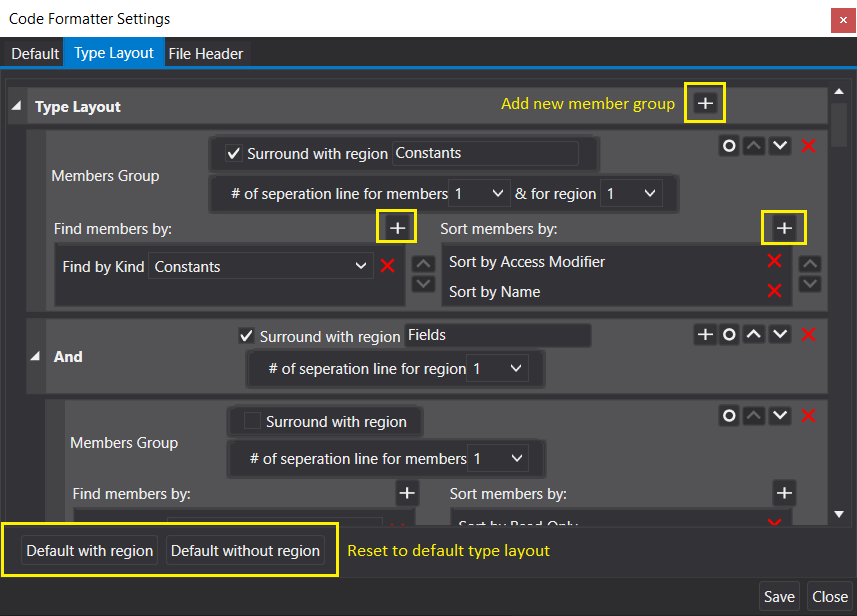
You can customize the layout of the class or interface by setting required layout under Type layout setting
Note: That the first time when this extension is installed, type layout will be blank. Hence first time user will have to configure the type layout, and you can also set type layout with the help of the default templates.
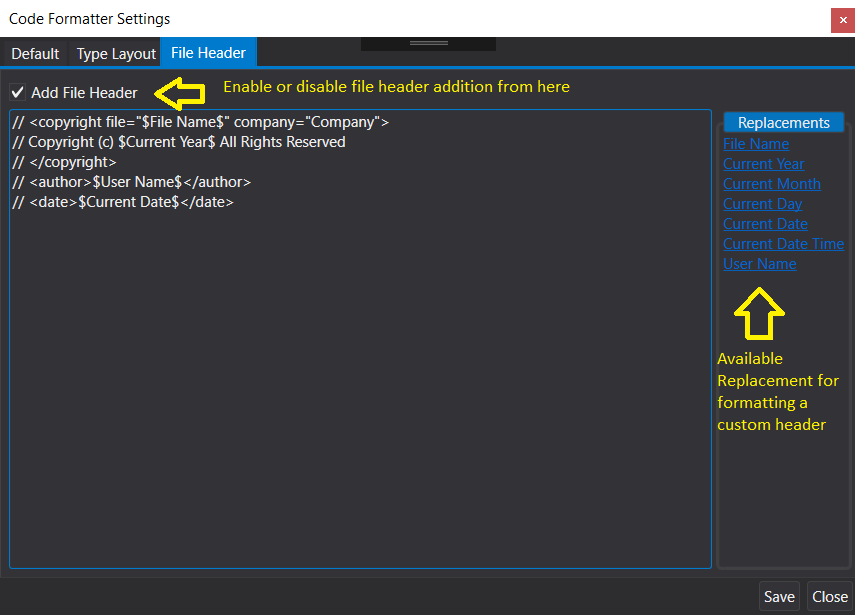
File Header
You can also choose to include class header by updating setting under File Header.
You can customize the file header format and you can use the available replacement to format the header.
You can also have the different file header template based on the solution or project also.
To have customized file header for a perticular solution, go to Solution and right click and go to "Code Formatter >> Add Header Setting File". And you can set perticular format in that setting file.
Same is applicable of project level file header as well.
Note: File template selection will first check for project header setting file, if not found then it will look for solution header setting file and if the file is not present then global header will be applied.
Download this extension from the VS Gallery
Installation Guide:
1. If you are installing it manually using VSIX file then make sure you uninstall the previous version anf then install the new version. Because if at the same time multiple version are installed of the same extension then extension will be disabled by Visual Studio.
2. It is advisable to install the extension from Tools > Extensions and Update option.
License
Apache 2.0
