Copilot Share
Copilot Share helps a host safely share VS Code Copilot access and usage budgets across devices on your local network through a web hub, and provides a session-oriented workflow that treats sessions as reusable and reviewable assets with built-in search, summary, clone, export, and import features.
Why Copilot Share
- LAN-first by design: no cloud relay required.
- Fast setup: start sharing from the status bar and open a web URL.
- Session-oriented workflow: organize prompts and outcomes by task.
- Built for review and reuse: summarize, clone, export, import, and search.
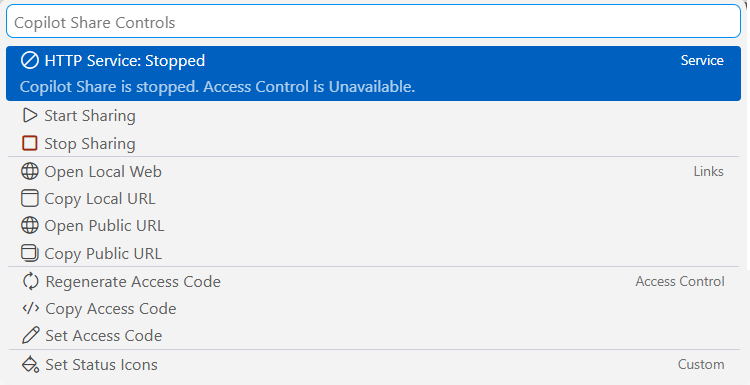
- Optional access control mode: protect chat APIs with an access code.
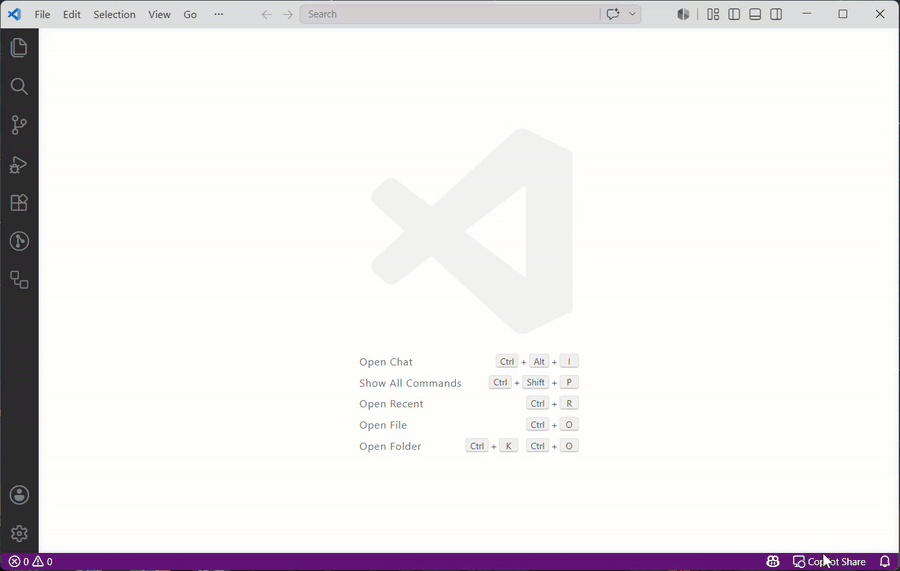
60-Second Quick Start
- Install
Copilot Share from VS Code Marketplace.
- Click the status bar item (
Copilot Share) and select Start Sharing.
- Click
Open Local Web for the host machine, or click Copy Public URL for another LAN device.
- If access control is enabled, enter the access code on the web page.
- Start chatting and managing work in sessions.
Quick Demo
- Quick Start: Share VS Code Copilot access and usage budgets
Click the status bar item (Copilot Share), select Start Sharing, and launch the web hub in seconds.
Demo video: Quick Start
- Prompt Polishing: Less Prompt Effort, Better AI Results
Start with a simple, raw prompt and polish it in one click to produce a clearer, richer, and more actionable instruction for your AI agent.
See the full benchmark and examples in ai_agent_speed_up_via_prompt_optimization.md.
Demo video: Less Prompt Effort, Better AI Results
- Message Contextual Menus: More Message Operations
Right-click a message bubble to open the contextual menu, then copy, favorite, delete, or retry messages with one click.
Demo video: Message Contextual Menus
- Session Summary: Turn chatty sessions into meaningful outcomes
Generate a concise summary of the current session to surface key topics, critical points, and next actions while reducing chat noise.
Demo video: Session Summary
- Session Search: Improve session usage, allow reuse and thus saving tokens
Find matching content in the current session or across all sessions to speed up reuse and reduce repeated prompting.
Demo video: Session Search
- Session Export and Import: Rebuild and Review Sessions Across Devices
Export sessions as Markdown for backup and sharing, then import them to quickly rebuild context on another device.
Demo video: Session Export and Import
Best For
- Developers who want Copilot on a second screen while coding.
- Teams and workshops sharing one Copilot-enabled VS Code host.
- Session-based AI workflows that need search, summary, and exportable artifacts.
- LAN-only environments that prefer local control and low setup friction.
Why Try Copilot Share
- 🤗 Use Copilot on phones, tablets, laptops, and other devices on the same local network without setting up a cloud relay.
- 🏖️ Share Copilot access and usage budgets with teammates, family members, or workshop participants.
- 🚀 Session-oriented workflow that treats prompts and responses as reusable assets, with search, summary, clone, export, and import built in.
- ✍️ Built-in Prompt Polish Button: Refine draft prompts before sending for clearer, higher-quality results.
- 🧏♂️ Access control mode: When enabled, protect chat APIs with a bearer access code.
- 🧠 Build a reusable knowledge base from long-running chats and break large work into manageable, session-based tasks.
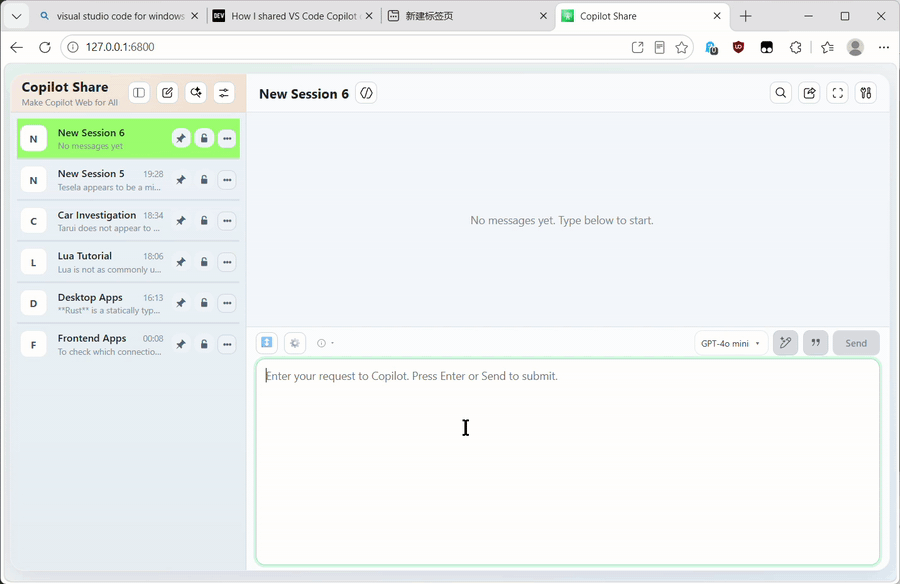
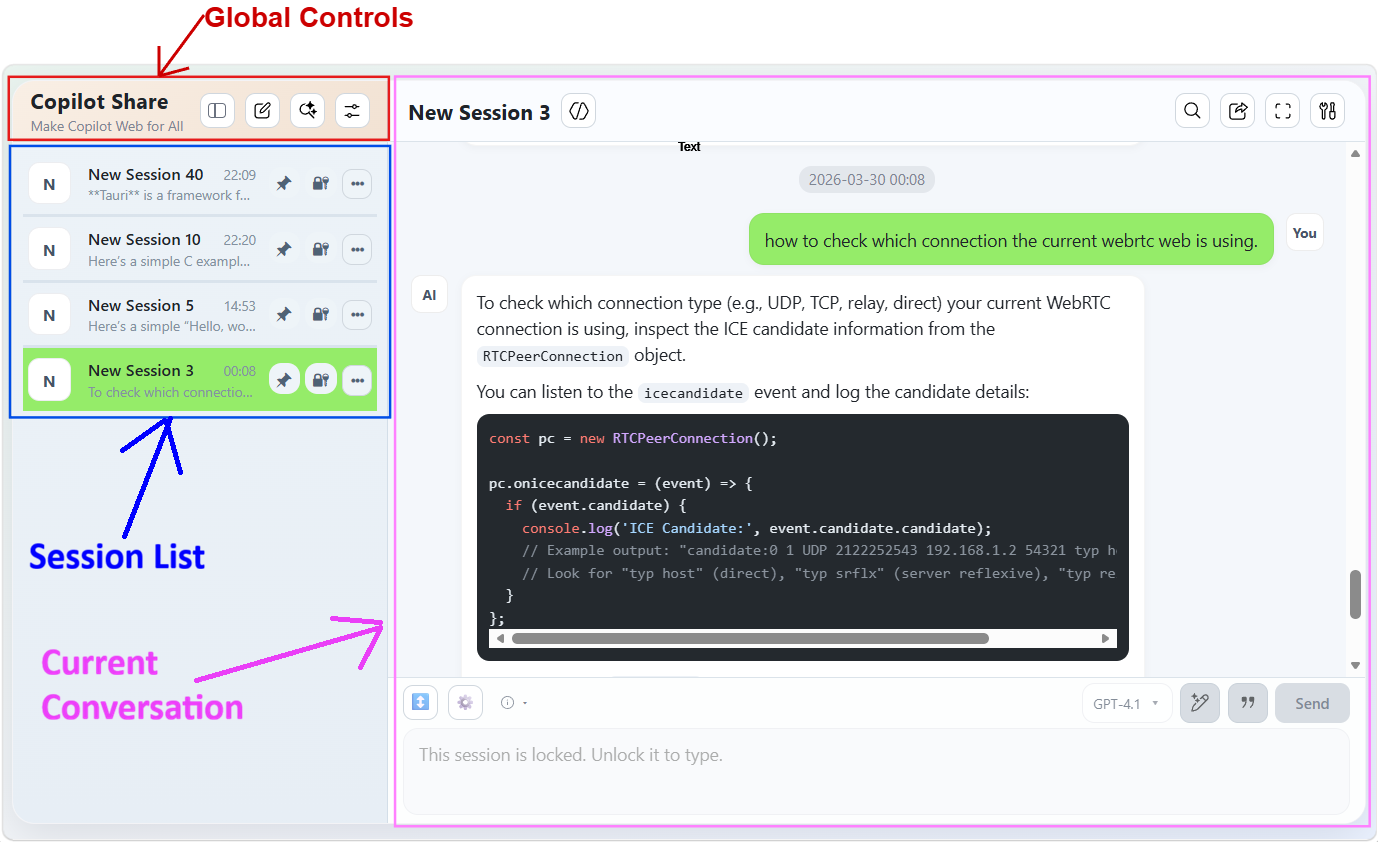
Session-Oriented Workflow
Traditionally, code was used to build applications and services. AI changes this by making prompts the primary way to generate code, documentation, and resource files.
🦄 In this model:
- Prompts are like source code.
- Sessions are like source files.
♨️ That means prompts and sessions should be:
- Treated as core work assets, just like code and source files.
- Reviewed with the same discipline used for code so you can confirm direction, validate requirements, surface gaps early, and reduce the risk of misleading AI-generated outputs.
😜 Why call it session-oriented?
- A session is a focused container for prompts that work toward a single objective.
- A large project can be broken into smaller tasks, which can be further broken down into subtasks. Every task across all levels can be tracked in its own session. This creates a practical end-to-end session-driven workflow to manage structured multi-stage Copilot tasks.
Detailed Workflow
Use 60-Second Quick Start to get connected first, then use this checklist for day-to-day work:
- Install the extension from the VS Code Marketplace.
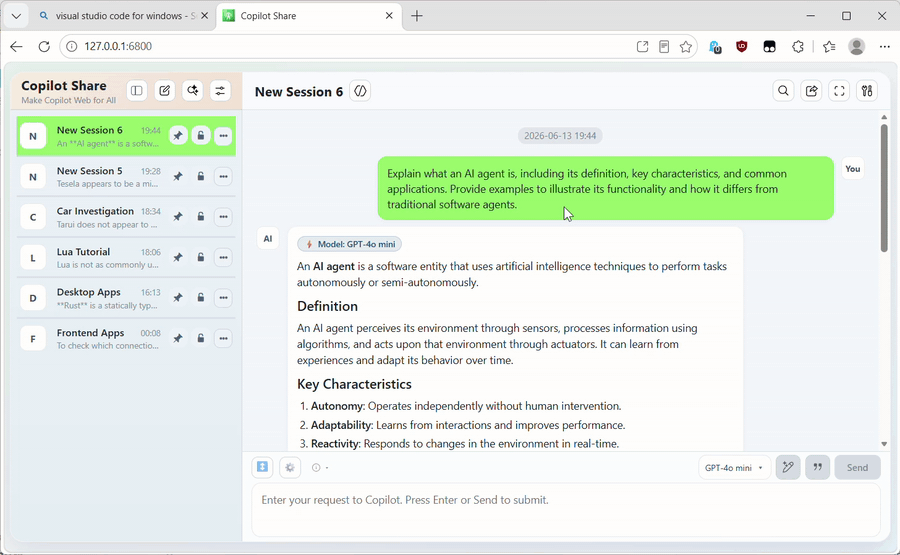
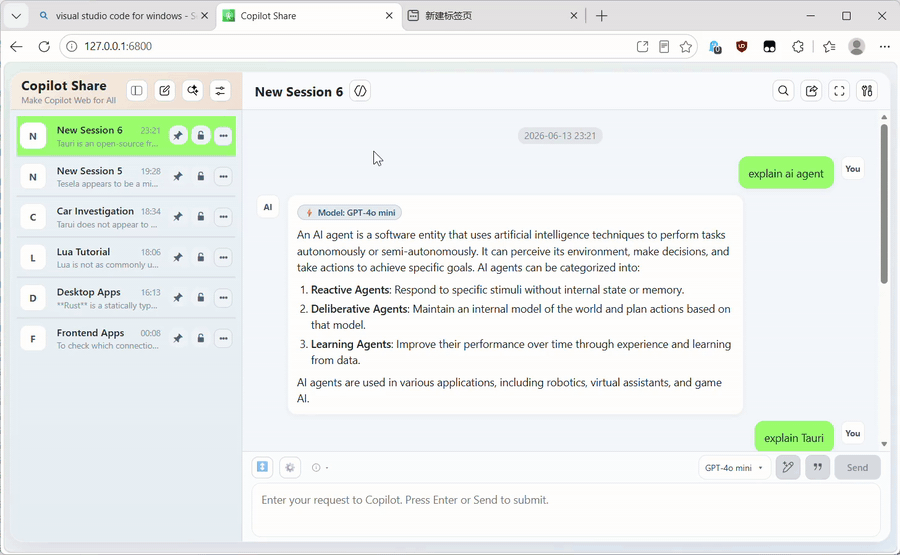
- Create or open a session in the web hub.
- Send prompts, retry prompts, and polish drafts when needed.
- Search within one session or across all sessions.
- Summarize noisy chat history into focused outcomes.
- Export or share sessions as Markdown for review and reuse.
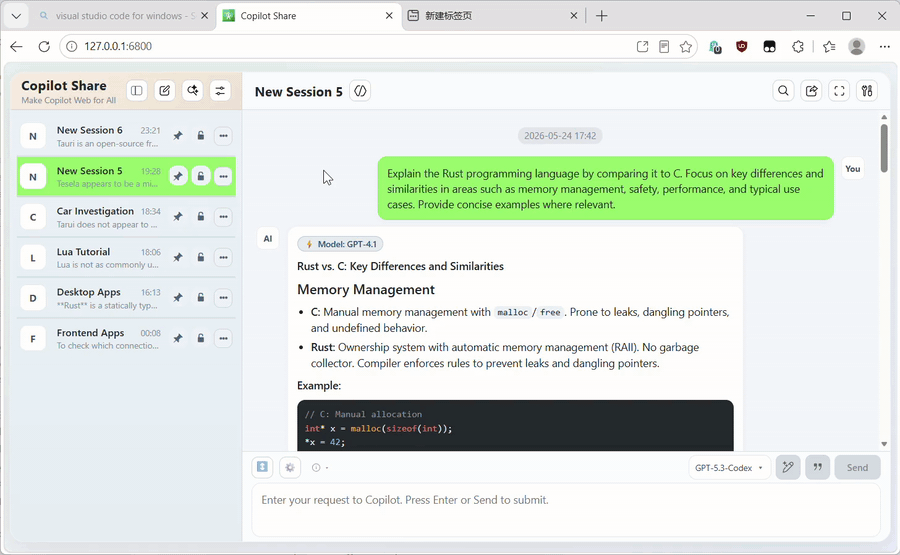
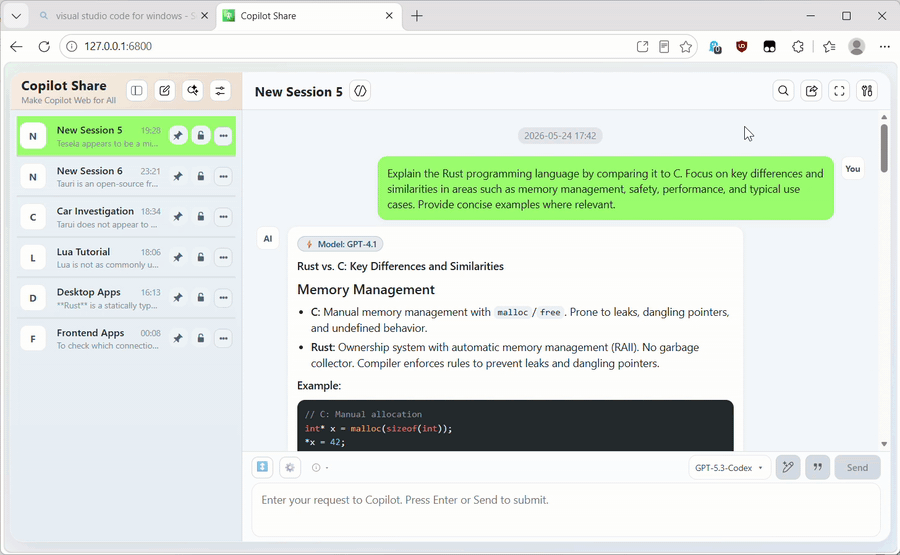
Screenshots
Architecture Snapshot
- VS Code extension backend hosts a local HTTP server.
- Web frontend runs in a browser and calls local APIs.
- Chat requests are forwarded to VS Code Copilot models.
- Optional access control uses bearer access code checks for protected routes.
Security and Networking Notes
- LAN-first design: no cloud relay required.
- Server binds to a LAN-capable host address.
- Access control can be enabled at share start.
Documentation
Feedback and Issues
Ideas, bugs, and workflow suggestions are welcome: