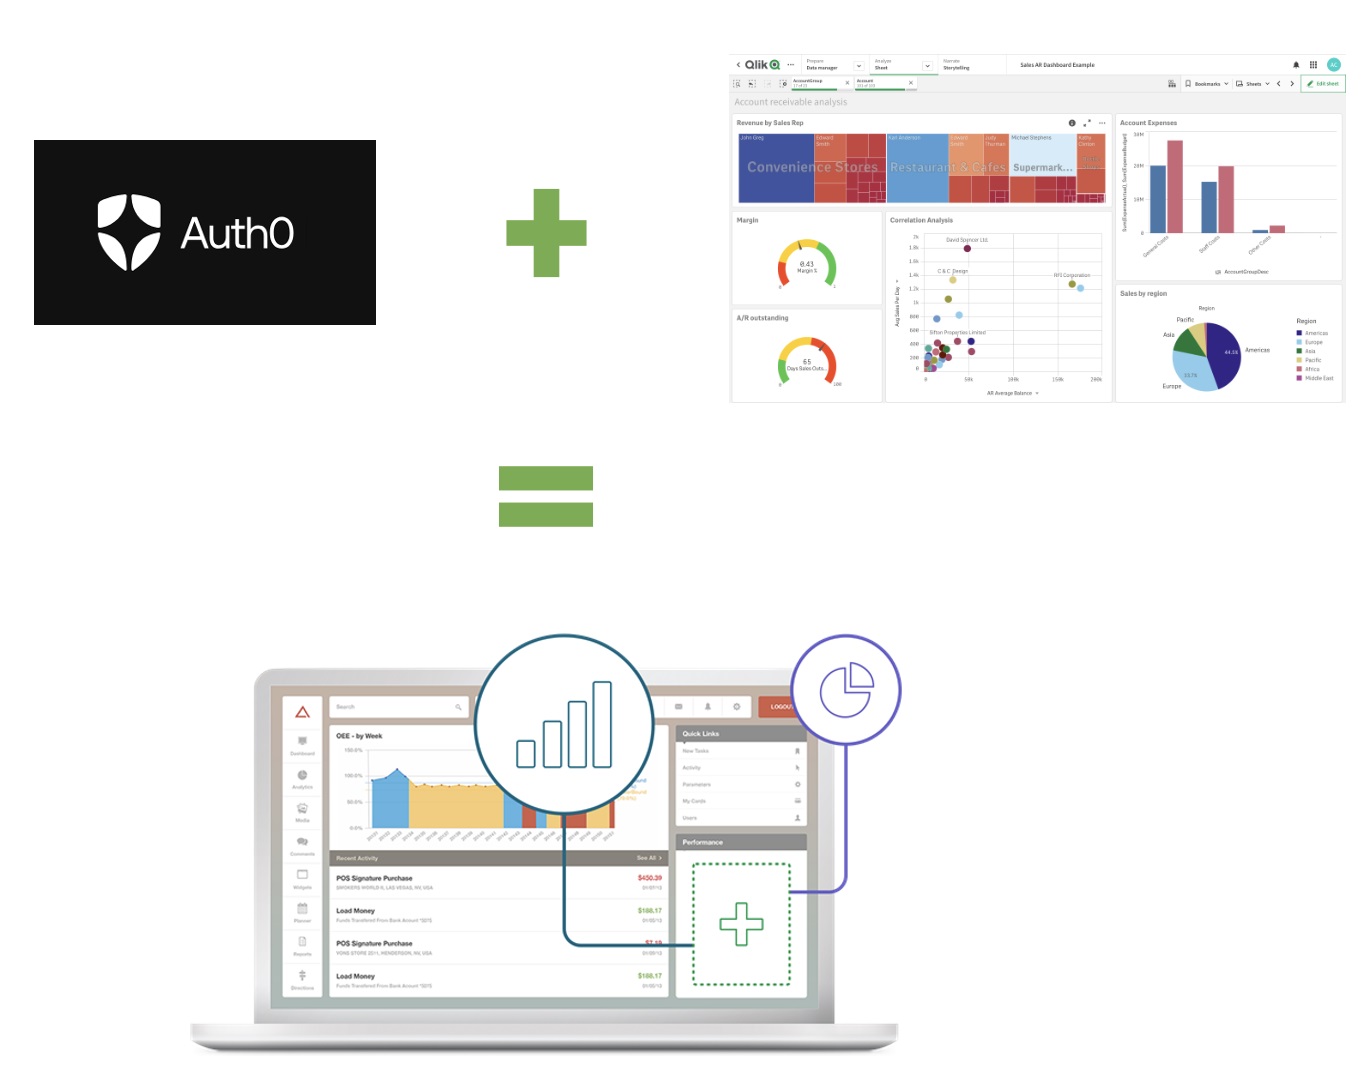
Automatic setup integration between Auth0, Qlik Sense and get a mashup using Qlik-Embed ready to start testing!
Configure Qlik Cloud with Auth0 as IDP and Oauth for web integration, with just a few clicks.

Features
This extension creates following:
- Auth0 app
- Auth0 Idp in Qlik Cloud
- An Oauth record on Qlik Cloud
- A Node js Express web app using the values returned from 1-3
Requirements
- An activated Qlik Cloud tenant, with a dev token OR Oauth client Id and Secret from myqlik.
- An Auth0 account
- A Qlik Sense app with at least one sheet and some visualizations
Have following ready before you start
- Your API client_id, client_secret and audience from auth0 (can be found under applications, APIs, click on "Auth0 Management API" and select test. Here you find the details on a test curl command). Copy all three and paste it somewhere for later use.
- Go to applications, select "Auth0 Management API (Test Application)", click on APIs, Authorize the Auth0 Management API and click the arrow down on the record and select all scopes.
- Login to Qlik cloud, open an app which is published to a Shared or Managed space. Copy the app id and paste it somewhere for later use. (You can find the app ID for an analytics app by opening the app and observing the URL in your browser’s address bar. The guid for the app appears in the path between app and overview. Example: https://example.region.qlikcloud.com/sense/app/a51a902d-76a9-4c53-85d2-066b44240146/overview)
- Open a sheet and copy the sheet id and paste it somewhere for later use (You can find the sheet ID, by open the sheet and look for the id after /sheet/ in the URL).
- Right Qlik on an object, to get most out of the demo, don't select a KPI object. Right click on it, share and copy the id of object, paste it somewhere for later use.
- Get a developer token for you Qlik Cloud tenant or get the Oauth Client ID and Client Secret from your myqlik page. Remember to get the Oauth credentials for the same region as the tenant where that app exists. Copy the value(s) for later use.
- Copy your cloud tenant url and paste it somewhere for later use.
Now you are ready to run the extension, run the Setup Qlik integration from the Command Palette and paste the values in the requested order.
Important
The extension will take you to a website to validate your IdP, if you said No to go to the websitem then log into you Qlik cloud tenant, go to the Management console and Identity providers. Validate the new created IdP.
Go to the space with app and give the user from Auth0 full access to the space.
Go back to VS code and
- Open the index.html file and insert a field from your data model where it says: field-id="AccountDesc"
- The next step should run automatically, but if something goes wrong or you want to restart the server at a later stage, use following (bullet 3 and 4 only needs to be done first time)
- Open a terminal
- run npm install
- run npm run start
- Open a browser and enter the URL: http://localhost:3000
Config file
If you want to reuse your variables for multiple tests, then you can add a file called config.json in the directory and enter the values here. Then you will not be prompted during the installation. All values needs to be filled. Format of config.json is:
{
    "auth0 client_id":"",
    "auth0 client_secret":"",
    "auth0 audience URL":"https://xxxxx.eu.auth0.com/api/v2",
    "Qlik Cloud URL":"https://yourteant.region.qlikcloud.com",
    "Use Oauth client_id and secret": true,
    "Qlik Sense Oauth client_id": "Value only needed if Use Oauth client_id and secret is true",
    "Qlik Sense Oauth client_secret": "Value only needed if Use Oauth client_id and secret is true",
    "Qlik Sense developer key": "Value only needed if Use Oauth client_id and secret is false",
    "Qlik Sense App Id": "",
    "Qlik Sense sheet Id": "",
    "Qlik Sense object Id": ""
}


