Skip to content
| Marketplace
Sign in
Visual Studio Code>Snippets>ScrapeCopilotNew to Visual Studio Code? Get it now.
ScrapeCopilot

ScrapeCopilot

ScrapeCopilot.ai

|
143 installs
| (0) | Free
Browser automation developer AI assistant
Installation
Launch VS Code Quick Open (Ctrl+P), paste the following command, and press enter.
Copied to clipboard
More Info

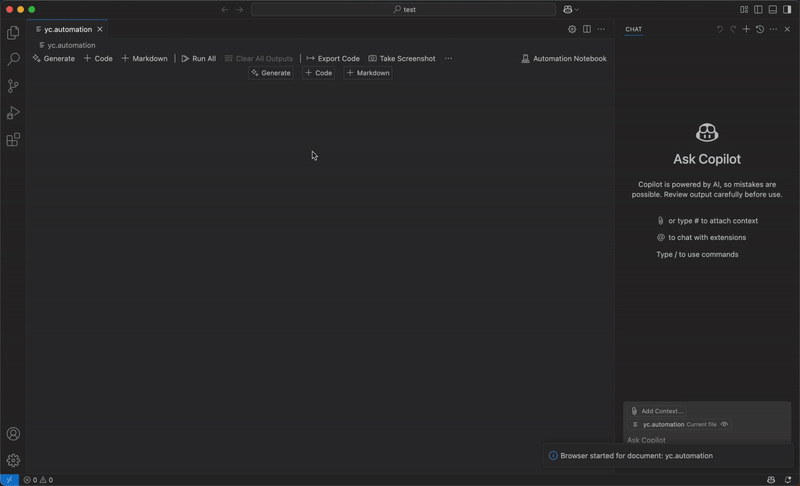
Browser Automation Developer AI Assistant

TLDR: Notebook Code Interface + Puppeteer + AI Assistant

This extension adds a new file type called *.automation. When you open these files, they work like a Jupyter notebook and automatically start a Puppeteer browser session. The browser's page object is available in all notebook code cells.

Running Code

After the browser starts, you can run Puppeteer code directly in the notebook cells. The code will execute in the live browser session.
You can use Puppeteer's page object in the code cells.
Example:

// Go to some page
await page.goto('https://google.com')

// Click the button
await page.click('button[typ="submit"]')

@scrapecopilot chat assistant knows about the page object and it will use it in generated code.

Demo: Code Execution

Taking Screenshots

You can take screenshots of the current page at any time. This is especially useful when:
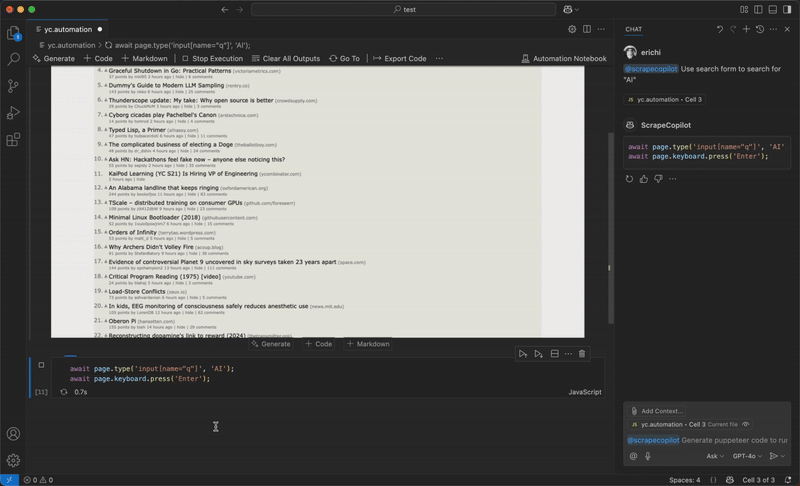
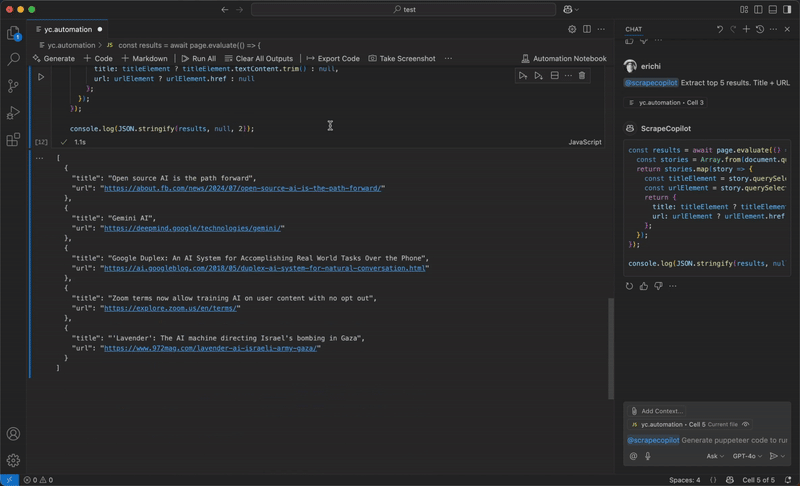
  • The browser is running in headless mode
  • The browser is running remotely

Demo: Screenshot

AI Assistant

The extension connects your browser session to GitHub Copilot. When you mention @scrapecopilot in the Copilot chat, your request goes to the extension's AI assistant. It make current page content available in the chat context.

You can ask it whatever you want:

  • Filling out forms
  • Extracting data from pages

And it will generate relevant Puppeteer code for you.

Demo: AI Assistant

Exporting Your Script

When you're done creating your automation code, you can use the Export Code function to create a final script. You'll get a text area where you can add instructions for building the final result. The extension will generate the complete script based on your notebook cells and instructions.

Demo: Code Export

Custom Browser Configuration

By default, Puppeteer starts with standard settings. If you want to use custom settings or connect to a remote browser, create a file at ~/.scrapecopilot/startBrowser.js with this code:

module.exports = async function startBrowser(puppeteer) {
  // Launch browser
  const browser = await puppeteer.connect({
    browserWSEndpoint: `wss://your-remote-browser-endpoint`,
  });
  return browser;
}

Available Commands

  • ScrapeCopilot: Create New Automation Notebook - Creates a new automation notebook Demo: Creating a new automation notebook

  • ScrapeCopilot: Sign In - Refreshes your API token

Notebook Menu Functions

The notebook has a menu at the top with these special buttons:

  • Make Screenshot
  • Restart Browser
  • Export Code

Community

Join our Discord server for help, discussions, and community support: 🗣️Discord Server

  • Contact us
  • Jobs
  • Privacy
  • Manage cookies
  • Terms of use
  • Trademarks
© 2025 Microsoft