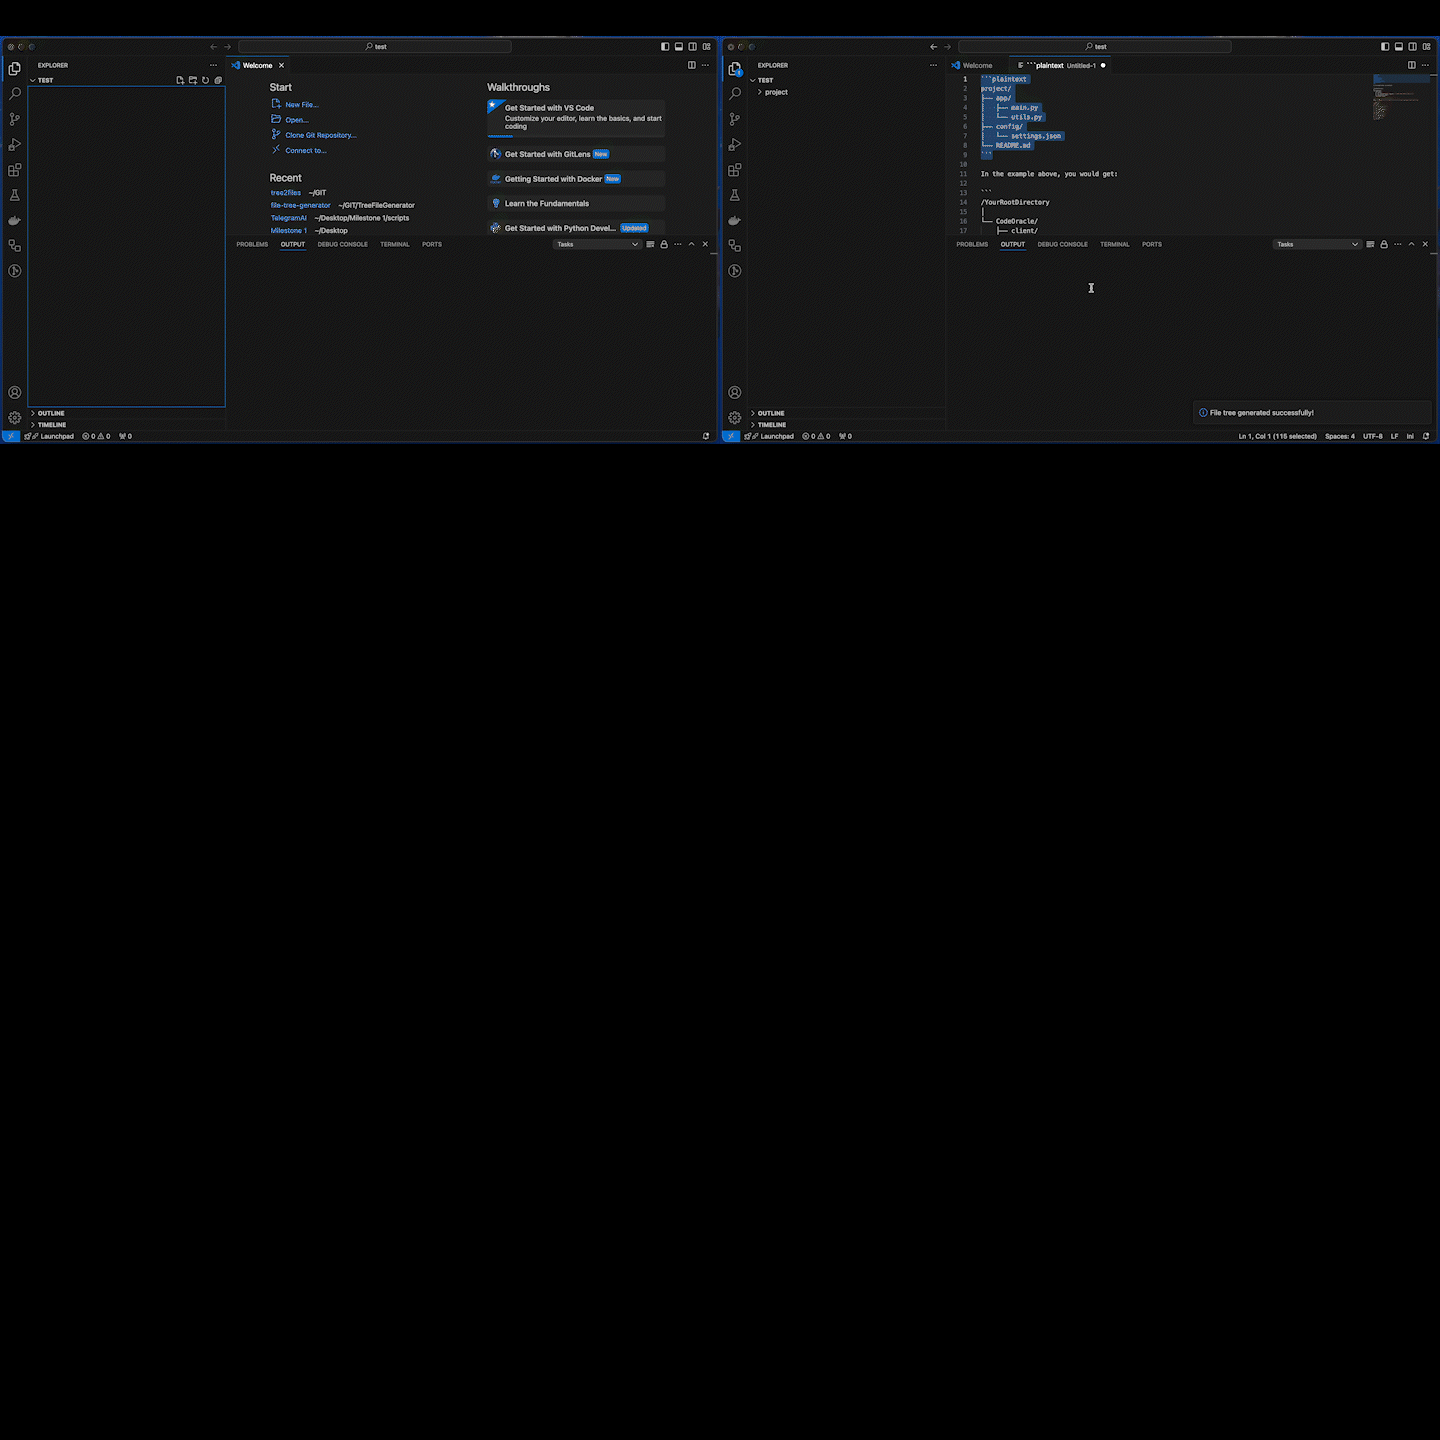
File's Tree Generator - How To Use
Example of Tree Structure
Here is an example of what the tree structure should look like when using the File's Tree Generator:
nerd/
├── client/
│   ├── src/
│   │   ├── extension.ts: console.log('Hello, world!');
│   └── utils.ts
└── server/
    ├── Dockerfile.txt:{{{
    FROM node
    COPY . .
    }}}:
└── README.md:{{{
    This is a multiline README content.
    It can have multiple lines of text.
    }}}:


src/
├── README.md: ## Readme src
├── extension.ts: import vscode;
└── test/
    └── extension.test.ts:{{{
    # Multi-line Content
    This is the first line.
    This is the second line.
    }}}:
└── utils/
    └── helpers.ts


ProjectRoot/
├── src/
│   ├── components/
│   │   ├── Header.tsx: // Header Component
│   │   └── Footer.tsx: // Footer Component
│   └── utils/
│       └── helpers.ts
├── README.md: # README for ProjectRoot
└── package.json: // Todo: Add dependencies
- At the root level, a
LICENSE file can be added, e.g., LICENSE: (empty).
Overview
The File's Tree Generator is a VS Code extension that allows you to generate folders and files from a text-based tree structure. This is especially useful for quickly scaffolding projects or organizing files based on a predefined structure. You can select tree-like text, right-click, and use the Generate File's Tree from Text command to automatically create the directory and file structure.
How To Use

Features
- Convert tree-structured text into a real file and folder structure.
- Supports basic folder and file creation, including files with inline content using
:, and multiline content using :{{{ and }}}:.
- Handles multiline content using the
:{{{ and }}}: syntax for files.
Prerequisites
Before using this extension, ensure you have the following:
- Visual Studio Code installed.
- The File Tree Generator extension installed and activated.
Usage Instructions
1. Open a Plaintext File
Ensure you are working in a plaintext file. This extension is designed to activate when working with files of type plaintext or when manually invoking the Generate File Tree from Text command.
2. Write or Paste a Tree Structure
Write or paste a text-based file tree structure (see example above).
3. Select the Tree Text
Select the tree structure you want to convert into actual folders and files.
4. Right-Click and Choose "Generate File Tree from Text"
With the tree structure selected, right-click to open the context menu. You should see an option called "Generate File Tree from Text".
If this option does not appear, ensure:
- The text is properly formatted as a tree (see example above).
- You have selected the text before right-clicking.
5. Choose the Root Directory
After selecting the command, a file browser will appear asking you to select the root directory where the folder and file structure should be generated. Choose the directory where you want the structure to be created.
6. View the Generated Files and Folders
Once you confirm the root directory, the extension will generate the folder structure according to the selected text. You should see the folders and files appear in the selected directory.
In the example above, you would get:
/YourRootDirectory
│
└── CodeOracle/
    ├── client/
    │   ├── src/
    │   │   ├── extension.ts (contains "// Sample code inside extension.ts")
    │   └── utils.ts (empty)
    └── LICENSE (empty)
Example with a Tree Command Output
You can also use the output from Linux or macOS tree command to quickly convert existing file structures into text-based representations that this extension can process.
For example, if you run:
$ tree -F --noreport
This might generate a tree structure like this:
project/
├── app/
│   ├── main.py
│   └── utils.py
├── config/
│   └── settings.json
└── README.md
You can copy this output, paste it into a plaintext file in VS Code, select it, and run "Generate File Tree from Text" to recreate the file structure in your workspace.
Important Notes
- File Contents:
- Single-line content can be added directly after the file name using a colon (
:). For example, file.js: console.log('Hello World!'); will create a file with this content.
- For multiline content, use the
:{{{ and }}}: syntax. For example:
scripts/
├── script.js:{{{
console.log('Line 1');
console.log('Line 2');
}}}:
Empty Files and Folders: Files without content (e.g., LICENSE:) will be created as empty files, and directories will be created recursively.
Tree Formatting: Ensure your tree structure is correctly formatted with the correct indentation and symbols (├──, └──, │), as these are used to determine file depths.
Common Issues
Command Not Showing in Context Menu:
- Ensure the tree structure is correctly formatted.
- Ensure you have selected the tree structure before right-clicking.
File Creation Errors:
- Check the console logs (open Developer Tools in VS Code via
Help > Toggle Developer Tools) for any error messages if files are not being created as expected.
Files Not Being Created with Content:
- Ensure you are using the correct
:{{{ and }}}: syntax for multiline content and that the file name is followed by a colon (:).
Conclusion
The File Tree Generator extension simplifies the process of creating files and folders from a tree-based structure. Use this extension to quickly scaffold out complex file structures from plain text and get started with your project faster!
Enjoy using the File Tree Generator! Feel free to contribute or report issues on GitHub.


