Overview Version History Q & A Rating & Review
REST Client for VS Code
A powerful and elegant REST API client built directly into Visual Studio Code. Test APIs, manage collections, and integrate seamlessly with Salesforce - all without leaving your editor.
Screenshots
✨ Features
🚀 Core Functionality
HTTP Methods : Support for GET, POST, PUT, DELETE, and PATCH requestsCustom Headers : Add unlimited custom headers with an intuitive table interfaceRequest Body : Send JSON, XML, or any text-based payloadResponse Viewer : Beautiful Monaco Editor integration with JSON syntax highlightingLanguage Toggle : Switch between JSON and plain text views instantly
📦 Collections Management
Save Requests : Store your API requests as named collectionsQuick Load : Load saved collections with a single clickPersistent Storage : Collections are saved in your workspace state
🔐 Salesforce Integration
One-Click Auth : Fetch Salesforce access tokens using Salesforce CLIAuto-Configuration : Automatically populates Authorization headersSession Management : Caches authentication data for quick reuse
cURL Export : Generate cURL commands from your requestsCopy Response : One-click copy to clipboardSave to File : Export responses directly to workspace filesResponse Time : Track API response timesStatus Indicators : Clear visual feedback for success/error states
🎨 User Experience
Dark Theme : Beautiful dark mode interface that matches VS CodeScrollable Sections : 10-row header table and resizable body textareaResponsive Layout : Optimized layout that adapts to your workspaceKeyboard Shortcuts : Press Enter to confirm in modal dialogs
📋 Prerequisites
Visual Studio Code v1.70.0 or higher
(Optional) Salesforce CLI (sf) for Salesforce authentication
🚦 Getting Started
Basic Usage
Open REST Client
Press Ctrl+Shift+P (or Cmd+Shift+P on Mac)
Type "REST Client: Open Panel"
Press Enter
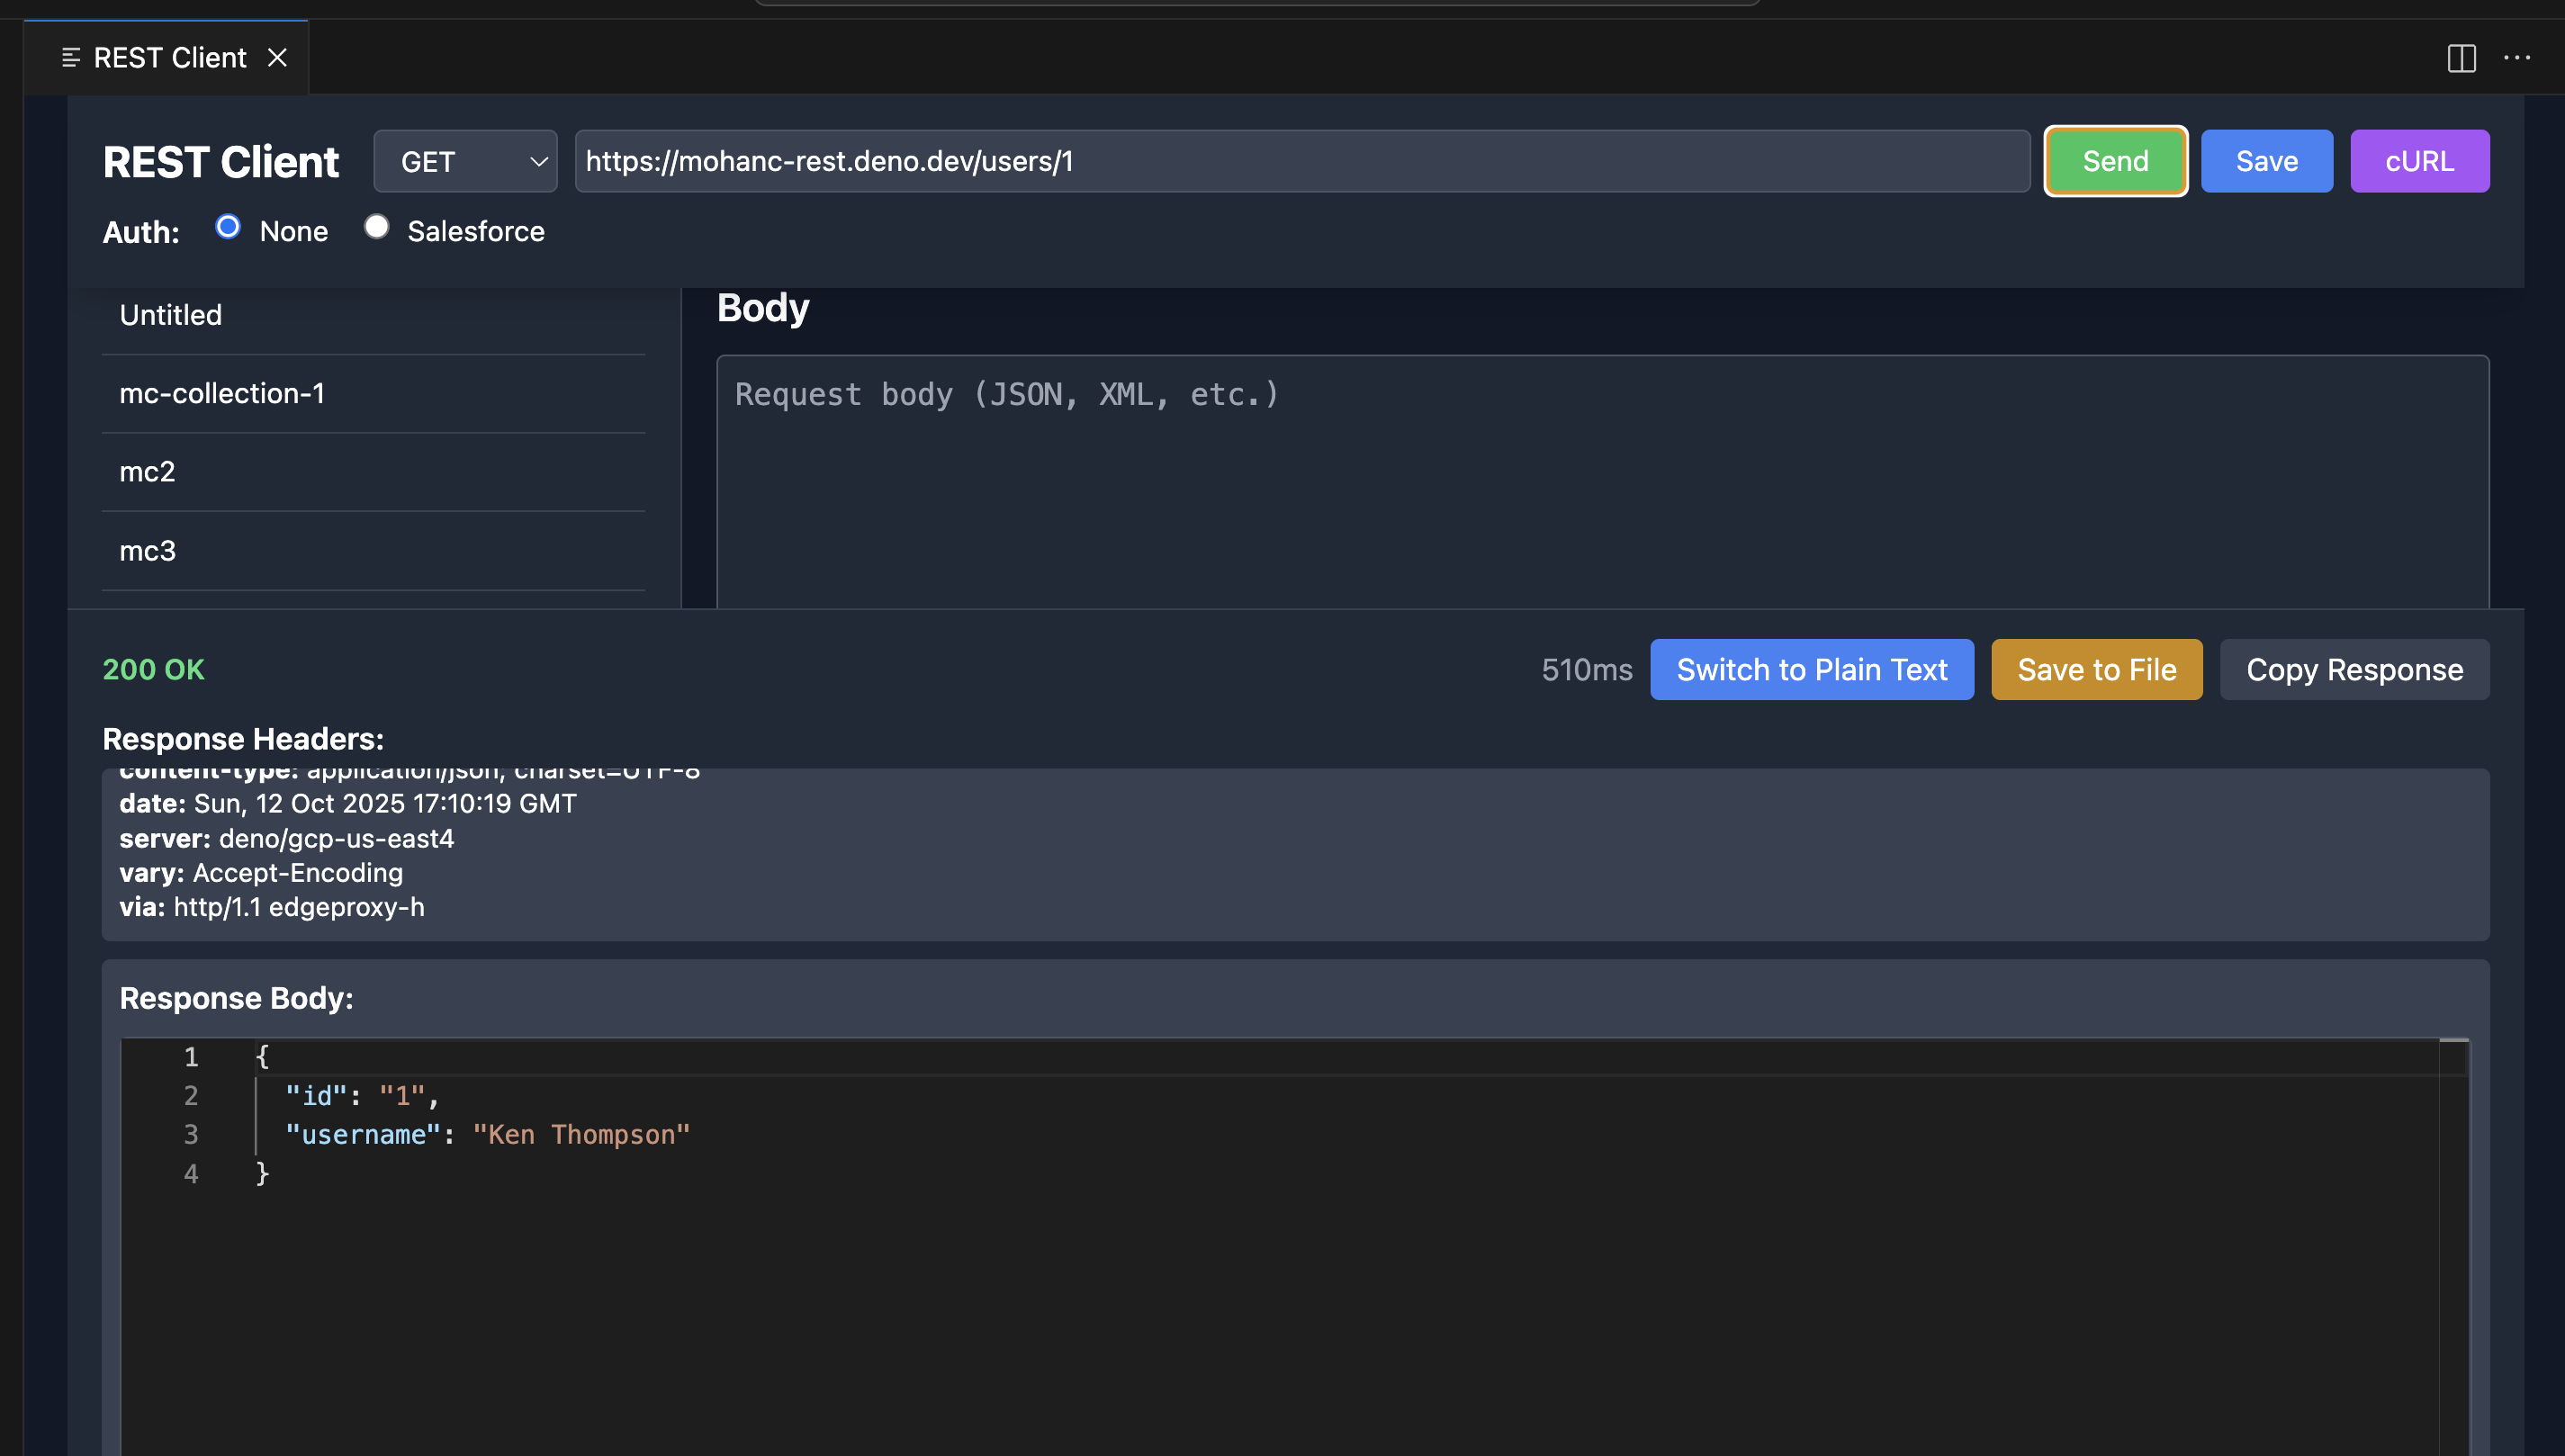
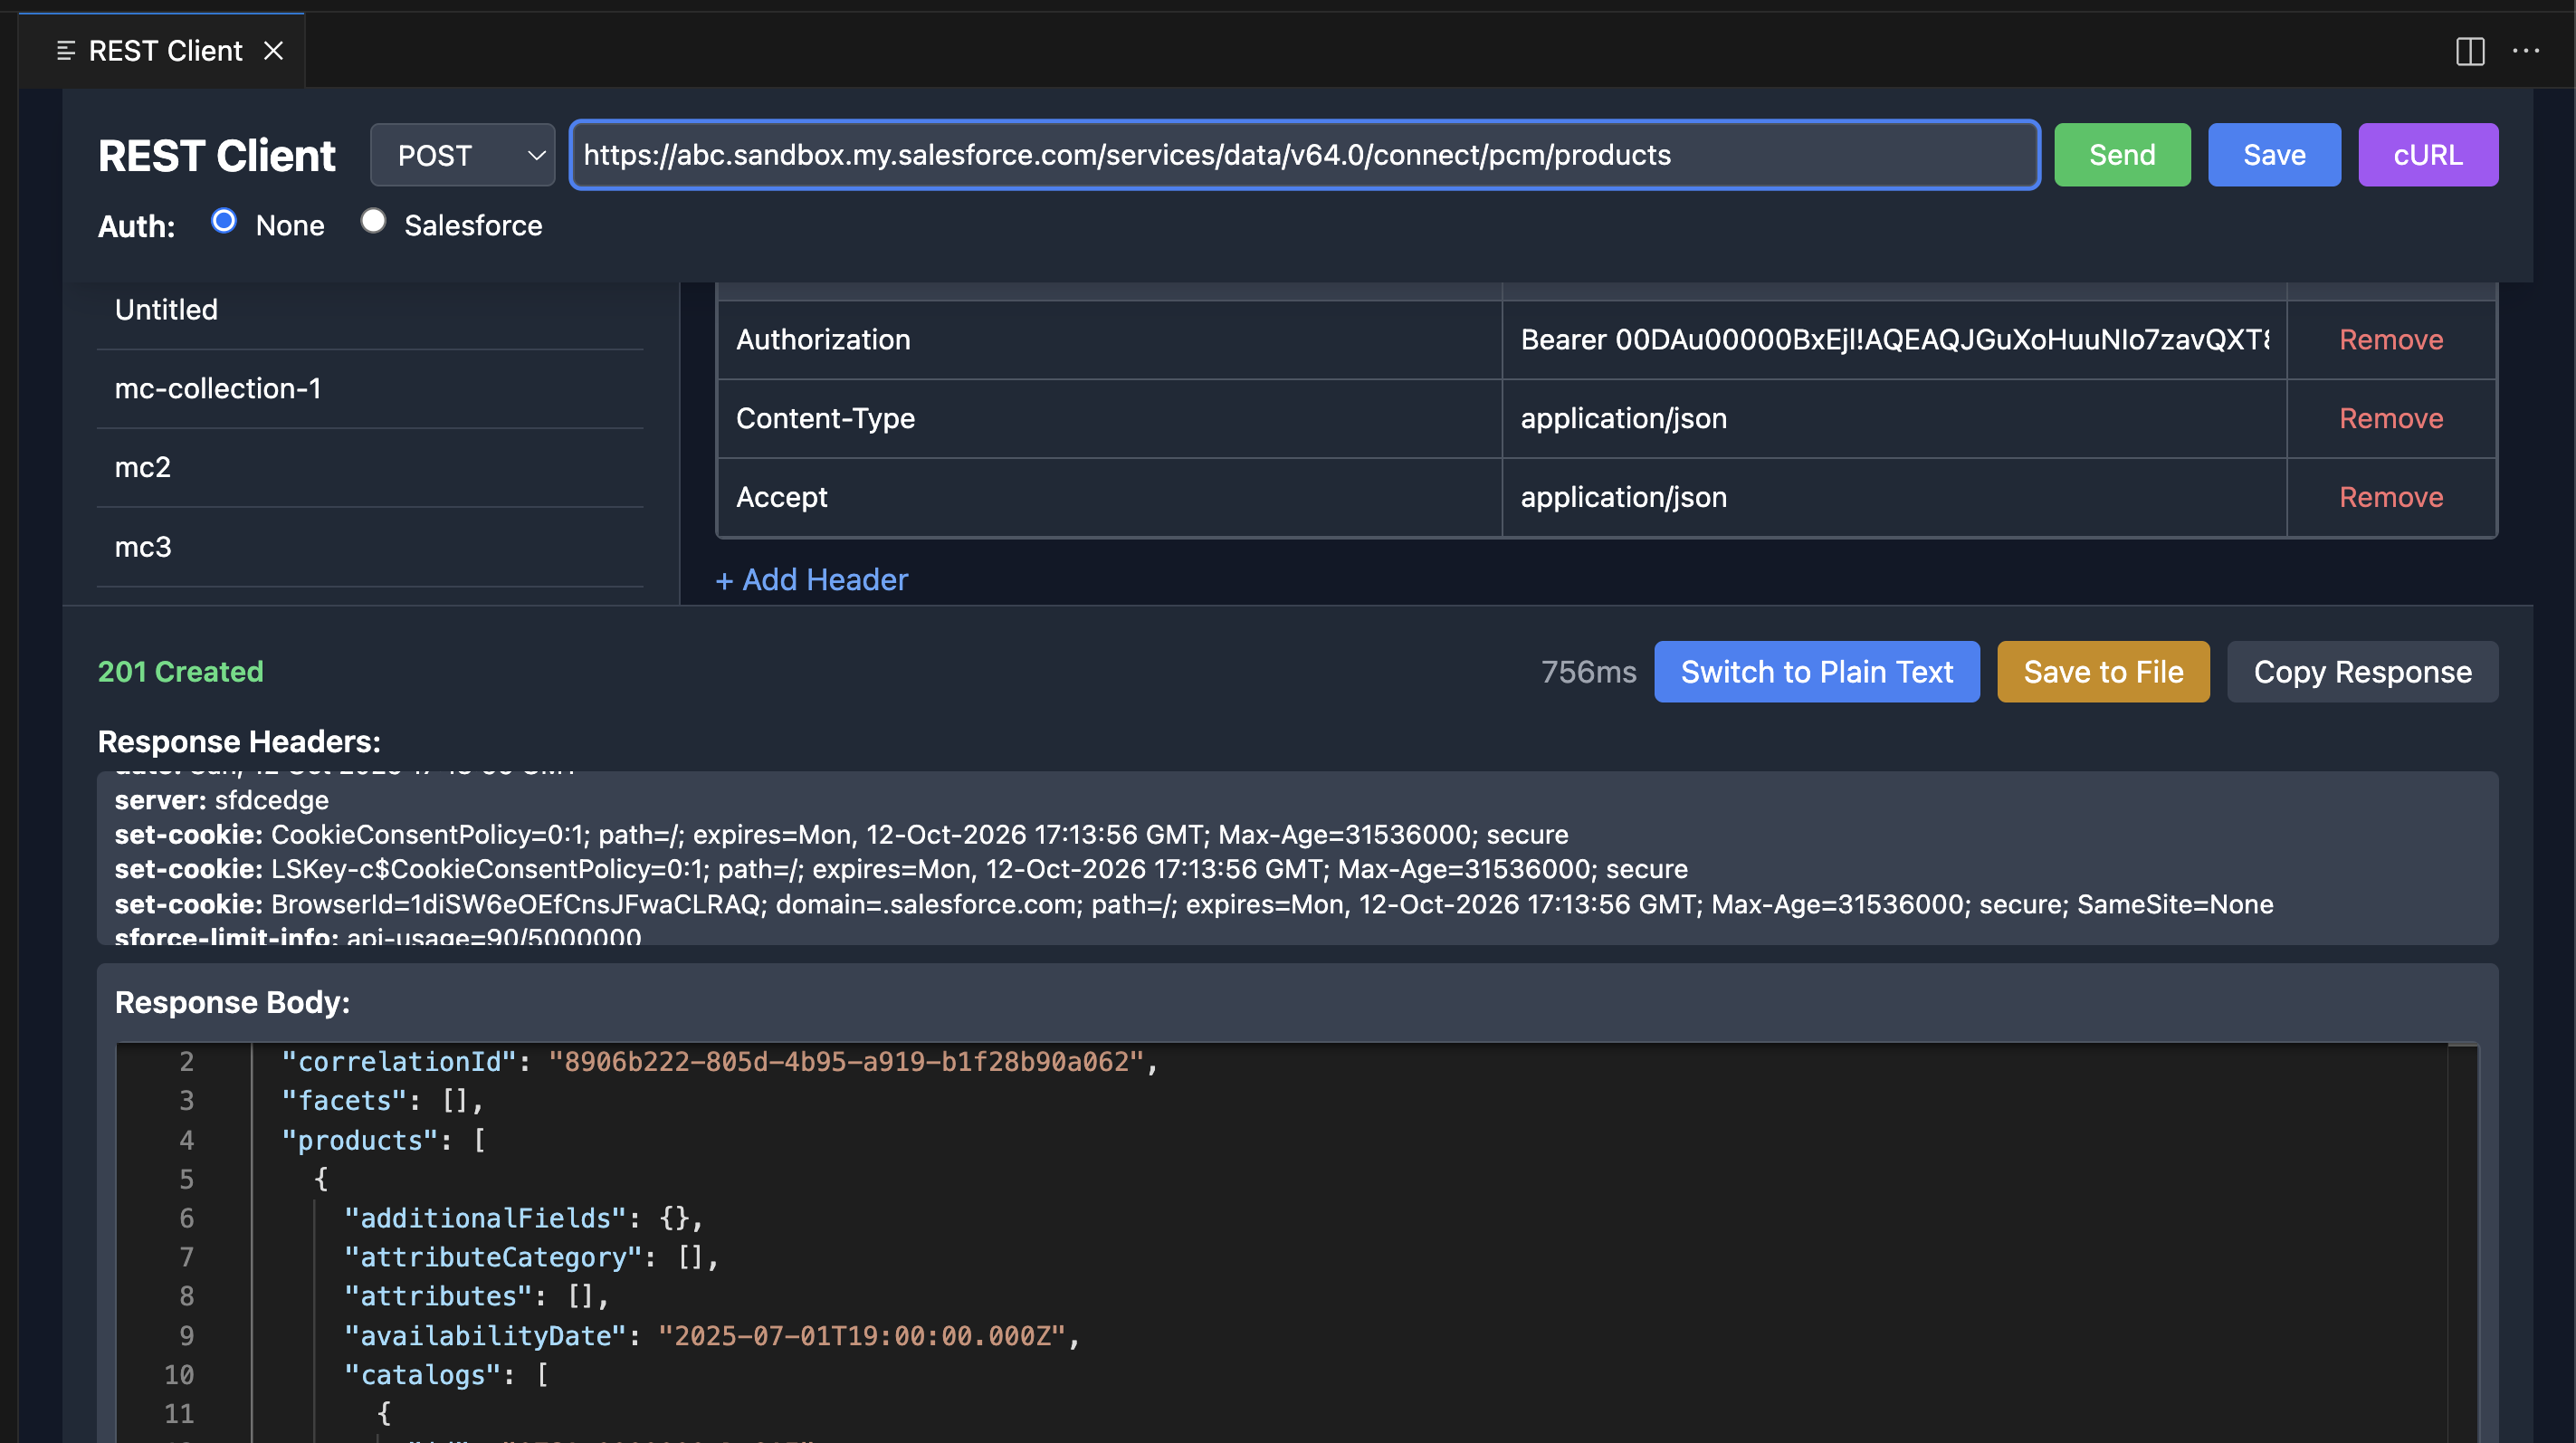
Make Your First Request
Select HTTP method (GET, POST, etc.)
Enter the API URL
Add headers if needed (click "+ Add Header")
Add request body (for POST/PUT/PATCH)
Click "Send"
View Response
Response status and time appear at the bottom
Headers are shown in the Response Headers section
Body is displayed in the Monaco Editor with syntax highlighting
Using Collections
Save a Collection:
Configure your request (URL, headers, body)
Click the "Save" button
Enter a collection name
Press Enter or click "Save"
Load a Collection:
Click "Select Collection" in the sidebar
Choose from your saved collections
The request details will populate automatically
Salesforce Authentication
Setup:
Select "Salesforce" radio button under Auth
Enter your Salesforce username or org alias
Click "Fetch Token"
Make Requests:
The extension automatically adds Authorization header
Your instance URL is populated in the URL field
Standard Salesforce headers (Content-Type, Accept) are added
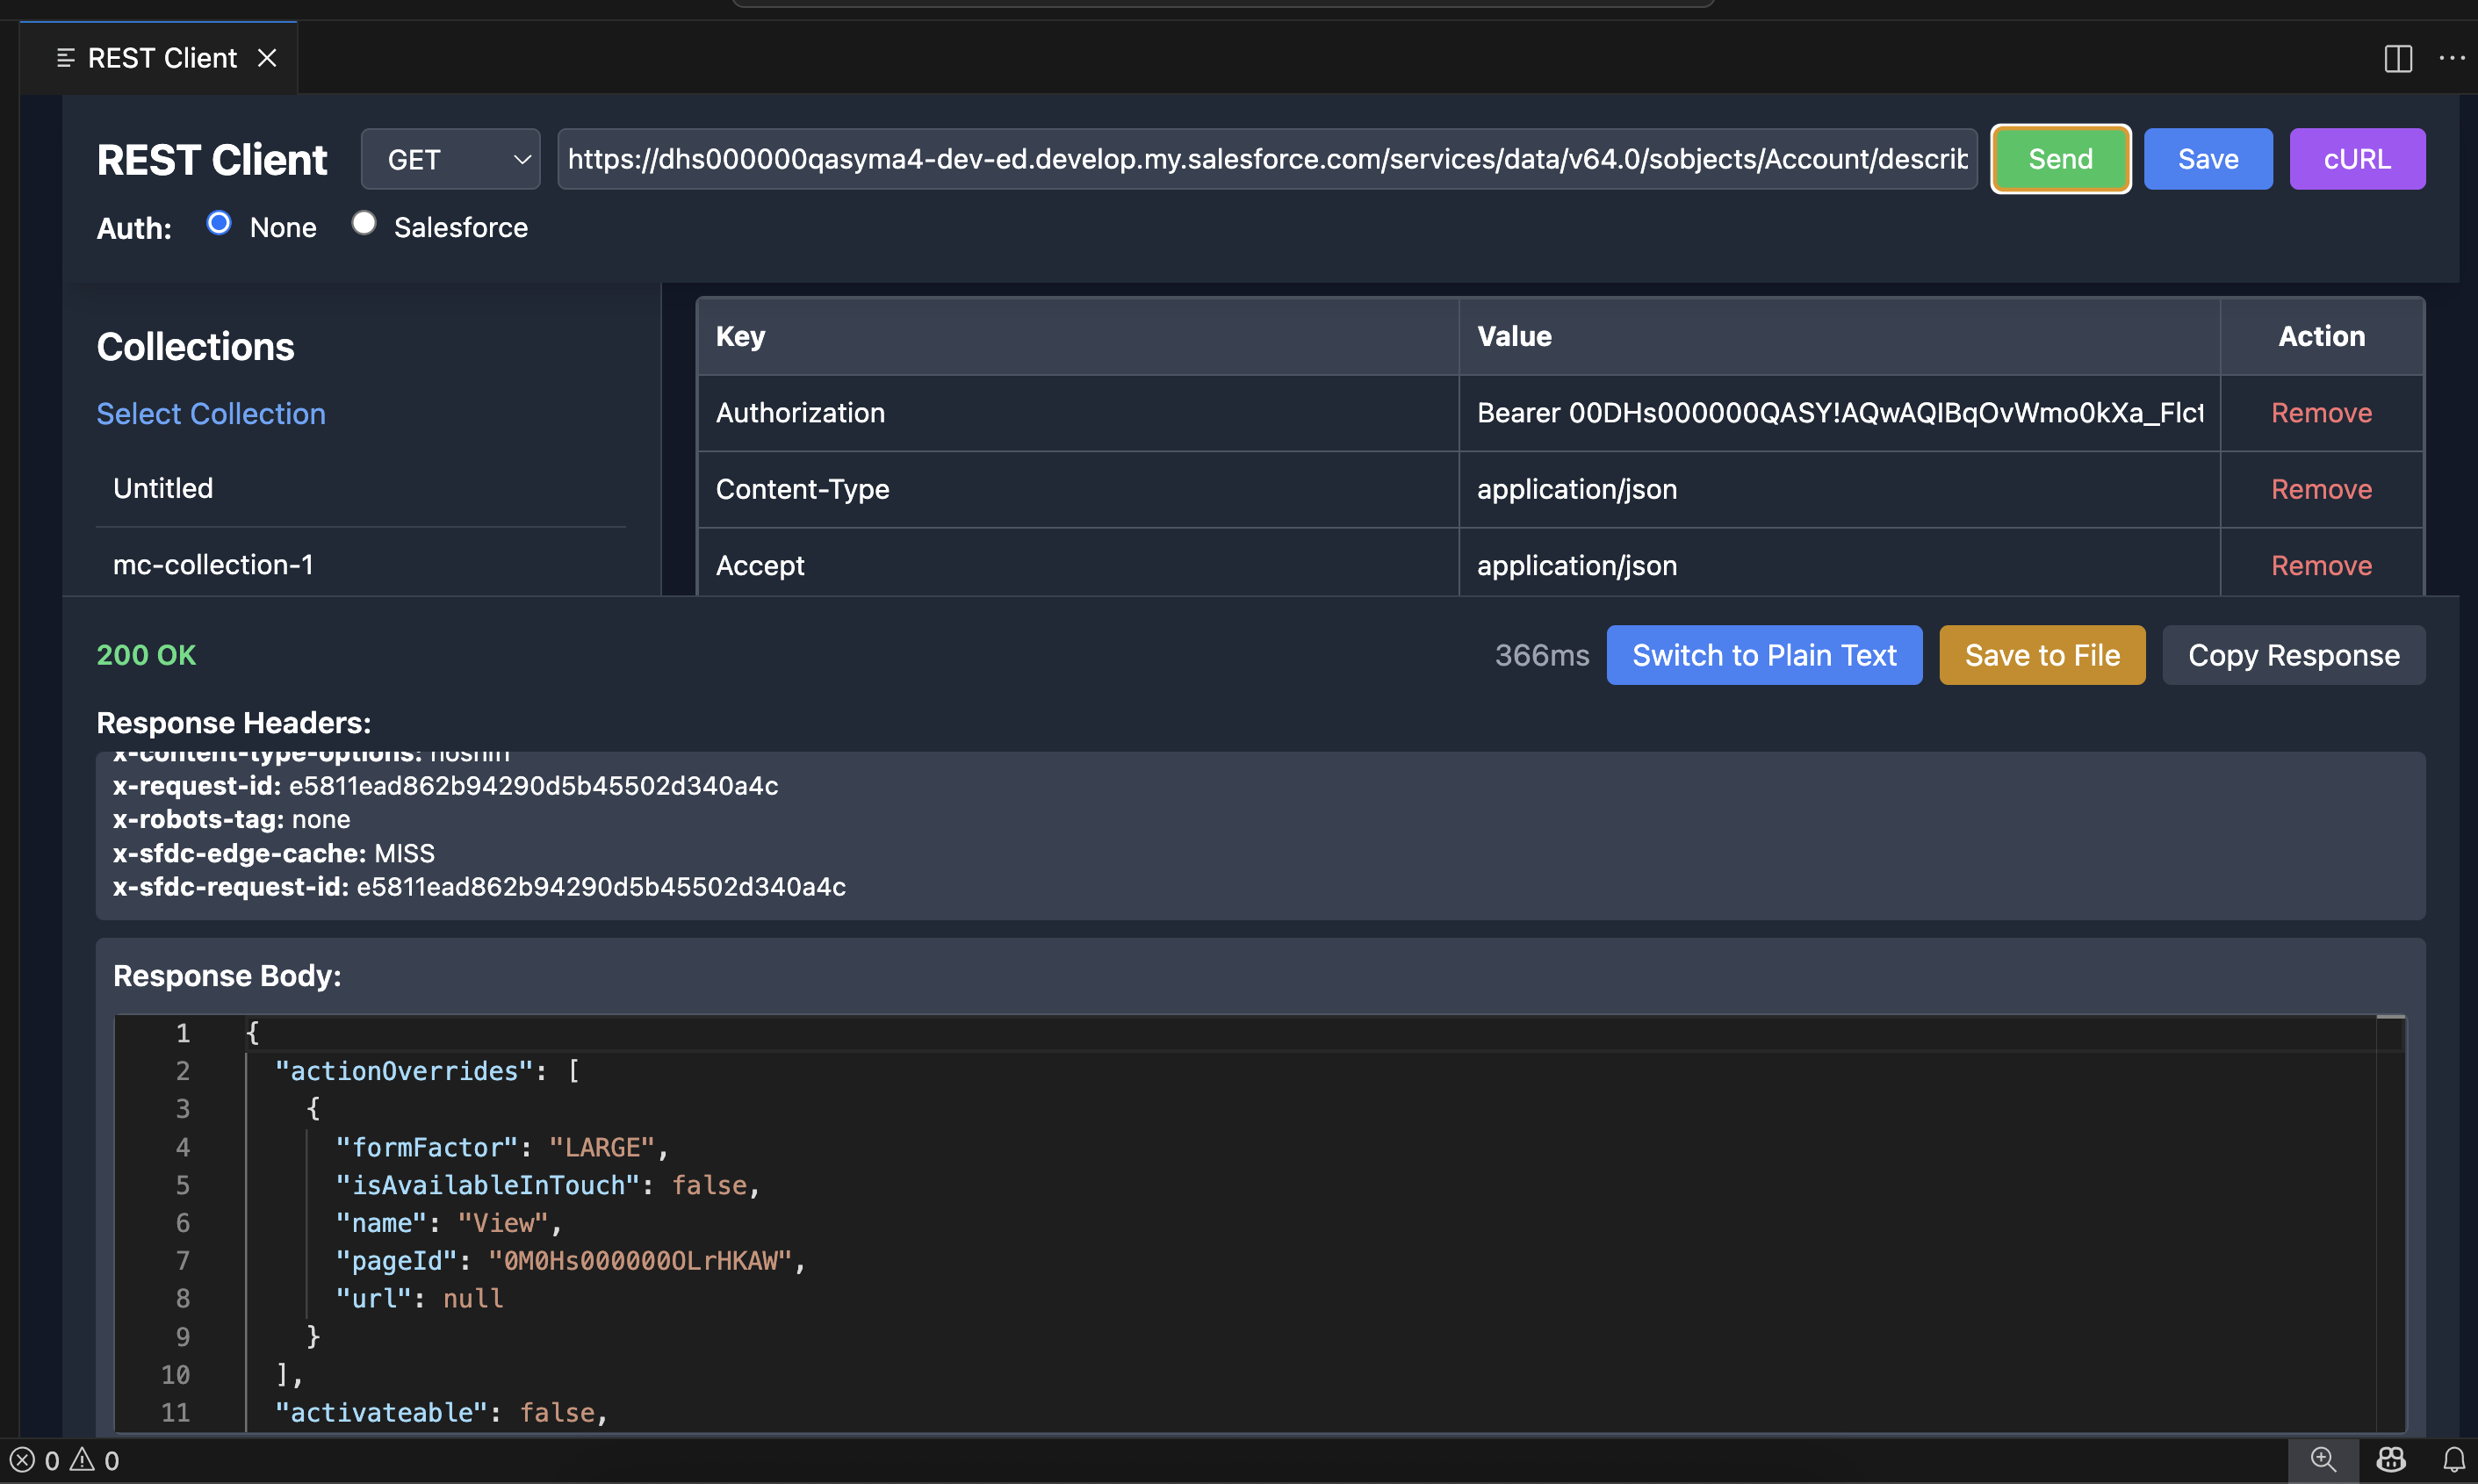
Example Request:
URL: https://your-instance.salesforce.com/services/data/v60.0/sobjects/Account/describe
Method: GET
Headers: Automatically populated
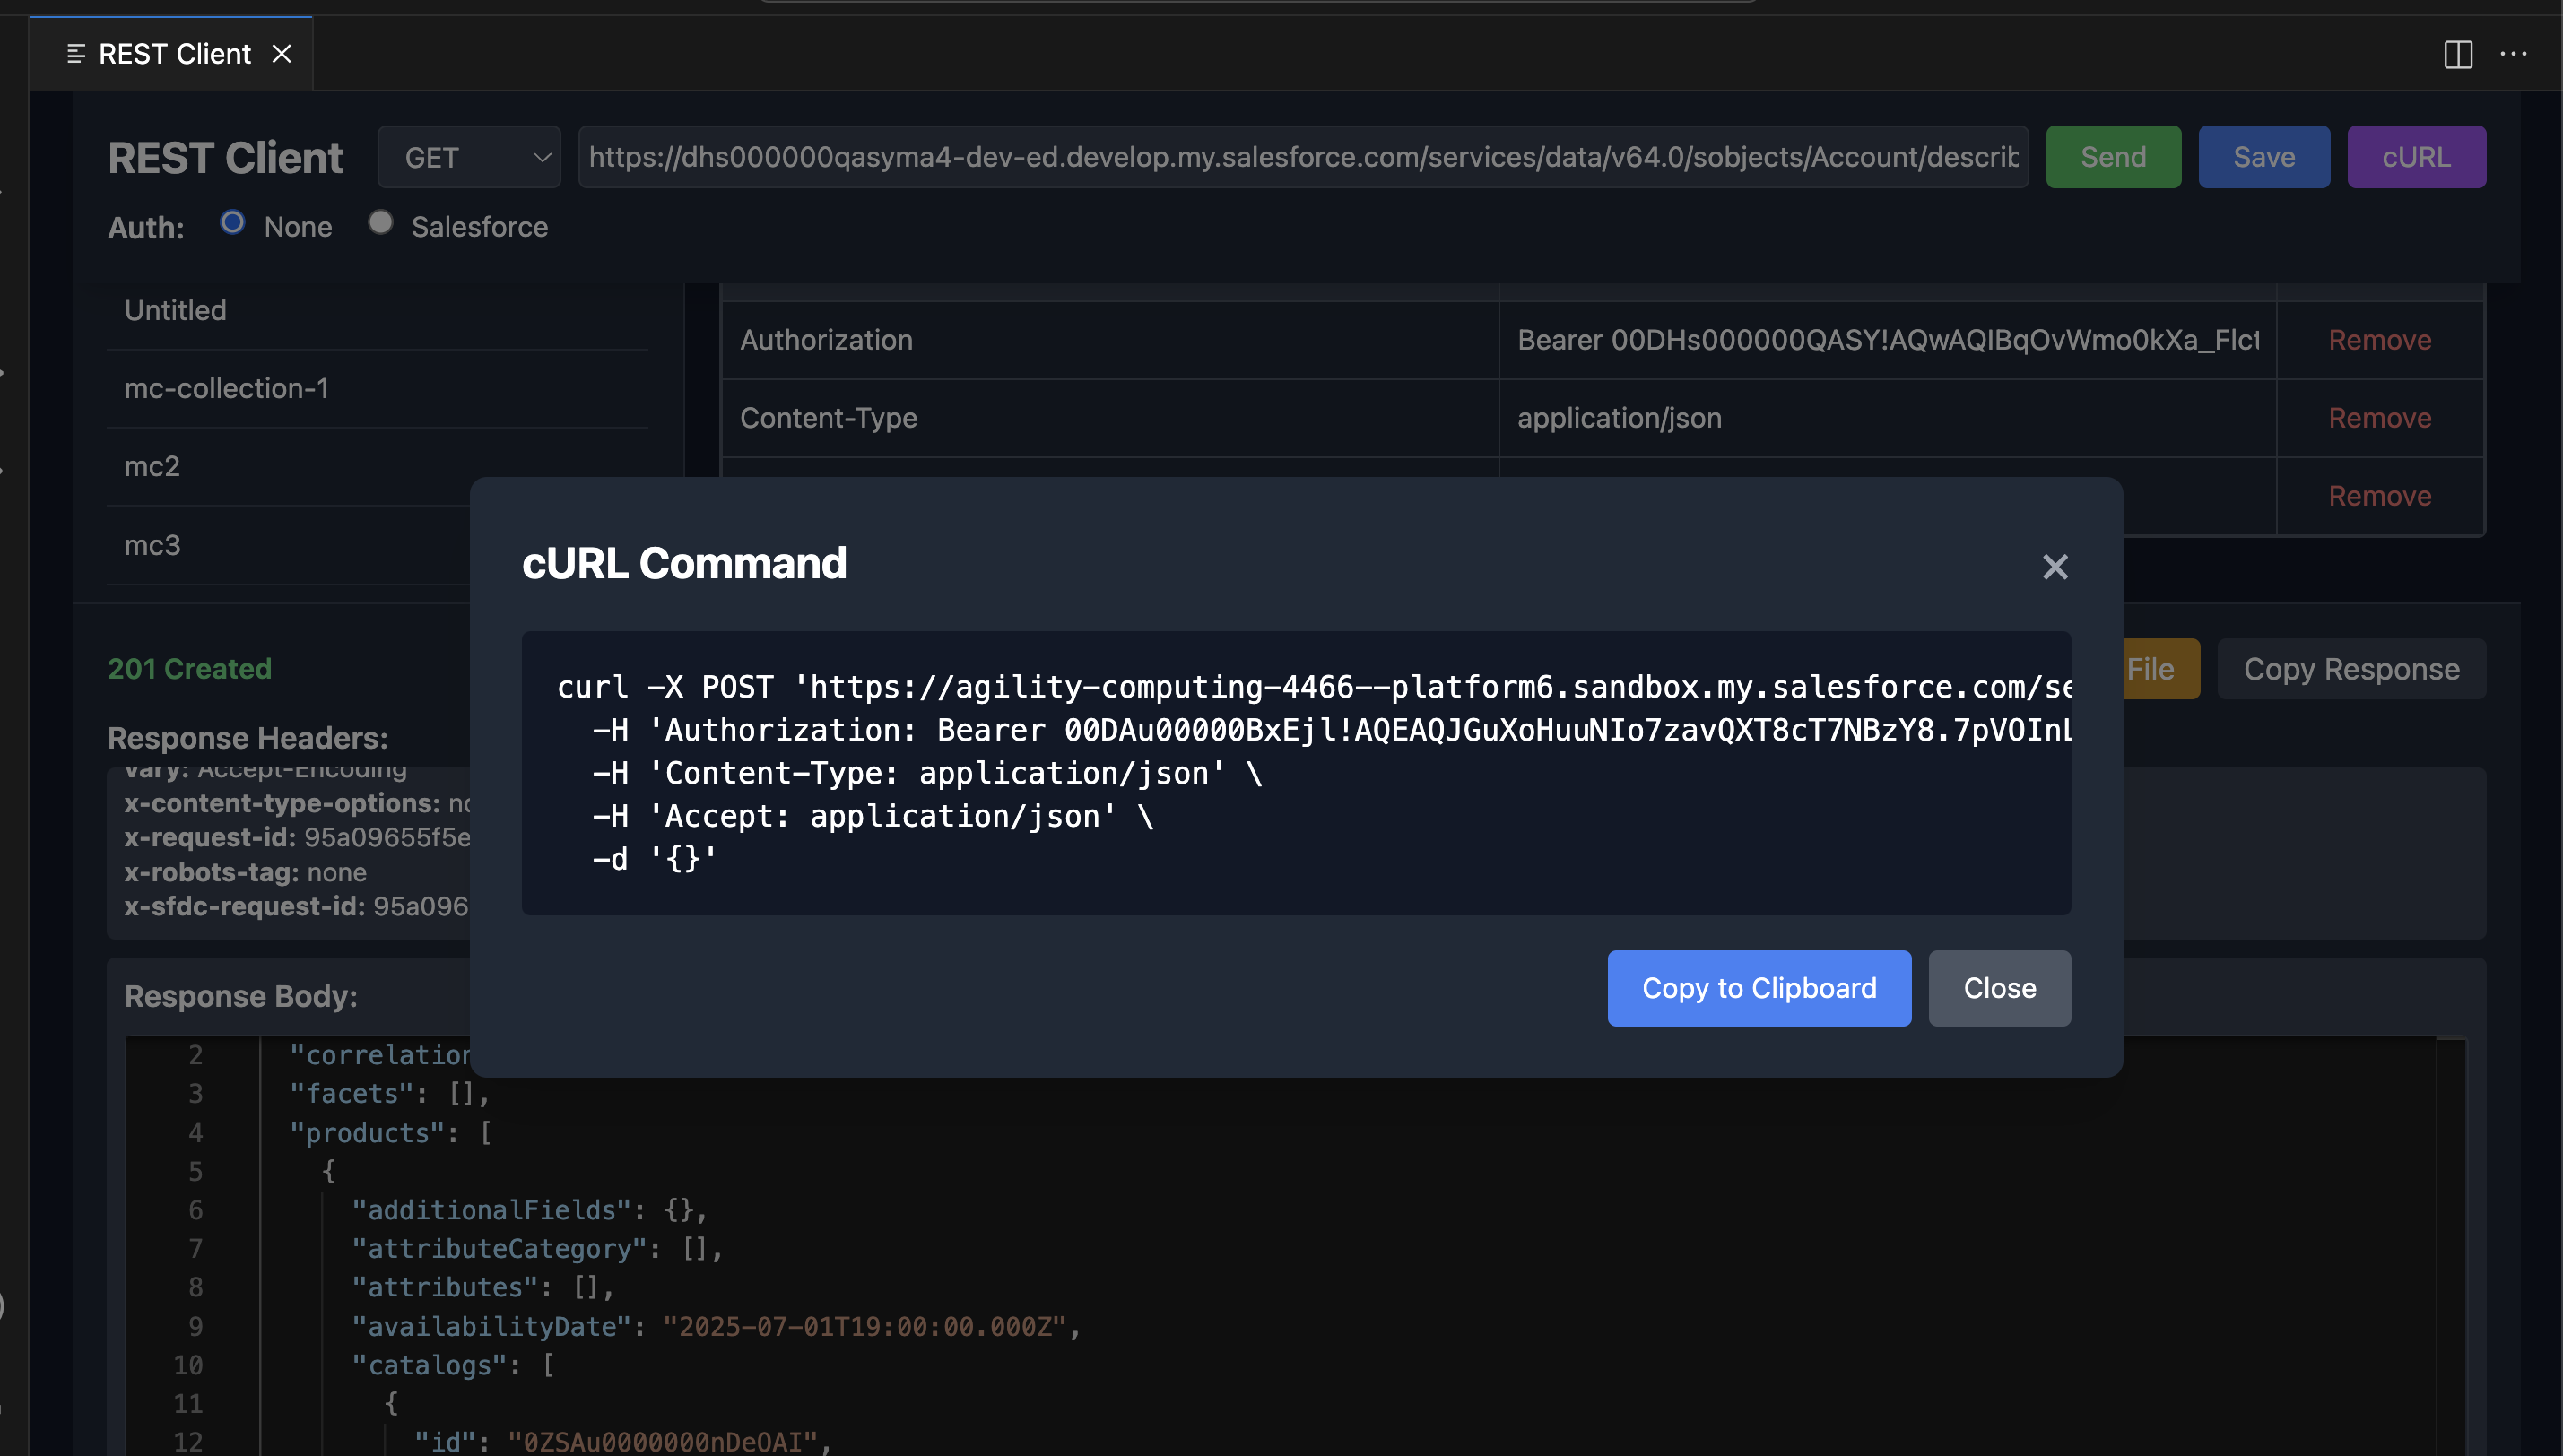
Export as cURL
Send a request first
Click the "cURL" button
View the generated cURL command
Click "Copy to Clipboard"
Use in terminal or share with team
🎯 Use Cases
API Development : Test your APIs during developmentAPI Testing : Validate endpoints and responsesSalesforce Development : Query Salesforce REST APIs without leaving VS CodeDocumentation : Save and share API collections with your teamDebugging : Inspect headers, status codes, and response bodiesIntegration Testing : Test third-party API integrations
⌨️ Keyboard Shortcuts
Action
Shortcut
Open REST Client
Ctrl+Shift+P → "REST Client: Open Panel"
Confirm Save Collection
Enter (in modal)
Confirm Save File
Enter (in modal)
Close Modal
Click outside or × button
🔒 Privacy & Security
Local Storage : All collections are stored in VS Code workspace stateNo External Servers : No data is sent to external serversSecure Auth : Salesforce tokens are retrieved via official CLISession Cache : Auth tokens are cached locally in workspace state
📝 License
This project is licensed under the MIT License - see the LICENSE file for details.
Made with ❤️ by Mohan Chinnappan
Happy API Testing! 🚀