
WHAMWindhawk Source Amalgamation for VS Code. Write a Windhawk mod across several C++ files, then generate a single
Getting started
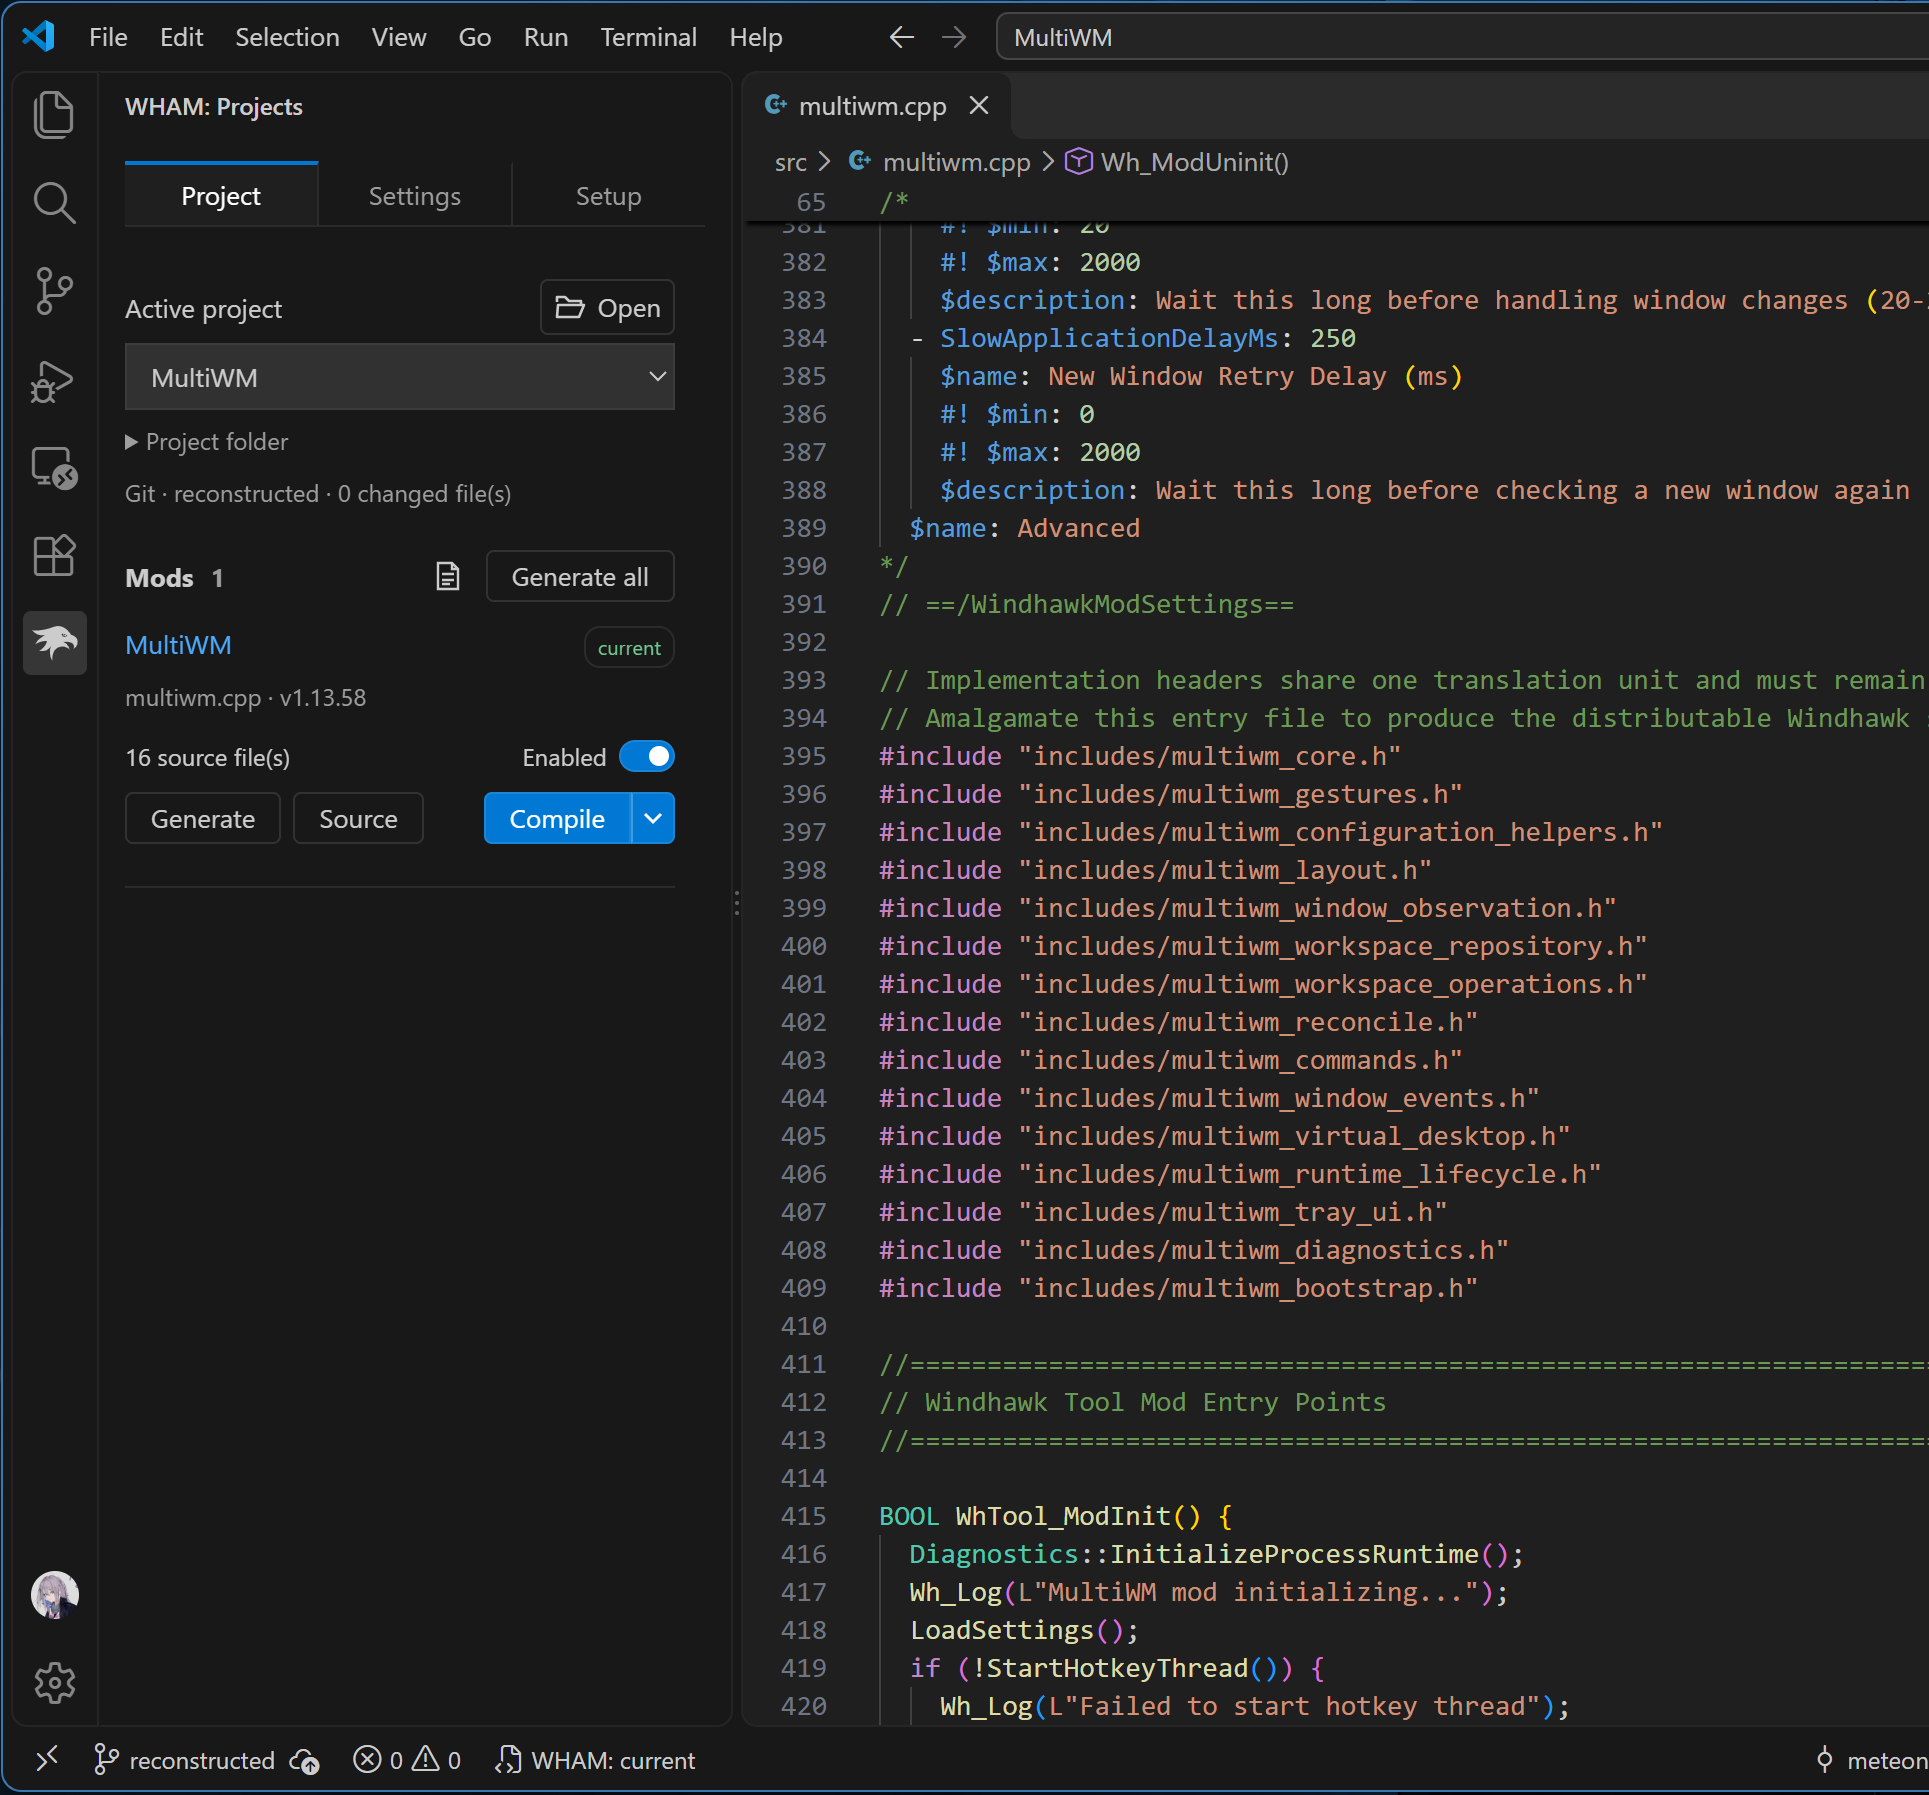
Open project remembers recent folders and opens existing WHAM projects without setup prompts. Browse to select another source folder. Keep each mod's entry Output updates when you save. Use Generate for a single mod or Generate all for the project. Settings controls generation, compiler integration, indentation, and Git ignore rules. New projects get RecoveryRecover mods rebuilds a source tree from one or more WHAM-generated files. Keep the If you edit generated output, WHAM pauses regeneration so your changes aren't overwritten. Restore those edits to source or explicitly discard them before generating again. Compile generates and installs the current mod in Windhawk, keeping its Enabled state. The first build starts disabled. The dropdown offers Test build without installing, Verify syntax for its declared architectures, and Stop compilation while a build is running. Click the mod name to preview its README and default settings in the sidebar. Use the Windhawk icon beside Refresh to open Windhawk and change installed settings. The preview works without Windhawk. Compilation and installed-mod controls need a compatible Windhawk 2.0 CLI. See the user guide for configuration, CLI commands, and supported C++ constructs. Standard Windhawk installs need elevation for compilation and installed-mod changes. Choose Windows sudo (may require more prompts) or gsudo (once per VS Code session) under Extension settings. gsudo is found automatically on PATH when installed. None uses VS Code's current permissions. Saving local preferences does not change project files; Apply editor settings does. BuildingUse Node.js 20 or newer, Git, and Windhawk’s Windows compiler. Set Packaging creates a LicenseWHAM's own code is MIT licensed. The bundled Windhawk renderer, icon, and adapted syntax grammar are GPLv3; see third-party notices. WHAM is an independent project. |