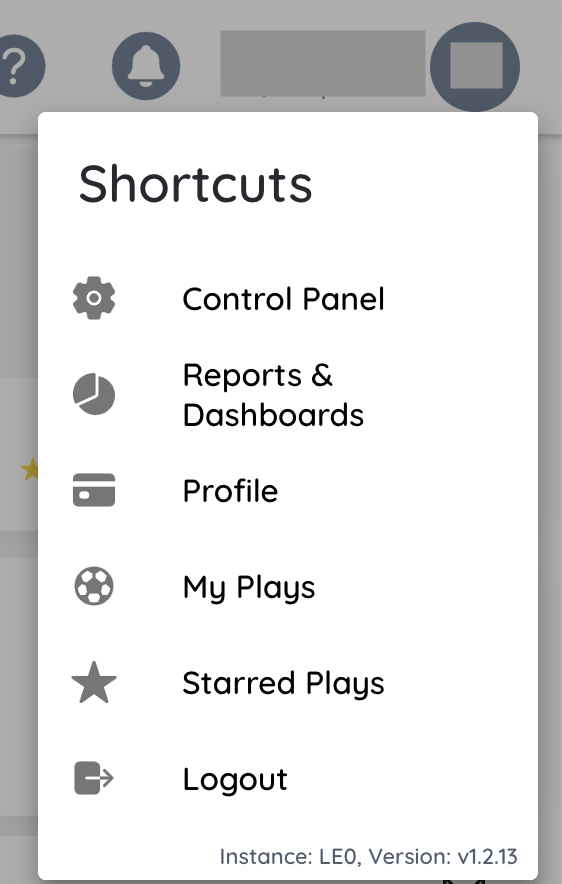
Extension OverviewThis extension allows to easily upload your Salesforce projects as assets/plays directly to Playground, right from your editor, giving you the best experience. This is the easiest way to upload solutions to Playground. This works well with SFDX projects and Salesforce extensions. About PlaygroundPlayground is an intuitive, collaborative and easy-to-use cloud application to upload and share solutions within the Salesforce ecosystem. Extension RequirementsYou should have a Playground login to use this extension. Once you are logged in, you need to create an App Password to be used for this extension. SetupOnce installed, connect your extension with App Passwords. Follow the below step by step process to connect. Generating App PasswordTo connect VS code with Playground, user would need to generate an App Password in Playground and consume the details in VS Code. Log into Playground and click on the user details on top right. Select Profile option to see profile details and customize it.
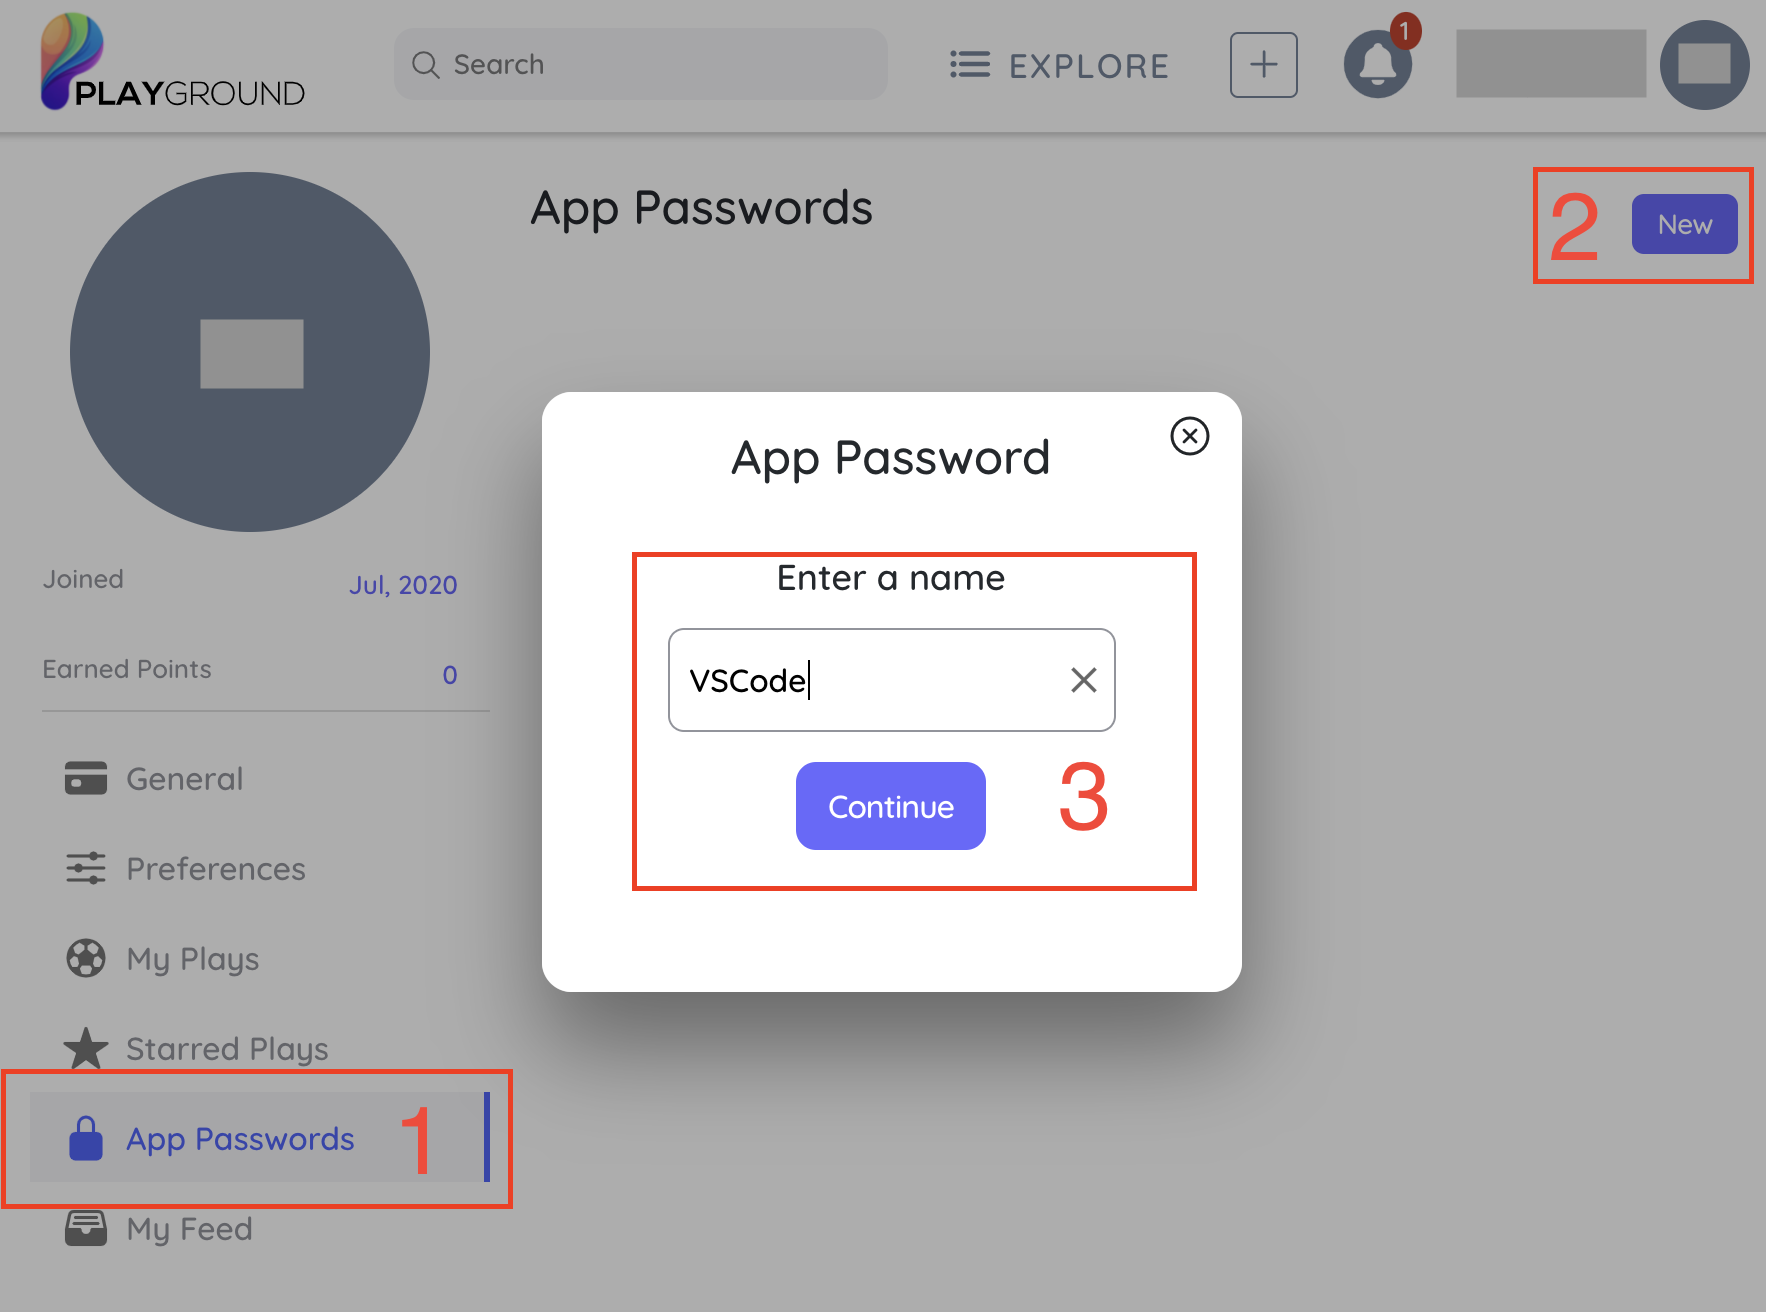
From the left sidebar menu, click on App Passwords. This would open the existing app passwords (if created earlier) and it gives an option to create a new app password. Click on New buttton. It opens a pop-up to create a new app password. Enter a meaningful name like VSCode. Click Continue, once done.
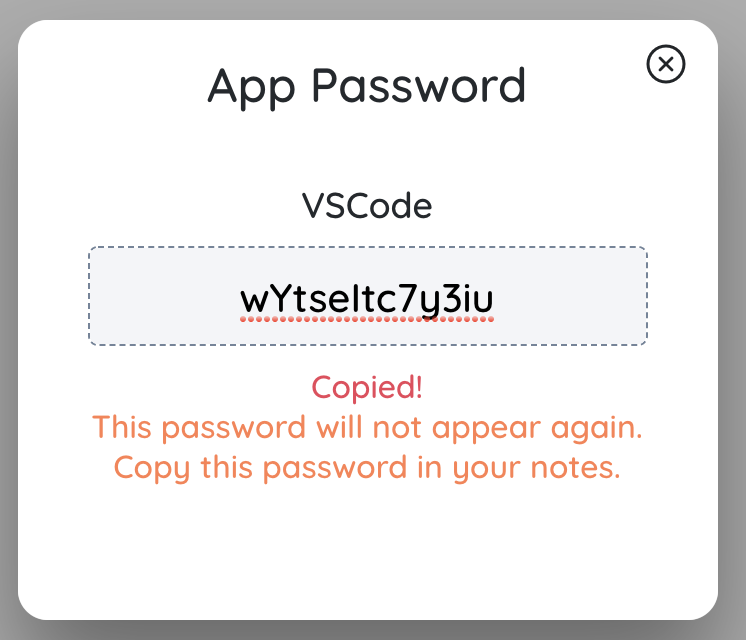
Copy the app password. Make sure to note it safely (if needed), as it will not be visible after you move away from the page.
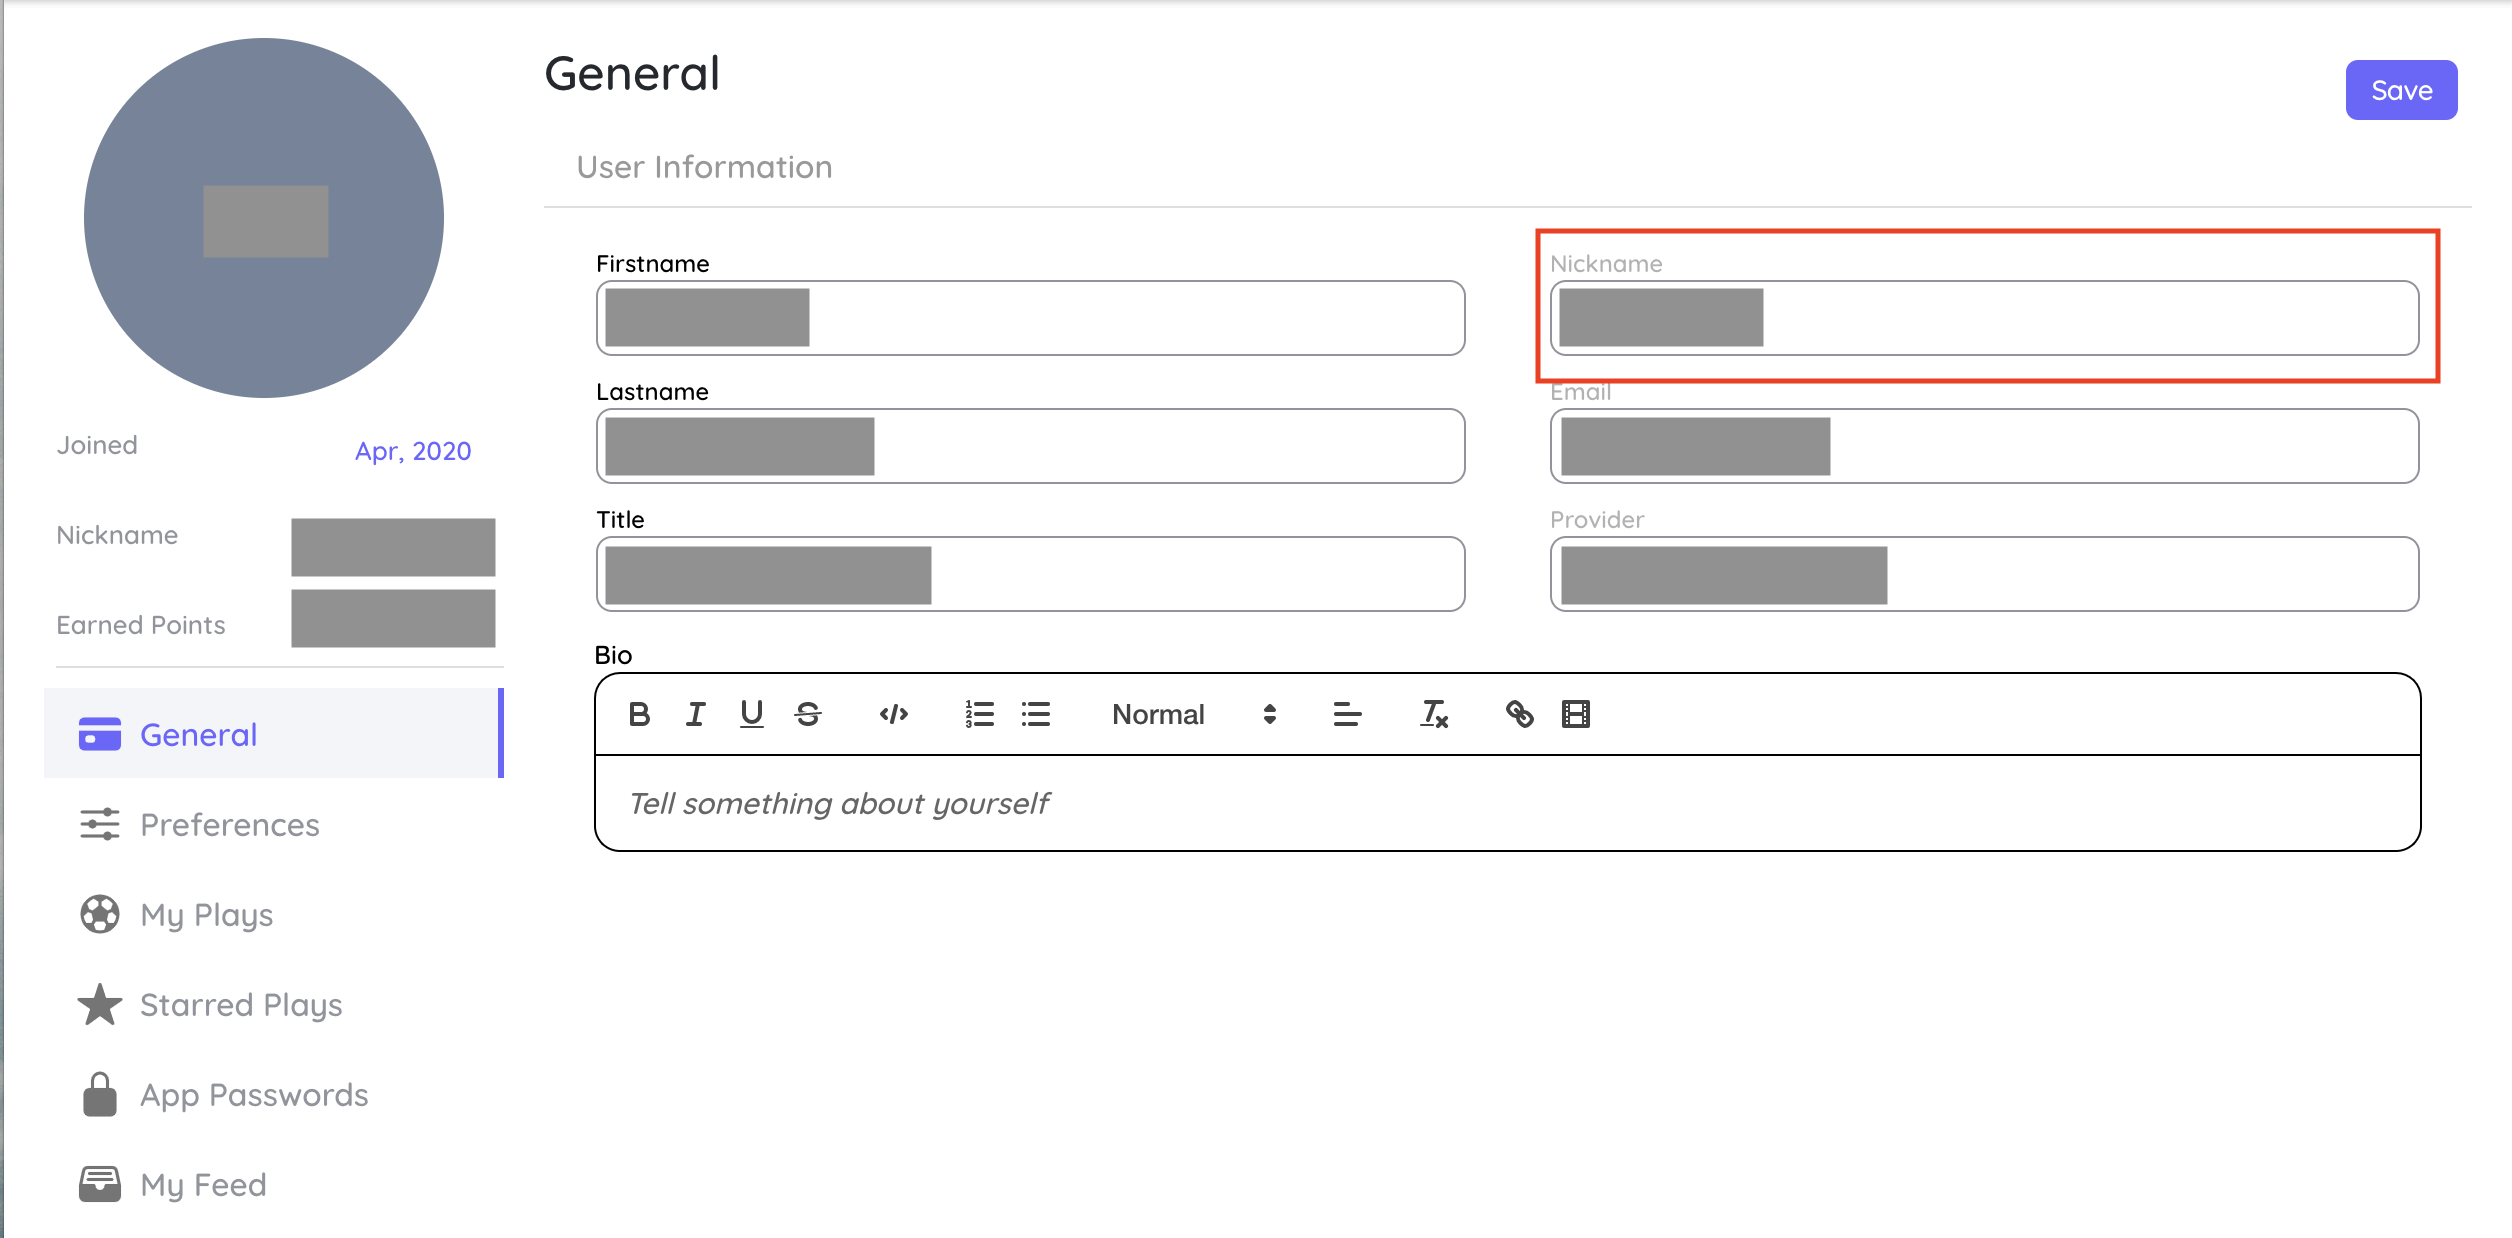
Get User NicknameRemaining on the profile details page, click on General link on the sidebar. Copy the nickname. It will be needed later while connecting VS Code with Playground application.
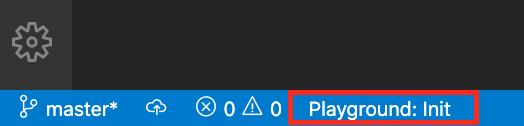
Connecting VS Code with Playground/ Making folder a Playground directpryOnce the password is generated, configure VS Code editor & establish a connection. Click on Playground: Init button on the bottom status bar as shown below.
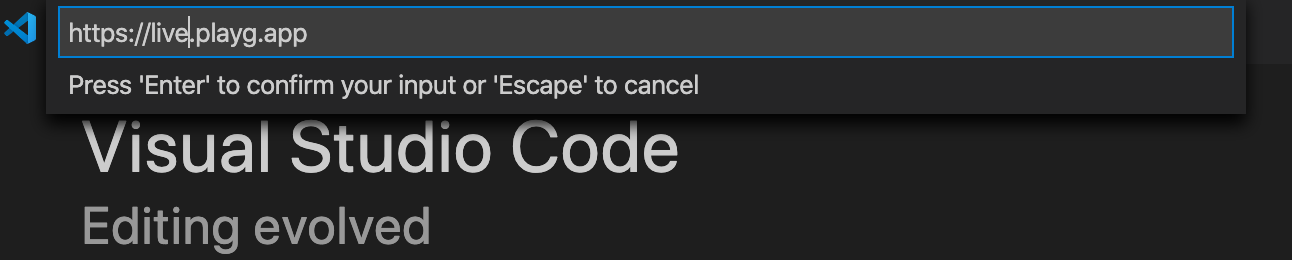
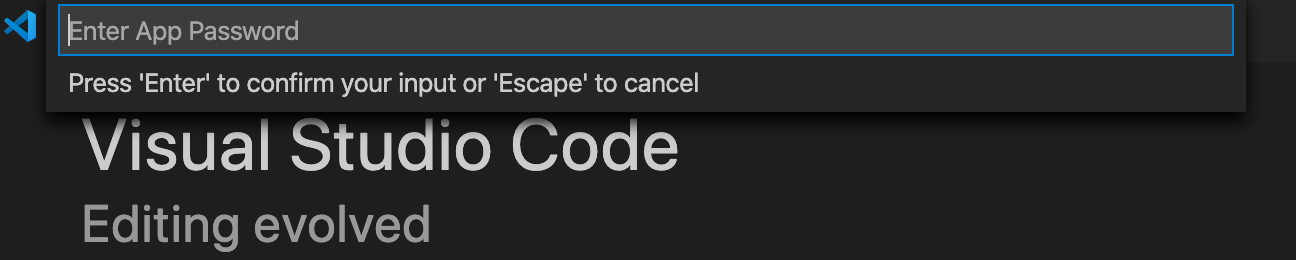
On button click, it will ask for following basic information:
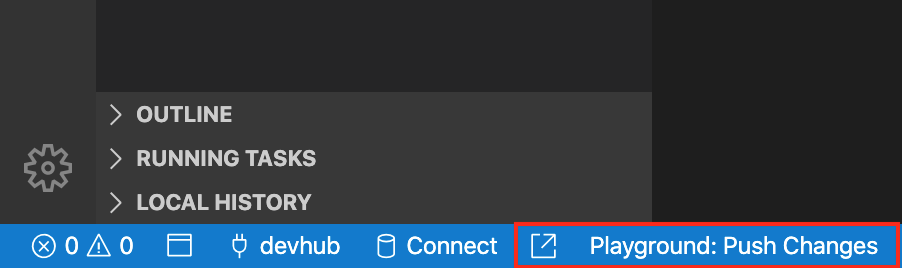
Extension UsageOnce everything is set up, Uploading project to Playground is a single click task. Just go to
Want to send limited files?Playground generates a default Open the play through vscodeThere is an open link button just along with Extension CommandsIf buttons are not visible, use the following commands from Command Pallette:
Relevant Links |