DashFlow - Coding in Motion
A VS Code extension that enables live reloading for Infodash Canvas Webparts during development. This extension creates a bidirectional sync between your VS Code workspace and SharePoint pages, allowing you to see changes instantly as you edit HTML, CSS, and JavaScript files.
Features
- Live Reloading: See changes instantly in SharePoint as you edit files
- Bidirectional Sync: Web part properties sync to files, file changes sync to web part
- Edit Mode Only: Security feature ensures this only works in SharePoint edit mode
- Local WebSocket Server: WebSocket server runs on localhost (users run VS Code extension locally)
Architecture
The extension follows a bidirectional sync pattern:
Infodash Canvas Webpart ↔ Local WebSocket Server ↔ VS Code Extension
- Properties → Files: When an Infodash Canvas Webpart connects, it sends its properties (authoritative source) to VS Code, which writes them to
app.html, app.css, app.js, data.json, config.json, and user.json files
- Files → Web Part: When you edit files
app.html, app.css, app.js in VS Code, changes are pushed to the connected SharePoint page instantly. data.json, config.json, and user.json files are used as context during development. When altering the app.js files, you can use data[Connector Name], config.PropertyName or user.PropertyName inside the JavaScript code. The data.json, config.json, and user.json files are not synced back to the web part.
Installation
- Clone or download this repository
- Open in VS Code
- Run
npm install to install dependencies
- Press
F5 to launch a new Extension Development Host window
- In the new window, open your workspace and run the command:
DashFlow: Start Live Sync
Usage
VS Code Side:
- Open your workspace in VS Code
- Run the command:
DashFlow: Start Live Sync (or click the status bar item)
- The WebSocket server will start on
ws://127.0.0.1:35729
- Edit
app.html, app.css, or app.js files to see changes instantly
- Context files (
data.json, config.json, user.json) are created when the web part connects and can be referenced in your code
- Companion documentation files (
data.json.md, config.json.md, user.json.md) are automatically generated to help AI assistants understand the context
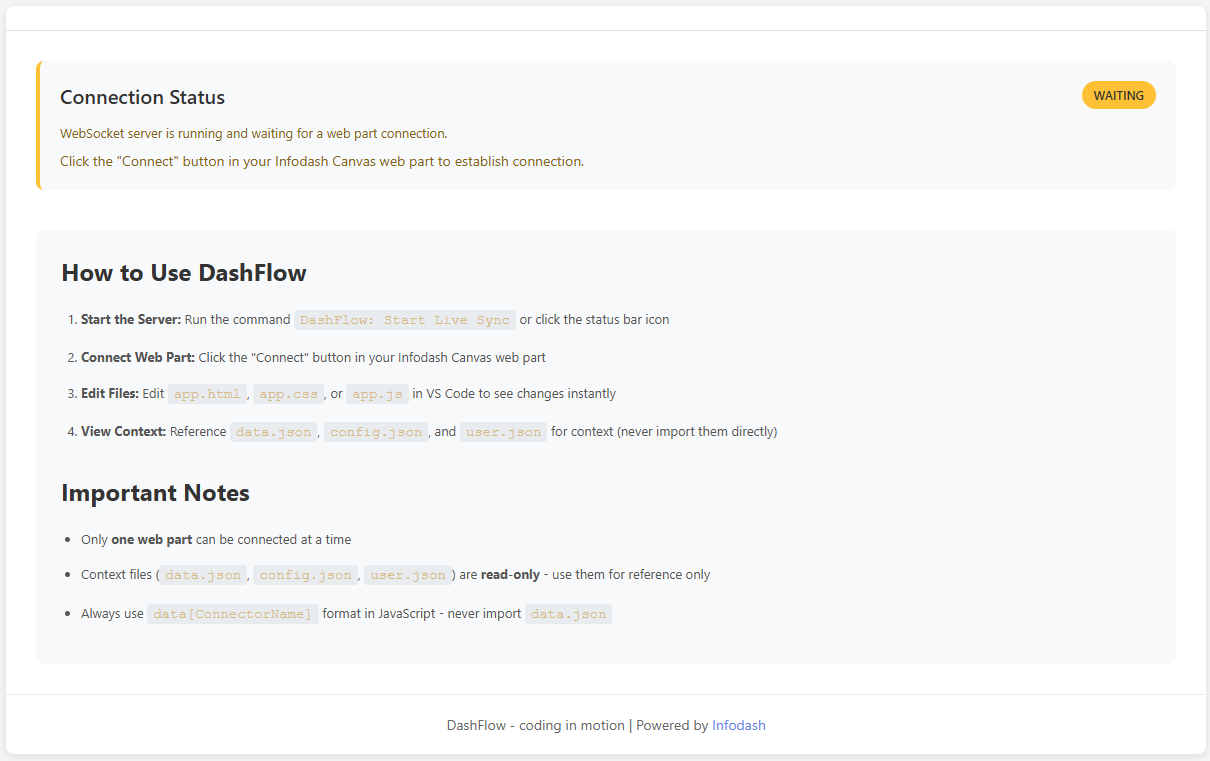
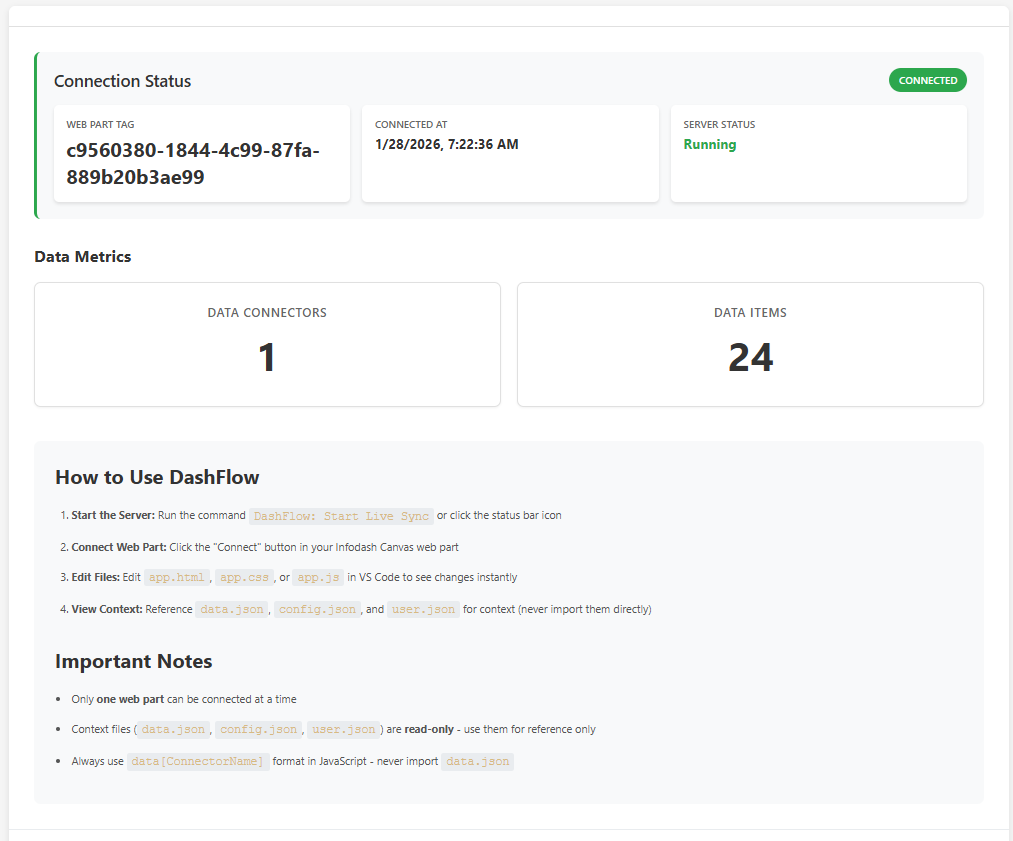
View the current status of the DashFlow by pressing Ctrl+Shift+P and running the Dashflow: Show Status command.
Waiting for Connection
Conncted to Canvas
Infodash Canvas Webpart Side:
Note: The web part integration code should be added to your Infodash Canvas Webpart.
- New integration: See
docs/WEBPART_INTEGRATION.md for complete integration guide
- Existing web part: See
docs/TAG_INTEGRATION.md for minimal tag-related changes only
- Open your SharePoint page in edit mode
- Click Connect with DashFlow
- The web part will send its unique tag and connect to VS Code
- Properties will sync to files automatically after connection
- Any file changes in VS Code will be applied instantly to the connected web part
Important: Only one web part can be connected at a time. If multiple web parts are on the page, clicking "Connect" on a different web part will disconnect the previous one.
Connect to DashFlow

Disconnect

Security Features
- Edit Mode Only: Only works when SharePoint page is in edit mode
- Local WebSocket Server: WebSocket URL is hard-coded to
ws://127.0.0.1:35729 (server runs on user's local machine via VS Code extension)
File Structure
canvas-vibe/
├── package.json                 # VS Code extension manifest
├── tsconfig.json                # TypeScript configuration
├── src/
│   ├── extension.ts             # Main extension entry point
│   ├── websocketServer.ts       # WebSocket server implementation
│   ├── fileWatcher.ts           # File watching and writing logic
│   └── types.ts                 # Type definitions
├── out/                         # Compiled JavaScript (generated)
└── README.md
Note: This project contains only the VS Code extension code. The Infodash Canvas Webpart integration code should be added to your web part. See the integration documentation for implementation details.
Generated Files (created when web part connects):
When the extension receives properties from the web part, it creates these files in your workspace:
app.html - HTML templateapp.css - CSS stylesapp.js - JavaScript codedata.json - Data connectors and data array (from web part data property)config.json - Global config variables (from web part config property)user.json - User properties (from web part user property)
Development Workflow
- Developer runs
DashFlow: Start Live Sync command (Ctrl_Shift+P)
- Extension starts WebSocket server, reads initial file contents (if they exist), and sets up file watchers
- Developer clicks "Connect with DashFlow" button in the desired Infodash Canvas Webpart (only one web part can be connected at a time)
- Infodash Canvas Webpart sends
connect message with unique tag to WebSocket
- Extension accepts connection and disconnects any previous active connection
- Infodash Canvas Webpart sends
properties-sync message with current properties (authoritative source)
- Extension receives properties, extracts
code.html, code.css, code.js, and writes them to files
- Extension sends
properties-synced confirmation to the web part
- Infodash Canvas Webpart sends
request-initial-sync message
- Extension responds with current contents of app.js, app.html, app.css (now synced from properties)
- Infodash Canvas Webpart applies file contents to the page
- Developer edits
app.js, app.html, or app.css in VS Code
- Extension detects change, reads file, updates cache, broadcasts update to active connection
- Infodash Canvas Webpart receives update and applies it instantly
- Developer sees changes immediately in SharePoint page
Message Protocol
Client → Server (Infodash Canvas Webpart → VS Code)
// Request initial file sync
{
  type: "request-initial-sync"
}

// Send properties to sync to files
{
  type: "properties-sync",
  properties: {
    renderMethod?: string,
    scripts?: Array<{ url: string, loadBeforeHtml?: boolean, globalVar?: string }>,
    code: {
      html: string,
      css: string,
      js: string
    },
    data?: any[], // Array of data connectors and data
    config?: any, // JSON config object with global config variables
    user?: any // User object with all user properties
  }
}
Server → Client (VS Code → Infodash Canvas Webpart)
// Connection confirmation
{
  type: "connected",
  message: string,
  tag?: string // Echo back the tag for confirmation
}

// Connection rejected
{
  type: "connection-rejected",
  message: string,
  reason: string // "invalid_tag" | "not_connected"
}

// Properties synced confirmation
{
  type: "properties-synced",
  message: string
}

// Initial file sync
{
  type: "initial-sync",
  files: {
    "app.js": string,
    "app.html": string,
    "app.css": string
  }
}

// File update
{
  type: "file-update",
  file: "app.js" | "app.html" | "app.css",
  content: string
}

// Error
{
  type: "error",
  message: string
}
Requirements
- VS Code 1.74.0 or higher
- Node.js (for building the extension)
- Infodash Canvas Webpart
Limitations
- Only works in SharePoint edit mode
- Requires VS Code extension running locally (WebSocket server on localhost)
AI Assistant Integration
This extension includes support for AI assistants (CoPilot, Claude, Codex, Cursor):
Instruction Files
.cursorrules: Primary instructions file (used by Cursor, readable by other AI tools)CONTEXT_FILES.md: Comprehensive documentation for all context files.github/copilot-instructions.md: GitHub CoPilot specific instructions.claude/instructions.md: Claude specific instructionsAI_INSTRUCTIONS.md: Shared reference for all AI assistants- Companion
.md files: Auto-generated documentation alongside each JSON file
How AI Assistants Use These Files
- Cursor: Automatically reads
.cursorrules and CONTEXT_FILES.md
- GitHub CoPilot: Reads
.github/copilot-instructions.md and workspace files
- Claude: Can read
.claude/instructions.md, .cursorrules, and CONTEXT_FILES.md
- Codex/OpenAI: Reads documentation files in the workspace
What AI Assistants Learn
These files help AI assistants understand:
- Available data structures and properties
- How to use context files in Handlebars templates
- SharePoint REST API patterns (never use
_spPageContextInfo)
- Infodash API authentication with MSAL
- Best practices for working with the code
- The relationship between context files and your code
- How to reference data using
data[ConnectorName] format (never import data.json)
Troubleshooting
- Port already in use: Stop any other instances or change the port in
websocketServer.ts
- Connection failed: Ensure the extension is running and the WebSocket server has started
- Files not syncing: Check that you're in edit mode and have
?enableLiveSync=true in the URL
- Properties not writing to files: Check the VS Code output channel for errors
- AI not understanding context: Ensure
.cursorrules and docs/CONTEXT_FILES.md are in your workspace root
License
This is a development tool for internal use. Use at your own risk.