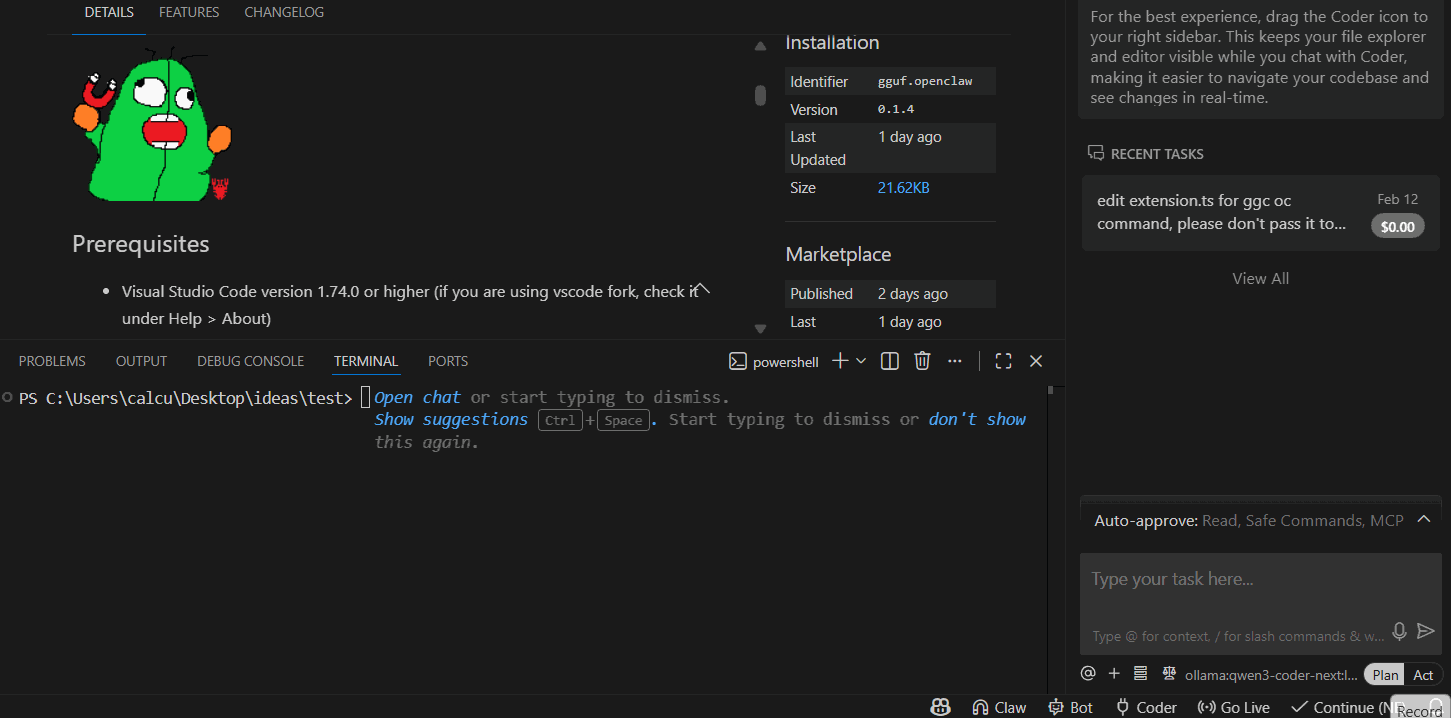
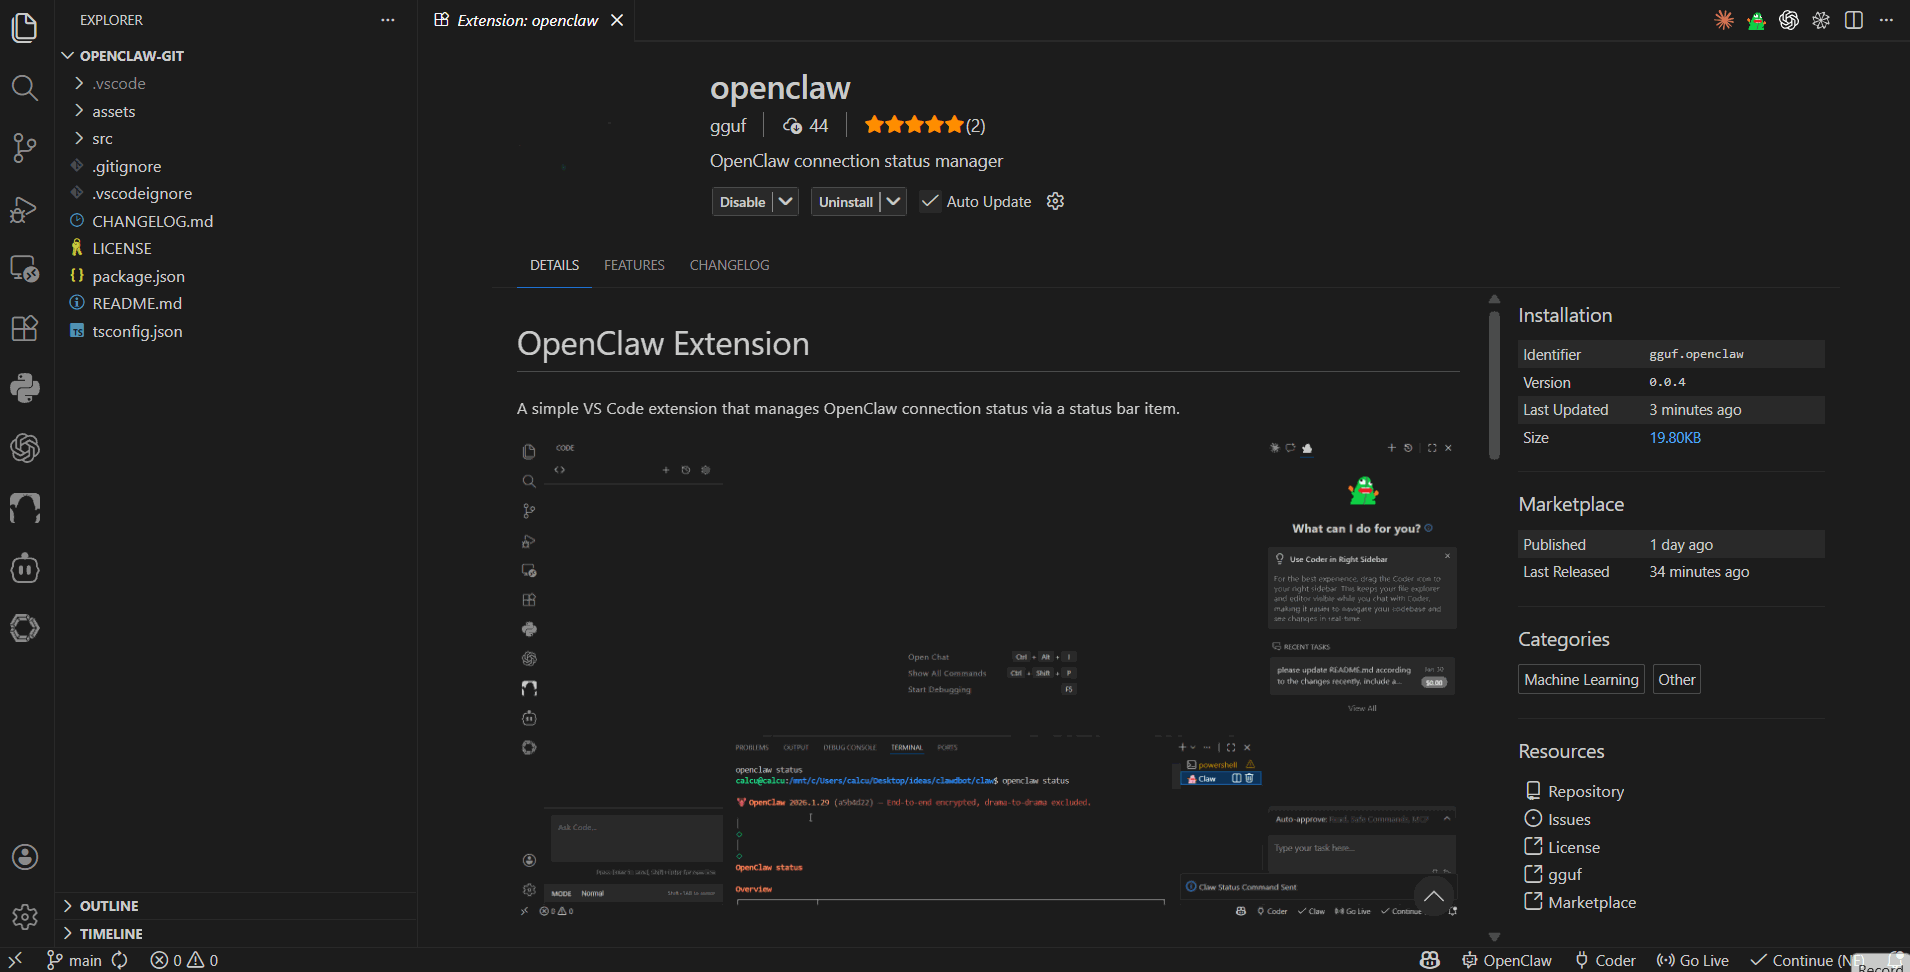
magnet 🧲⚡
A simple extension that manages Claw connection via a status bar magnet.
Prerequisites
- Visual Studio Code version 1.74.0 or higher (if you are using vscode fork, check it under Help > About)
- openclaw installed; if not, install it via npm:
npm install -g openclaw
pip install gguf-connector
*if you don't use the Terminal button then gguf-connector is optional

Features
Menu Selection Scheme: Re-structured to provide command menu with options:
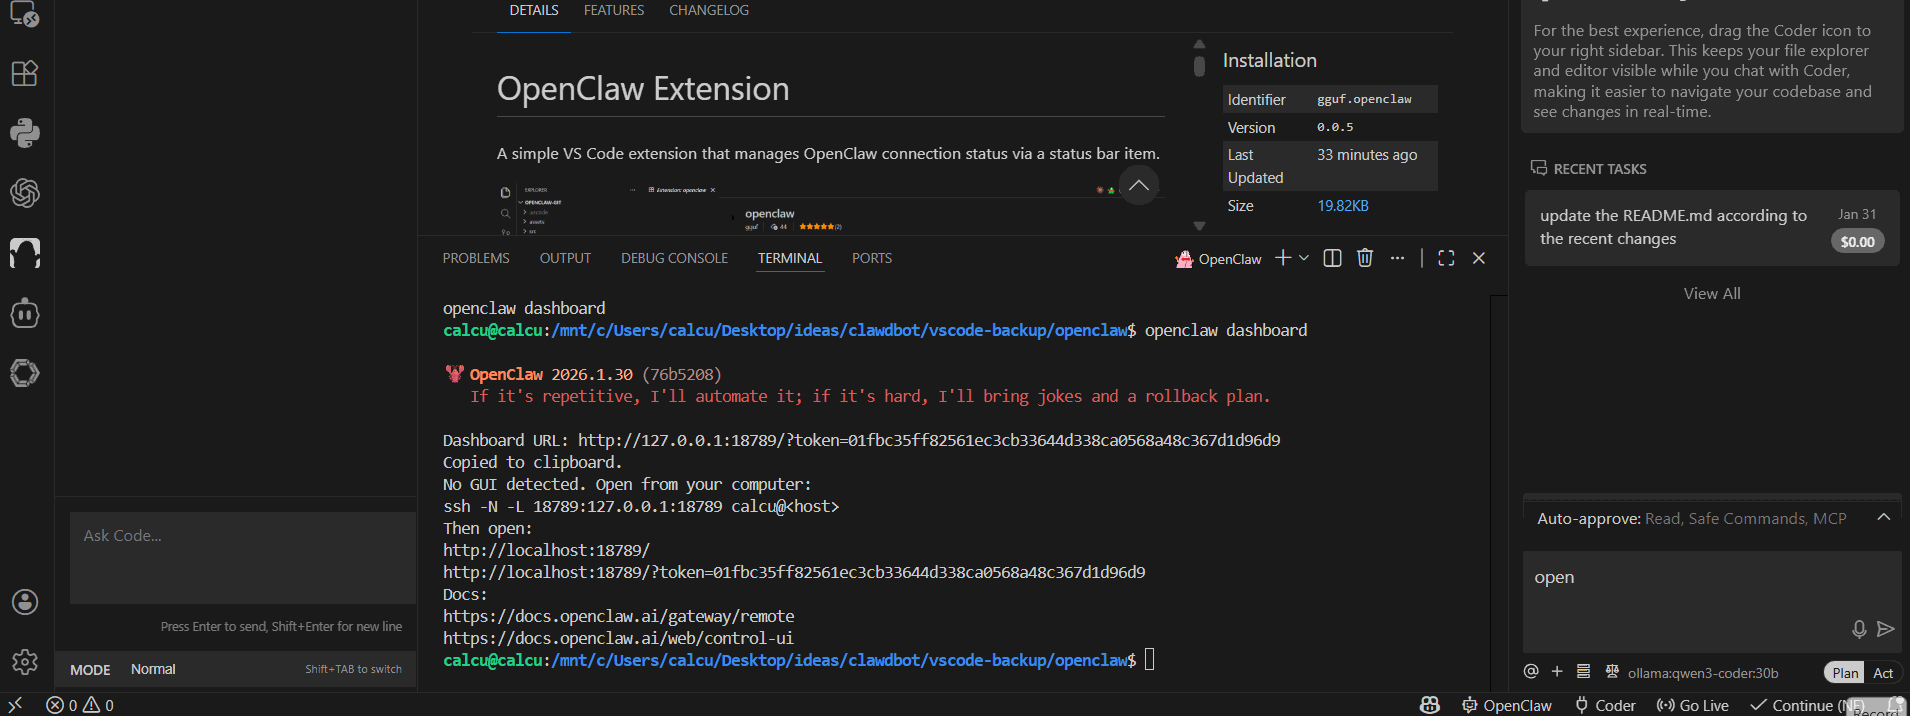
- Dashboard
- Checker (checks openclaw package status; this will help and walk you through: install/upgrade it to the latest version)
- Setup
- Onboard
- Pair up
- no headache and simplify the pairing process
- Doctor
- Console
- Gateway
- Run
- Status
- Start
- Stop
- Restart
- Terminal (gguf-connector needed)
OS Detection: Automatically detects operating system:
- Uses WSL terminal on Windows (please study wsl first if you don't have it as openclaw doesn't work well in powershell and git bash recently; you might need to add Path to Environment Variables... i.e.,
\\wsl.localhost\Ubuntu\home\<UserName>\.npm-global\bin)
- Uses native terminal on other platforms
Auto-Connect: Optional setting to automatically connect on startup (disabled by default)
Terminal Management: Creates or reuses terminal based on OS detection
Command Execution: Supports multiple commands (dashboard, gateway, etc.)
Usage
- Click the 🧲Claw status bar item (bottom right) to show the menu
- Select one of the options from the menu (Dashboard, Checker, Setup, Gateway, Terminal)
- The extension will open a terminal and execute the corresponding
claw command
- To enable auto-connect, go to Settings and enable
Claw: Auto Connect
Configuration
claw.autoConnect: Boolean value to automatically connect to Claw on startup (default: false)
Structure Diagram
graph TD
    A[VS Code] --> B[Claw Extension]
    B --> C[Status Bar Item]
    C --> D{Menu Selection}
    D --> E[Status Command]
    D --> H[Dashboard Command]
    D --> F[Onboard Command]
    D --> G[Gateway Command]
    E --> I[WSL Terminal]
    F --> I
    G --> I
    H --> I
    I --> J[openclaw CLI]
 *fetch the weather info in SF today; write a color picker for picking a random color for background
Workflow
openclaw (standard procedure)
├──Initialization: Extension activates and creates status bar item
├──User Interaction: User clicks status bar item to open menu
├──Command Selection: Dashboard, Checker, Setup, Gateway, or Terminal
├──Terminal Management: Extension creates or reuses terminal based on OS
└──Command Execution: Selected command is sent to terminal
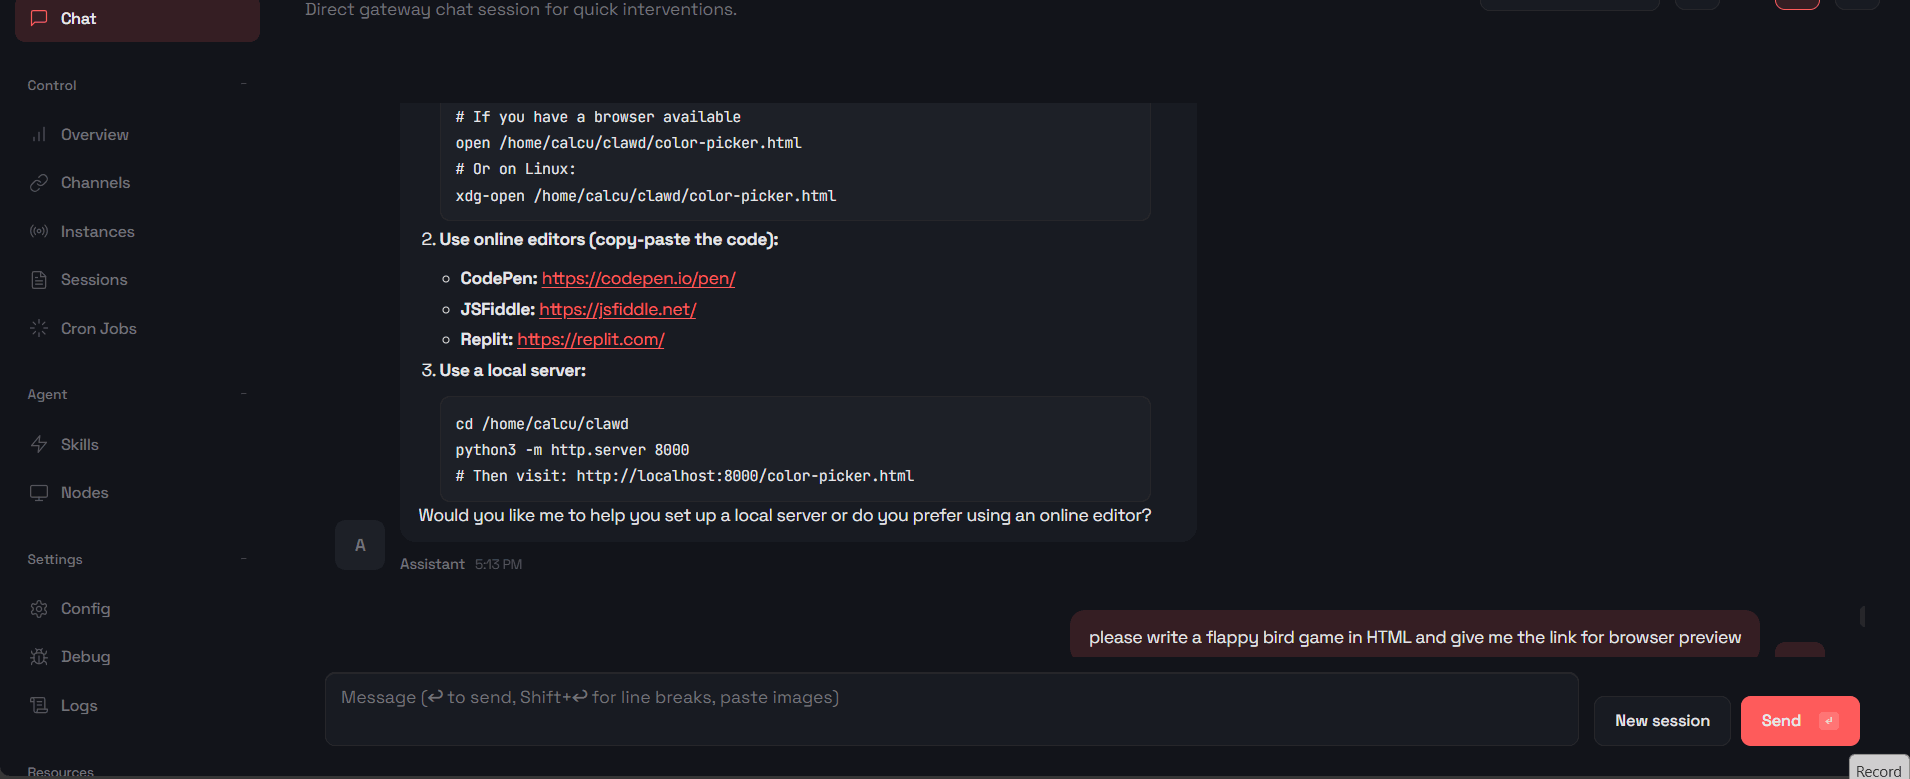 *make a flappy bird game on the air
Development
- Install dependencies:
npm install
- Compile:
npm run compile
- Press F5 to launch the Extension Development Host
 *create a star war game on the go
Commands
Claw: Show Menu - Show the Claw menu with command options
 *code a tic tac toe game (allows two players or playing against an AI)
License
MIT