
How to install and login to DevBricks within Azure DevOpsInstalling and logging in to DevBricks within Azure DevOps is a straightforward process that enables you to unlock the full potential of this powerful extension. By following the steps outlined in this tutorial, you can access DevBricks' full toolkit to assist in streamlining your software development projects. Step 1: Install DevBricks from the Azure DevOps MarketplaceTo begin, navigate to the Azure DevOps Marketplace here and click on "Get it for free" to initiate the installation process. 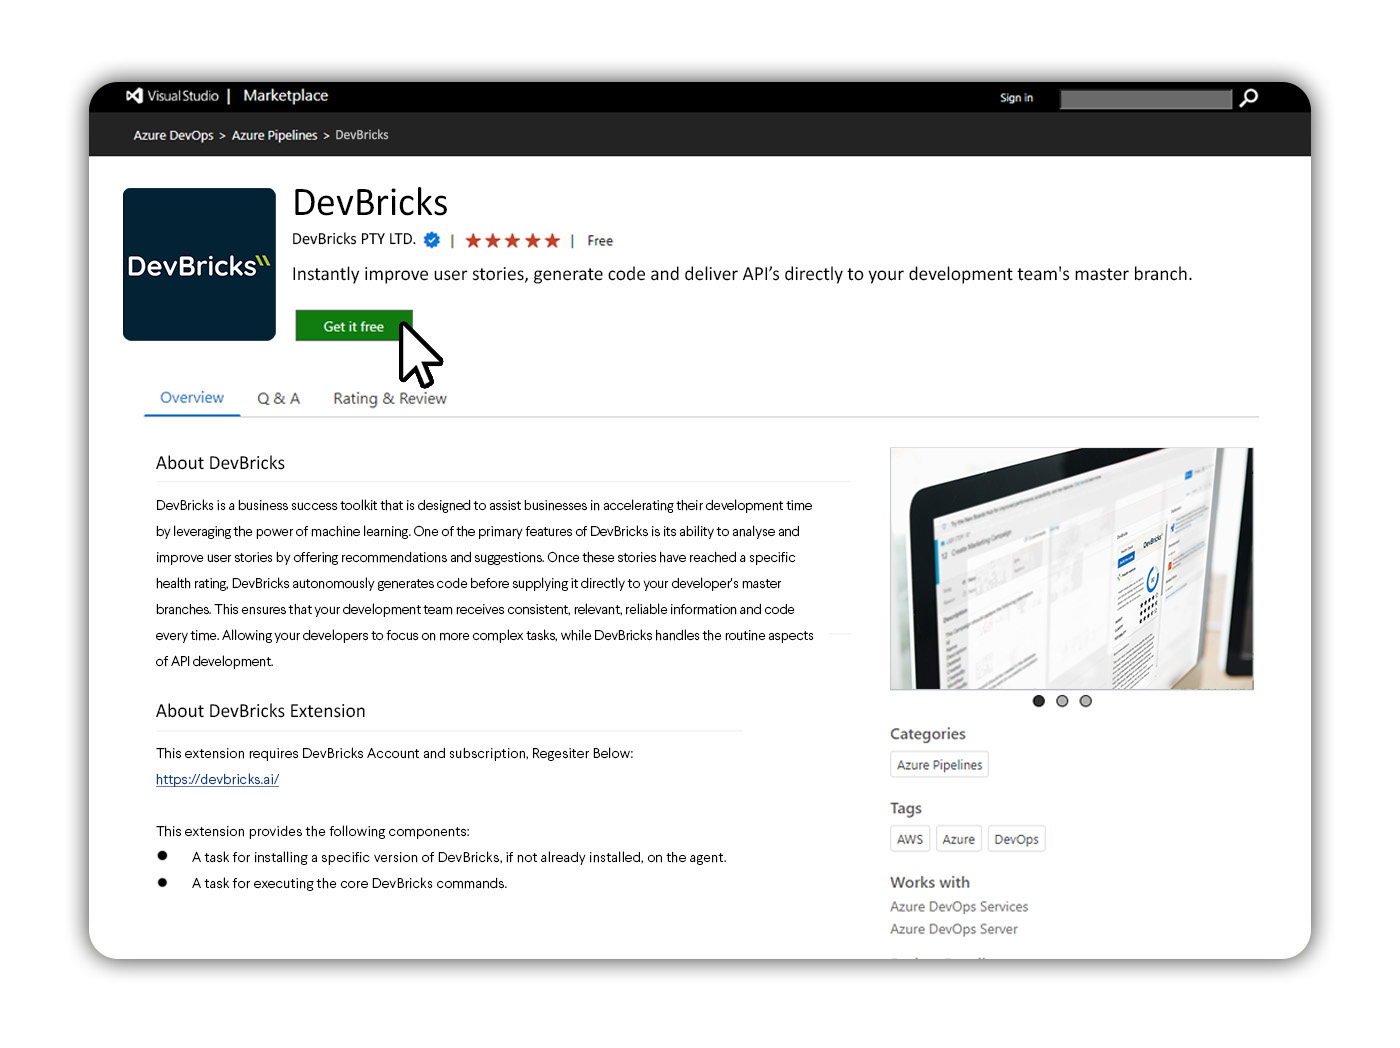
Next, from the dropdown menu, choose the organisation where you intend to install DevBricks. Note: You may require Organisation Administrator rights to proceed with the installation. 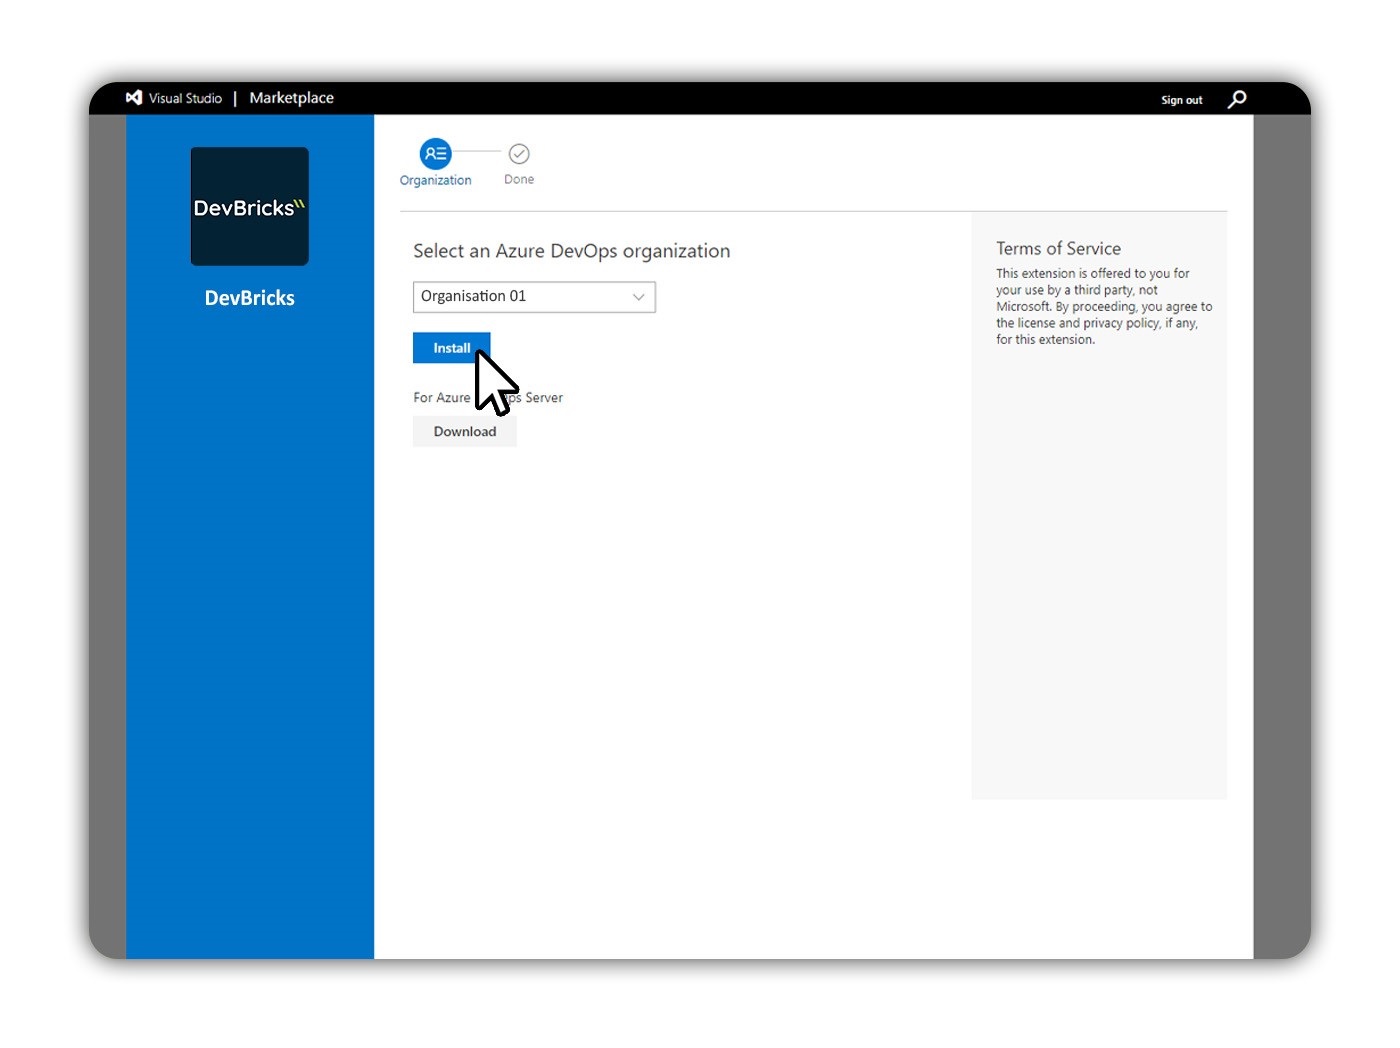
Step 2: Link your DevBricks Account within Azure DevOpsOnce DevBricks is installed, head to your Azure DevOps organisation's homepage and access the "Organisation Settings". Scroll down the left-hand navigation bar until you find "Extensions," then select "DevBricks Settings." Click on "Login" and follow the Microsoft login and validation process to link your DevBricks account with Azure DevOps. By following these steps, you can seamlessly integrate DevBricks with Azure DevOps.
|