🚀 CloudBackend VS Code Extension
Build, deploy, and scale your SaaS app — all without leaving VS Code.
Take full control of your backend development workflow with CloudBackend, a VS Code extension that lets you edit, sync, and manage your cloud-database-powered applications directly inside the editor.
DEMO AT THE BOTTOM
✨ Features
Seamless Cloud Integration:
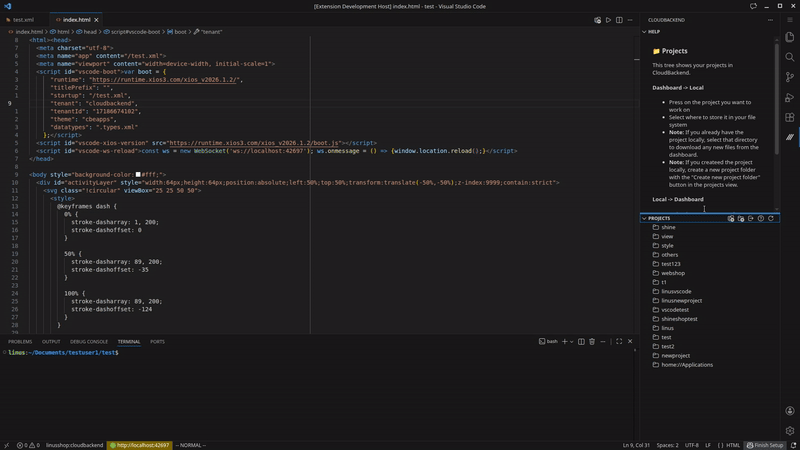
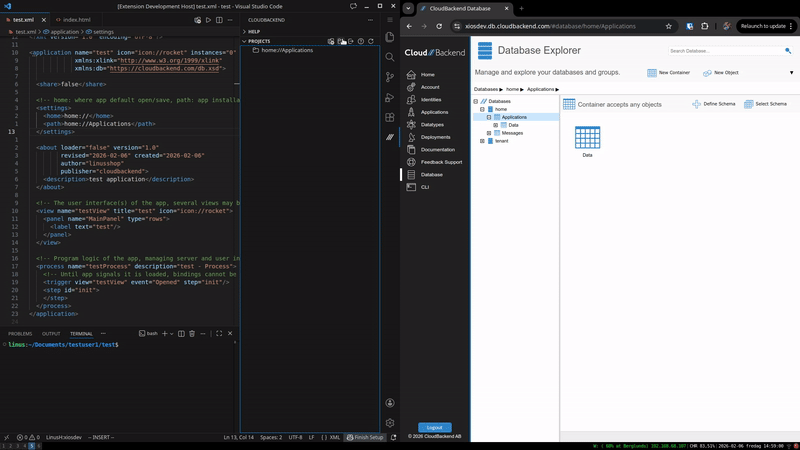
Log in to your CloudBackend account and access your personal (home://) applications directly from VS Code.
Integrated local development
Press the play icon in the top right to start a local server.
Real-Time Sync
Edit files locally and sync changes instantly.
Smart Syntax Checking:
Validate your app before pushing changes to prevent runtime surprises.
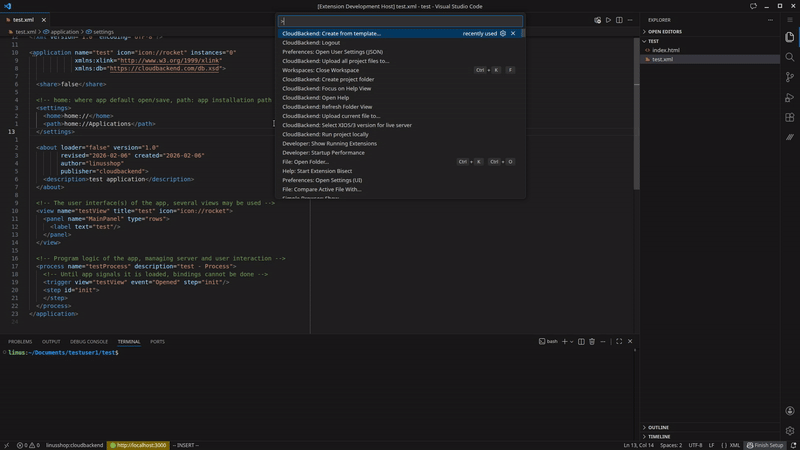
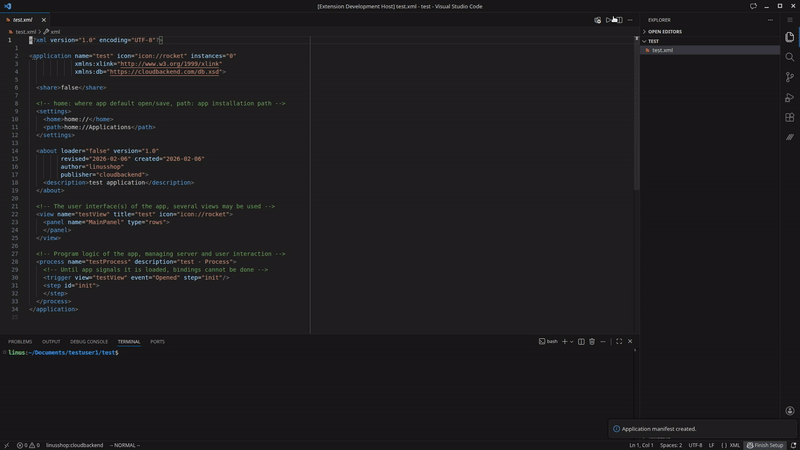
Create apps/files from templates
Use the Command Palette or the button in the file explorer to access the templates.
💡 Perfect For
- Developers who want rapid backend iteration without juggling multiple tools.
- Teams building multi-tenant SaaS platforms that combine shared and isolated user data.
- Anyone who prefers staying in VS Code while managing cloud applications.
🚀 Getting Started
- Install the extension from the VS Code Marketplace.
- Join the early access and get your referral code and create your free account here
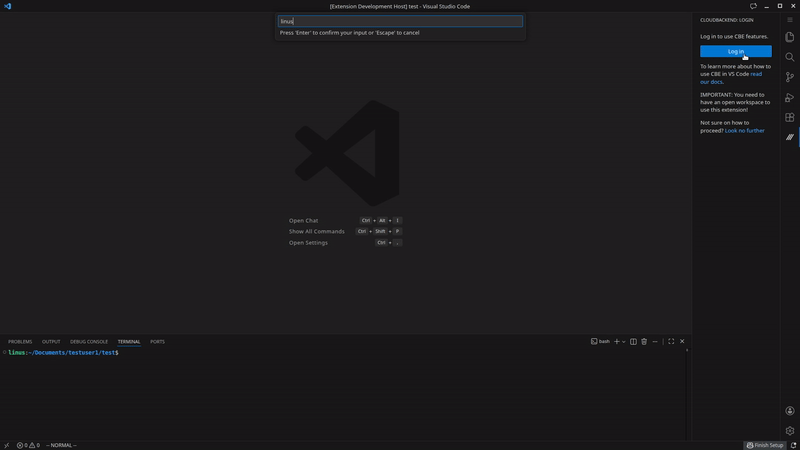
- Open the command palette (
Ctrl+Shift+P / Cmd+Shift+P) and run CloudBackend: Login.
- Choose or create your tenant and local workspace.
- Sync your first app and deploy it live!
💻 Suggested workflow
It is always recommended to use some sort of source control, eg. git.
Starting fresh
- Create a new project folder from the extension GUI "Create new project folder"
- Press the newly created folder in the "Projects" view and select where to store it locally
- Create an application manifest and start working on your application
- Upload your application files to the dashboard by either pressing the ⬆️ or by using the command palette:
CloudBackend: Upload all project files to... or CloudBackend: Upload current file to...
Fetching an existing project
If you've already started working on an appliction in the dashboard
- Press on the project you want to work on in the "Projects" view and select where to store it locally
- Make your changes
- Upload your application files to the dashboard by either pressing the ⬆️ or by using the command palette:
CloudBackend: Upload all project files to... or CloudBackend: Upload current file to...
🌐 Useful Links
Whether you’re prototyping your next SaaS idea, managing complex tenant data, or simply want to streamline your cloud development, CloudBackend brings the power of the cloud straight into your editor.
→ Install now and start building smarter.
⚡ Demo
Login
Find help
Syntax
Upload project
Server
Server config set static port
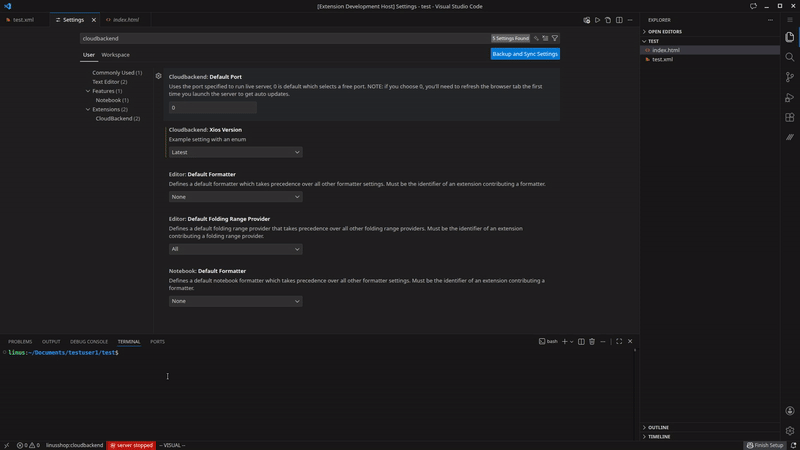
Server config set frontend version