|
Note with VS
A Markdown note manager for VS Code with local file support and reminder support.
Version: 1.3.0
Build: 14
|
Overview
Note with VS helps developers organize their thoughts. With a new immersive Dashboard, local Markdown storage, smart reminders, reusable templates, multi-folder support, and Git sync, it creates a single workspace for both coding and knowledge management.
Features
- Immersive Dashboard View: View all your notes, reminders, and templates in a full-screen, visually stunning dashboard.
- Guided Setup Landing Page: (New in v1.3.0) The Dashboard and Sidebar now provide friendly configuration guides if no note folders are set, making it easy for new users to get started.
- Multi-Folder Support: Configure multiple base directories for your notes and manage them independently in a unified workspace view.
- Recursive Folder Scanning: Organize your notes using nested subfolders, all scanned up to a configurable depth (default 5).
- Todo List & Reminders: Dedicated view for task-based reminders (
- [ ] @due(...)) and a "Todo list" for plain tasks without due dates.
- Git Sync: Built-in Git synchronization with visual status indicators for each note.
- Template System: Define and use reusable content snippets across all your note folders.
- Local Note Management: Store your notes as standard Markdown files in a local folder of your choice.
- Labels as Folders: Organize your notes using subfolders, which act as "Labels".
- Reminders & Follow-ups: Add reminders to your notes using a simple syntax (
- [ ] Task @due(YYYY-MM-DD)).
- Dedicated Side Bar: Access your notes and reminders easily from the custom Side Bar view.
- Cross-Platform: Works seamlessly on Windows, Linux, and macOS.
Features in Action
All Notes Dashboard (v1.3.0)

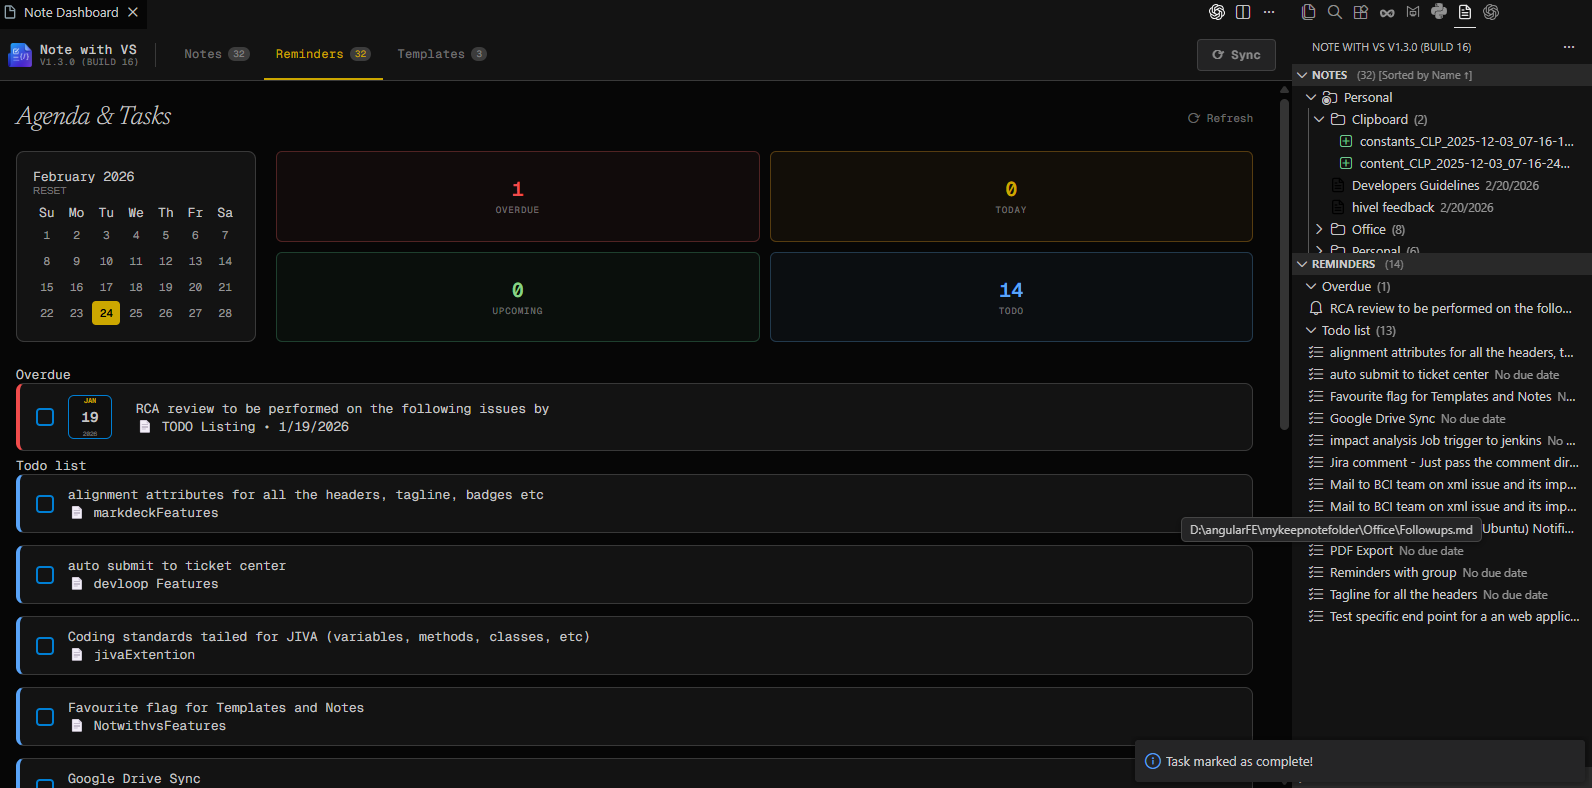
Reminders Dashboard (v1.3.0)
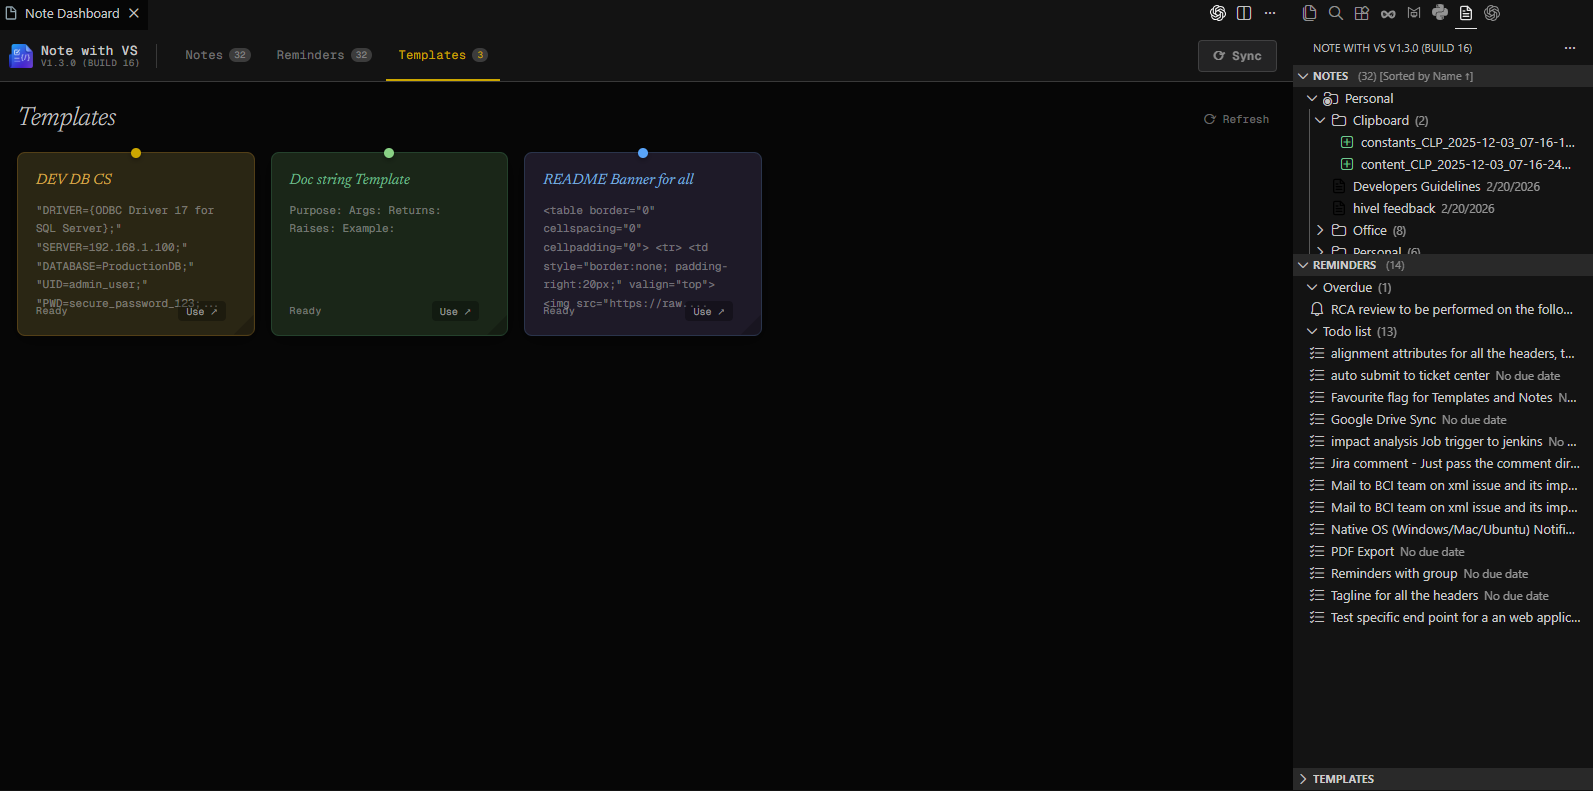
Templates Dashboard (v1.3.0)
Installation
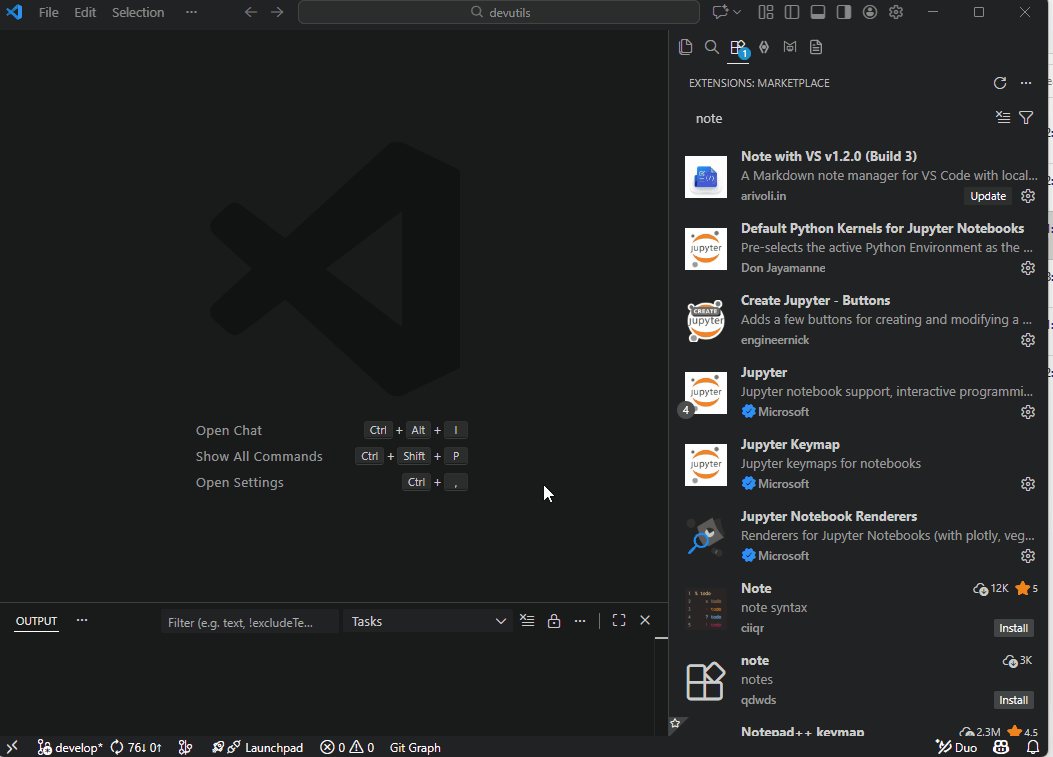
Sorting files
Copy Note
Create/Use Template
Add Note and Reminder
Getting Started
- Install the extension.
- Default Storage: By default, notes are stored in
Documents/NoteForVS.
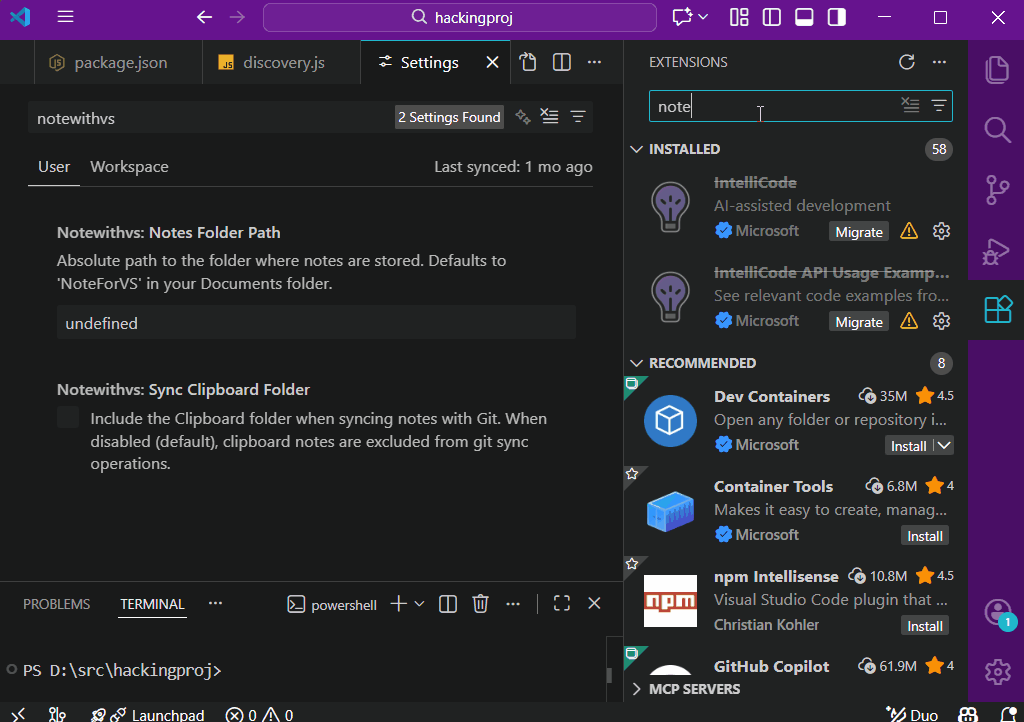
- Custom Storage: You can configure a custom folder in Settings:
- Open VS Code Settings (
Ctrl+,).
- Search for
notewithvs.notesFolderPath.
- Enter the absolute path to your desired folder.
- Additional Folders: Add more folders in
notewithvs.notesFolders to manage multiple project notes separately.
- The "Note with VS" icon will appear in the Activity Bar. Click it to start creating notes!
Reminder Syntax
To create a reminder, simply add a task list item in any note with the @due(date) tag:
- [ ] Call Alice about the project @due(2023-12-01)
- [ ] Review PR [#123](https://github.com/sarivoli/vscodenote/issues/123) @due(2023-11-25)
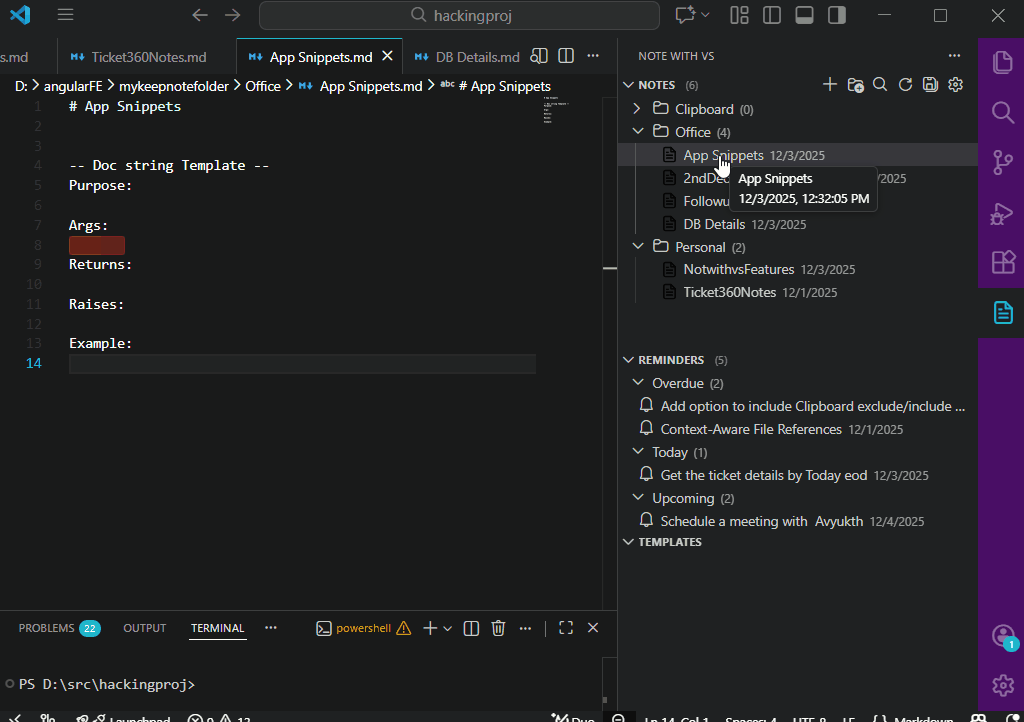
The extension will automatically detect these and list them in the "Reminders" view, grouped by:
- Overdue
- Today
- Upcoming
- Todo list (for items without a due date)
Managing Notes
Creating Notes
You can create a new note by clicking the + (Create Note) button in the "Notes" view title bar or running the command Note with VS: Create Note.
Context-Aware Creation: When you create a note while a folder or note is selected, the new note will be created in that specific location.
Creating Labels (Folders)
You can create a new label (folder) by clicking the folder icon in the view title bar or running Note with VS: Create Label.
Deleting & Renaming
Right-click on any note or label to access deletion, renaming, and moving options.
Copy to Clipboard
Run Note with VS: Copy Notes to capture the content of any active editor into a local Clipboard folder.
Git Sync
You can sync your notes to a remote Git repository directly from VS Code using Note with VS: Save Notes (Git Sync).
- Status Indicators: Yellow (Modified), Green (Added/Untracked), Red (Deleted), Warning (Conflict).
- Multi-Folder Sync: If multiple folders are configured, the extension will sync all of them in parallel.
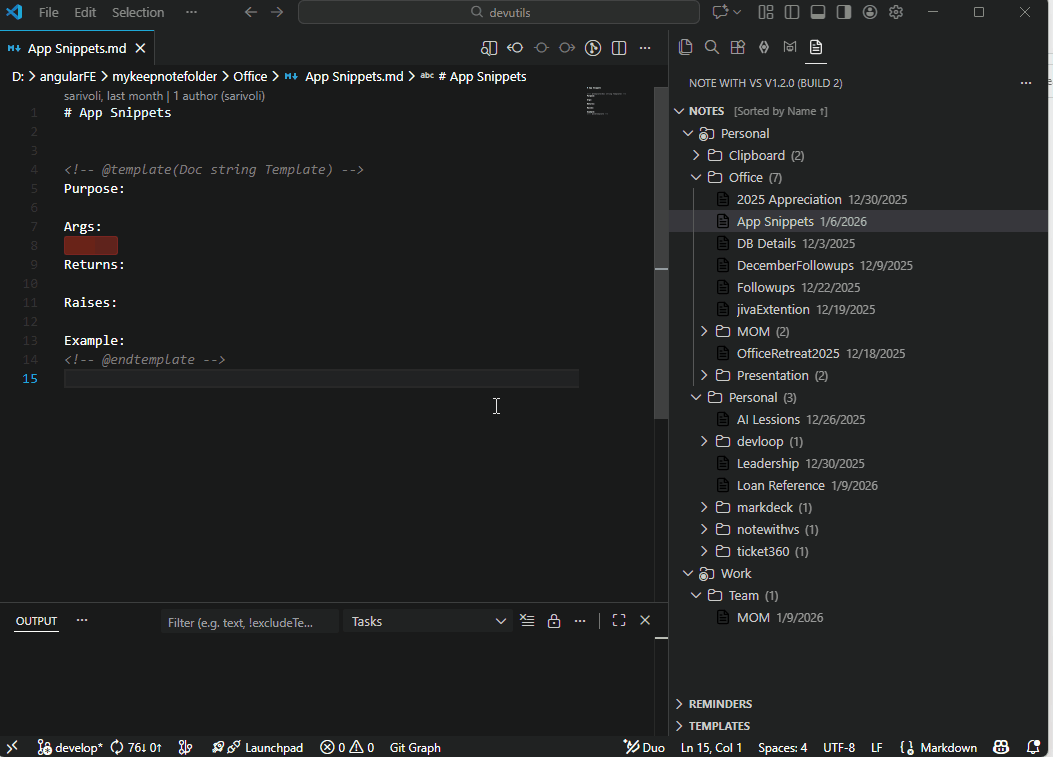
Template Syntax
Define templates using HTML comments:
<!-- @template(Daily Standup) -->
### Daily Standup
- **Yesterday**:
- **Today**:
- **Blockers**:
<!-- @endtemplate -->
Templates are listed in the "Templates" view. Click to copy content or use the context menu to hide/rename templates.
Extension Settings
notewithvs.notesFolderPath: Path to your primary notes folder.notewithvs.notesFolders: Array of additional note folders { "name": "Work", "path": "/path/to/work" }.notewithvs.maxFolderDepth: Maximum nesting depth for scanning (default 5).
Release Notes
1.3.0 (Build 14)
- Sidebar Welcome Views: Added beautiful "Configuration Needed" landing pages to the Notes, Reminders, and Templates sidebars.
- Unified Setup Experience: The sidebar now matches the Dashboard's guided setup, providing clear instructions and shortcuts when no folders are configured.
1.3.0 (Build 13)
- Guided Configuration Landing Page: Implemented a dedicated "Configuration Needed" landing page for the Dashboard when no note folders are configured. This guides new users to settings with a clear call-to-action.
- UI Logic Consolidation: Refactored the Dashboard's script and HTML structure for better consistency and performance between empty and populated states.
- Recursive Note Discovery Enhancement: Verified and optimized deep scanning for notes across all subfolders.
1.3.0 (Build 12)
- Unified Side-by-Side Workflow: Extended the stable split-view behavior to Template Edits. Editing a sticky note template now targets the existing split view on the right while preserving your dashboard focus.
- Workflow Consistency: Integrated Build 9 changes.
1.3.0 (Build 8)
- Stable Side-by-Side Viewing: Opening a note from the Dashboard now intelligently targets a single secondary column. It no longer creates endless split views on every click.
- Preserved Dashboard Focus: When a note opens on the right, the Dashboard now remains active. This allows you to quickly click through multiple notes to preview them without the UI "jumping" focus.
1.3.0 (Build 6)
- Split View Note Opening: Notes clicked from the Dashboard now automatically open in a Split View (Beside), allowing you to browse the dashboard and read notes simultaneously.
- Workflow Consistency: Integrated Build 5 changes (Package reset).
1.3.0 (Build 4)
- Smart Calendar Boxes: The calendar date box is now only shown for reminders with due dates, keeping general todos clean and compact.
- Optimized Date Square: Refined the spacing for Month, Day, and Year inside the calendar box to prevent edge overlapping and improve readability.
- Build Reset Fix: Integrated recent build number updates.
1.3.0 (Build 2)
- UI Layout Shift: Moved the calendar date square for reminders to the left side for better visual alignment.
- Reminder Visibility Fix: Completed reminders are now correctly filtered out from the active agenda list after being checked.
- Styling Refinements: Enhanced the calendar square with better padding and margins.
1.3.0 (Build 28)
- Immersive Dashboard View: A full-window overview of your notes (Card View), reminders (Agenda Calendar), and templates (Sticky Notes).
- Professional Timeline UI: Notes are automatically grouped into Today Edited, This Week Edited, and Remaining.
- Live Sync Progress: A new progress overlay with live status updates when synchronizing with Git repositories.
- Calendar-Style Reminders: Due dates in the Agenda are now displayed as elegant calendar day boxes.
- Relative Dates & Tooltips: Natural language dates (e.g., "2 hr ago") with full-precision timestamp tooltips.
- Dashboard Feedback: Real-time toast notifications for renaming, deleting, and completing tasks.
- Configurable Default View: Toggle between the classic Sidebar and the new Immersive Dashboard as your primary entry point.
- Visual Enhancements: Full VS Code theme integration with glassmorphism aesthetics and polished animations.
1.2.1
- Configuration Migration: Automatically converts legacy folder settings to the new structured format.
- Fixes: General bug fixes, case-insensitive file scanning, and performance improvements.
1.2.0
- Multi-Folder Support: You can now configure multiple note folders in settings. Each folder appears with its own name and independent operations.
- Todo List: Tasks marked with
- [ ] without an @due date are now automatically listed in a new "Todo list" section within the Reminders view.
- Deep Scanning: Reminders and templates are now scanned recursively across all subfolders up to the configured
maxFolderDepth.
- Dynamic Header: Added a professional header in the sidebar displaying extension version and build info.
- Unified Sync: "Save Notes" now syncs all configured note directories in parallel.
1.1.0
- Folder Management: Added support for recursive folder scanning.
- Move Notes: Support for moving notes between folders.
- Folder Depth Limit: Introduced
maxFolderDepth setting.
1.0.1 - 0.0.1
(See full history in PROJECT.md)