Telerik UI for Blazor Productivity ToolsProgress® Telerik® UI for Blazor Productivity Tools is a Visual Studio Code extension which includes multiple developer productivity features for scaffolding, code generation, configuration, reference, usage and sharing of code snippets of Telerik UI for Blazor components. Installation Launch VS Code Quick Open ( Ctrl+P), paste the following command, and press enter.Copied to clipboard |

Telerik UI for Blazor Productivity Tools for Visual Studio Code
Overview of Telerik UI for Blazor Productivity ToolsThe Progress® Telerik® UI for Blazor Productivity Tools within Visual Studio Code increase developer productivity and simplify the process of creating Blazor projects with Telerik UI components. To use Telerik and Kendo UI components and tools without disruption, you need to apply a valid license key file (LKF) to both new and existing projects. License key files ensure that your applications remain fully supported, secure, and up to date with the latest product versions. The Telerik UI for Blazor extension can automatically download and manage your license key. Simply log in to your Telerik or Kendo UI account within Visual Studio to enable this feature. Alternatively, you can manually download and apply a license key file. The extension automates the MCP server setup for you. The MCP Server enables you to use the AI Coding Assistant — an AI-powered code generator that provides proprietary context to produce high-quality code samples using Telerik UI for Blazor components and APIs. Telerik UI for Blazor MCP ConfigurationProvides automated configuration commands for the Telerik AI-powered development tools. These commands help you quickly set up the Telerik MCP server for enhanced developer productivity with Telerik UI for Blazor components. Configure MCP ServerThe Telerik UI for Blazor: Configure MCP Server command provides two configuration scopes to set up the Telerik Blazor MCP Server:
Installation MethodsTelerik UI for Blazor MCP Server supports three installation methods: 1. DNX (Direct Native Execution)
2. Tool Install (.NET Tool)
3. Node.js (NPX)
The extension will prompt you to choose your preferred installation method when configuring the MCP server. All methods automatically handle license key configuration through environment variables. Sample Usage and Prompt LibraryBy default, MCP clients do not call MCP tools in a deterministic way. Some MCP clients like VS Code allow you to explicitly reference the desired MCP tool in your prompt.
Add GitHub Copilot Custom InstructionsThe Telerik UI for Blazor: Add GitHub Copilot Custom Instructions - command generates a
If the file already exists, the default Telerik Blazor Copilot instructions will be added to the existing content. Removed DEV/TRIAL Distribution Logic: The tools are available as a VS Code extension for Windows, Linux, and Mac, and include:
Telerik UI for Blazor Project TemplatesThe Telerik UI for Blazor Template Wizard lets you create new projects that are pre-configured for Telerik UI for Blazor components:
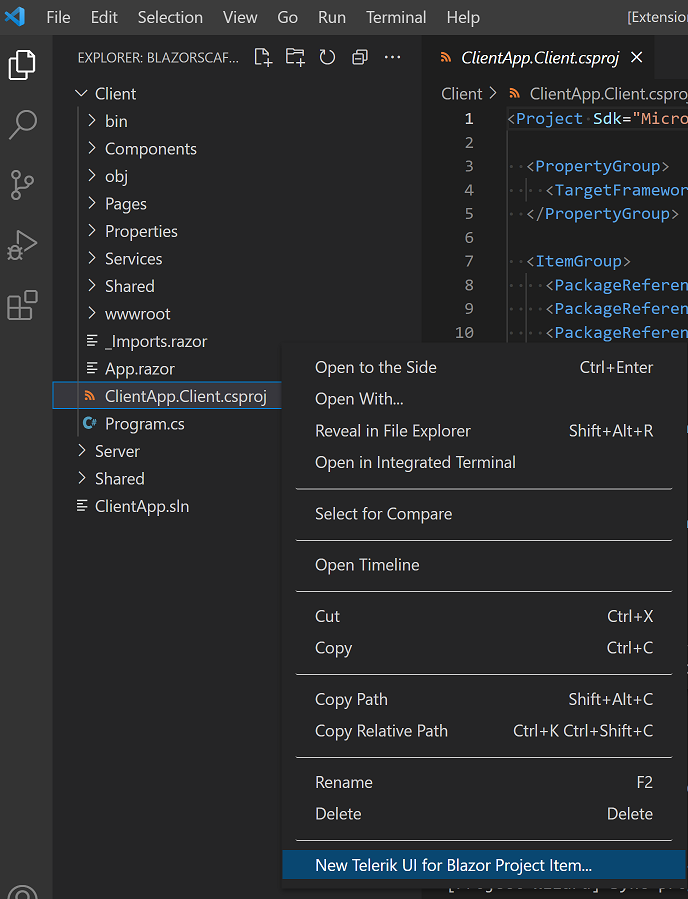
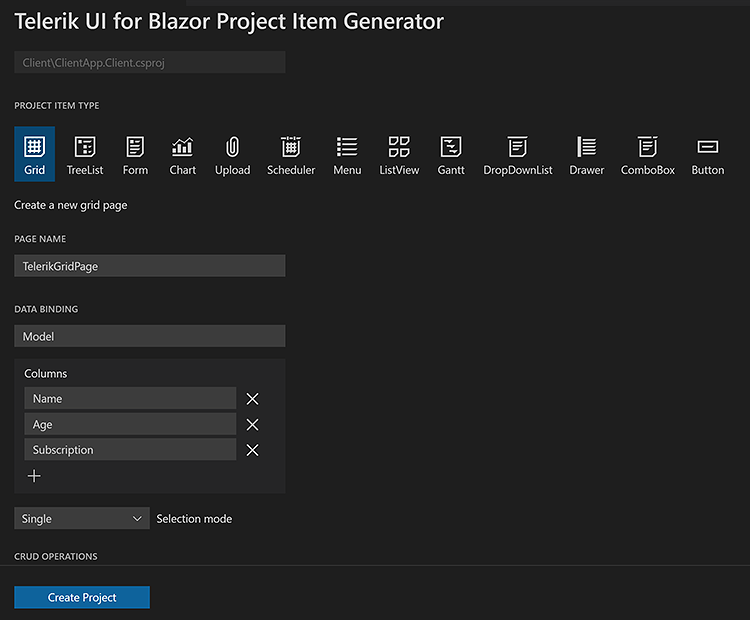
For more information, see this documentation page. Telerik UI for Blazor ScaffolderScaffolders ease the process of generating and integrating new Telerik UI for Blazor components in existing projects. The tool enables you to create complex Telerik UI for Blazor components with a lot of repetitive configuration (like the Grid, Chart, Inputs, and others), by selecting options from a seamless interactive wizard-like UI. The scaffolder functionality is a great way to get started with the Telerik UI for Blazor components for the first time and experiment with their features. The Telerik UI for Blazor Scaffolder creates new pages in your Blazor apps with the most used data-bound Telerik Blazor components:
When adding a new project item, the scaffolder will prompt you to input the service and model names and will allow you to configure multiple component-specific properties. For example, if you scaffold a new page with Telerik Blazor Data Grid, you will be able to set its sorting, filtering, grouping, column resizing, and more features.
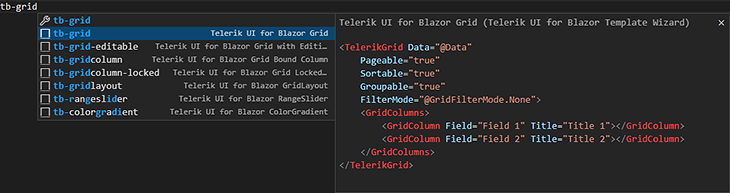
For more information, see this documentation page. Telerik UI for Blazor Code SnippetsThe Telerik UI for Blazor Productivity Tools provide code snippets to simplify and accelerate the implementation of Telerik UI for Blazor components in your project. They facilitate the development process by providing a quick way for adding the components directly in the source code, while also including predefined tab stops for the required options.
To make the most out of snippets: Telerik UI for Blazor Snippets Catalog
For more information, see this documentation page. Telerik UI for Blazor Convert CommandIf you want to add Telerik UI for Blazor components to an existing Blazor app, you can use the converter. It adds the NuGet package, static assets, and other references for you, so that you can immediately start using the Telerik UI for Blazor components. For more information about how to use the convert command, see this documentation page. Telerik UI for Blazor Sharing to REPLThe Telerik UI for Blazor Productivity Tools provide integration with Telerik REPL for Blazor—a browser-based playground for creating, saving, running and sharing of Blazor code snippets. You can easily export your code snippet and share the generated URL to social media, community forums or send it to a team mate. Share Using the Code Editor Context Menu
Share Using the Code Editor Command Palette
Share Using the File Explorer Context Menu
For more information, see this documentation page. Document Processing LibrariesThe Telerik Document Processing Libraries wizard enables you to easily add the required packages when working with the Telerik Document Processing Libraries. Document Processing Libraries via the File Explorer Context Menu
Document Processing Libraries via the Code Editor Command Palette
Configuring Your Document Processing LibrariesYou can choose which libraries to add to your project. If a library you selected has any dependencies, they are automatically checked.
The following table lists the assemblies that will be selected for each library:
For more information, see this document page
For more information, see this documentation page.
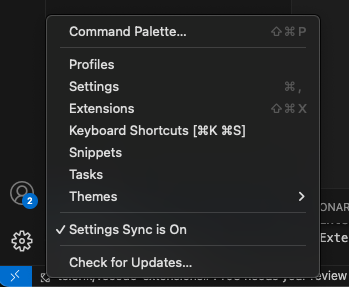
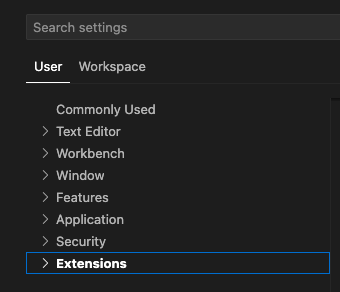
For more information, see this documentation page. Extensions SettingsThe Telerik UI for Blazor Productivity Tools extension now includes configurable settings for managing product update notifications directly within Visual Studio Code. This update provides users with greater control over their development environment, allowing them to easily enable or disable update alerts according to their preferences.
Help Resources
LicenseThis code is distributed under the terms and conditions of the Progress Software Corporation End User License Agreement for Visual Studio Code Extensions. |