NativeScript Extension for Visual Studio CodeIntroductionThe NativeScript extension for Visual Studio Code aids your NativeScript project development within Visual Studio Code. Install NativeScriptTo install NativeScript and all its dependencies, follow the instructions in our getting started guide.
Setup the extensionCreate NativeScript application by running
and choose NativeScript debug environment.
Debug your NativeScript applicationTo start the application with attached debugger, choose one of the launch configurations from the drop-down list and then click the start button.
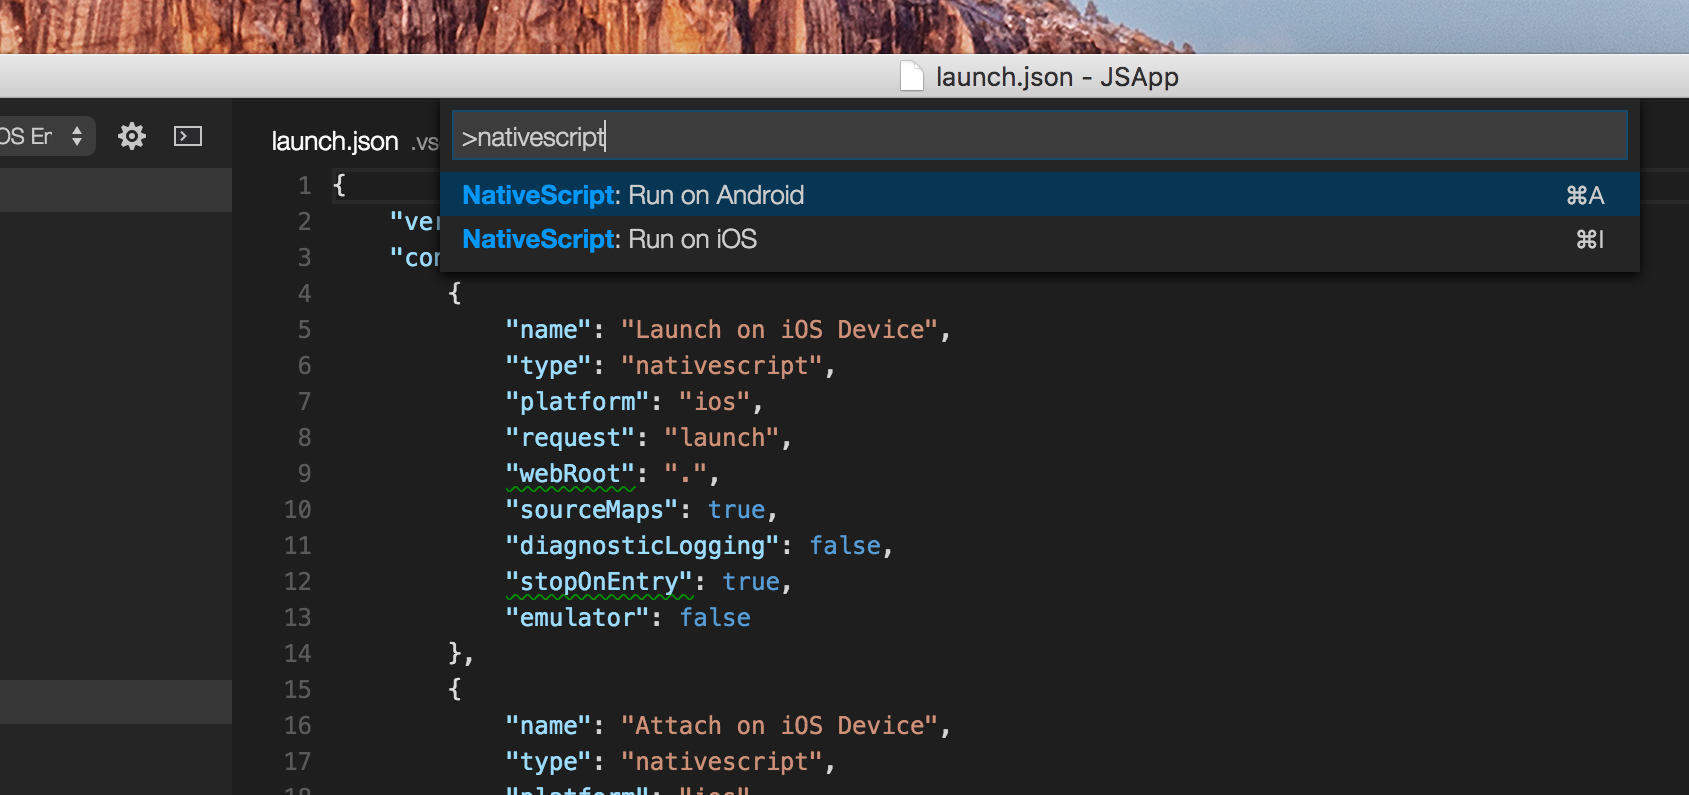
Your application will be launched and the VSCode debugger will attach. If you want to attach to already running NativeScript application, use one of the attach configurations. More information on what you can do with the Visual Studio Code Debugger you can find here. NativeScript commandsType
There's only a couple of them but the list will grow in the future. The If your version of NativeScript is incompatible with the extension you will see a warning the first time you run a command. Get the latest bits
ContributeTo test the extension run the following commands in the root repository folder: You must choose a project to debug, launch the phases that involve testing the extension in the application, modify any code of the extension, stop the debug and launch it again (F5) How to disable the analyticsThe anonymous usage data collected by Progress from the NativeScript extension for Visual Studio Code is used strictly to improve the product and its services, and enhance the overall user experience. If you have previously enabled the analytics option, you can disable it by following the steps outlined below:
|


