Silverile.AI for VS Code
Connect VS Code to the official Silverile remote
MCP server. Silverile tools bring live story, defect, sprint, assignment, and
test-case context into VS Code Chat.
What You Can Do
With Silverile tools enabled, an AI agent can help you:
- View your assigned stories and defects.
- Inspect a story, its acceptance criteria, tasks, remarks, and test cases.
- Review an implementation against a Silverile story.
- Create or update stories and defects.
- Assign work items and move them through the configured workflow.
- Work with sprints and sprint boards.
- Add implementation remarks and record test-case results.
The available tools depend on your Silverile account, selected project, and
permissions.
Getting Started
- Install this extension in VS Code 1.105 or later.
- Open the Command Palette and run MCP: List Servers.
- Select Silverile.
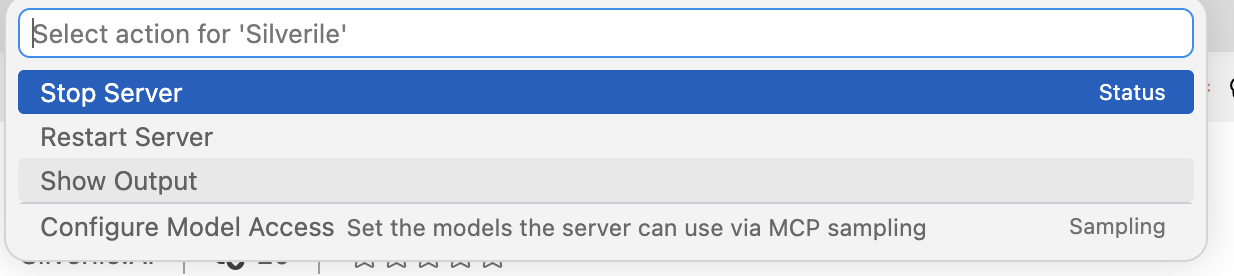
- If Silverile is already running but has not authenticated, choose
Stop Server, select Silverile again, and choose Start Server.
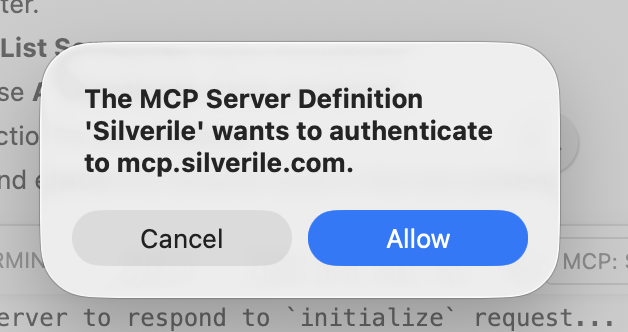
- When VS Code says that Silverile wants to authenticate to
mcp.silverile.com, choose Allow.
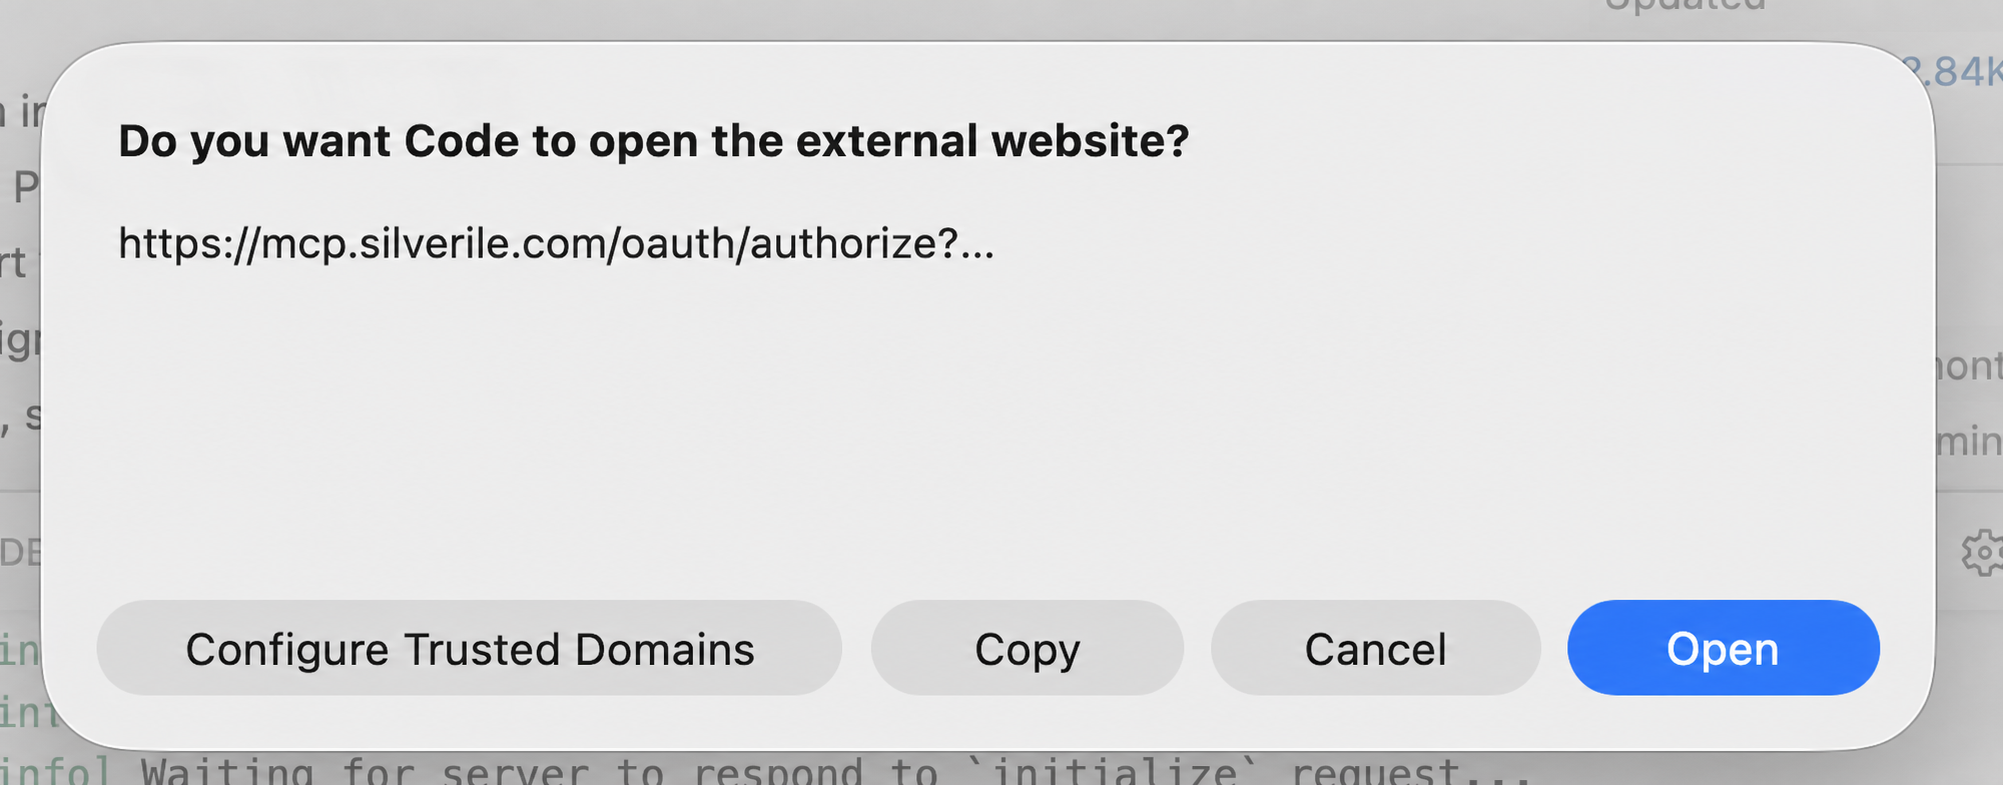
- When VS Code asks to open the external website, choose Open.
- Complete Silverile sign-in and project selection in your browser.
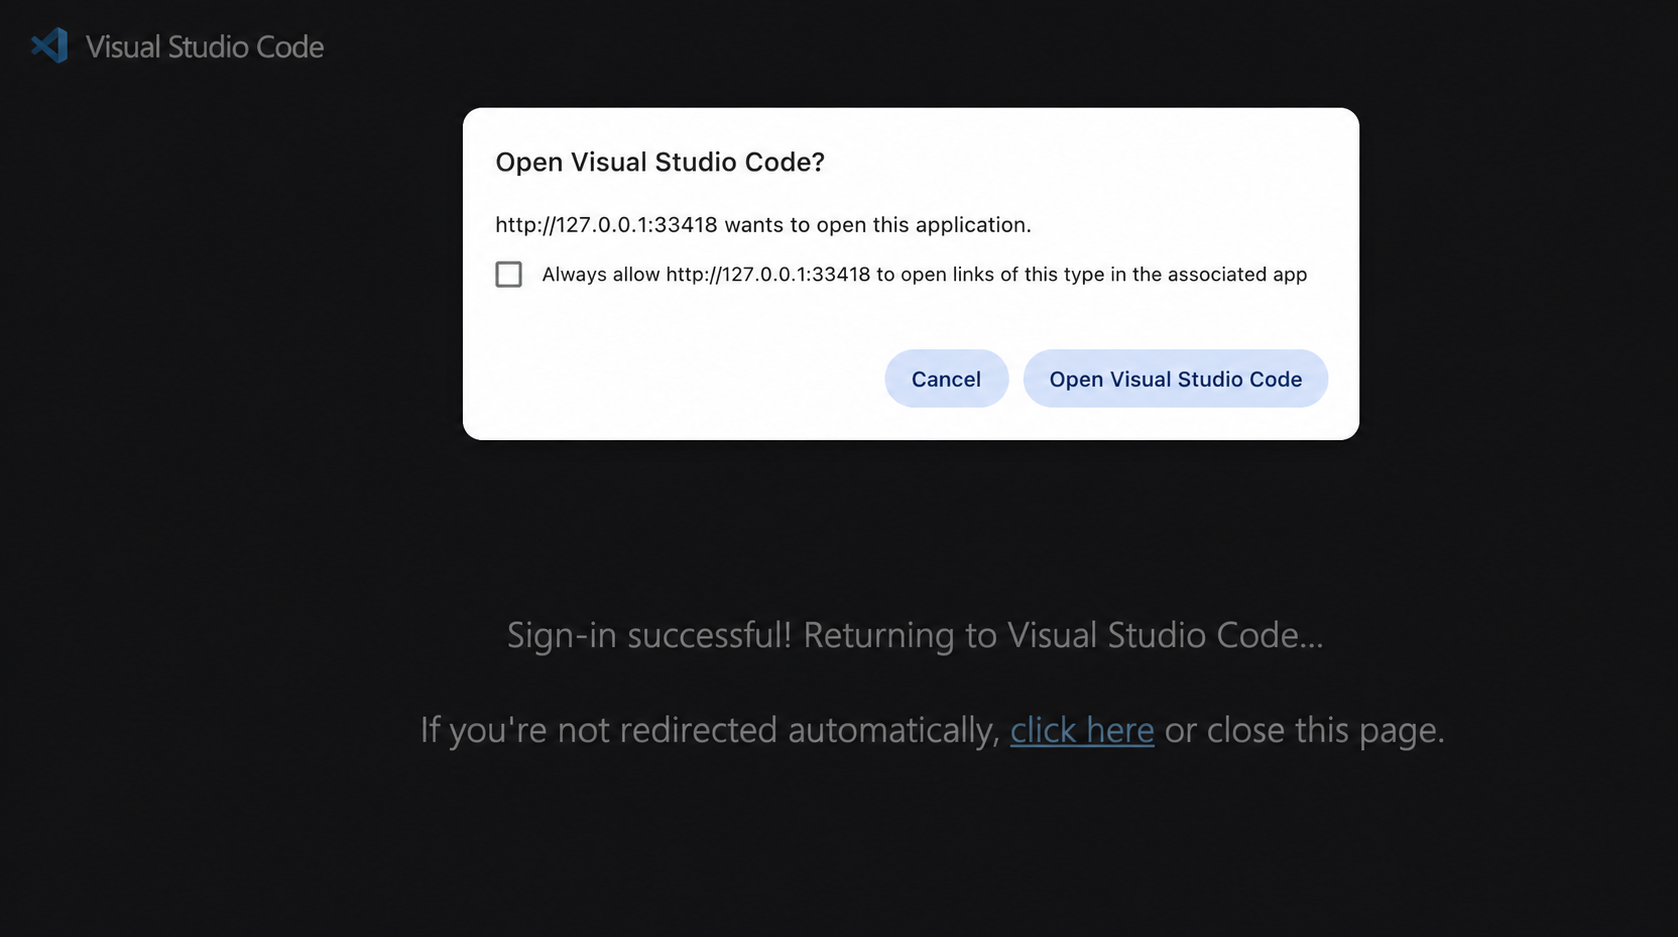
- When the browser asks to return to VS Code, choose
Open Visual Studio Code.
- Open VS Code Chat, select Agent mode, and enable the Silverile tools in the
tool picker.
The first unauthenticated request to the MCP endpoint normally returns 401.
VS Code uses that response to discover Silverile's OAuth service and start
browser authentication.
To verify the connection, return to MCP: List Servers, select Silverile,
and choose Show Output. A successful connection ends with a message such
as:
Discovered 45 tools

The number of tools can change as Silverile adds capabilities.
Ask naturally in Agent mode. For example:
- “Show my Silverile work.”
- “Open Silverile story 123 and summarize its acceptance criteria.”
- “Review my current changes against story 123.”
- “Find the defects assigned to me.”
- “Draft a defect for this failing test.”
- “Add an implementation remark to story 123.”
- “Show the current sprint board.”
For requests that change Silverile data, the tools first return a preview.
Review it and explicitly approve the change before the agent creates or updates
the work item.
If no default project is configured, the agent can list the Silverile projects
available to you and ask you to select one.
Authentication and Privacy
VS Code owns the MCP connection, OAuth credentials, token refresh, server
lifecycle, and trust decisions. This extension does not ask for, store, or
transmit your Silverile API secret, and it does not edit workspace
configuration.
To reauthenticate or change accounts, use the authentication controls for the
Silverile server in MCP: List Servers.
Troubleshooting
Waiting for initialize
If Show Output repeatedly displays:
Waiting for server to respond to `initialize` request...
VS Code is normally waiting for authentication to finish. In
MCP: List Servers, select Silverile, choose Stop Server, then select it
again and choose Start Server. Complete every VS Code and browser prompt,
including Allow, Open, and Open Visual Studio Code.
Unknown OAuth client or unregistered redirect URI
VS Code may be holding an obsolete dynamic OAuth client registration:
- Open the Command Palette.
- Run Authentication: Remove Dynamic Authentication Providers.
- Remove only the production provider containing
mcp.silverile.com.
- Do not remove
mcp-dev.silverile.com unless you also want to reset the
development connection.
- Stop and start Silverile again from MCP: List Servers, then complete
authentication.
This removes VS Code's cached Silverile OAuth registration; it does not
uninstall the extension.
- Run MCP: List Servers, select Silverile, and choose Show Output.
- Confirm that the output ends with
Discovered ... tools.
- If it does not, stop and start Silverile and complete authentication.
- Reopen Chat and enable the Silverile tools in the tool picker.
Copy the relevant section from MCP: List Servers → Silverile → Show Output.
Include the VS Code version, Silverile extension version, approximate time of
the failure, and the last connection-state or HTTP error. Never include API
secrets, OAuth tokens, Redis credentials, or full authorization URLs.
How the Extension Works
The extension registers a headerless McpHttpServerDefinition for
https://mcp.silverile.com/mcp. All Silverile tools and business logic are
provided by the remote MCP server.

