Setup
OpenAI
- Get an OpenAI API key from platform.openai.com/account/api-keys (you'll need to sign up for an account)
- Enter the API key with the
Rubberduck: Enter OpenAI API key command
Llama.cpp (experimental)
You can use Rubberduck with local models, e.g. CodeLlama-7B-Instruct running in Llama.cpp (see ModelFusion Llama.cpp setup). To enable llama.cpp in Rubberduck, set the Rubberduck: Model setting to llama.cpp.
Configuration Options
- rubberduck.syntaxHighlighting.useVisualStudioCodeColors: Use the Visual Studio Code Theme colors for syntax highlighting in the diff viewer. Might not work with all themes. Default is
false.
Features
AI Chat | Generate Code | Edit Code | Explain Code | Generate Tests | Find Bugs | Diagnose Errors | Custom Conversations
AI Chat
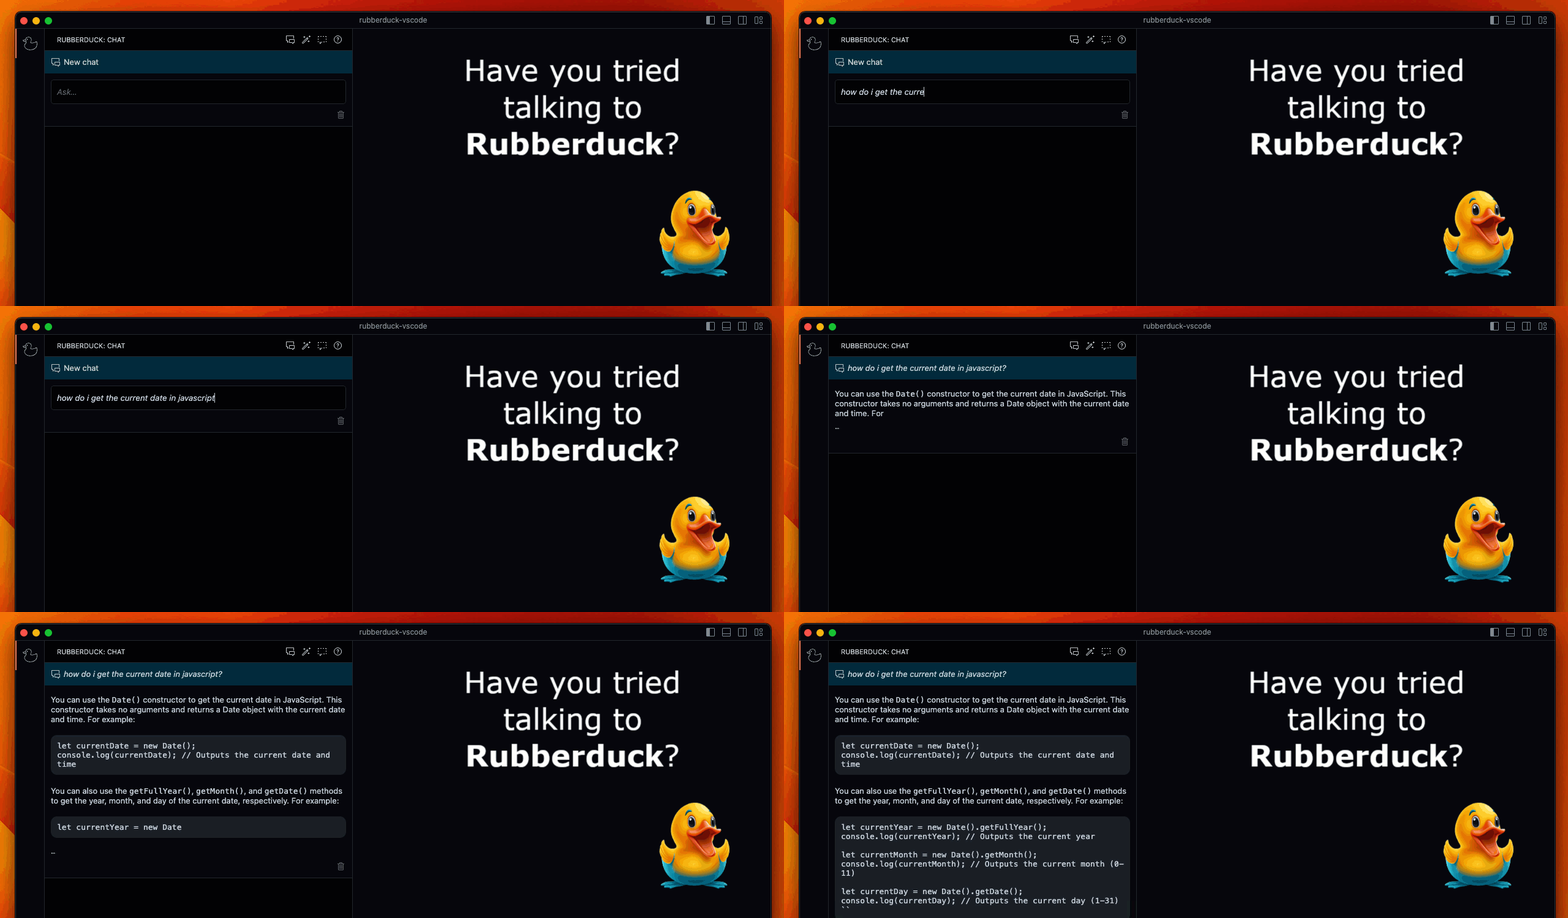
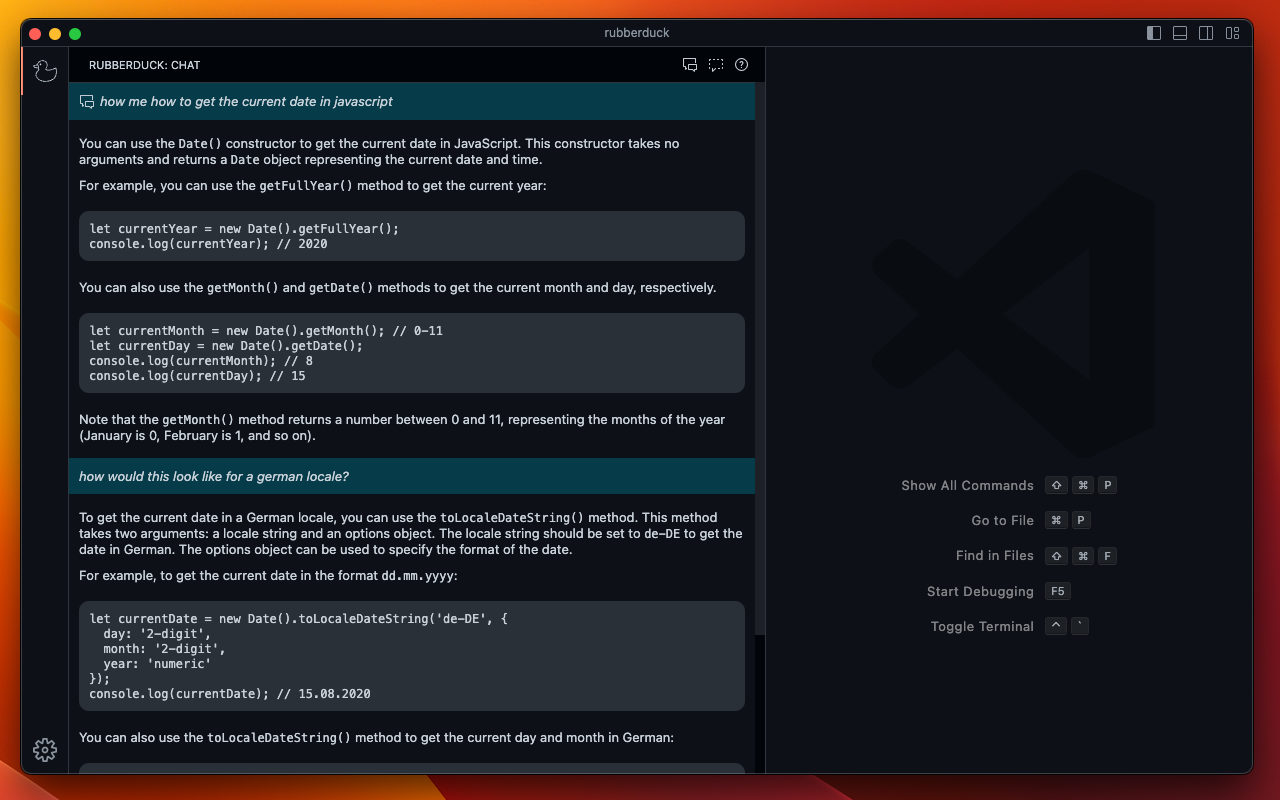
Chat with Rubberduck about your code and software development topics. Rubberduck knows the editor selection at the time of conversation start.
- You can start a chat using one of the following options:
- Run the
Rubberduck: Start Chat 💬 command from the command palette.
- Select the
Start Chat 💬 entry in the editor context menu (right-click, requires selection).
- Use the "Start new chat" button in the side panel.
- Use the keyboard shortcut:
Ctrl + Cmd + C (Mac) or Ctrl + Alt + C (Windows / Linux).
- Press 💬 on the MacOS touch bar (if available).
- Ask a question in the new conversation thread in the Rubberduck sidebar panel.
Generate Code
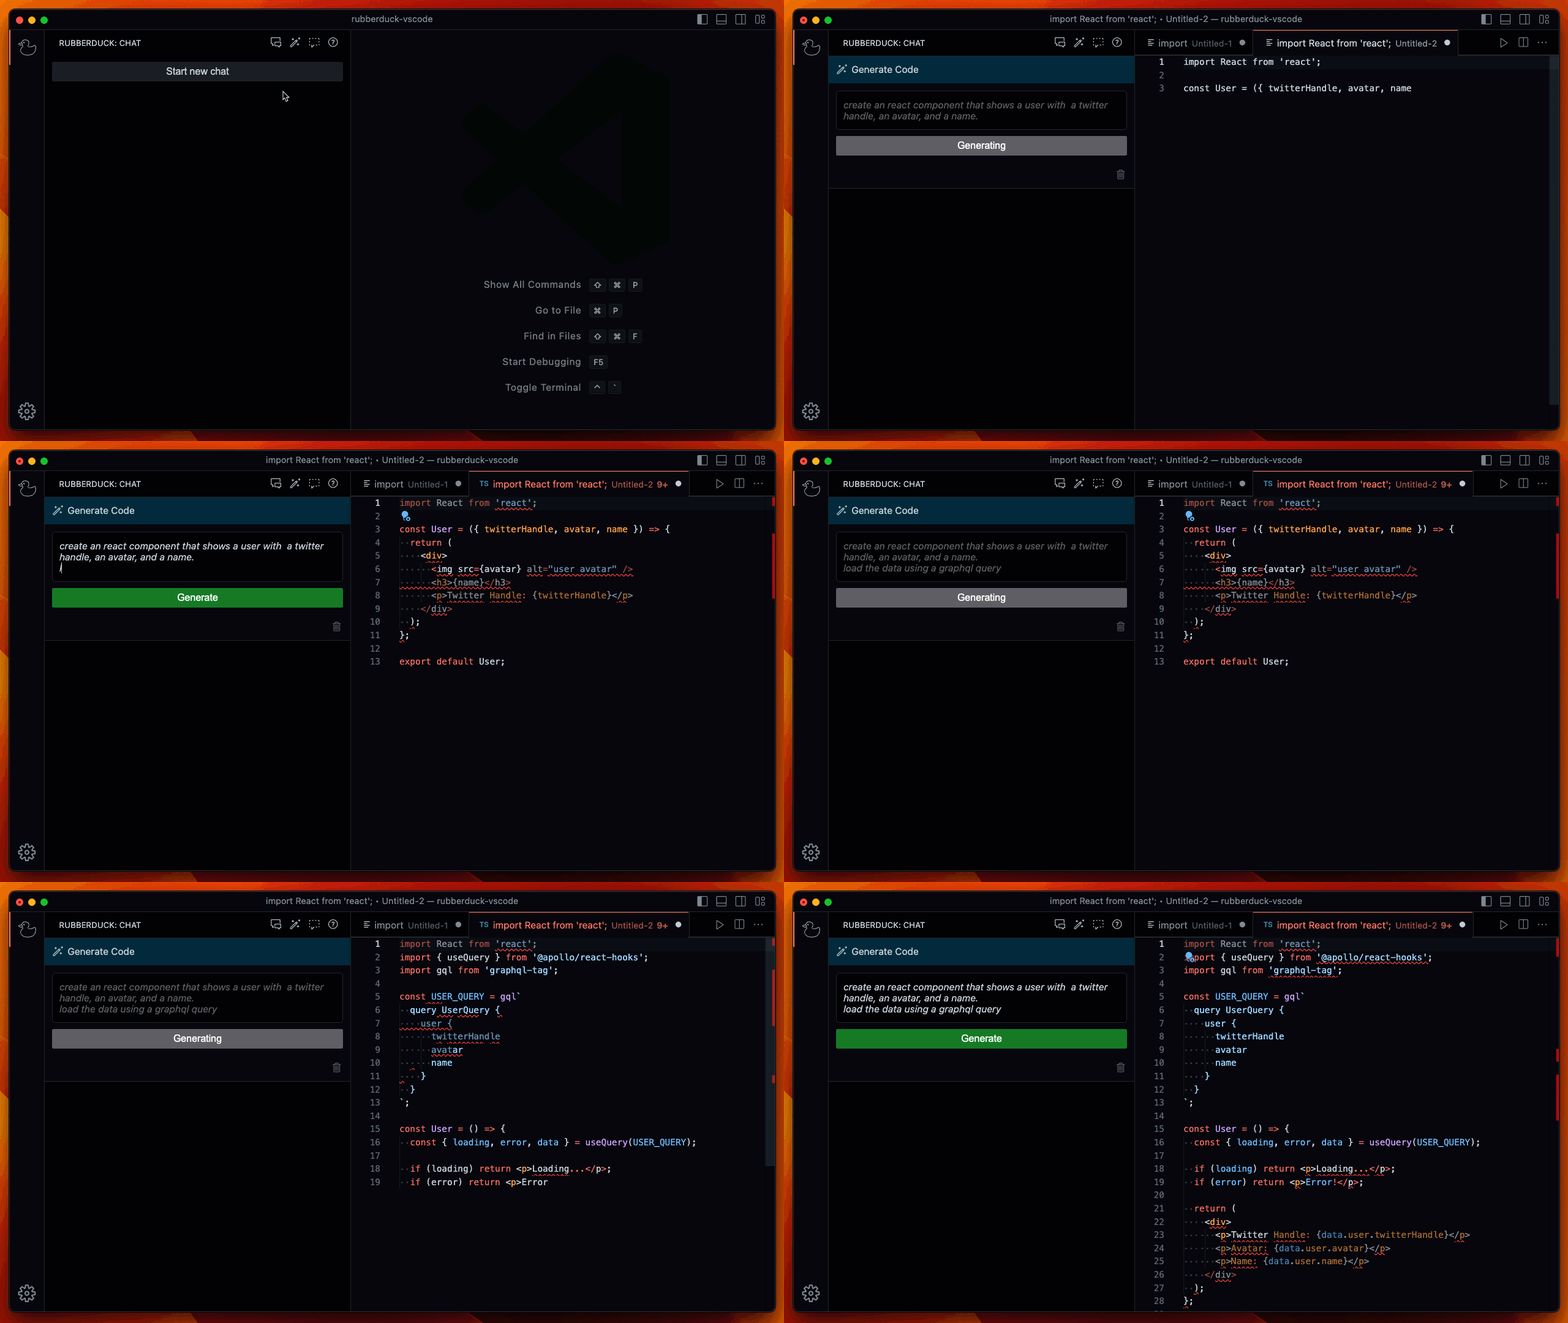
Instruct Rubberduck to generate code for you.
- You can start generating code using one of the following options:
- Run the
Rubberduck: Generate Code 💬 command from the command palette.
- Use the "Generate Code" toolbar button in the side panel.
- Use the keyboard shortcut:
Ctrl + Cmd + G (Mac) or Ctrl + Alt + G (Windows / Linux).
- Describe what you want to generate in the new conversation thread in the Rubberduck sidebar panel. Rubberduck will generate code for you based on your description. Further messages can be used to refine the generated code.
Edit Code
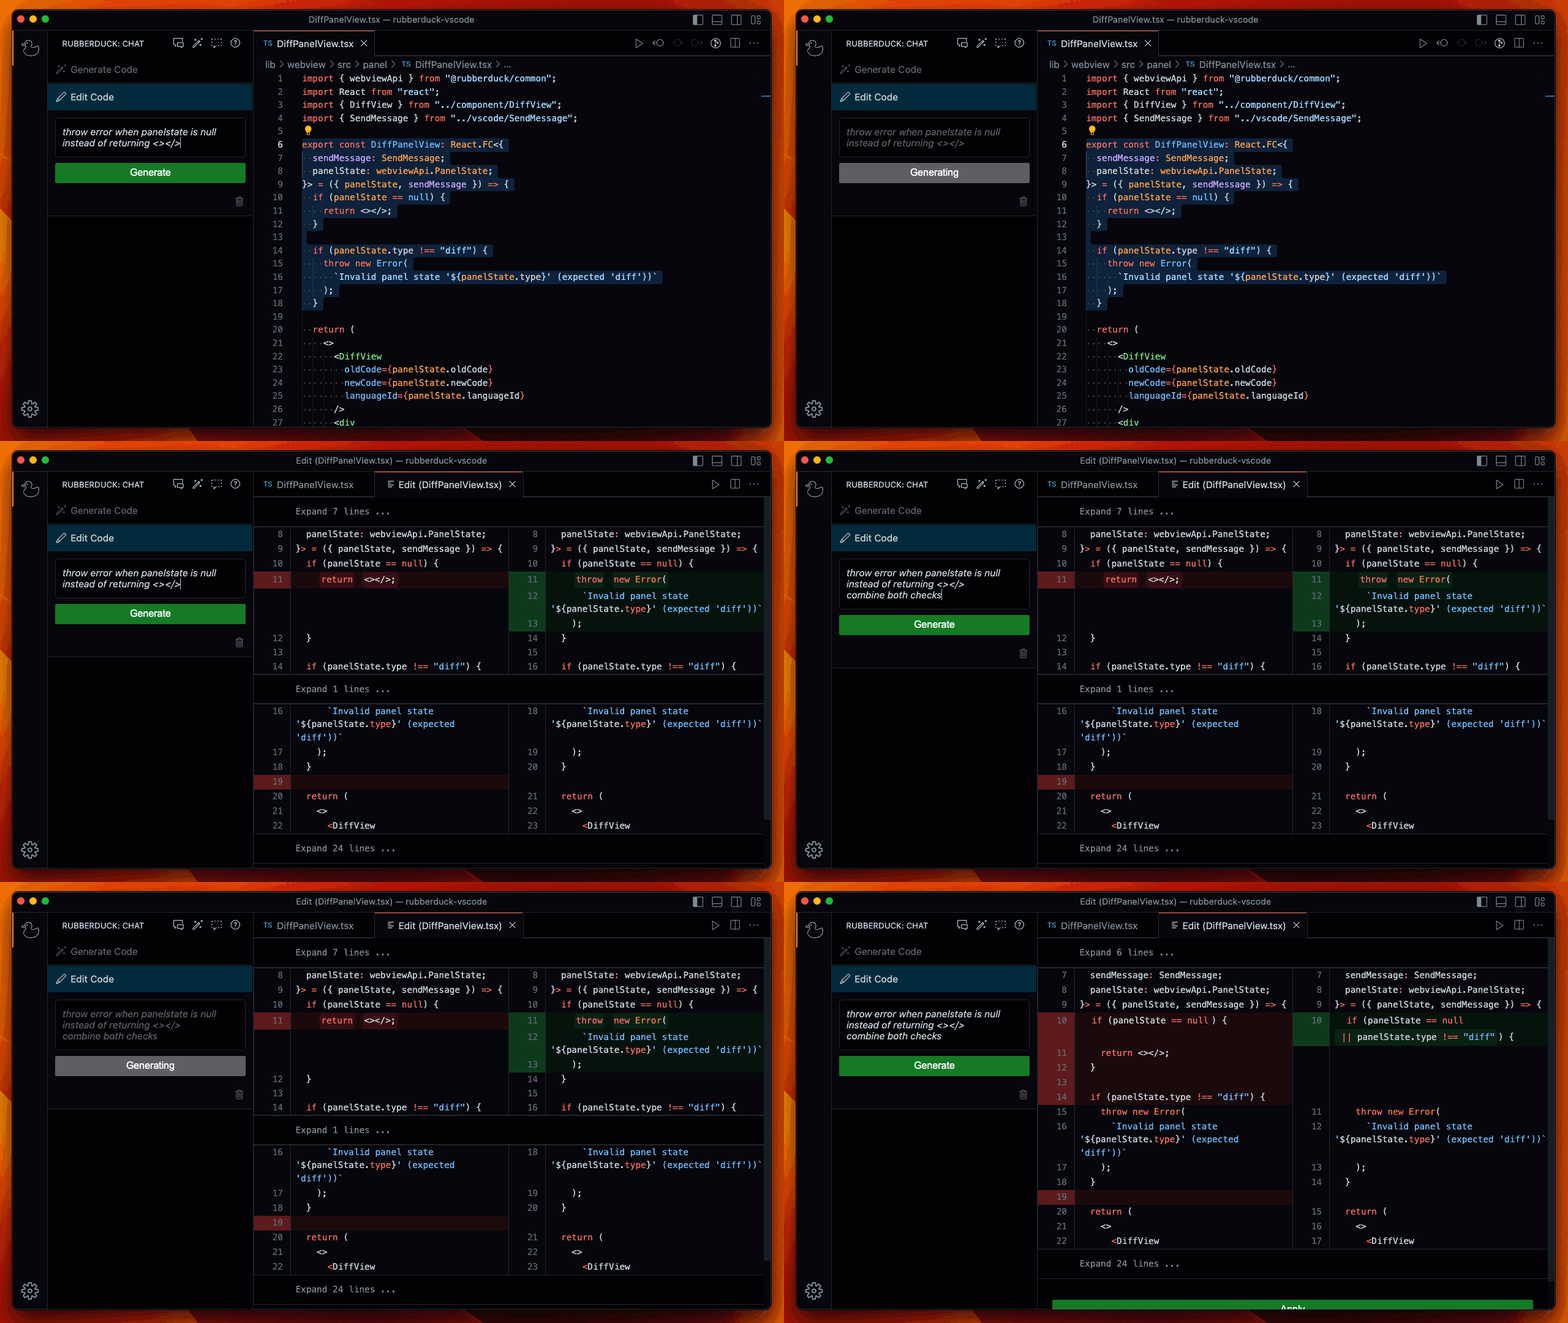
Change the selected code by instructing Rubberduck to create an edit.
Select the code that you want to change in the editor.
Invoke the "Edit Code" command using one of the following options:
- Run the
Rubberduck: Edit Code 💬 command from the command palette.
- Select the
Edit Code 💬 entry in the editor context menu (right-click).
- Use the keyboard shortcut:
Ctrl + Cmd + E (Mac) or Ctrl + Alt + E (Windows / Linux).
Rubberduck will generate a diff view.
Provide additional instructions to Rubberduck in the chat thread.
When you are happy with the changes, apply them using the "Apply" button in the diff view.
Explain Code
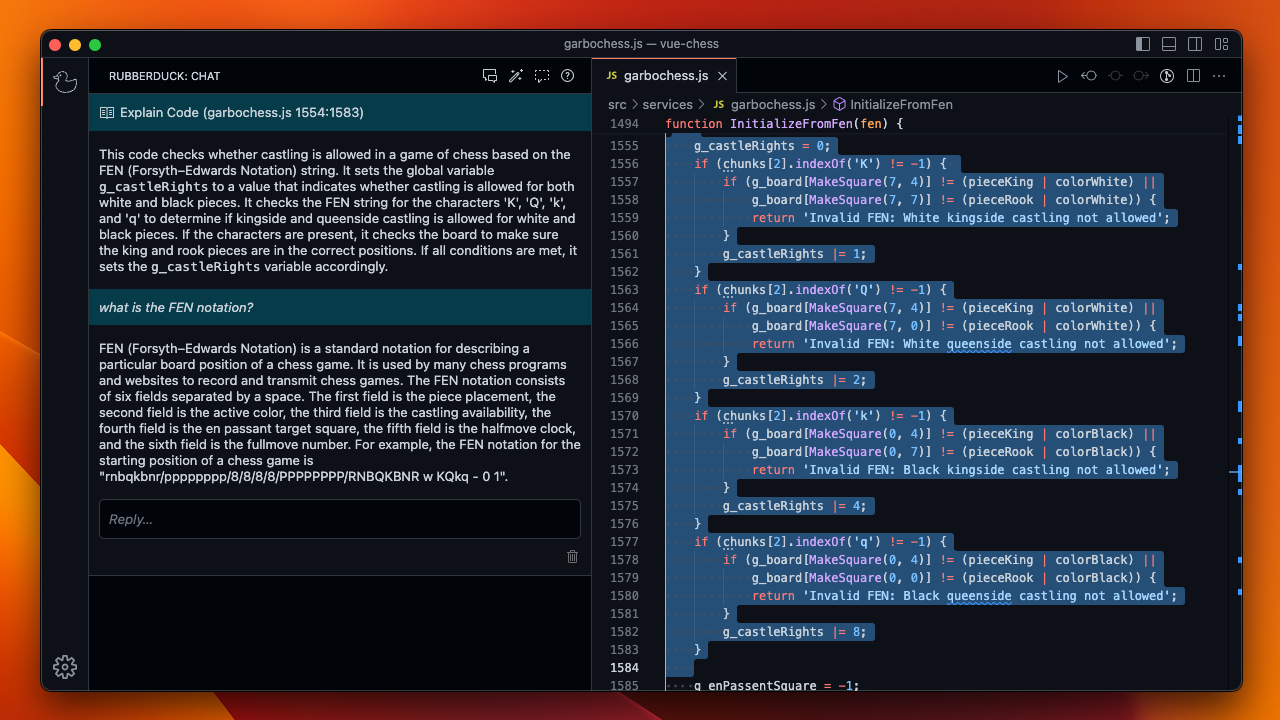
Ask Rubberduck to explain the selected code.
- Select the code that you want to have explained in the editor.
- Invoke the "Explain Code" command using one of the following options:
- Run the
Rubberduck: Explain Code 💬 command from the command palette.
- Select the
Explain Code 💬 entry in the editor context menu (right-click).
- The explanations shows up in the Rubberduck sidebar panel.
Generate Unit Test
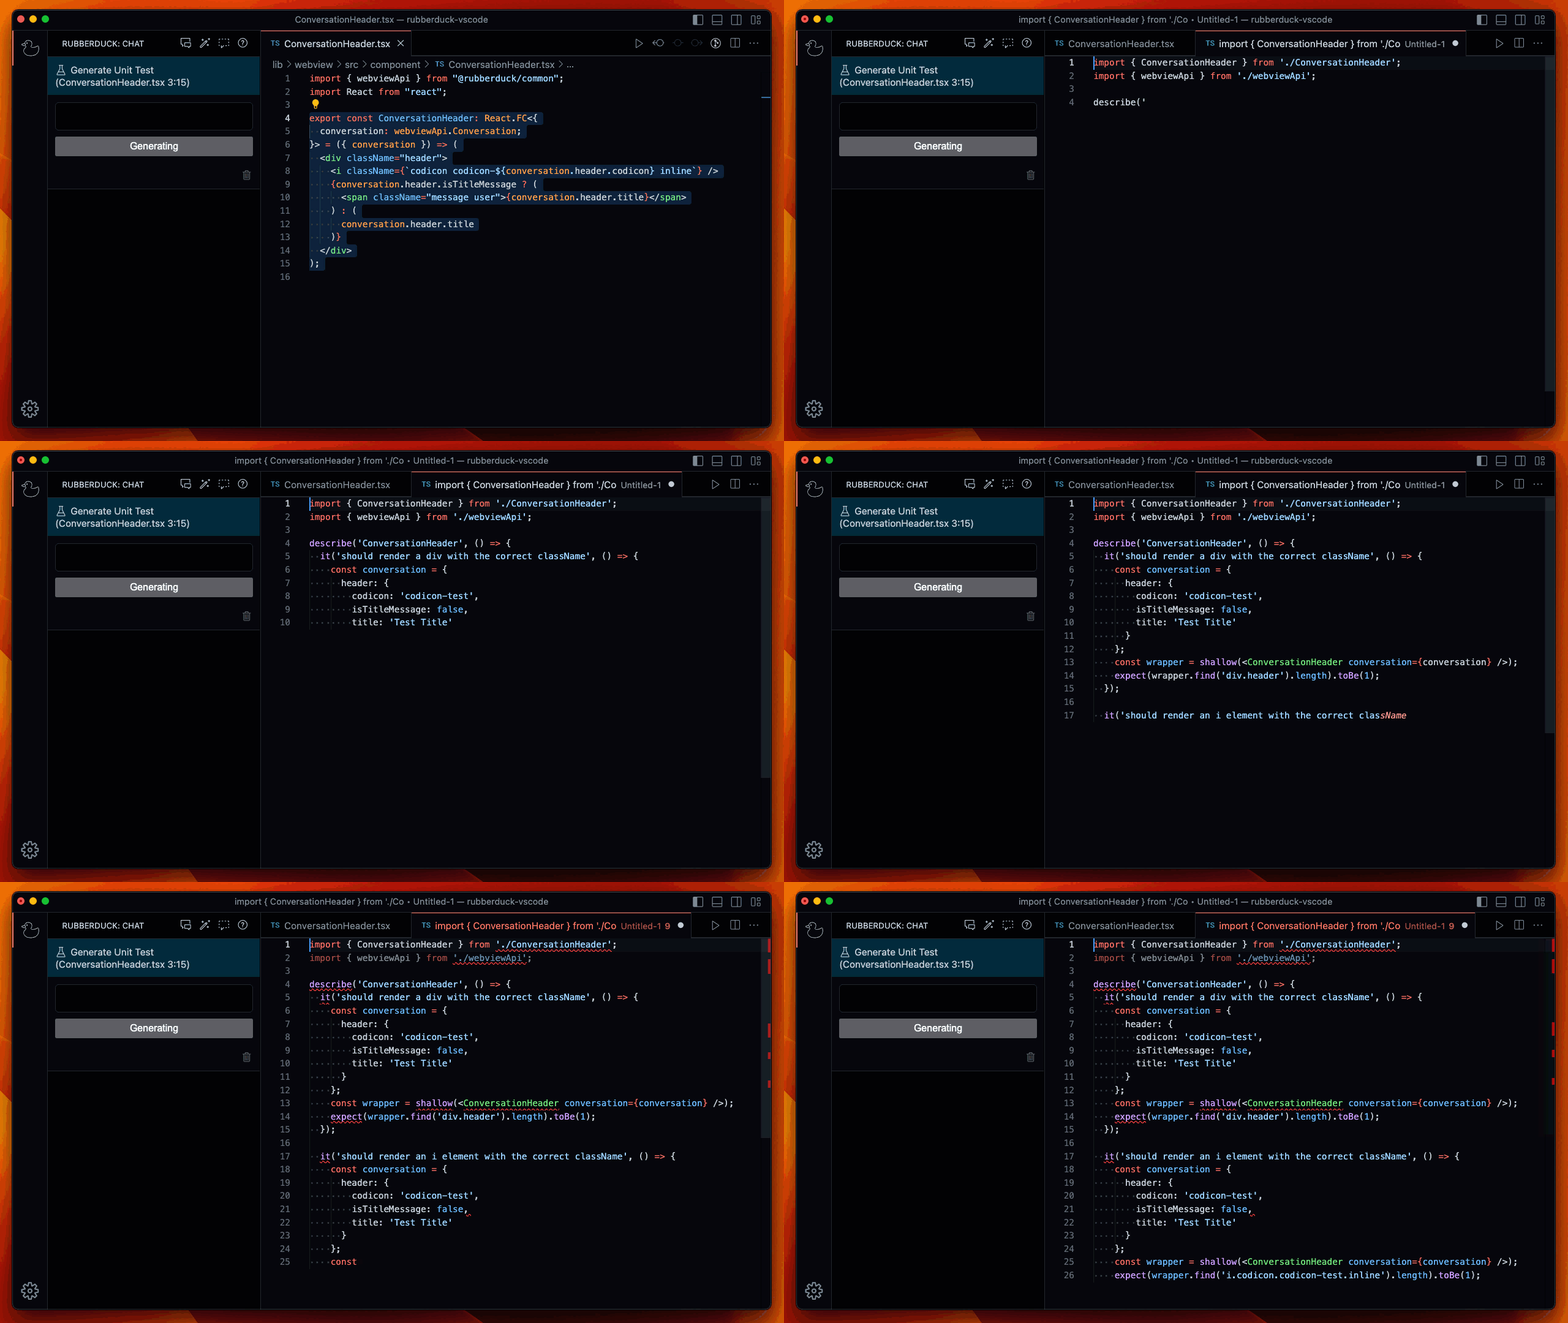
Generate a unit test for the selected code.
- Select a piece of code in the editor for which you want to generate a test case.
- Invoke the "Generate Unit Test" command using one of the following options:
- Run the
Rubberduck: Generate Unit Test 💬 command from the command palette.
- Select the
Generate Unit Test 💬 entry in the editor context menu (right-click).
- The test case shows up in a new editor tab. You can refine it in the conversation panel.
Find Bugs
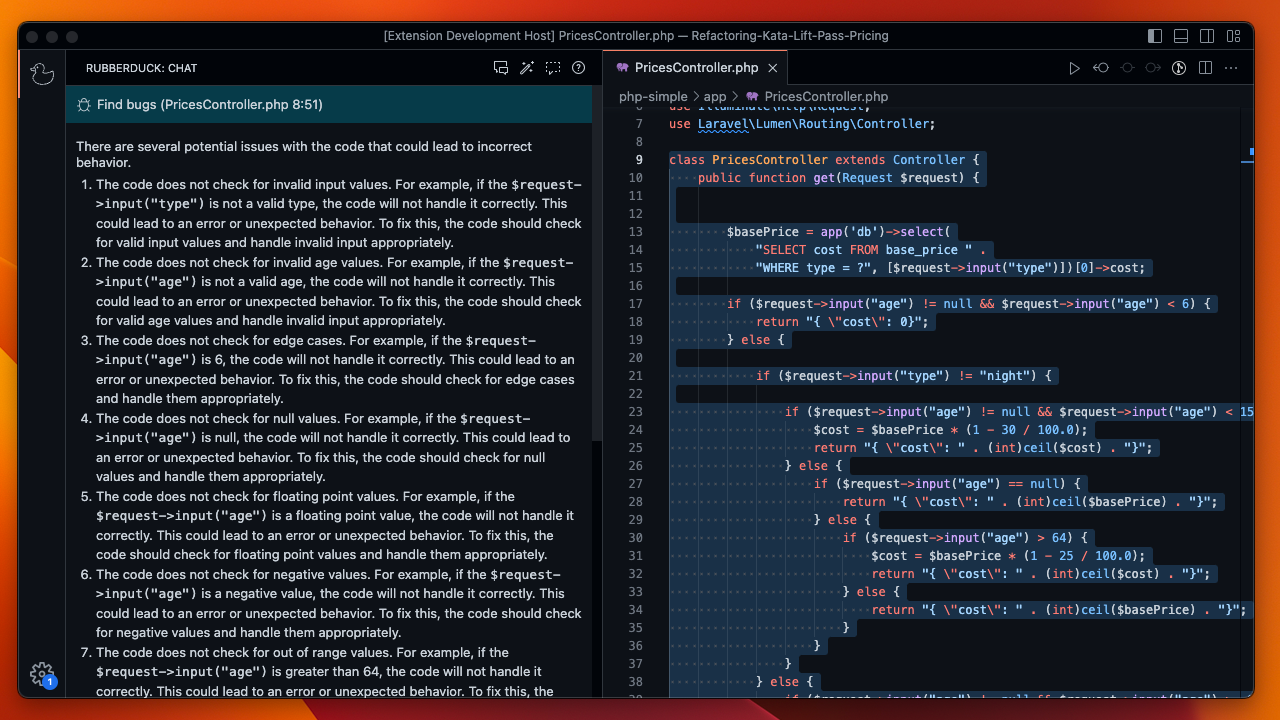
Identify potential defects in your code.
- Select a piece of code that you want to check for bugs.
- Invoke the "Find Bugs" command using one of the following options:
- Run the
Rubberduck: Find Bugs 💬 command from the command palette.
- Select the
Find Bugs 💬 entry in the editor context menu (right-click).
- Rubberduck will show you a list of potential bugs in the chat window. You can refine it in the conversation panel.
Diagnose Errors
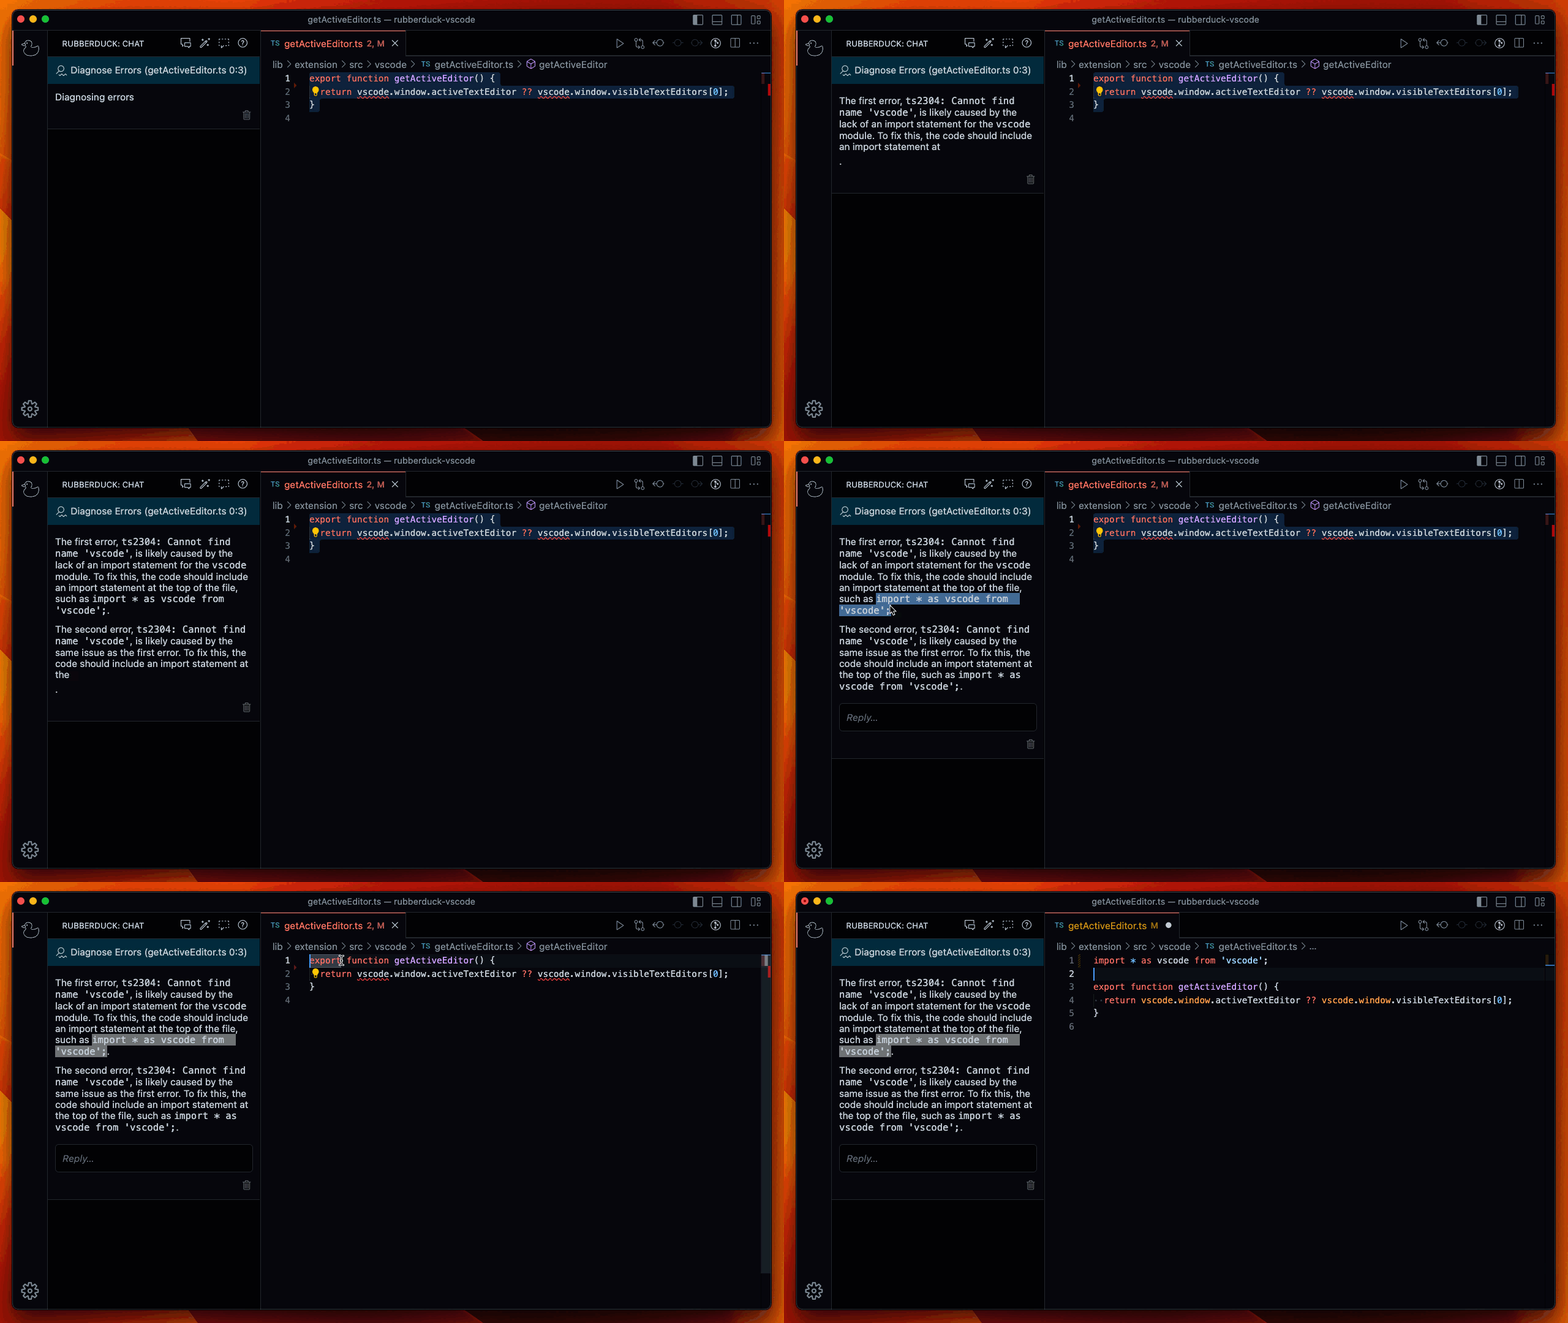
Let Rubberduck identify error causes and suggest fixes to fix compiler and linter errors faster.
- Select a piece of code in the editor that contains errors.
- Invoke the "Diagnose Errors" command using one of the following options:
- Run the
Rubberduck: Diagnose Errors 💬 command from the command palette.
- Select the
Diagnose Errors 💬 entry in the editor context menu (right-click).
- A potential solution will be shown in the chat window. You can refine it in the conversation panel.
Custom Conversations
What if you want to craft an AI Chat that knows specifically about your conventions?
How cool would it be to have the answers in your own language?
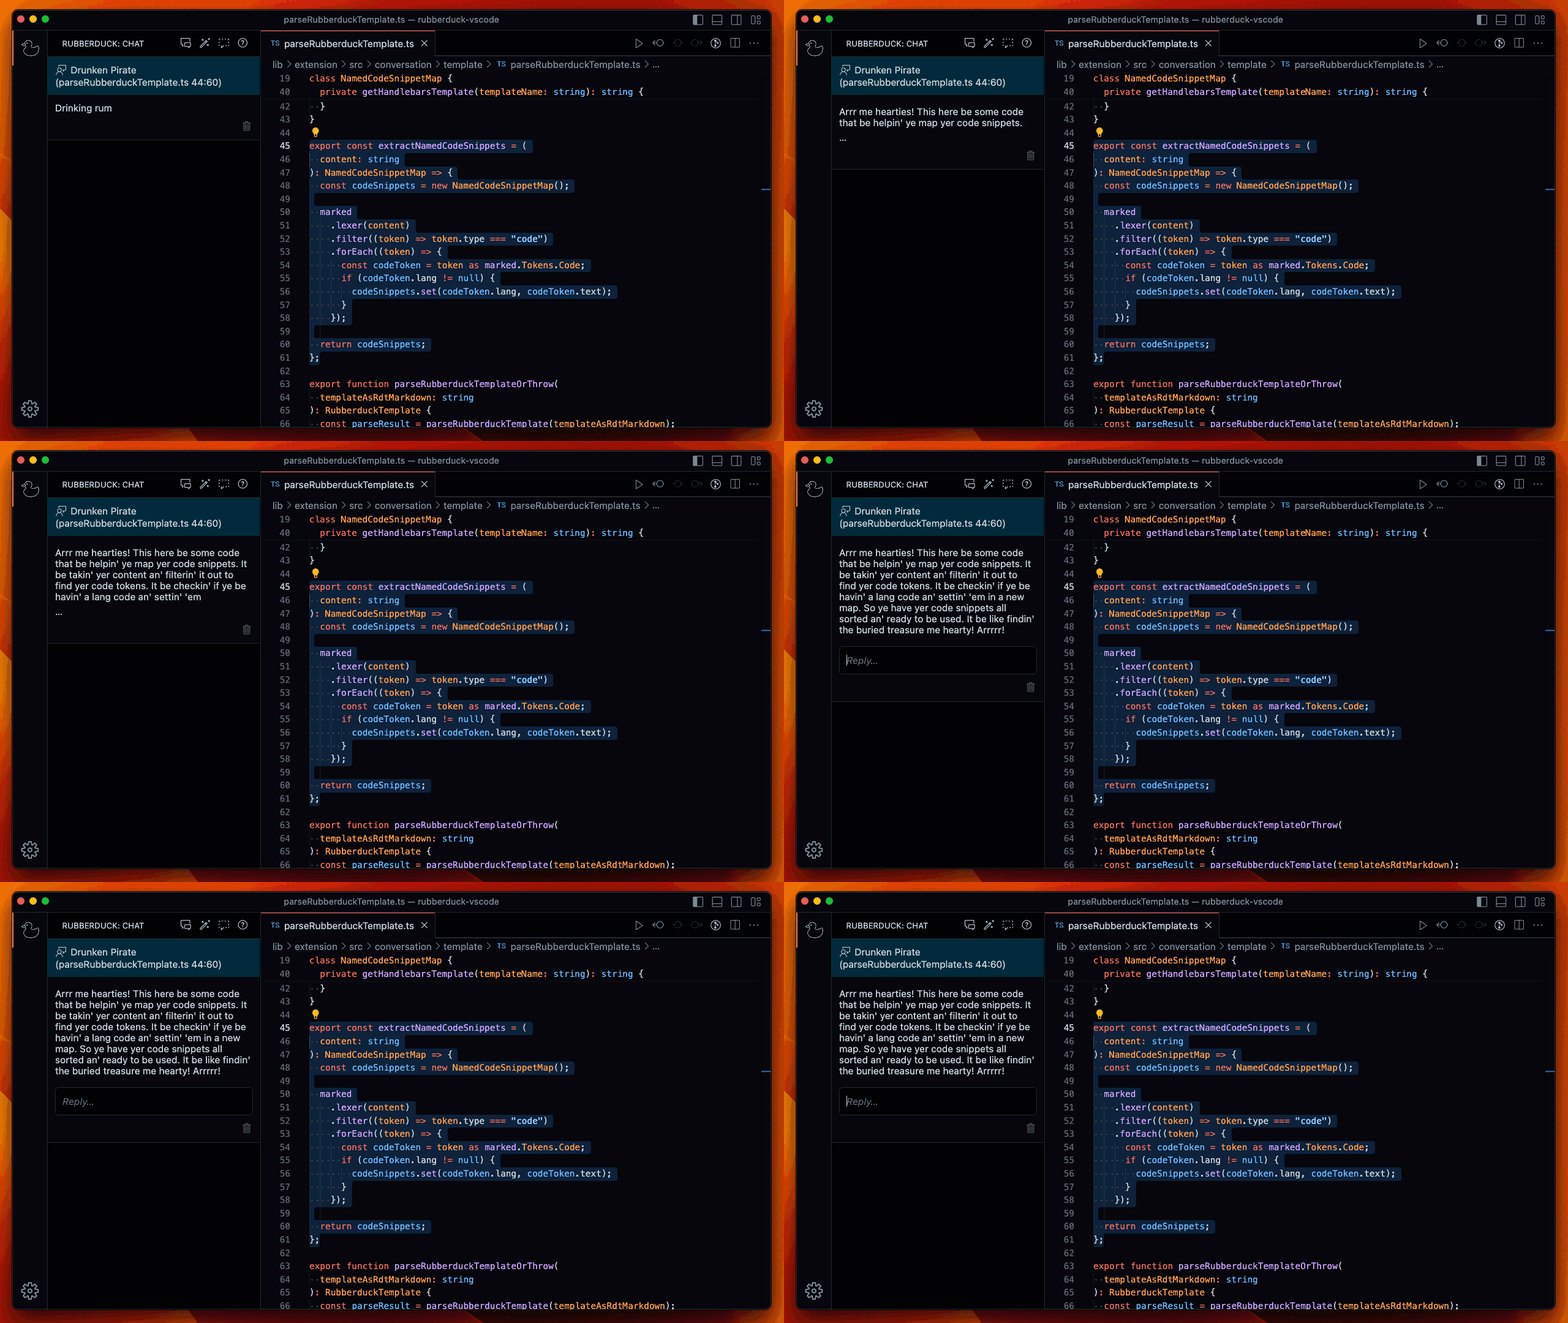
You can craft your own conversation templates by adding .rdt.md files to the .rubberduck/template folder in your workspace. See the Rubberduck Template docs for more information.
To use custom conversations, run the "Rubberduck: Start Custom Chat… 💬" command.
Here is an example of a drunken pirate describing your code:
Learn how to craft your own Rubberduck template!
Tips and Tricks
Understanding these concepts will help you get the most out of Rubberduck.
- Be specific.
When you ask for, e.g., code changes, include concrete names and describe the desired outcome. Avoid vague references.
- Provide context.
You can include the programming language ("in Rust") or other relevant contexts for basic questions.
You can select a meaningful code snippet for code explanations and error diagnosis.
- Do not trust answers blindly.
It's a big step for a rubber duck to be able to respond to your questions.
It might respond with inaccurate answers, especially when talking about
less well-known topics or when the conversation gets too detailed.
- Use different chat threads for different topics.
Shorter threads with specific topics will help Rubberduck respond more accurately.
Built With


