Do your Priority development from Visual Studio Code.
Features
Explore environments data
Explore your environment Forms, Procs and Tables
Search to increase your speed
Editing your environments data made easy
Enhanced WINDBI experience
Multiple WINDBI functions in one place
Companies selector
Running your SQLI directly from editor
Selection of desired code to run
Changing WINDBI configuration from status bar
Convenient results window
Preparing forms and procedures
Automatic displaying of preparing button
Notifications about preparing status
Deep/Flat mode
Deep mode for viewing Forms elements separately
Flat mode for those who likes all in one place
Code completion, navigation by definition, folding and syntax checks
Syntax checks
Code completion for table names, keywords, form fields and #INCLUDE statements
Navigation by definitions for #INCLUDE statements, table definitions and GOTO statements
Code folding
Code snippets for most built-in Priority functions
Vertical ruler
Navigation between entities using breadcrumbs
Managing environments in Wizard
Commands palette
Adding your first Environment
Prerequisites
Before adding an environment, make sure that:
You have an active user in a working Priority Web environment
The environment is licensed for application "APPVSCODE" (check the Applications for License form)
You know the full URL used to access OData service. If you don't, run the Send Program Activation Link procedure (under System Management > System Maintenance > Users) and select "API"
Prepare the user in Priority
In the Applications for License form (System Management > System Maintenance > Software Licenses > Applications for License), add your user to the "APPVSCODE" application in the Users for Application sub-form
To add the Environment
Create an empty folder somewhere on your PC. This folder will be used for intermediate WINDBI files.
Back in VS-Code, select File -> Open Folder... from File menu option and select this folder. This folder will be your Workspace.
Click F1 to show the Command Palette
Find and run the command "Priority: Open Environments Wizard..." (hint - just type "wizard")
In the wizard, click on "Add environment with OData URL"
In the Wizard, enter the following environment information:
Field
Explanation
Environment name
Assign a name for the environment
OData URL
Full URL for the OData service
Username
Your username(*)
Password
Your password
(*) If your username includes non-ASCII characters:
In the REST Interface Access Tokens form (System Management > System Maintenance > Users > REST Interface Access Tokens), generate a Personal Access Token to your user and take note of the token
Enter the token in the Username field and 'PAT' for the password.
How to use
Using the Extension
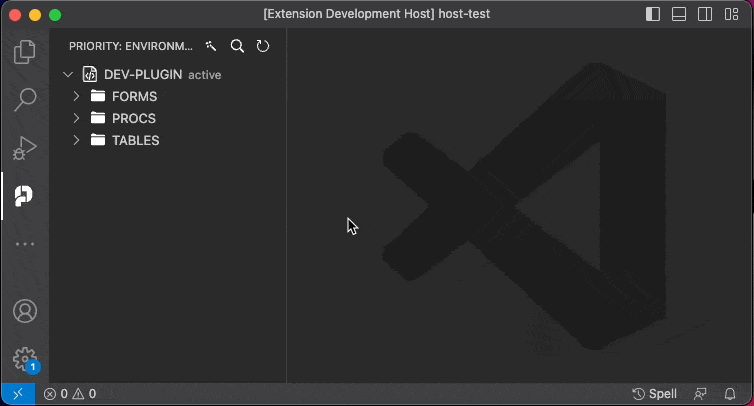
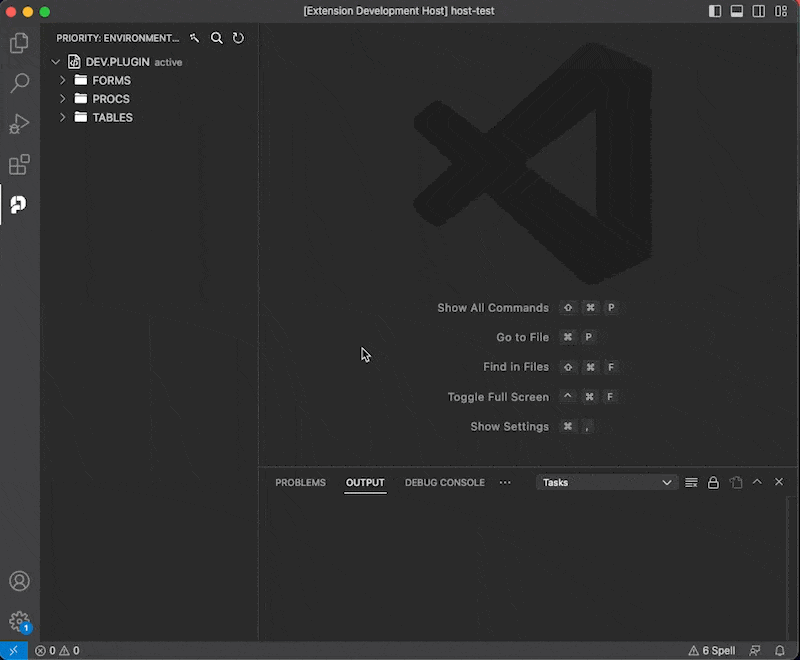
In the Activity Bar (on the left) select the Priority icon to see the Object Explorer. All your environments will be shown here.
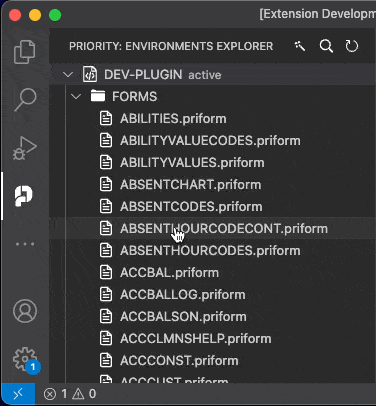
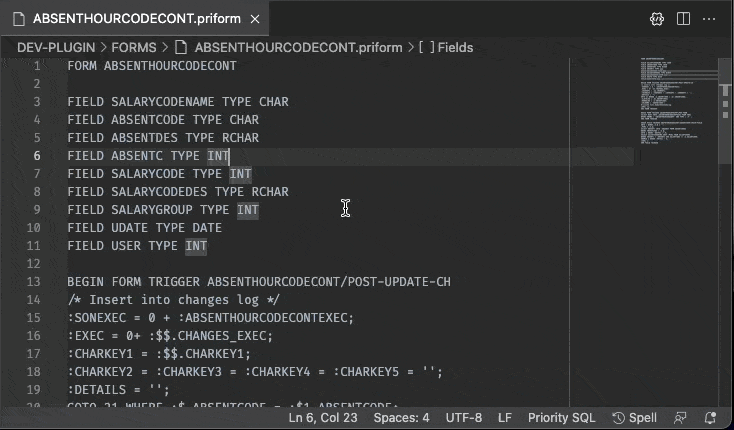
Expand an environment to view its tables, forms and procedures
Selecting an object will open it in a new editor window as a file.
Saving a file will update Priority
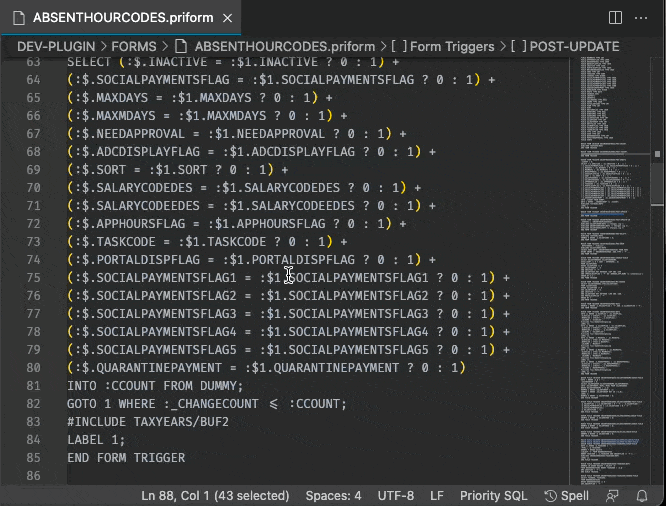
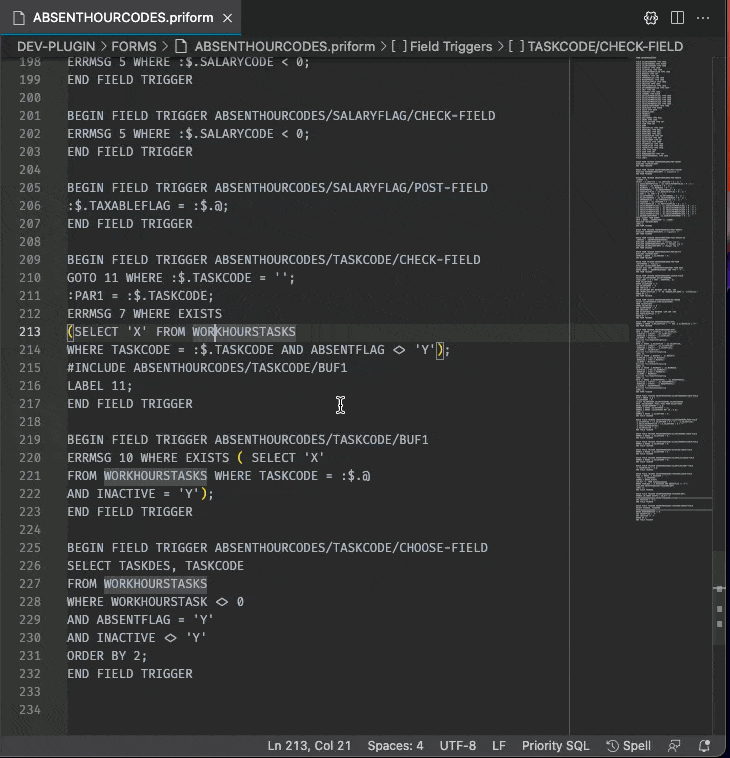
To prepare a form or procedure, click the "Prepare" button in the top-right corner of the editor window.
To view the contents of an #INCLUDE statement or a table definition, click F12 to go to the definition, or Alt+F12 to embed it.
Code completion: Press Ctrl+Space to trigger code completion for table names, keywords, form fields and #INCLUDE statements
To jump to from a GOTO or LOOP statement to the relevant LABEL statement, place the cursor on the LABEL number and press F12
If you're not familiar with VS-Code, see here for some general tips.
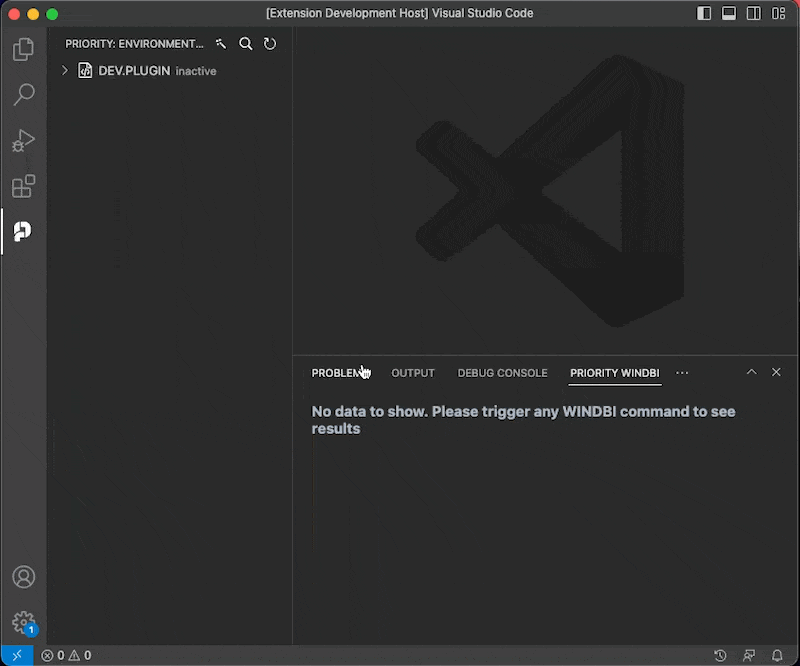
Using WINDBI
Right-click on an environment in the Object Explorer to open a new WINDBI window for that environment.
Activate an environment in the Object Explorer and select a company in the "Companies" panel
To run the entire SQLI code, click on the "Execute" button in the top-right corner or press "Alt+X". To run only a selection, highlight the code you want to execute.
To "Explode" an #INCLUDE statement that was copy-pasted from a trigger: Click on the trigger name, a light-bulb should appear. Click on the lighbulb and then on "Replace INCLUDE with trigger content".
All WINDBI operations are available from right-click on the environment.
Changelog
See the Changelog tab.
Issues
Environments Explorer File Reopening
To reopen an Environments Explorer file, if it has selection on it, just Double Left Click + Ctrl/Cmd on the file name to open it again