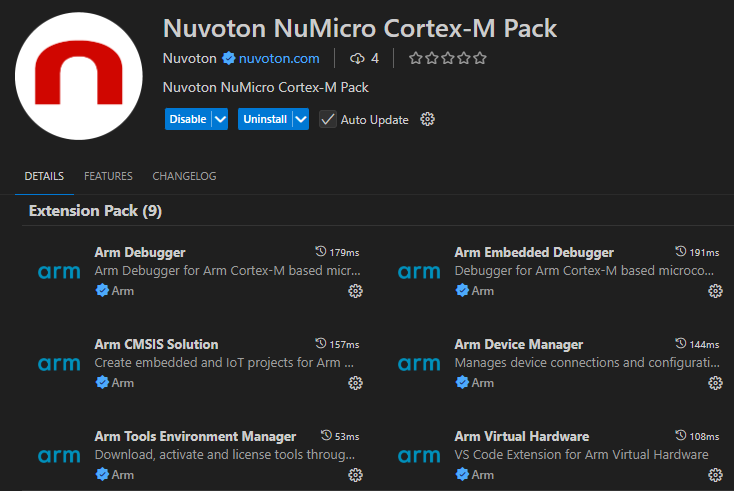
Nuvoton NuMicro Cortex-M Pack integrates essential extensions, configuration files, SVD support, OpenOCD setup, and template projects to simplify embedded development from setup to debugging.
Installation
Launch VS Code Quick Open (Ctrl+P), paste the following command, and press enter.
The extension pack integrates essential components to simplify embedded development, including:
Essential extensions for VS Code.
Configuration files.
SVD (System View Description) support.
OpenOCD setup for debugging.
The PinView and LCDView help you with debugging.
Template projects to help you get started.
Extension version control prevents automatic extension upgrades from causing usage issues.
Caveat: You might be forced to use specific, fixed versions of the relevant extensions. For details, please see the sub-extension: Nuvoton Extension Version Manager.
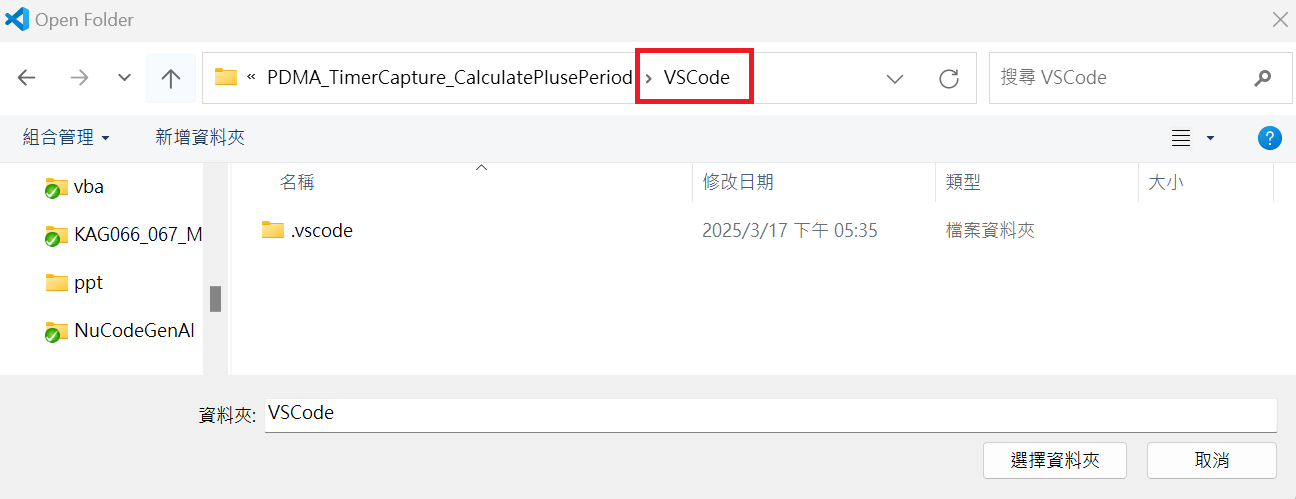
Ensure your settings in "Manage Solution" are properly configured (Optional — the BSP may have already done this for you)
Click on CMSIS in the active bar and then click on Manage Solution to set a context for your solution.
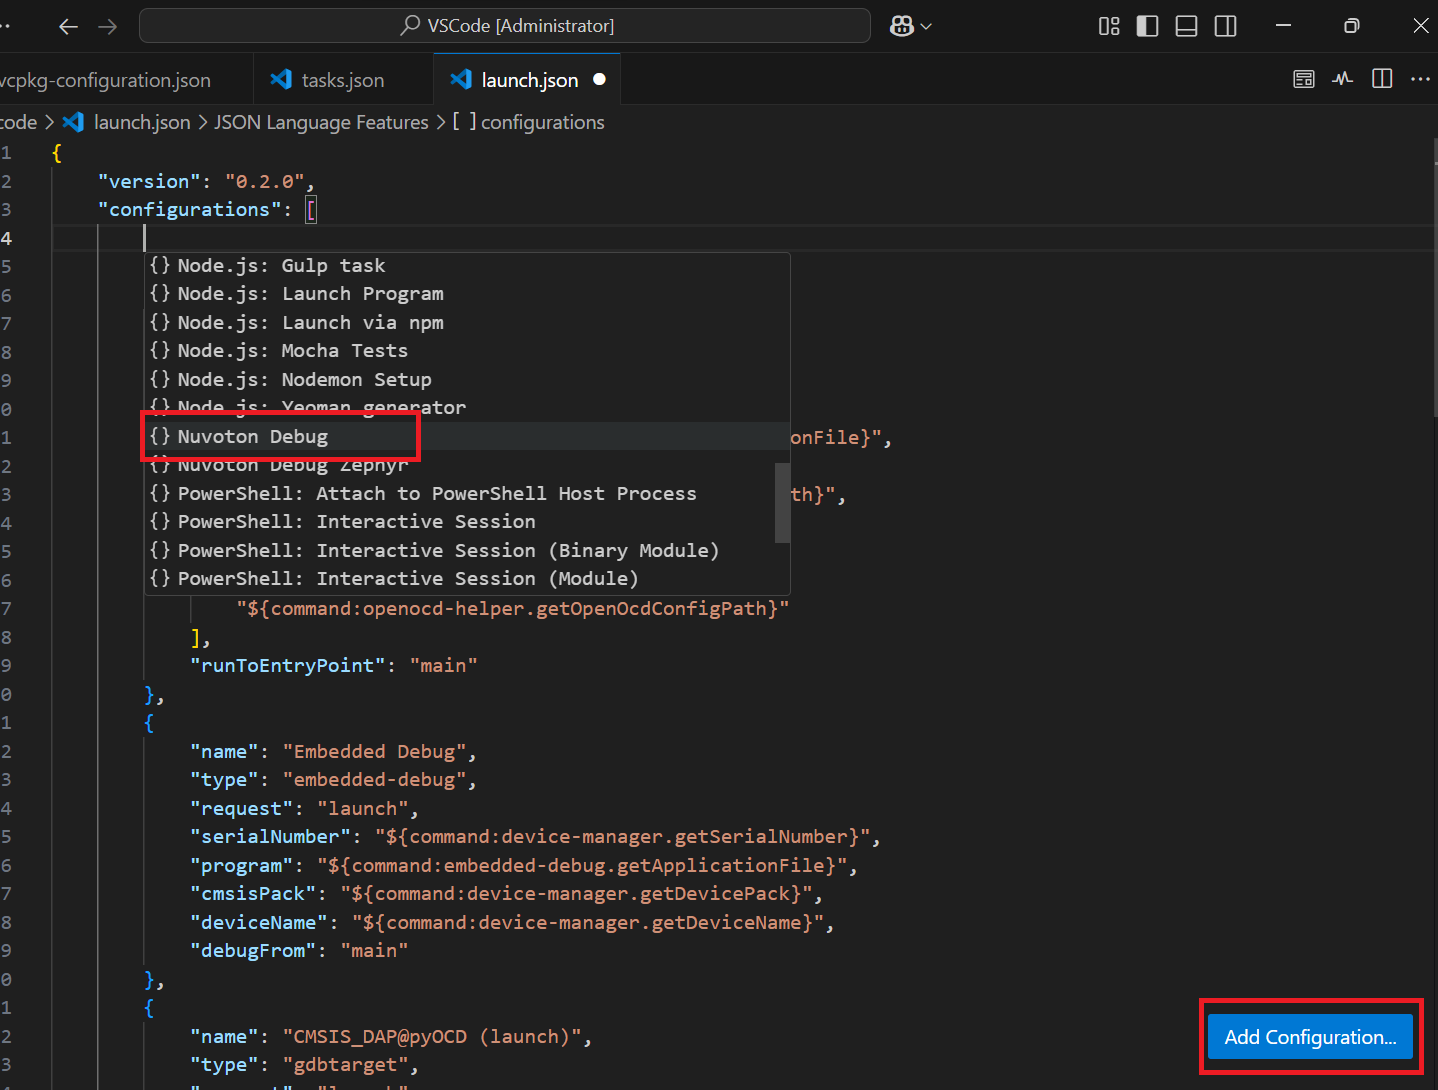
configure the Run & Debug settings.
Debug Configuration: Nuvoton Debug
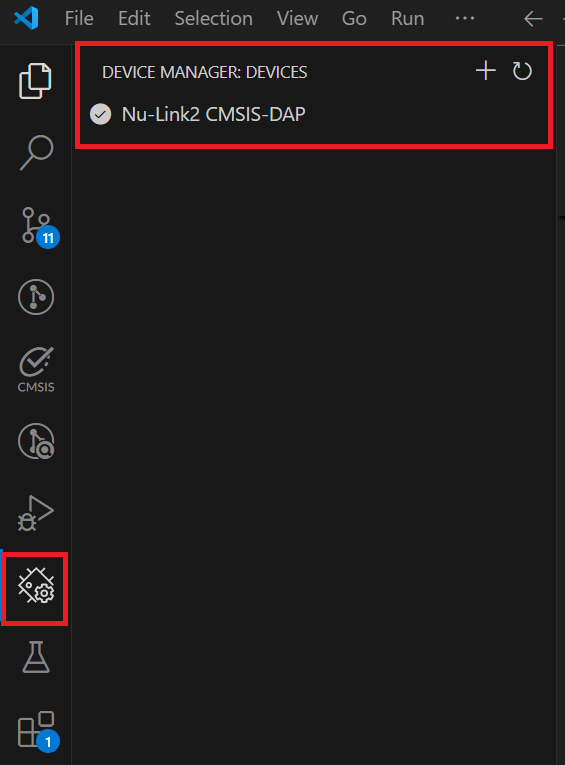
Check Device Status
Make sure the device is connected and recognized in Device Manager.
Only one NuMicro device can be connected at a time.
If a new VS Code instance is opened, the device in the Device Manager may be taken over by the newly opened VS Code. Close all instances of VS Code and restart to ensure proper device recognition.
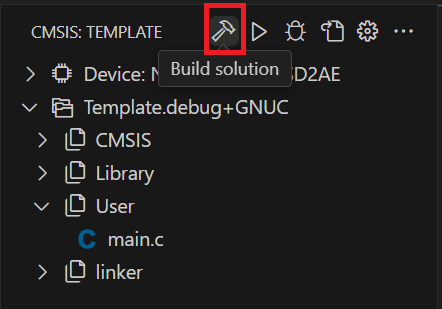
Execute Build, Run and Debug
Build
Run
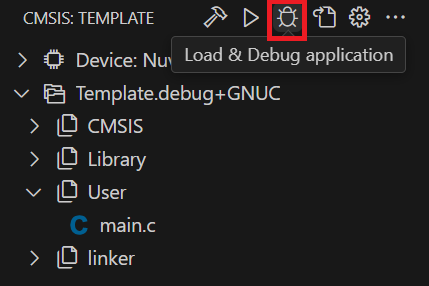
Debug
(Optional) Zephyr Project Setup Guide for Nuvoton NuMicro Cortex-M
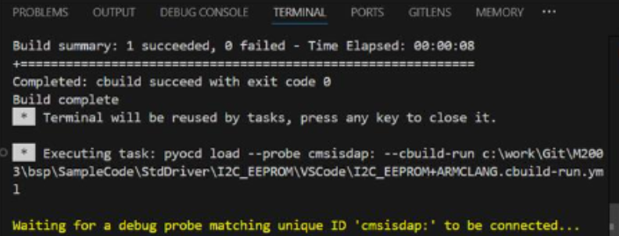
Check whether any other application is using the CMSIS-DAP device
Memory region at address is not writable
Check whether the latest version of the pack has been updated
Check that the region to be programmed is defined in the .cbuild-run.yml file
Make sure the connected device matches the model defined in csolution.yml — this affects flash size and SRAM size.
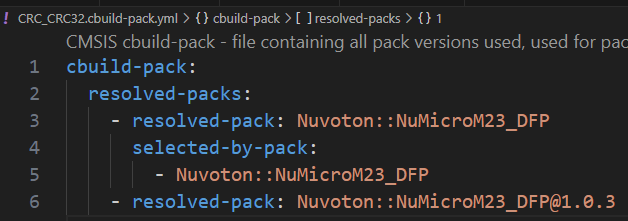
Steps to update the pack settings in the project
Modify the cbuild-pack.yml file to update the pack and version to the latest
Refresh to reload the pack and rebuild the solution
Debug target
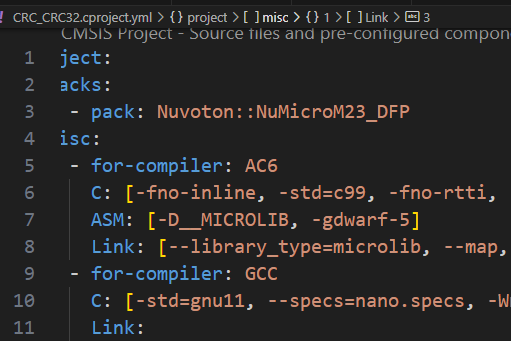
Cannot halt at the main function
It depends on AC6 optimization results. Not needed for GCC.
Modify cproject.yml and add -fno-inline build option.
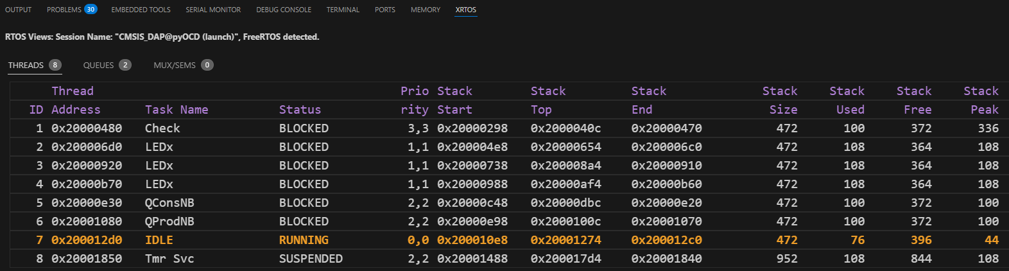
Setup RTOS View
Add some define to the RTOS project
gcc_arm.ld
Add the following to .data and .bss sections:
KEEP(*(.freertos_tasks)) and KEEP(*(.freertos_globals))
FreeRTOSConfig.h
#define configUSE_TRACE_FACILITY        1
Enable FreeRTOS trace facility, which is required to display    thread and task status information.

#define configUSE_STATS_FORMATTING_FUNCTIONS 1
Enable formatted statistics functions, used to generate tables    like those returned by uxTaskGetSystemState(), making it easier    to display the running status of each task.

#define configRECORD_STACK_HIGH_ADDRESS 1
Record the stack end address.

#define INCLUDE_vTaskList 1
Enable the vTaskList() function, which lists the status of all    tasks in the system.

#define INCLUDE_uxTaskGetStackHighWaterMark 1
Enable the uxTaskGetStackHighWaterMark() function, which returns    each task’s stack high-water mark.

#define configGENERATE_RUN_TIME_STATS   0
This option controls whether run-time statistics are generated.

#define configGENERATE_RUN_TIME_STATS   1
This option controls whether run-time statistics are generated.

#define portCONFIGURE_TIMER_FOR_RUN_TIME_STATS()  /* Define this    to initialize your timer/counter */

#define portGET_RUN_TIME_COUNTER_VALUE()          /* Define this    to sample the timer/counter */
These macros must be defined to set up and read the timer/counter    used for collecting run-time statistics.
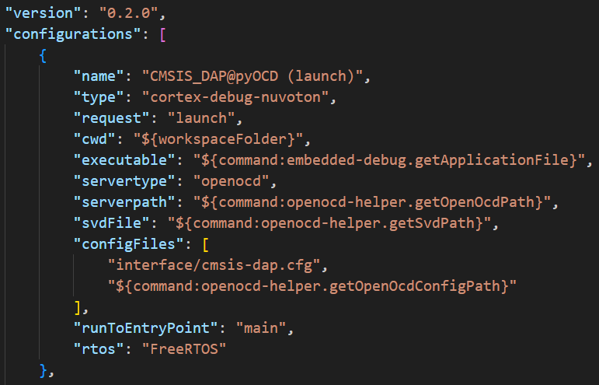
Add rtos options to launch.json file
Add variable to main function of the project
static volatile int uxTopUsedPriority;
uxTopUsedPriority = configMAX_PRIORITIES - 1;