Nomain for VS Code
Master your mainframe, directly in the editor.
Nomain brings your codebase's knowledge graph into VS Code: ask questions about
legacy code, navigate dependencies, and jump straight to the source — without
leaving your editor.
Features
- 💬 Conversational chat grounded in your Nomain knowledge graphs.
- 🔗 Inline code references — click any reference in a bot reply to open the
file at the exact line.
- 🧭 Multiple sources — switch between knowledge graphs (codebases) per chat.
- 🔐 Secure sign-in via WorkOS (browser-based OAuth2 device flow).
- ⚙️ Configurable server — point the extension at your own Nomain deployment.
Demo
Screenshots
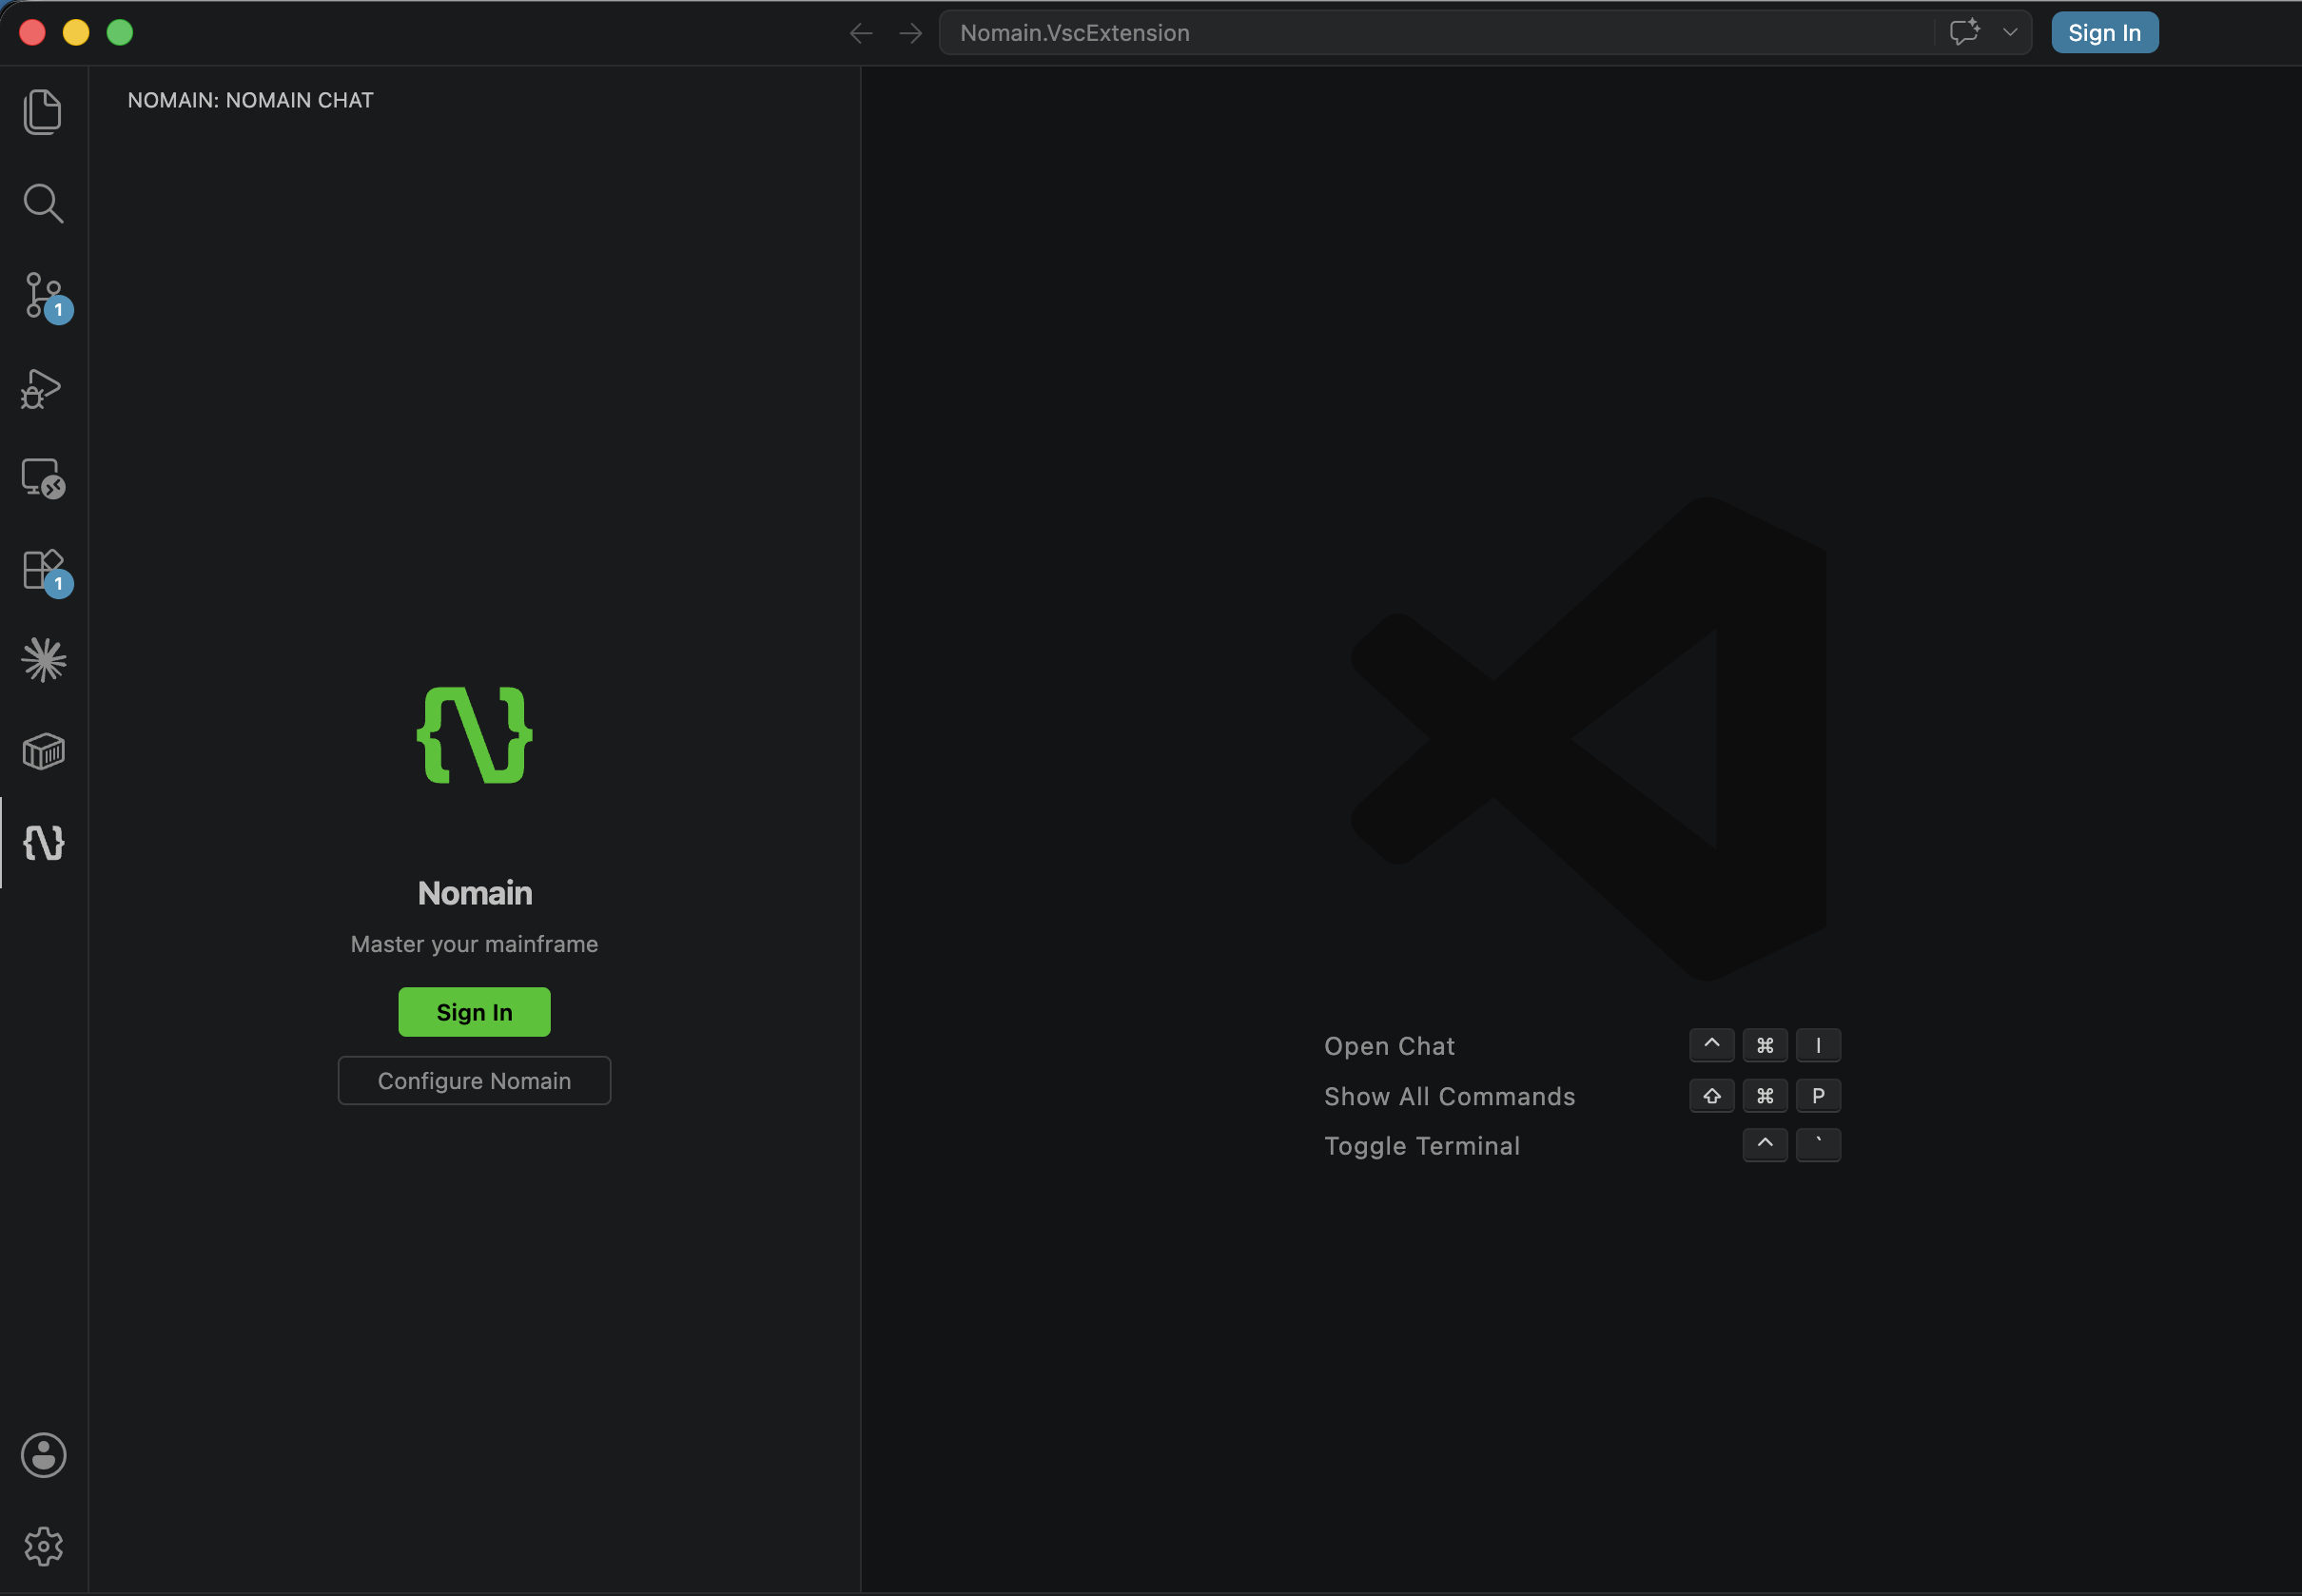
Sign in to Nomain
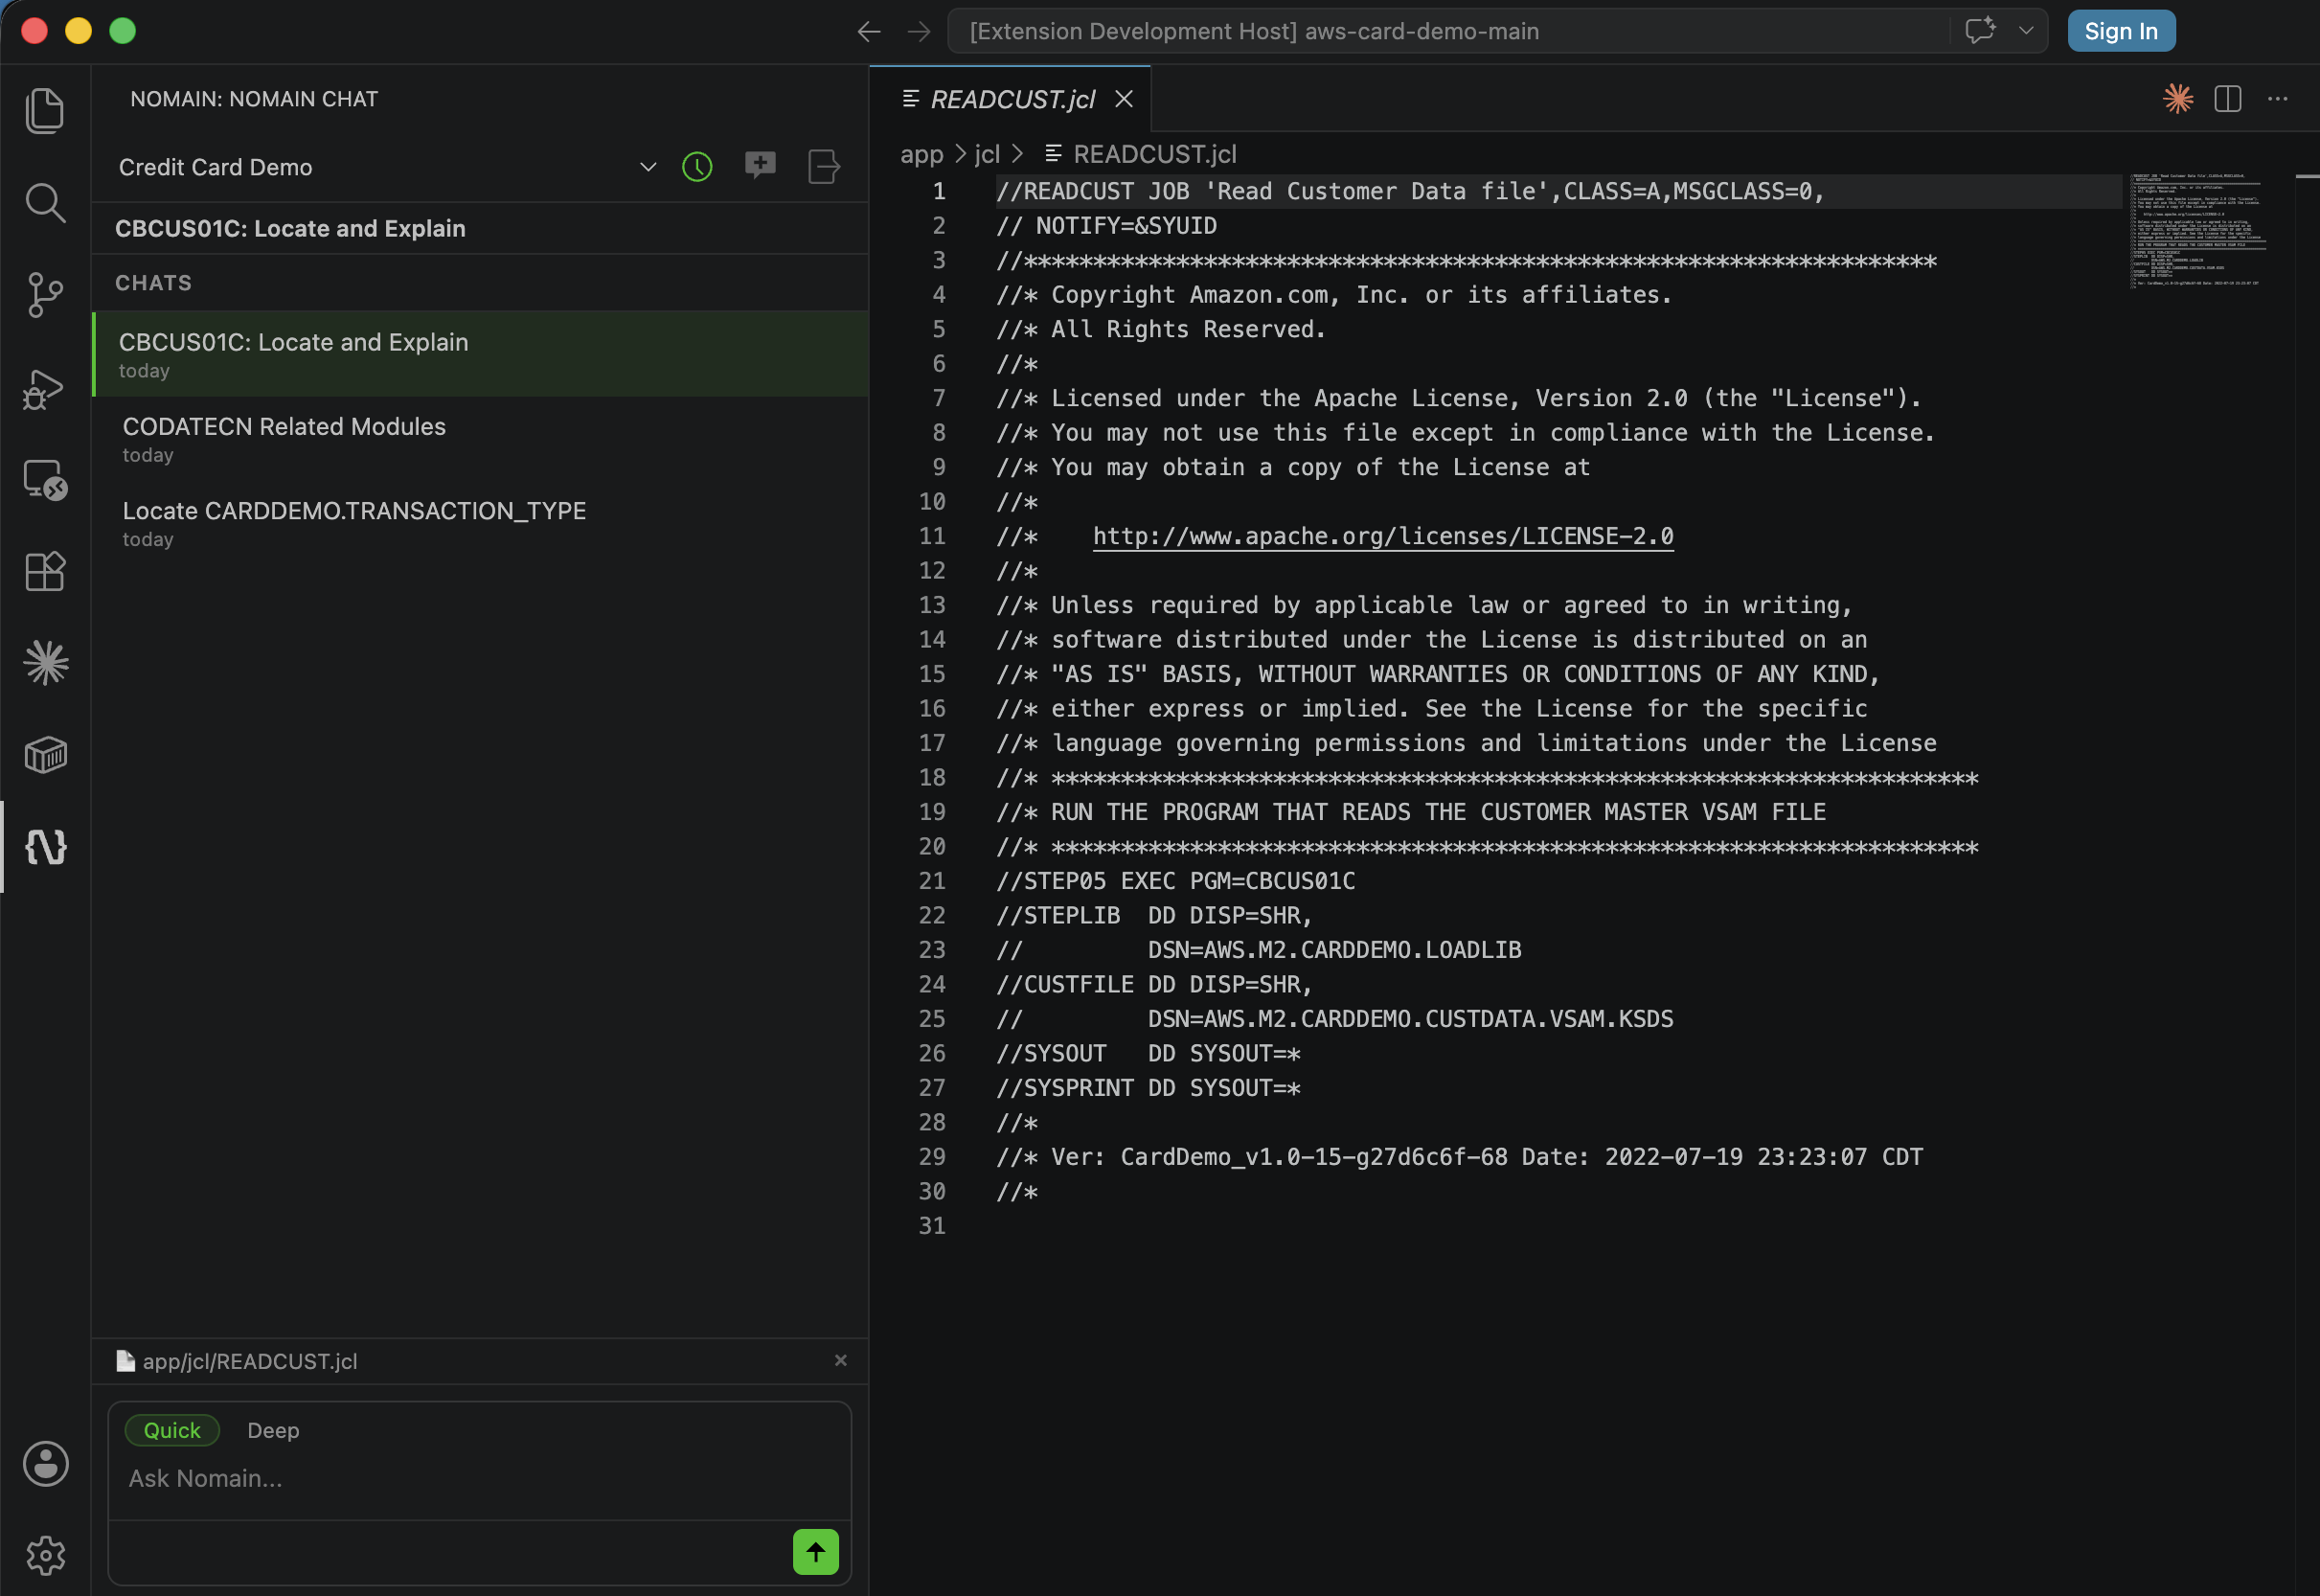
Select a conversation
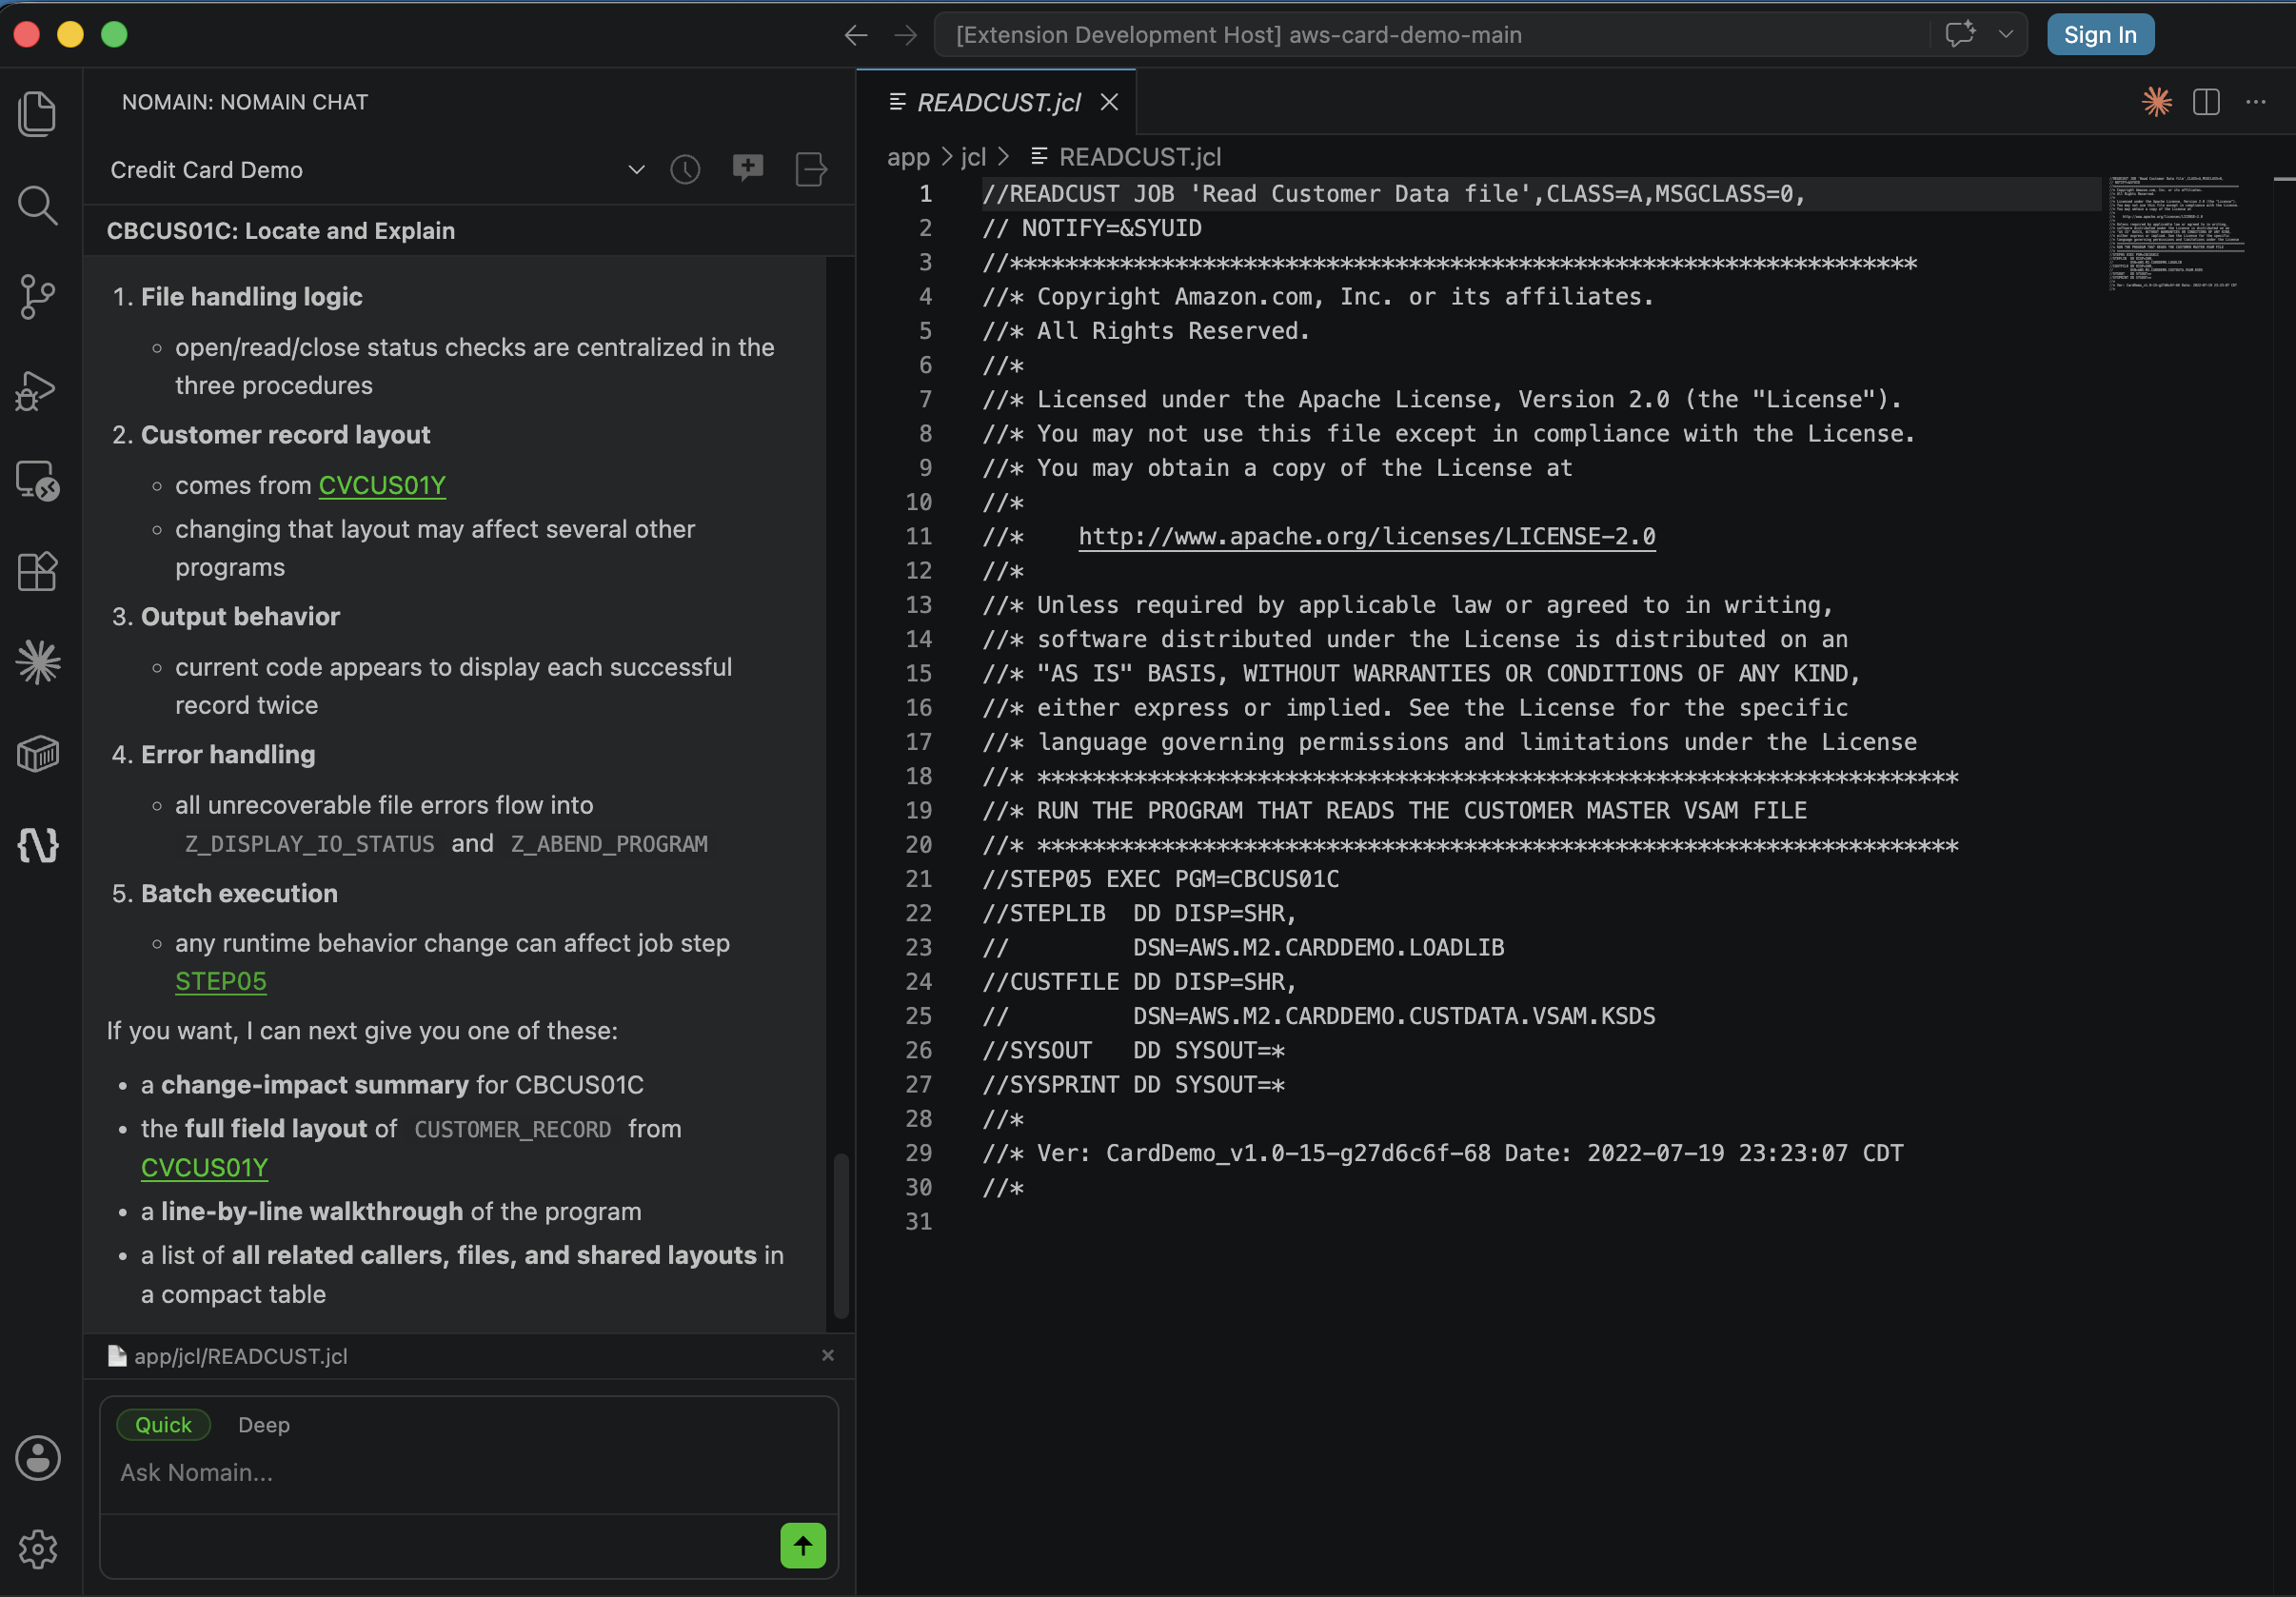
Chat
Requirements
- VS Code 1.85 or later
- A Nomain account with access to at least one knowledge graph
Getting started
- Install the extension from the Marketplace.
- Click the Nomain icon in the Activity Bar (left sidebar).
- On first activation you're prompted for your Nomain server URL — enter it and confirm. You can change it later via Nomain: Configure Server URL in the Command Palette.
- Click Sign In in the chat panel — your browser opens to complete authentication.
- Once signed in, select a chat or create a new one to start asking questions.
Creating a chat
Click the + button in the chat header. You will be asked to:
- Select a source (knowledge graph) — the codebase the chat will reason about.
- Enter a name for the chat.
Navigating to code
Bot responses may include inline code references. Clicking one opens the
relevant source file in the editor at the exact line.
Configuration
All settings are under Nomain in VS Code Settings (Cmd+, → search nomain).
| Setting |
Description |
Default |
nomain.serverUrl |
URL of your Nomain server (e.g. https://app.example.com or http://localhost:4200). All API endpoints are derived as {serverUrl}/api/{service}. |
(prompted on first activation) |
nomain.debugLogging |
Write identity claims (userId, tenantId, JWT iss/aud/sub/exp) to the Nomain output channel. |
false |
The WorkOS OAuth client ID is fetched from the backend via
GET /api/customers/auth/config and does not need to be configured manually.
Commands
| Command |
Description |
Nomain: Sign In |
Open the browser sign-in flow |
Nomain: Sign Out |
Clear the stored session |
Nomain: Configure Server URL |
Change the configured Nomain server URL |
Sign out
Click the sign-out icon (→) in the chat header, or run Nomain: Sign Out from
the Command Palette (Cmd+Shift+P).
Support
- Questions or bug reports: contact your Nomain account team or email
support@nomain.com.
- Release notes are bundled with the extension as
CHANGELOG.md.
License
Nomain Proprietary License
For licensing inquiries, contact: support@nomain.com