Skip to content
| Marketplace
Sign in
Visual Studio Code>Other>miScriptNew to Visual Studio Code? Get it now.
miScript

miScript

Minebea Intec

|
2 installs
| (0) | Free
This extension is a plugin to work with the MiNexx device. It supports the development of custom applications and enhances the debugging experience.
Installation
Launch VS Code Quick Open (Ctrl+P), paste the following command, and press enter.
Copied to clipboard
More Info

miScript

This extension is a plugin for working with MiNexx devices. It supports the development of custom applications and improves the debugging experience.

Contents

  • Requirements
  • First Steps
  • Features
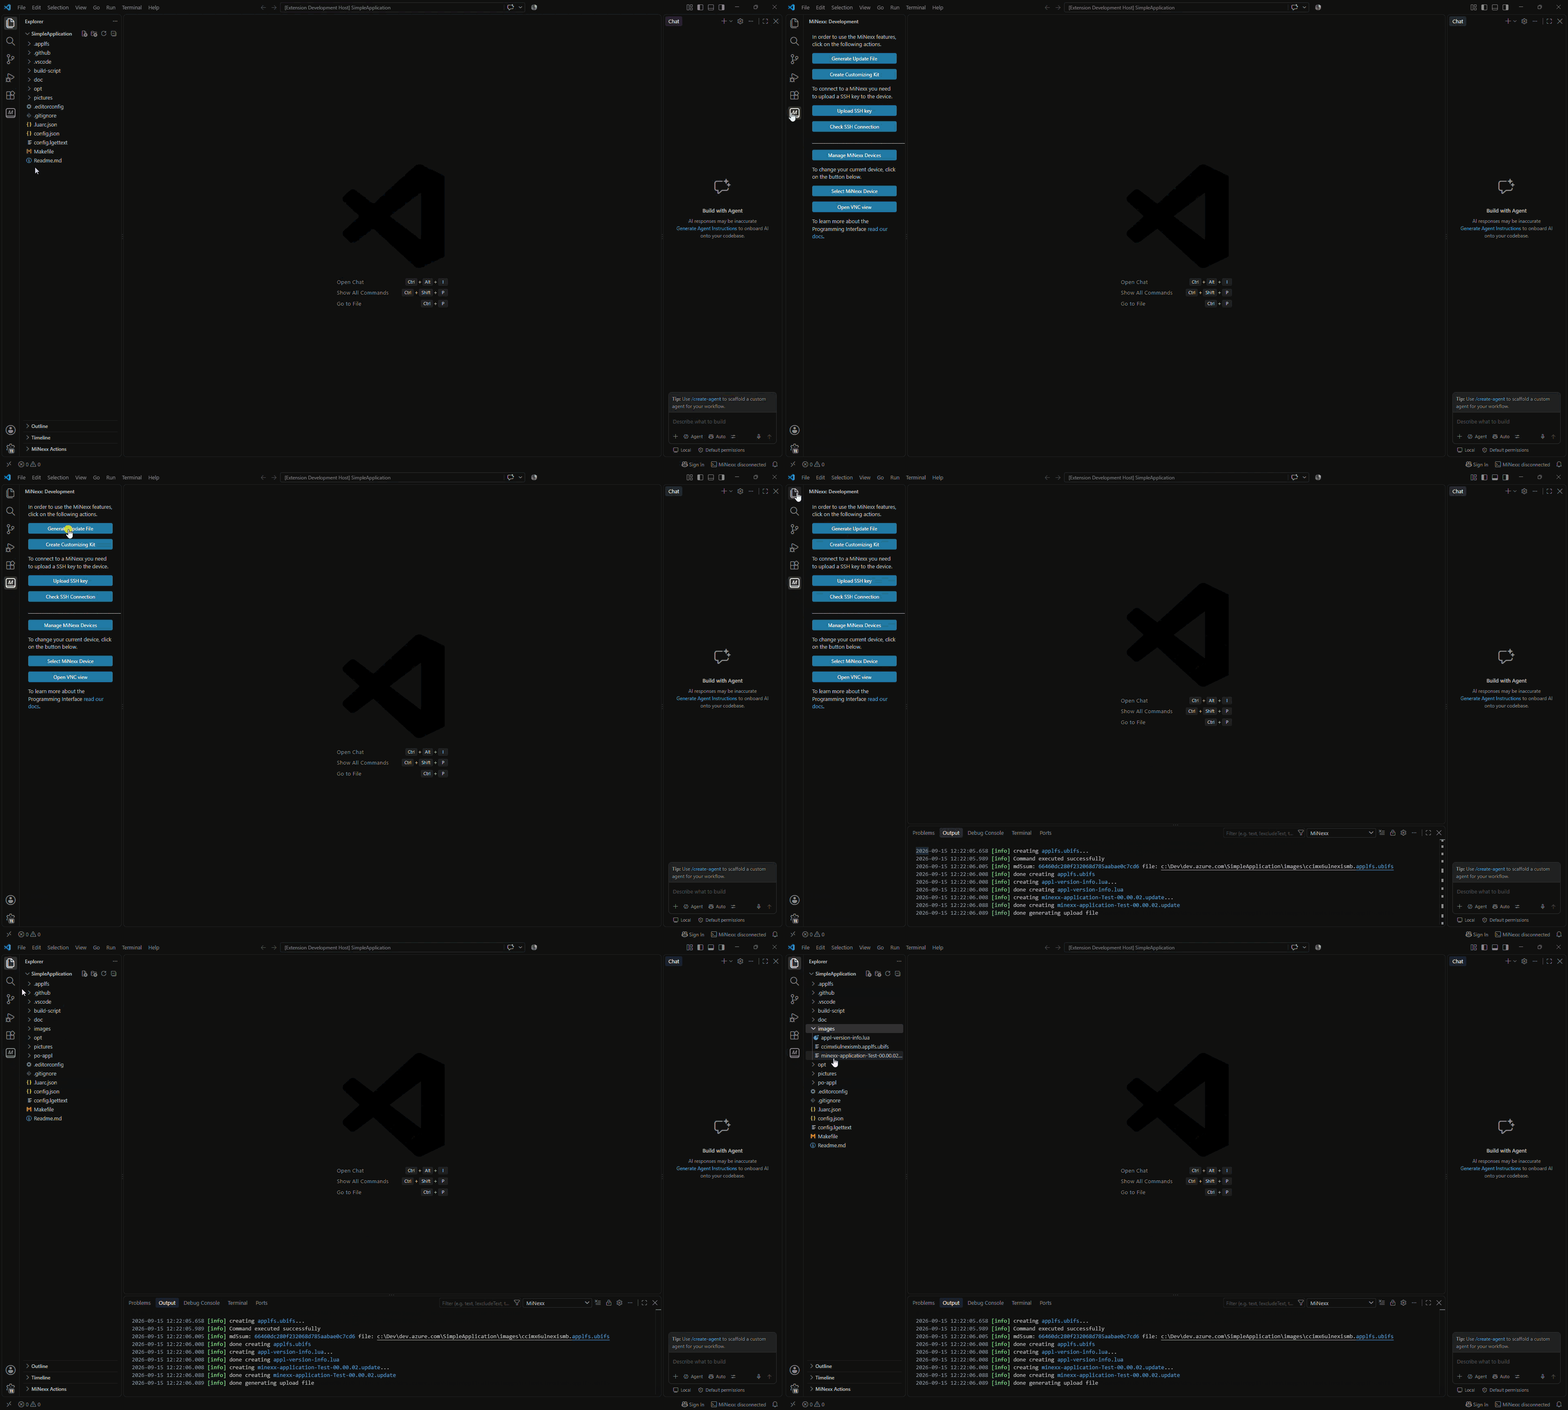
    • Generate Update File
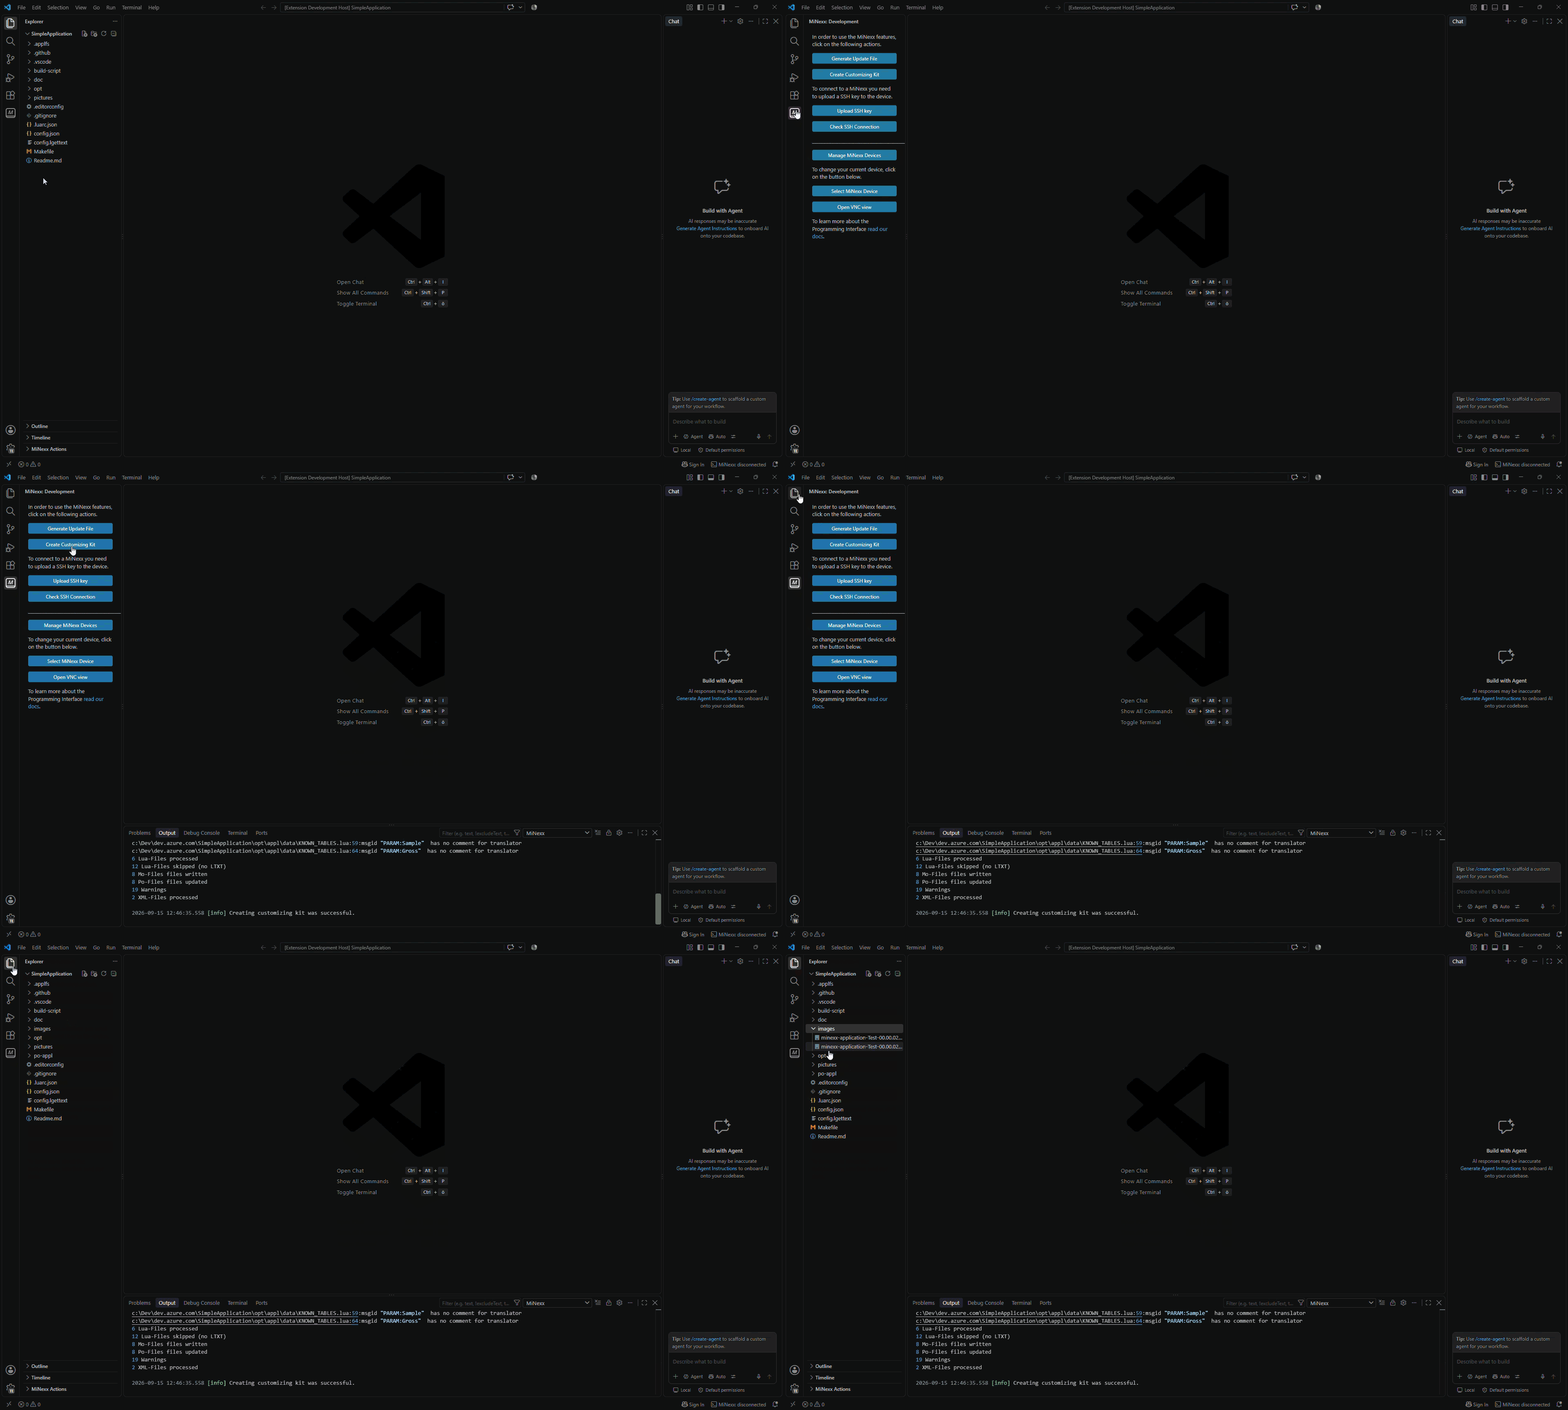
    • Create Customizing Kit
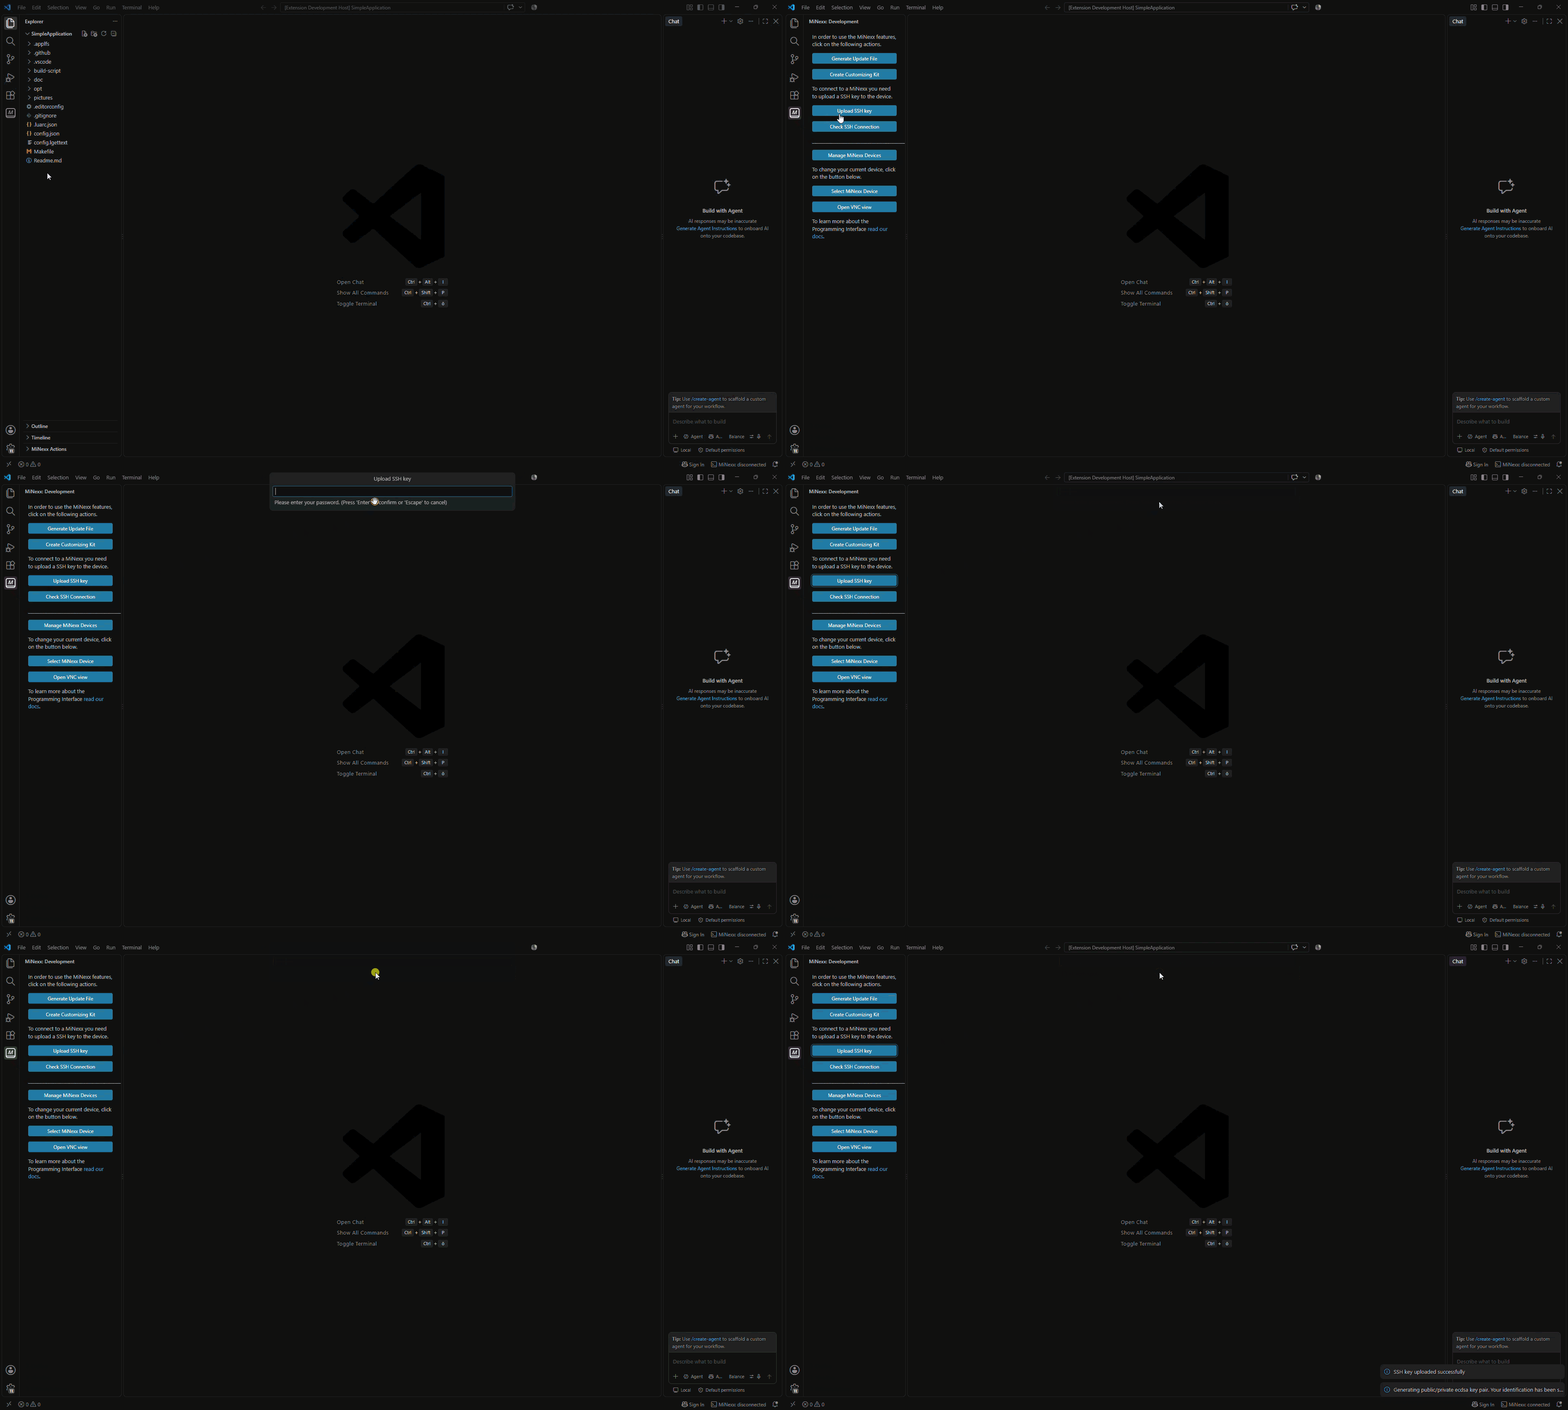
    • Upload SSH Key
  • How to use
    • Connect to MiNexx
    • Multithreading

Requirements

On Linux devices, the package mtd-utils must be installed in order to generate update files.

For debugging, the following extension is required:

  • Mobdebug (AlexeyMelnichuk.lua-mobdebug)

This extension can be installed via the provided walkthrough or manually. If it is not installed, the user will be prompted to install it when a function that requires this extension is executed.

First Steps

Run through the provided walkthrough to set up the extension.

The following dialog appears if the setup of the development environment is not complete:

Start Walkthrough

Click Yes to open the walkthrough.

Features

  • Start and debug MiNexx devices
  • Synchronize the MiNexx device filesystem with the local filesystem
  • Upload files to the MiNexx device
  • Generate update and translation files
  • Upload and generate SSH keys
  • VNC viewer

Generate Update File

The generated files are located in the images directory of the project.

Generate Update File

Create Customizing Kit

The Customizing Kit contains reports and translations. The files are located in the images directory of the project.

Create Customizing Kit

Upload SSH Key

Upload SSH Key

How to use

To set up miScript, use the dedicated walkthrough. The following steps show how to set up the environment manually.

  1. Open a MiNexx project
    This extension works only with MiNexx projects. If you open a MiNexx project, the extension is activated.

  2. Start the MiNexx device
    If you want to deploy or debug your application on the MiNexx device, you must start the device first.

  3. Create a config file
    To upload files to the MiNexx device, you must create a config file. You can do this by clicking on Manage MiNexx Devices in the MiNexx menu in the sidebar. Alternatively, a new file in .vscode/settings.json can be created manually with the following content:

    "MiNexx.devices": [
          {
             "ip": "10.28.52.104",
             "name": "Device 1",
             "port": 22
          },
          {
             "ip": "10.24.64.36",
             "name": "Device 2",
             "port": 22
          }
    ]
    
  4. Create a public key
    To upload files to the MiNexx device, you must create a public key and add it to the device. You can do this by clicking on Upload SSH Key in the MiNexx menu in the sidebar.

Connect to MiNexx

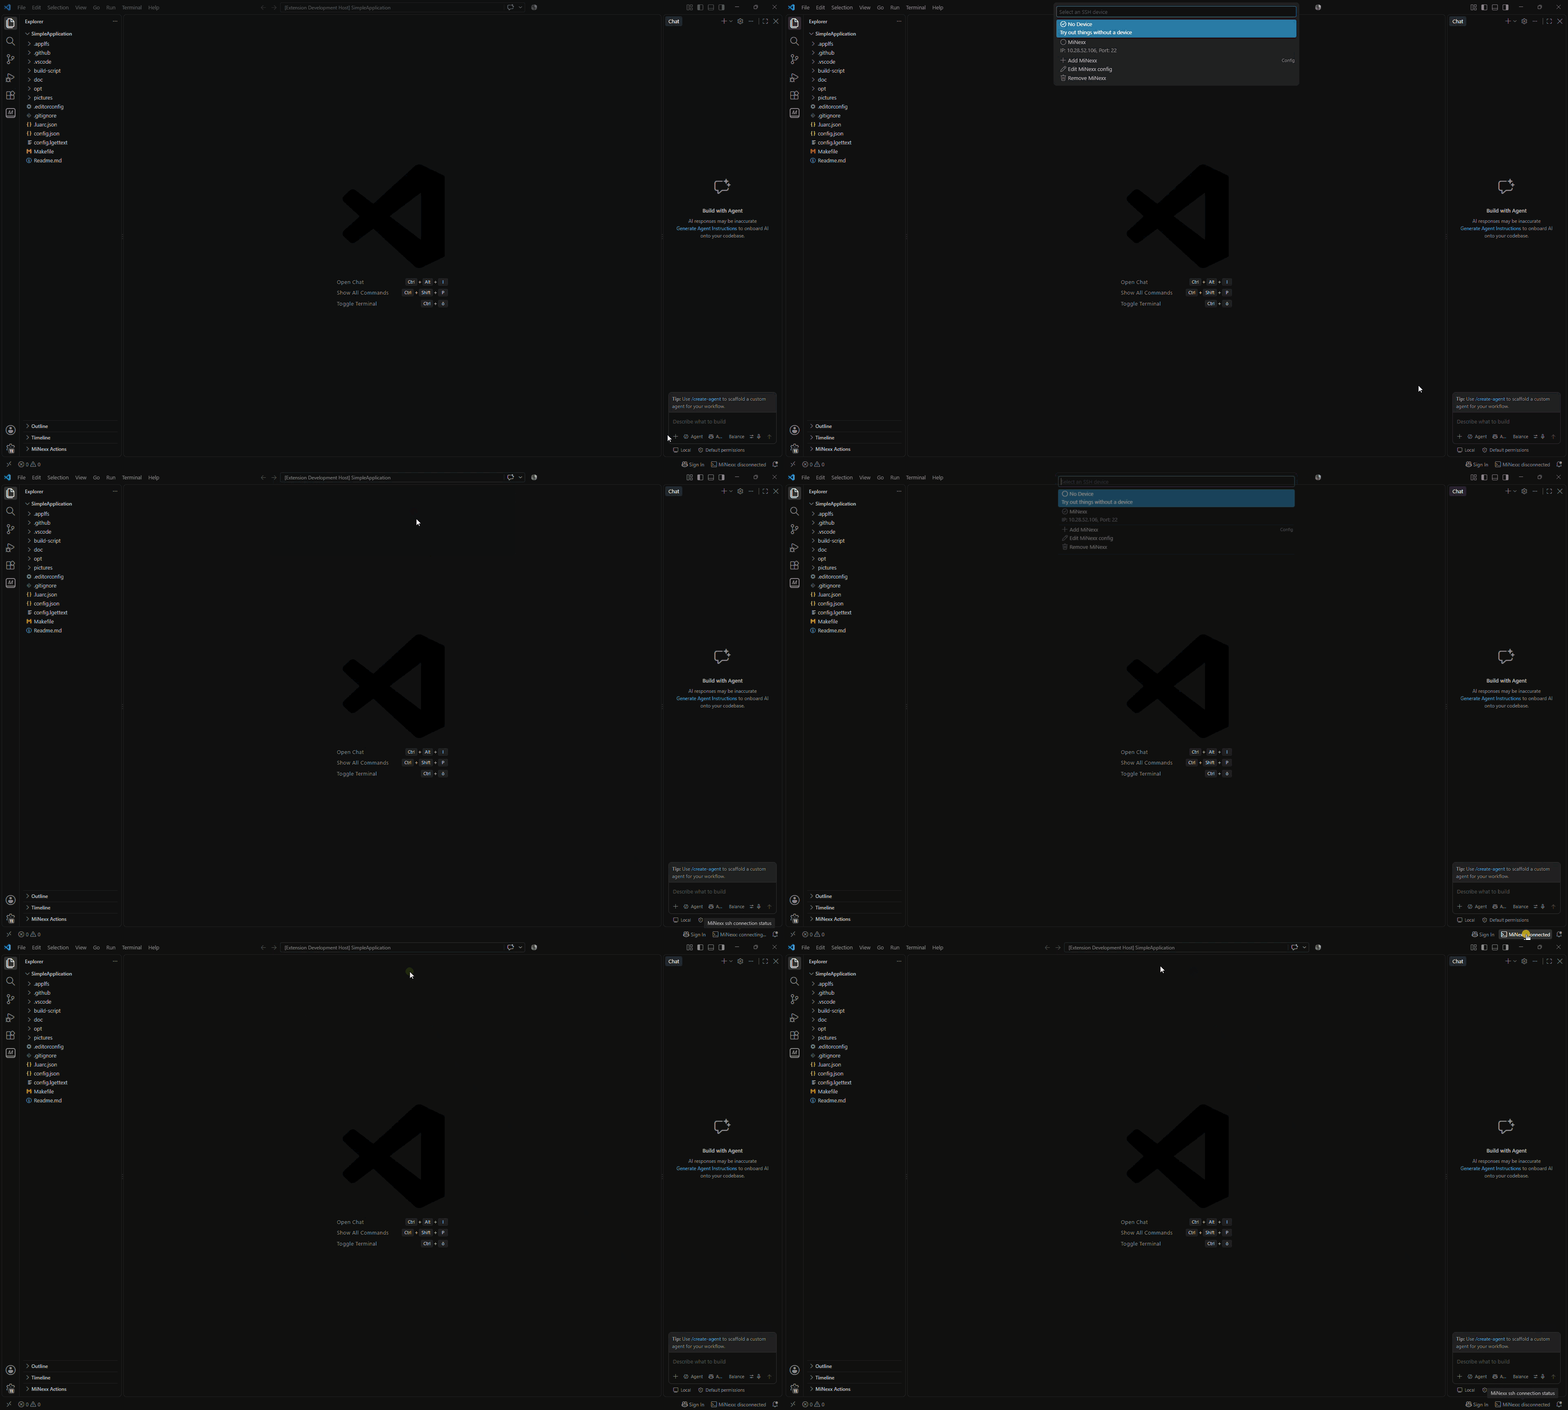
To establish a connection to a device, click on the MiNexx: disconnected entry in the status bar. Then select the MiNexx device you want to connect to.

While the extension is connected to a MiNexx device, the tooltip displays additional information about the connected device.

To close the connection, click on MiNexx: connected and select No Device, or simply close VS Code.

Connect disconnect MiNexx

Multithreading

The extension is designed to work with multiple threads at the same time. To do so, it already has a thread pool with 10 threads set up. In your device configuration (MiNexx settings), you can set the number of threads you want to use. The default value is 1.

To be able to use multithreading in your custom application, make sure the thread is prepared for debugging. An example is provided by Minebea Intec upon request.

  • Contact us
  • Jobs
  • Privacy
  • Manage cookies
  • Terms of use
  • Trademarks
  • Your Privacy Choices
  • Consumer Health Privacy
© 2026 Microsoft