MPLAB® PIC64GX SDK
Welcome to the early access program. You are using an early version of this
software. We are working hard to improve your experience and appreciate your
patience and support during this phase. Features and functionality are in active
development and may change without notice.
Features
An extension for working with the
PIC64GX SDK.
This extension integrates the PIC64GX SDK development workflow with the
PIC64GX Configurator.
It allows you to:
- Initialise a PIC64GX SDK workspace
- Create new SDK projects
- Build SDK applications
- Debug projects on hardware or Renode
- Configure AMP systems using the PIC64GX Configurator
- Define DDR memory layout and reserved regions
- Configure peripheral assignments
- Generate Linux (
.dtso, .dtbo) and Zephyr (.overlay) device tree overlays
System requirements
- Git
- Python
- Linux: Python 3.8 or later
- Windows: Python 3.8 to 3.12 (Python 3.13+ is not supported currently)
- CMake 3.27.1 or later
- Device Tree Compiler (
dtc) available on your system PATH
(required for the PIC64GX Configurator).
Recommended Windows setup (venv + trusted workspace)
For a stable setup on Windows, use a Python virtual environment and a trusted workspace. This avoids permission issues with pip, Microsoft Store "python" aliases, and interpreter mismatches.
Open a real folder as your workspace
- VS Code → File → Open Folder…
- Select the folder where you want
sdk/ to be created.
- If VS Code prompts you to trust the folder, select Yes, I trust the authors.
- If the workspace opens in Restricted Mode, open Manage Workspace Trust and trust the current folder.
Create a virtual environment in the workspace
Open a terminal in that folder and run:
python -m venv .venv
.\.venv\Scripts\python.exe -m pip install --upgrade pip
Point the extension to the virtual environment interpreter
Open VS Code Settings
Ensure you are editing Workspace settings
Search for pic64gx-sdk-extension.pythonPath
Set it to the full path of the virtual environment interpreter, for example:
C:\path\to\your\workspace\.venv\Scripts\python.exe
Reload VS Code
- Open Command Palette (Ctrl+Shift+P)
- Run: Developer: Reload Window
Run Initialise SDK
- Run Initialise SDK from the extension.
- If prompted to select a directory, choose the same workspace folder you opened and trusted above.
If initialisation fails, verify that:
- The workspace is trusted
- The Python interpreter path is correct
- CMake is installed and available on
PATH
Windows troubleshooting
"Cannot launch a terminal process in an untrusted workspace" The workspace is in Restricted Mode. Trust the folder and reload the window.
Microsoft Store python alias If your Python path is under ...\AppData\Local\Microsoft\WindowsApps\python.exe, install a real Python (3.8–3.12) and use a virtual environment (..venv\Scripts\python.exe).
Python 3.13+ on Windows Currently not supported due to an upstream pinned dependency (windows-curses==2.3.2) which fails on Python 3.13+. Use Python 3.8–3.12 (recommended: 3.11 or 3.12).
pip permission errors / "Access denied" Use a virtual environment. Avoid running VS Code as Administrator.
CMake not found / WinError 2 / FileNotFoundError Install CMake and ensure it is on your PATH. Restart your terminal or VS Code after installation.
Build uses wrong folder When building, ensure the Project directory is set to the generated project folder, not the workspace root.
Python path not set
If the extension does not run, ensure pic64gx-sdk-extension.pythonPath is set correctly in VS Code Settings.
Directory already contains sdk/
The selected directory must not already contain an existing sdk/ folder.
Getting started
After you have installed this extension you need to initialise a workspace
for the PIC64GX SDK. Press the Initialise SDK button in the VS Code status
bar, this will start the initialisation process
You will be prompted to enter your Python command or path. For example:
- Linux:
python3 or /usr/bin/python3
- Windows (recommended): full path to your virtual environment interpreter, for example:
C:\path\to\your\workspace\.venv\Scripts\python.exe
The same interpreter will be used for installing Python dependencies and running the SDK initialisation scripts.
This can be changed at a later time in VS Code settings pic64gx-sdk-extension.pythonPath.
You will be prompted to choose a directory for your SDK workspace. You
can:
- Select from a list of the directories currently in your VS Code workspace
- Search for a directory elsewhere in your file system
- Create a new directory
The extension will then begin initialising the SDK in the chosen directory.
This step clones the PIC64GX SDK from GitHub, installs some required Python
packages, and runs an initialisation script from the SDK. You can monitor
the progress of the initialisation step from the terminal. It will notify
you when this step is finished.
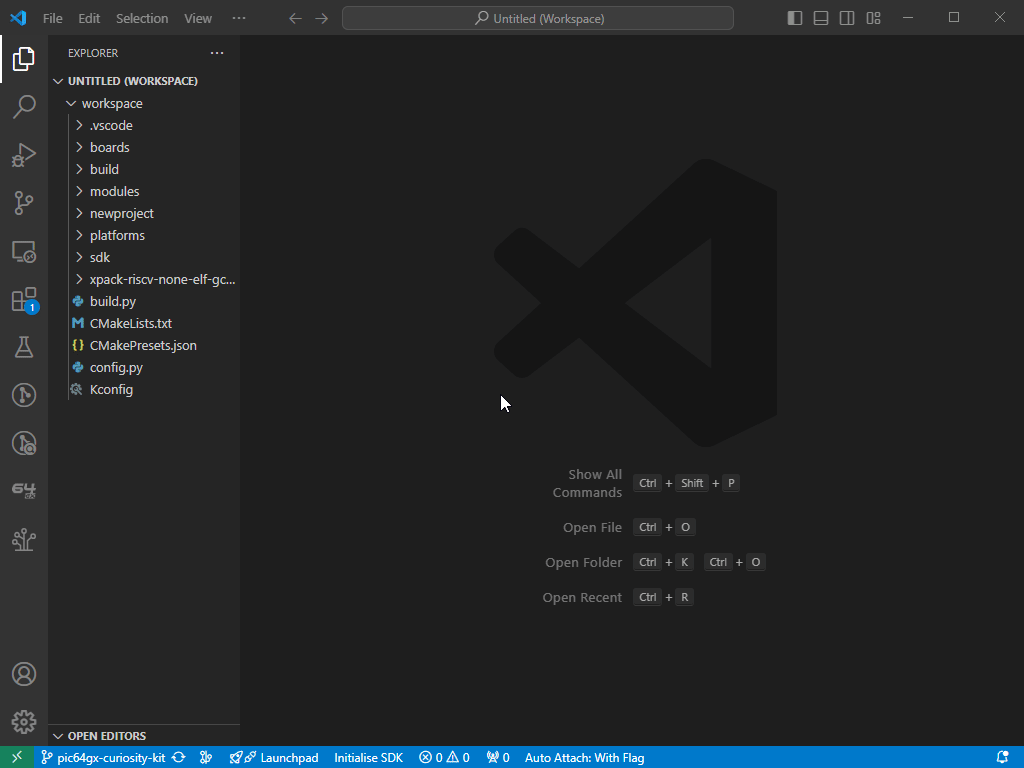
After the SDK has been initialised the directory will be added to your VS Code
workspace.

PIC64GX Configurator
This extension includes the PIC64GX Configurator, an integrated graphical tool
for configuring AMP systems, memory layout, and peripheral assignment
for the PIC64GX Curiosity Kit.
The Configurator is used to:
- Define DDR memory regions and reserved memory
- Assign processor cores (U54 harts) to execution contexts
- Enable and assign peripherals per context
- Configure Linux and Zephyr contexts in AMP systems
- Automatically generate:
- Linux device tree overlays (
.dtso, .dtbo)
- Zephyr overlays (
.overlay)
- A complete project configuration file (
global.yaml)
Opening the Configurator
Open the Configurator view from the Activity Bar.
The Configurator is presented as a tree view in the left-hand panel.
Configuration sections such as AMP and Memory Map (DDR) are accessed
by selecting the corresponding entries in the tree.
Full documentation
For detailed usage and technical reference, see the following documents:
Creating a project
The PIC64GX SDK Extension provides tools to create a new project from scratch.
Click on the PIC64GX SDK Extension icon in the Activity Bar. This displays a
menu from which you can choose to create or build a project
Select Create SDK Project and you will be displayed with the project
creation menu
- Choose a name for your project
- Choose a directory for your project. You can enter an absolute path, a path
relative to the PIC64GX SDK workspace, or you can find a path using the
Find button
- Press
Create project to create the project
Building a project
The PIC64GX SDK Extension provides tools to build projects.
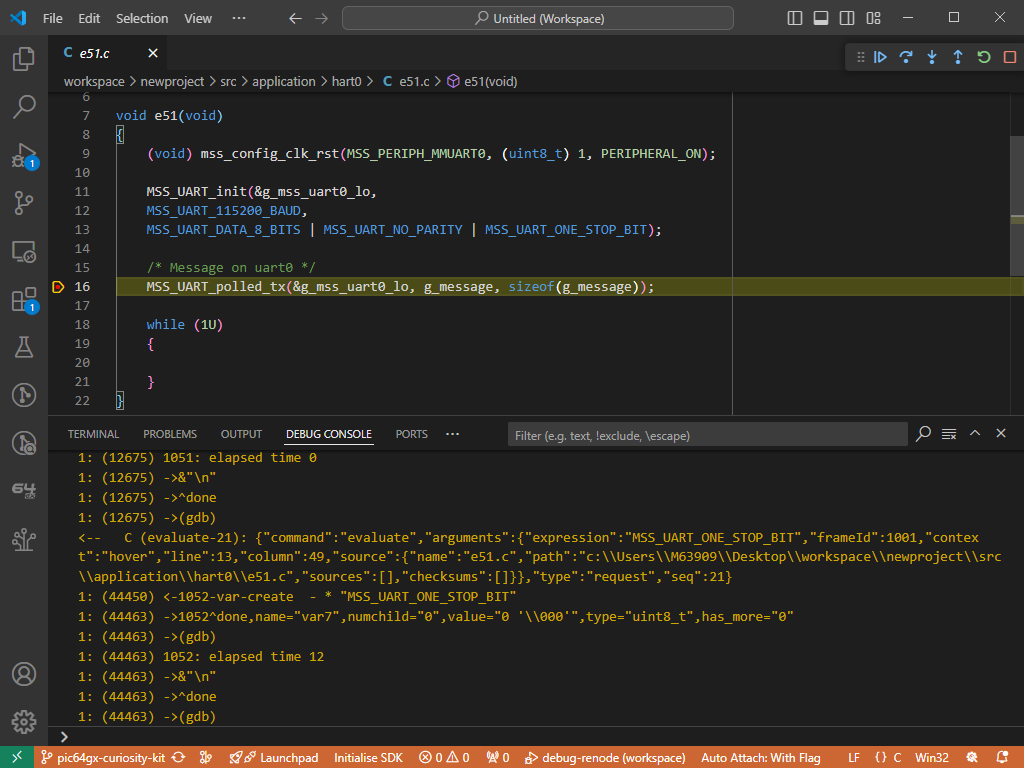
Debugging a project
Projects can be debugged on hardware or the
Renode emulation platform.
Copy the relative path to the .elf file in your build directory
Debugging on hardware
Debugging on Renode
Navigate to the Run and Debug tab and select debug-renode from the
dropdown menu
Starting the debugger will prompt you to enter the path to the .elf file and choose a target board for Renode to emulate
Renode will launch multiple terminals when the debug session starts
The debugger will begin debugging the project and will hit the breakpoint.
From here you can step through your code
Commands
This extension exposes the following commands accessible from the Command
Palette. The Command Palette is accessed by pressing Ctrl+Shift+P.
PIC64GX SDK: Activate Extension
This command activates the extension and will prompt you to enter:
- A path to an initialised PIC64GX SDK workspace
- Your Python command or full path to the Python interpreter
(for example
/usr/bin/python3 on Linux or
C:\path\to\your\workspace\.venv\Scripts\python.exe on Windows)
PIC64GX SDK: Create New Project
Create a project, choose project name, directory, source files, include
directories and configure the software
PIC64GX SDK: Build Project
Build a project
PIC64GX SDK: Set SDK Workspace
Set the working directory for the extension
PIC64GX SDK: Initialise SDK
Initialise the PIC64GX SDK in a directory of your choosing
PIC64GX SDK: Reload Extension
Reload the extension

