
React NotebookInteractive React component notebook with live Tailwind support. Installation Launch VS Code Quick Open ( Ctrl+P), paste the following command, and press enter.Copied to clipboard |

React NotebookAn interactive React playground built directly into Visual Studio Code. React Notebook lets you write React components in notebook-style cells, run them instantly, and see the rendered UI directly below your code. No project setup. No Vite. No Webpack. No 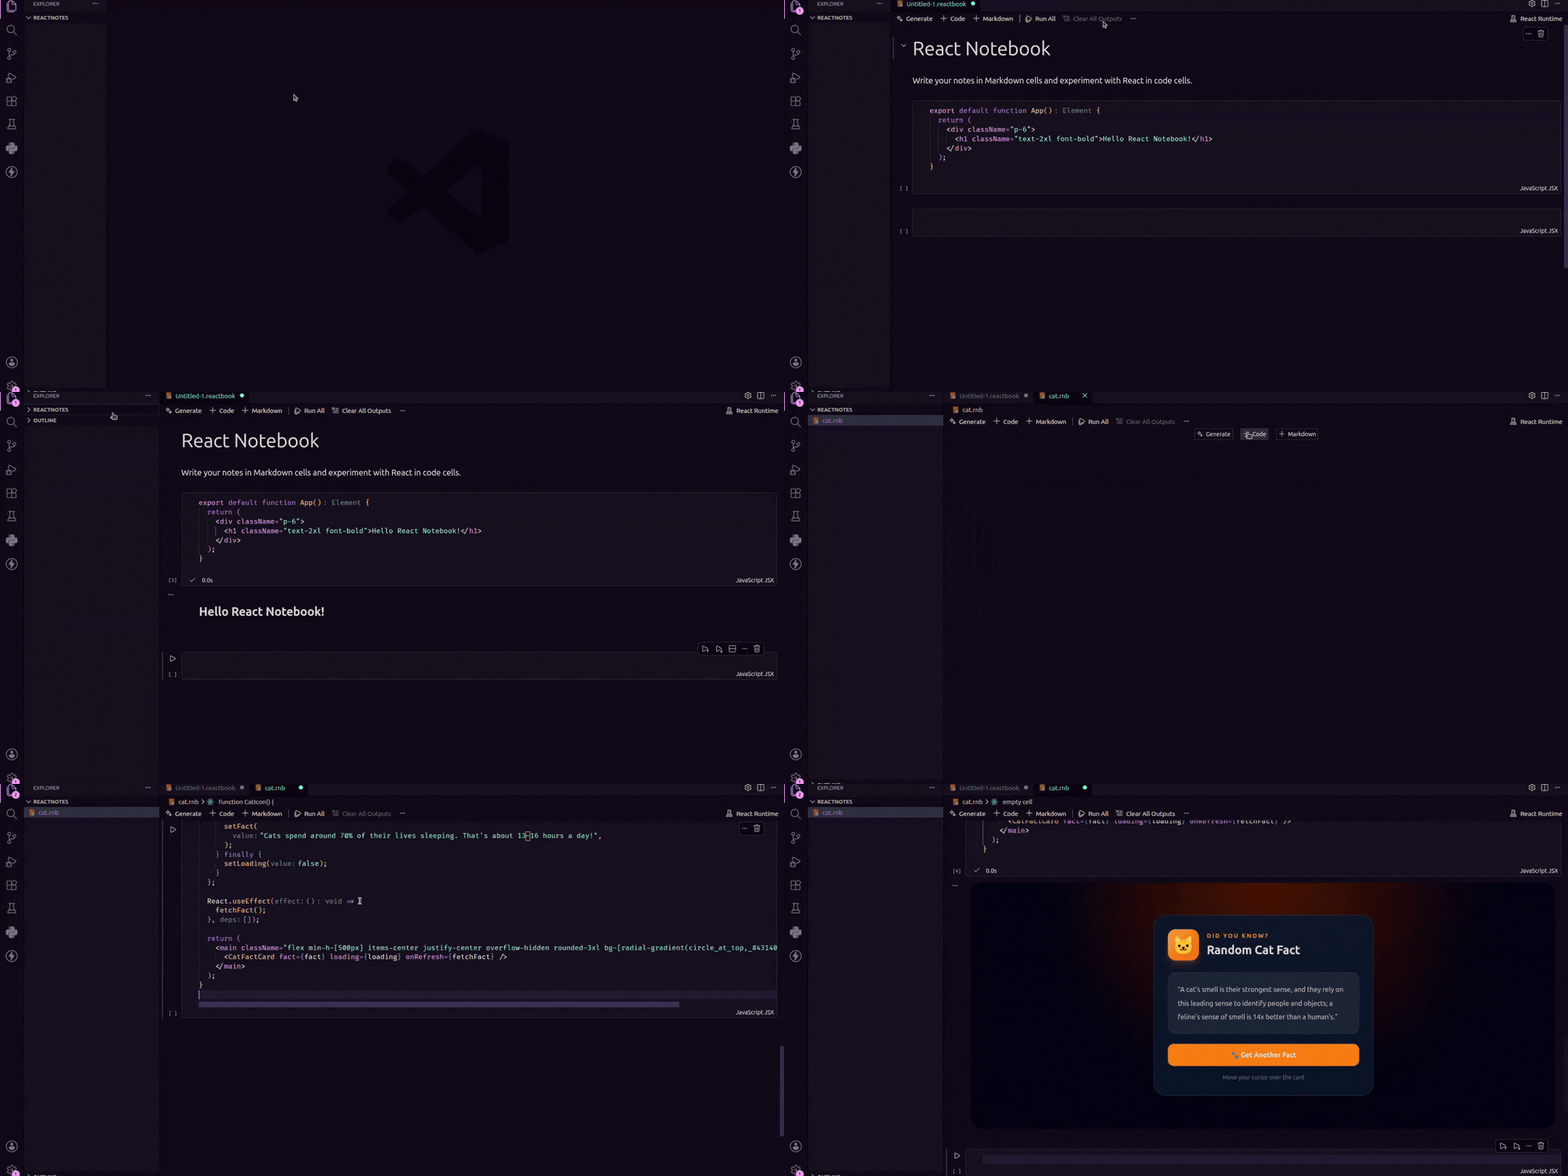
✨ Features
🚀 Getting Started1. Create a React NotebookCreate a new file with either of these extensions: or Open the VS Code Command Palette with: Then run: A new notebook will be created with starter content to help you begin experimenting immediately. VS Code will automatically open the file as a React Notebook. 2. Add a Code CellCreate a code cell and write a React component. Your component must be exported as the default export: 3. Run the CellClick the ▶ Play button next to the cell. The rendered React component will appear directly below your code. You can use standard React features such as: State Event handlers Conditional rendering Lists JSX and TSX syntax Tailwind CSS utility classes 🔷 TypeScript Support React Notebook supports TypeScript syntax directly inside cells: 📚 Explore ExamplesWant to see what React Notebook can do? Open the Command Palette and run: The example notebook contains interactive demonstrations of concepts such as: State and event handling Components and props Forms and controlled inputs React effects Async API requests Browser APIs Canvas Animations Tailwind CSS You can edit and experiment with every example directly inside the notebook. TypeScript is transpiled at runtime. React Notebook currently does not perform full TypeScript type checking during cell execution. 🎨 Tailwind CSSTailwind CSS is available automatically, so you can use utility classes without creating a configuration file: No Tailwind installation or configuration is required. An internet connection is currently required to load Tailwind CSS. 📦 No Project Setup RequiredReact Notebook is designed for quick, isolated component experiments. You do not need to create a React project or install project dependencies:
Just create a .reactbook or .rnb file and start experimenting. ⚠️ Current LimitationsReact Notebook currently focuses on isolated, single-cell React components. The following features are not yet supported:
Each cell is intentionally executed independently. 📋 RequirementsVisual Studio Code 1.120.0 or later Internet connection for Tailwind CSS React component execution itself works locally without requiring a development server. 🤝 ContributingBug reports, feature requests, and contributions are welcome. If you encounter an issue or have an idea for React Notebook, please open an issue on the GitHub repository. 📄 LicenseMIT |