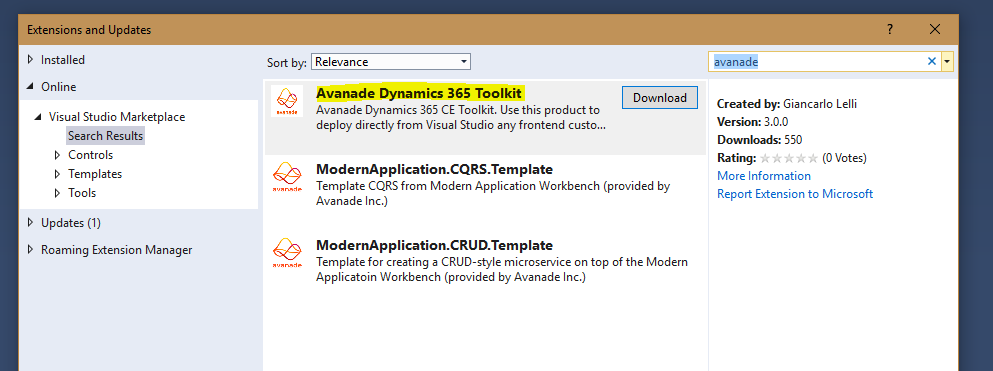
Avanade Dynamics 365 ToolkitAvanade Dynamics 365 CE Toolkit. Use this product to deploy directly from Visual Studio any frontend customization for Microsoft Dynamics 365 CE. |
Avanade Dynamics 365 ToolkitThis is the official Marketplace page for the Avanade Dynamics 365 Toolkit. In this repository you can get in touch with its maintainer and open issues. The goal of this Visual Studio extension is to support the Dynamics CE developer during the development of frontend customization for the Dynamics user interface (ex: custom web resources, javascript, html & css files) so that he doesen't need to use multiple tool to write code and publish the changes to the CRM. The Avanade Dynamics 365 Toolkit come with the following built in features:
Version 3.x drop the support of TFSVC in favor of Git - if you are using TFSVC you cannot use this extension InstallationYou can install this extension by searching for it in the marketplace, or by browsing to this url.
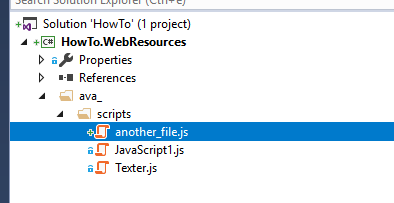
ConfigurationYou can start using the toolkit after a correct configuration step. In order to configure the toolkit you must strcture your Visual Studio Solution and Project in as depicted in the image below.
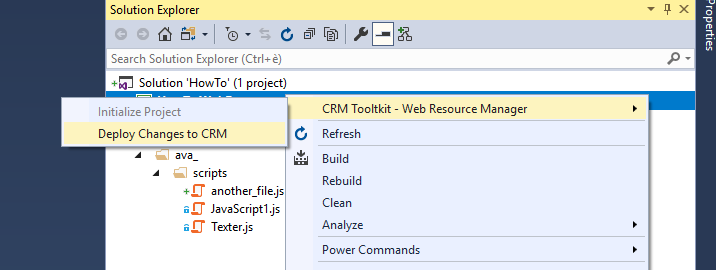
Publish profileOnce the extension is installed and you solution/project is correctly configured, you can initialize your project by right clicking in the project node, hovering over the Web Resource Manager node, clicking on Initialize project. Once the project is initialized, you can click on the Deploy Changes to Dynamics 365 menu item to start the publishing process.
Once the project isinitialized, you can click on the publish menu item. If that is your first publish for that specific project, it is required to create a publish profile. The required information for a publish profile are:
Once the publish profile is completed, you can press Save & Close and the pusblish operation should start. You can monitor the progress via the custom output window panel called Avanade Dynamics 365 Toolkit - Publish output Contact & LicenseThis project is distributed under MIT license.
|