Frida
Dedicated extension to facilitate writing and editing FRIDA scripts
Requirements
Visual Studio Code ^1.46
Installation
- Search FridaExtension in the VSCode Marketplace
- Click on the Install button
Features
Frida Account
Log In
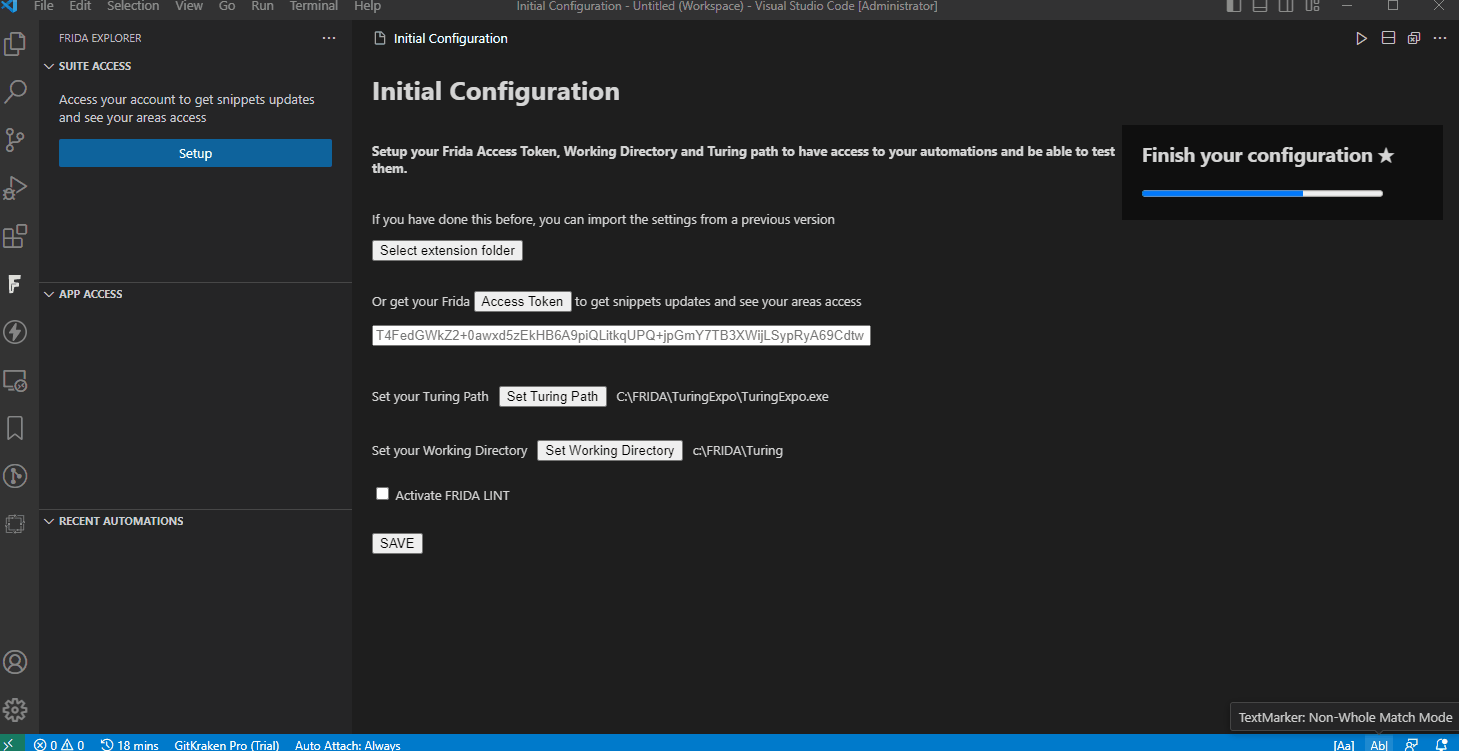
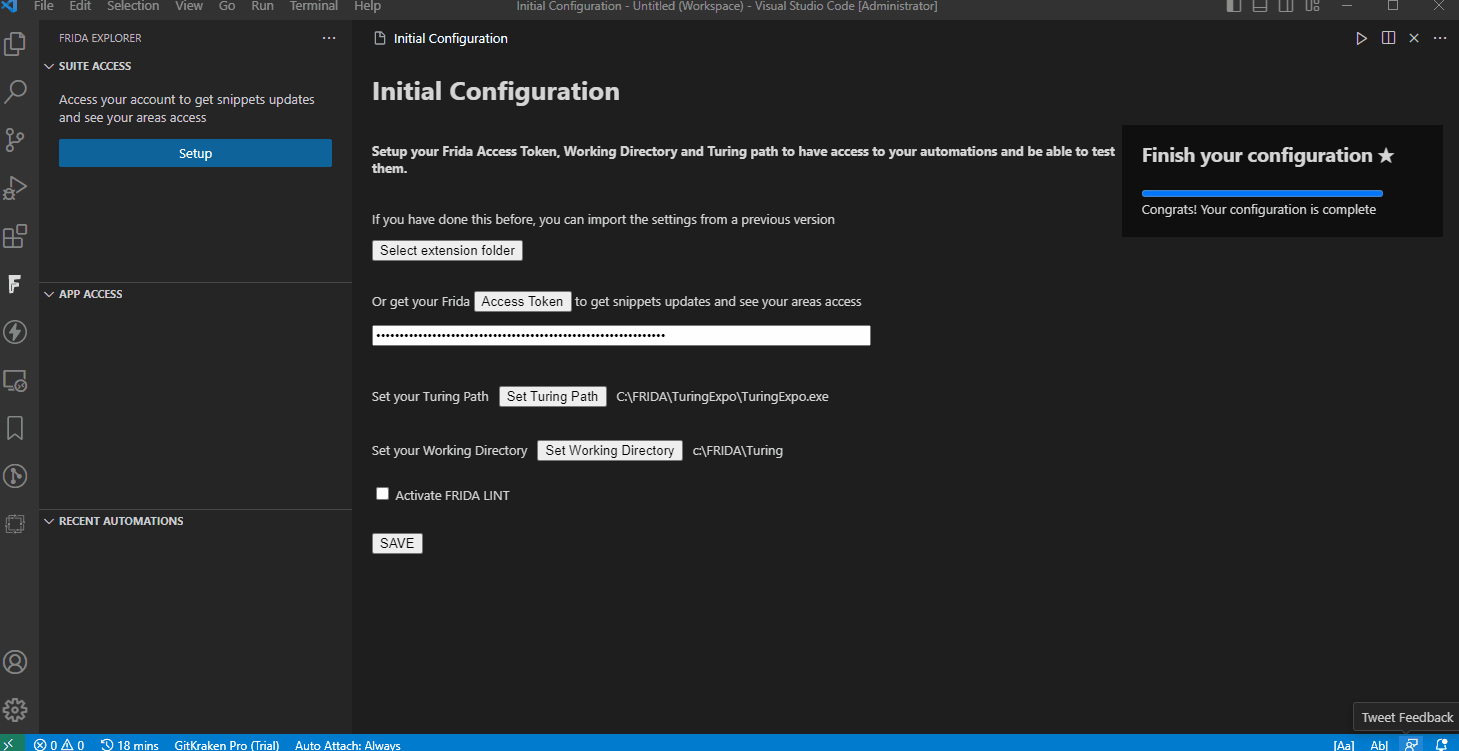
You can use the Setup button to access to your frida processes and receive Snippet updates for auto-completion and access your Automations. This will open an interface in which you will be able to set your working directory, Turing's path and activate Frida LINT. Use the Frida Settings command to make your initial configuration again.
With the new walkthrough it is now easier to finish your configuration.
Personal Access Token
To gain access to all of the features of this extension, we recomend you to generate your Personal Access Token using the button Access Token or by going to https://frida-admin.web.app/MyAccount.
Beware the expiration date of your token. 10 days prior to the expiration date a notification will pop-up. You can go to Frida Admin to renew it.
Import settings from an older version
If you have downloaded Frida Extension's newest update, but you were already signed in, now you can import the initial configuration settings without having to set the token again. Press the button Select extension folder. This will open VS Code's extension folder, and you will have to choose the folder of a previous version where you were signed in.
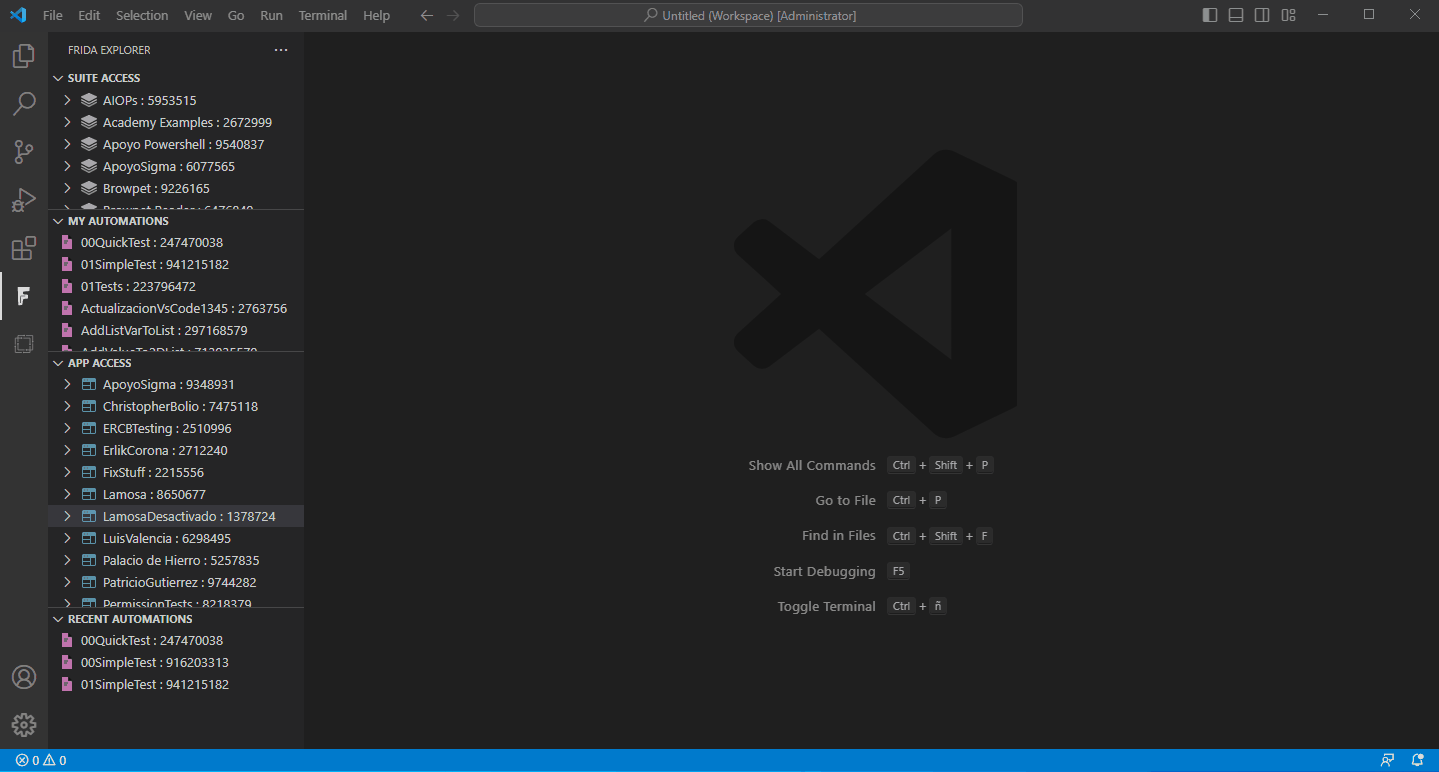
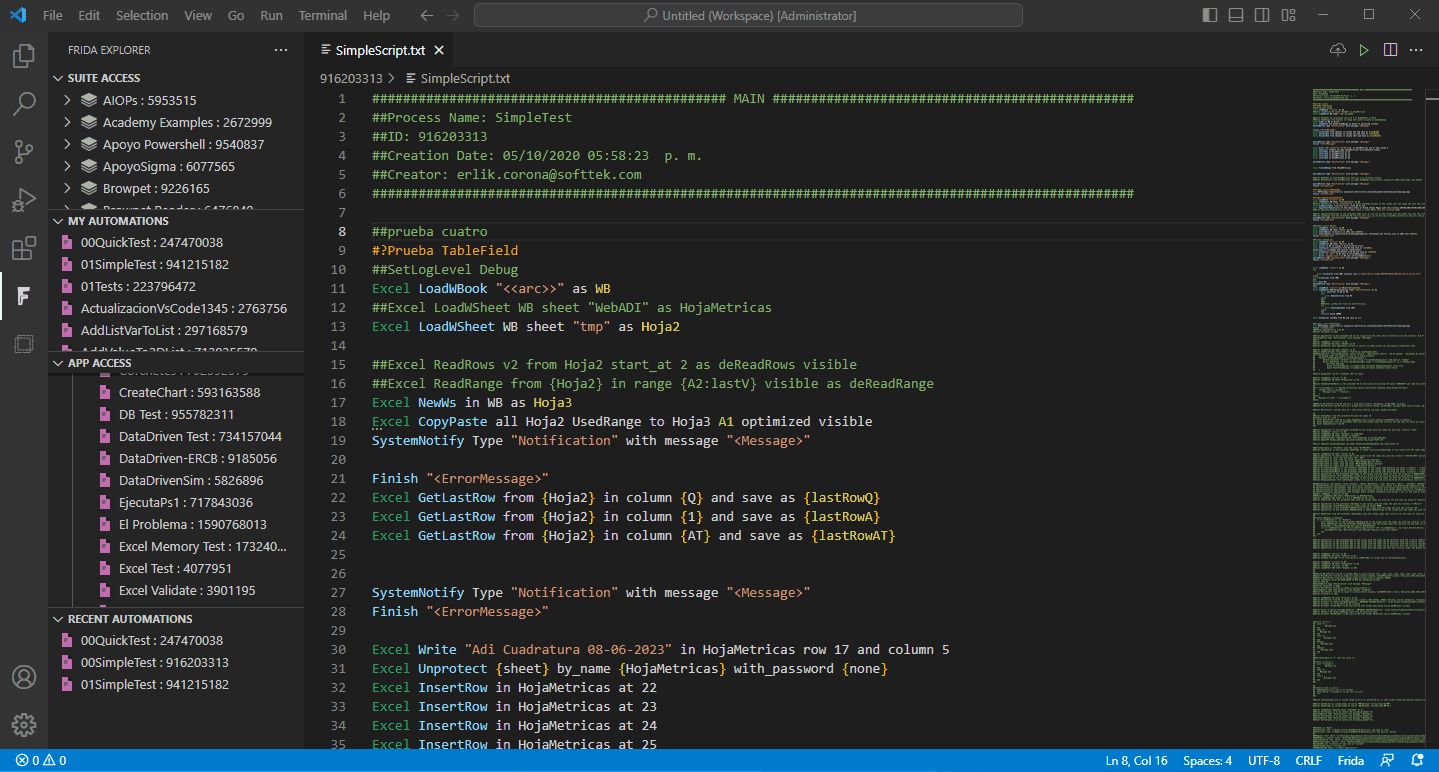
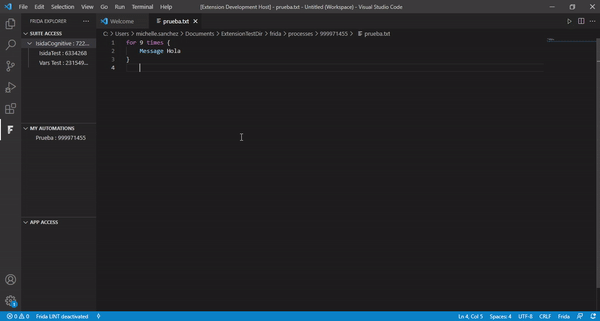
Processes TreeView
On the left side you can see your active Suite Access, Automations and App Access, as well as your Recent Automations. You can update them manually via the Frida Update your Processes Treeview command.
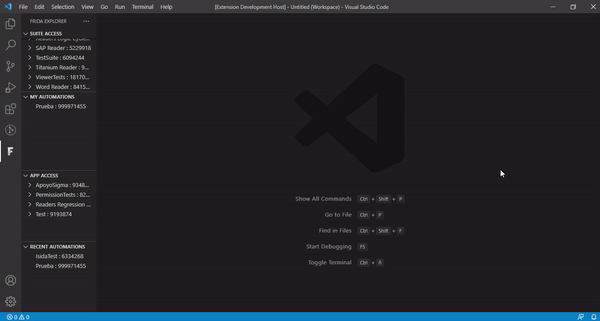
Search Processes in TreeView
You can use the command Frida Filter Processes in Treeview to find your processes faster in the tree view, either by typing part of the name or process id. To remove the filter, use the button Frida Clear Filter in SuiteAccess, AppAccess, My Automations tree views header.
Getting your files
Change Working Directory
You can select which folder will contain all the files from your proceses using the button. It is set by default to $homedir\Documents
Now you can copy the ID of the process directly from the treeview, by using right-click on the folder of the process.
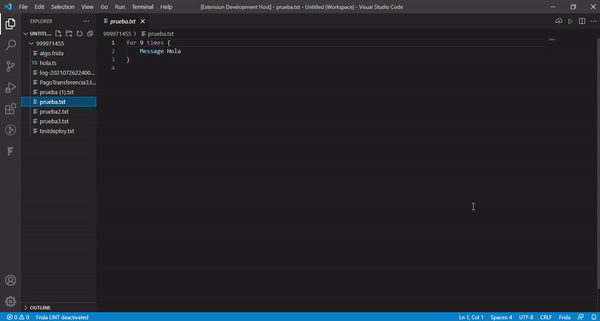
Download Files
To download the files of a process, you have to click the Download File icon next to the process you wish to get on the side TreeView.
You have two options:
- Merge: this option will download and add to your working directory any files that you do not have locally. This will not modify nor delete nor affect any of the files that you have downloaded before.
- Renew: this option will clean your directory by deleting all the files that were downloaded locally and will replace them with the most updated version.
Warning: please note that if you select Renew, this process is irreversible and all unsaved changes will be lost.
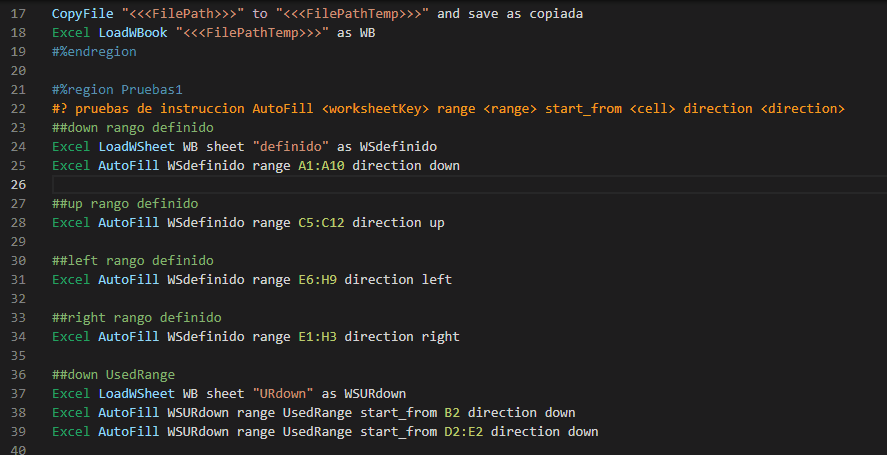
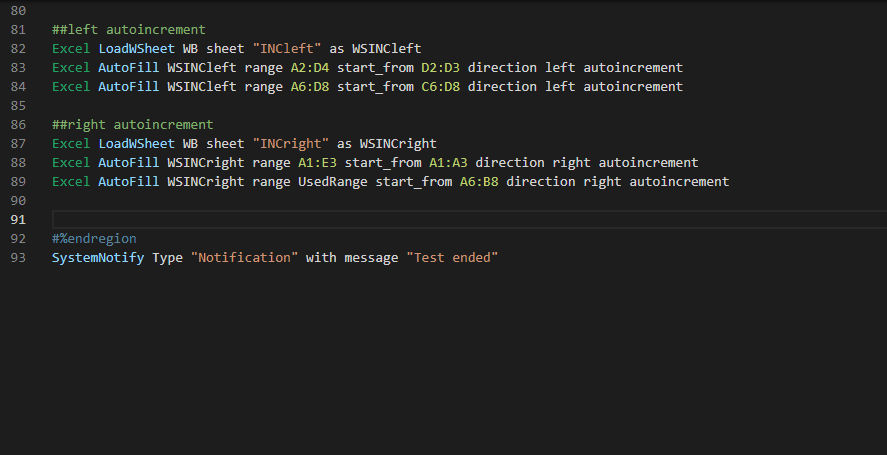
Call Diagram
Sometimes RPA's have many scripts calling each other. To get a better view of how the scripts interact with each other, you can open the Call Diagram with the comand (Ctrl+Shift+P) Frida Show Call Diagram or by right-clicking in the process' folder and choosing the menu option.
Script types are color coded to identify easier how it is called, but by hovering over the name you may identify which function is used to call the script. Clicking on the script's name will open that script.
By clicking on the line number, the 'calling' script will be open, showing the line that makes the call.
Code Editing
Packaged Snippets
Frida's instructions autocomplete can be used without logging in. The existing instructions to date are included in the extension. But we strongly recommend to log into your account.
Functional Snippets
Sets of related Frida instructions can be inserted. Placeholders will make sure programming is faster for routine open-use-close actions or decision/iteration statements.
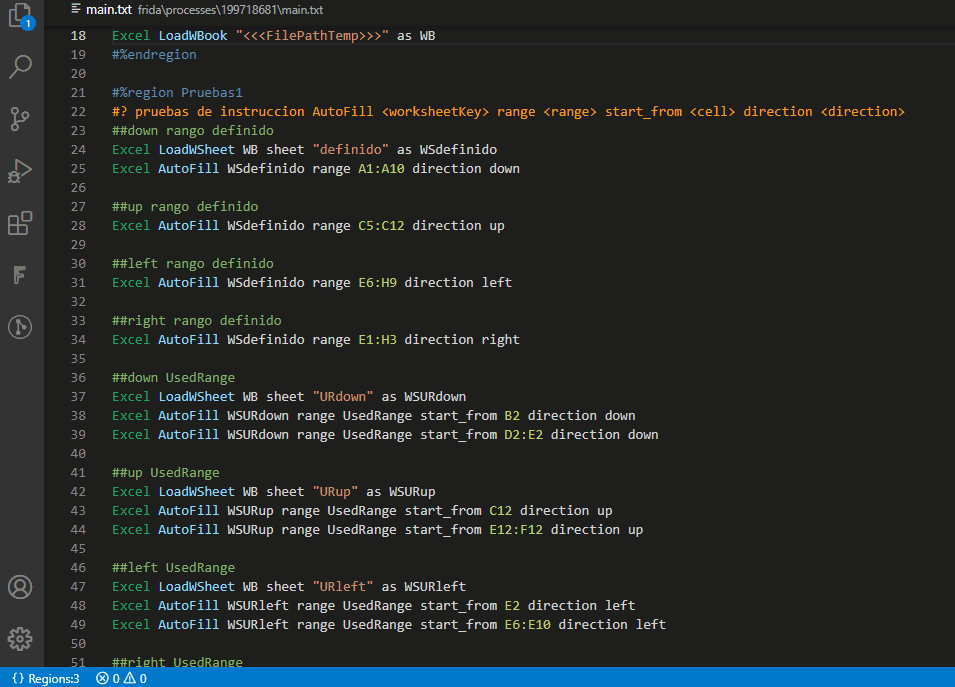
Regions Support
The areas included within cycles, conditions or try blocks can be easily collapsed to improve the editing and reading of your code.
A region comment helps to group portions of code into easily identifiable business actions. Identified regions can be searched by clicking the region finder in the status bar.
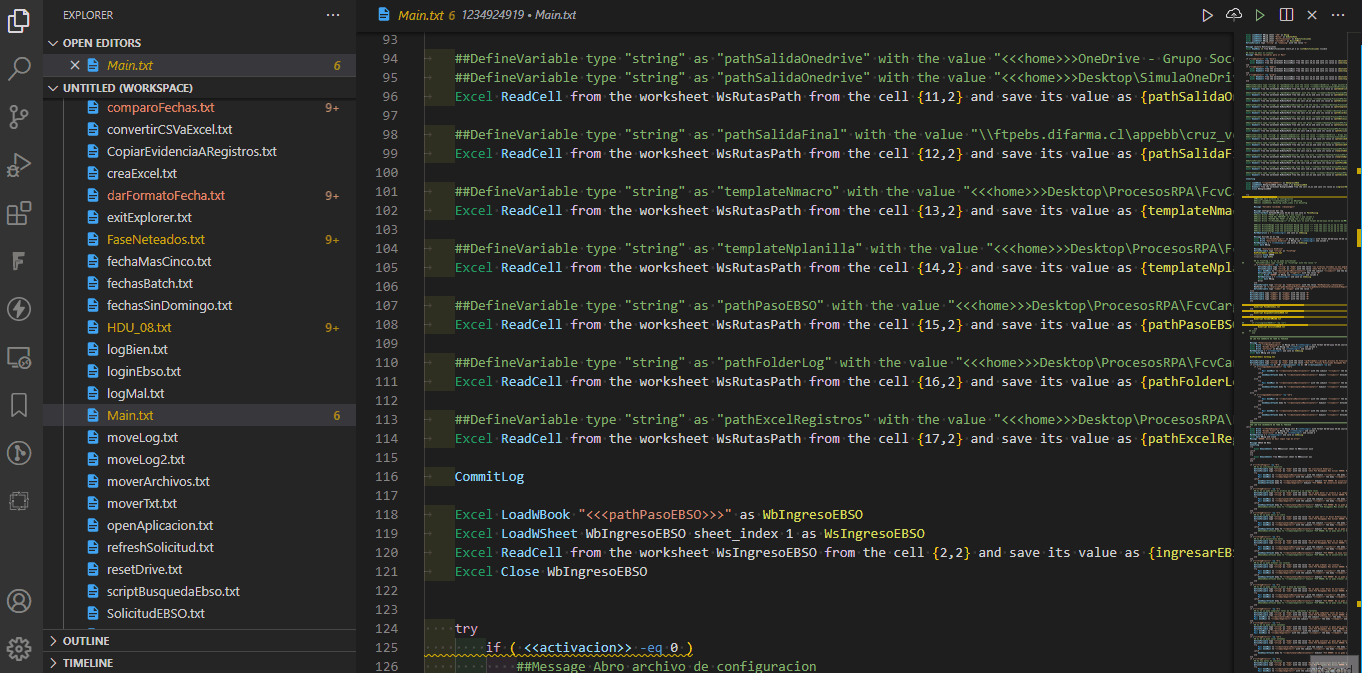
Colors in Scripts
A color scheme was implemented to facilitate writing and reading of Frida script files.
Icons in Tree View
App, suite and process icons may be removed in Frida Settings, with the checkbox Show Icons.
Code Improvement
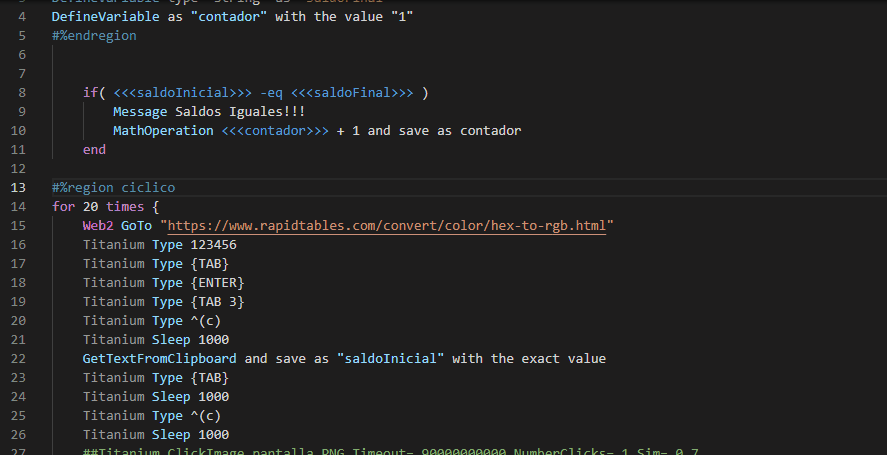
Optimize code
There are a few instruction changes that can improve the script's performance. When this situations arise, sugestions will be made. It's up to you to take benefit from them. Diagnostics and quickfixes, that will allow you to debug the code in an easier way, are now displayed everytime you modify your script.
Use the new available quickfixes:
- Titanium ImageAppears Quickfix
- MathOperation Quickfix
- Powershell operators Quickfix
- Invisible characters Quickfix
- While structure Quickfix
- Header Quickfix (only available when activating Frida Lint)
- Excel NewWb Quickfix
- Open documentation
If you don't wish to view the suggestions, the setting can be turned off in VSCode Settings page for Frida Extension.
Code Testing
Excecute the RPA
Test your latest changes. Use the Frida Run Process command (Ctrl+Shift+P) to begin an execution of the previously saved code or use the new Run Button located at the top right corner.
Please take in consideration that if you modify the script, you need to save it and run the [Deploy Working Directory] command.
If there are Step variables that have to be filled in, the appropriate textboxes will be asking for that information before the process can be run. Now, the variables from the previous automation that you run will be encrypted and saved, so running multiple times the same process will be much easier.
Take notice that this is only ment to help in your developing process and by no means it will have the same amount of options or flexibility as Turing has.
After executing the RPA you will be able to open the log and review the success of each task in your RPA.
Deploy
Once you edit your process and save all changes you can deploy it using the Deploy Working Directory button or by using the Frida Deploy Working Directory command, which can be found using (Ctrl+Shift+P).
You can also use the button in the editor window.
RPA's with development/productive versions will show options to deploy them together or separately.
In case you deleted the main script, you will not be able to deploy your process. However, you now have the option to recover your main script.
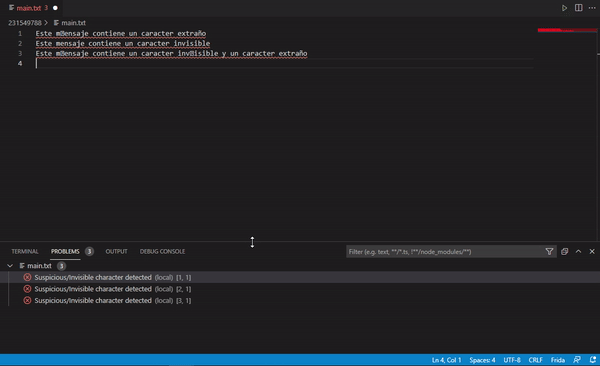
Remove Invisible Characters
The command Frida Remove All Invisible Characters, that you can activate using (Ctrl+Shift+P), removes all invisible characters that might have been added when importing your code from another source. Although there is an existing quickfix that removes the invisible characters on one line, this new command removes them from all the script.
Open main script
With the command Frida Open main script you will be able to quickly locate and open the main script of your process.
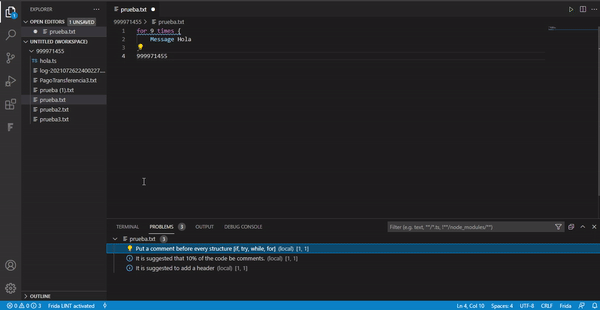
FRIDA LINT
Activate FRIDA LINT to have better coding practices in the initial setup, this feature will check if you have commented your code. If you activated FRIDA LINT but want to deactivate it just for one script, you can type ##fridalint-ignore-all at the beginning of the script to deactivate it.
Use the new button located in the status bar to activate it or deactivate it.
About
Extension developed for the Softtek Innovation team and Frida users
