RECAP (ACL 2026, System Demonstrations)
RECAP, An End-to-End Platform for Capturing, Replaying, and Analyzing AI-Assisted Programming Interactions, is a research tool that automatically captures and archives your interactions with GitHub Copilot, producing a detailed timeline of your coding session including chat logs and code snapshots.
The extension supports two modes:
- Upload Mode — uploads captures to a backend (used in CMU course deployments; requires an Andrew ID and class password).
- Local Only Mode — captures stay on your machine inside
.snapshots/ and .archiver_shadow/. No login or backend required. See Local Only Mode below.
The first time you enable the extension in a workspace, it will prompt you to pick one. You can switch modes any time from the status bar menu.
Prerequisites
- VS Code (v1.80.0 or higher)
- Node.js (v18 or higher)
- Git
Usage Guide
1. Installation
- Click the Extensions icon in the left sidebar.
- Search for and install the GitHub Copilot Chat extension from the VS Code Marketplace.
- Search for and install the Copilot Interaction Archiver extension from the VS Code Marketplace.
- Reload the window. You can do this by
Cmd+Shift+P / Ctrl+Shift+P and typing "Developer: Reload Window"; alternatively, you can just quit VS Code (Cmd+Q / Alt+F4) and reopen it.
2. Activation for Workspace
When you open a folder/workspace for the first time, you will see a notification:
"Enable Copilot Interaction Archiver for this workspace?"
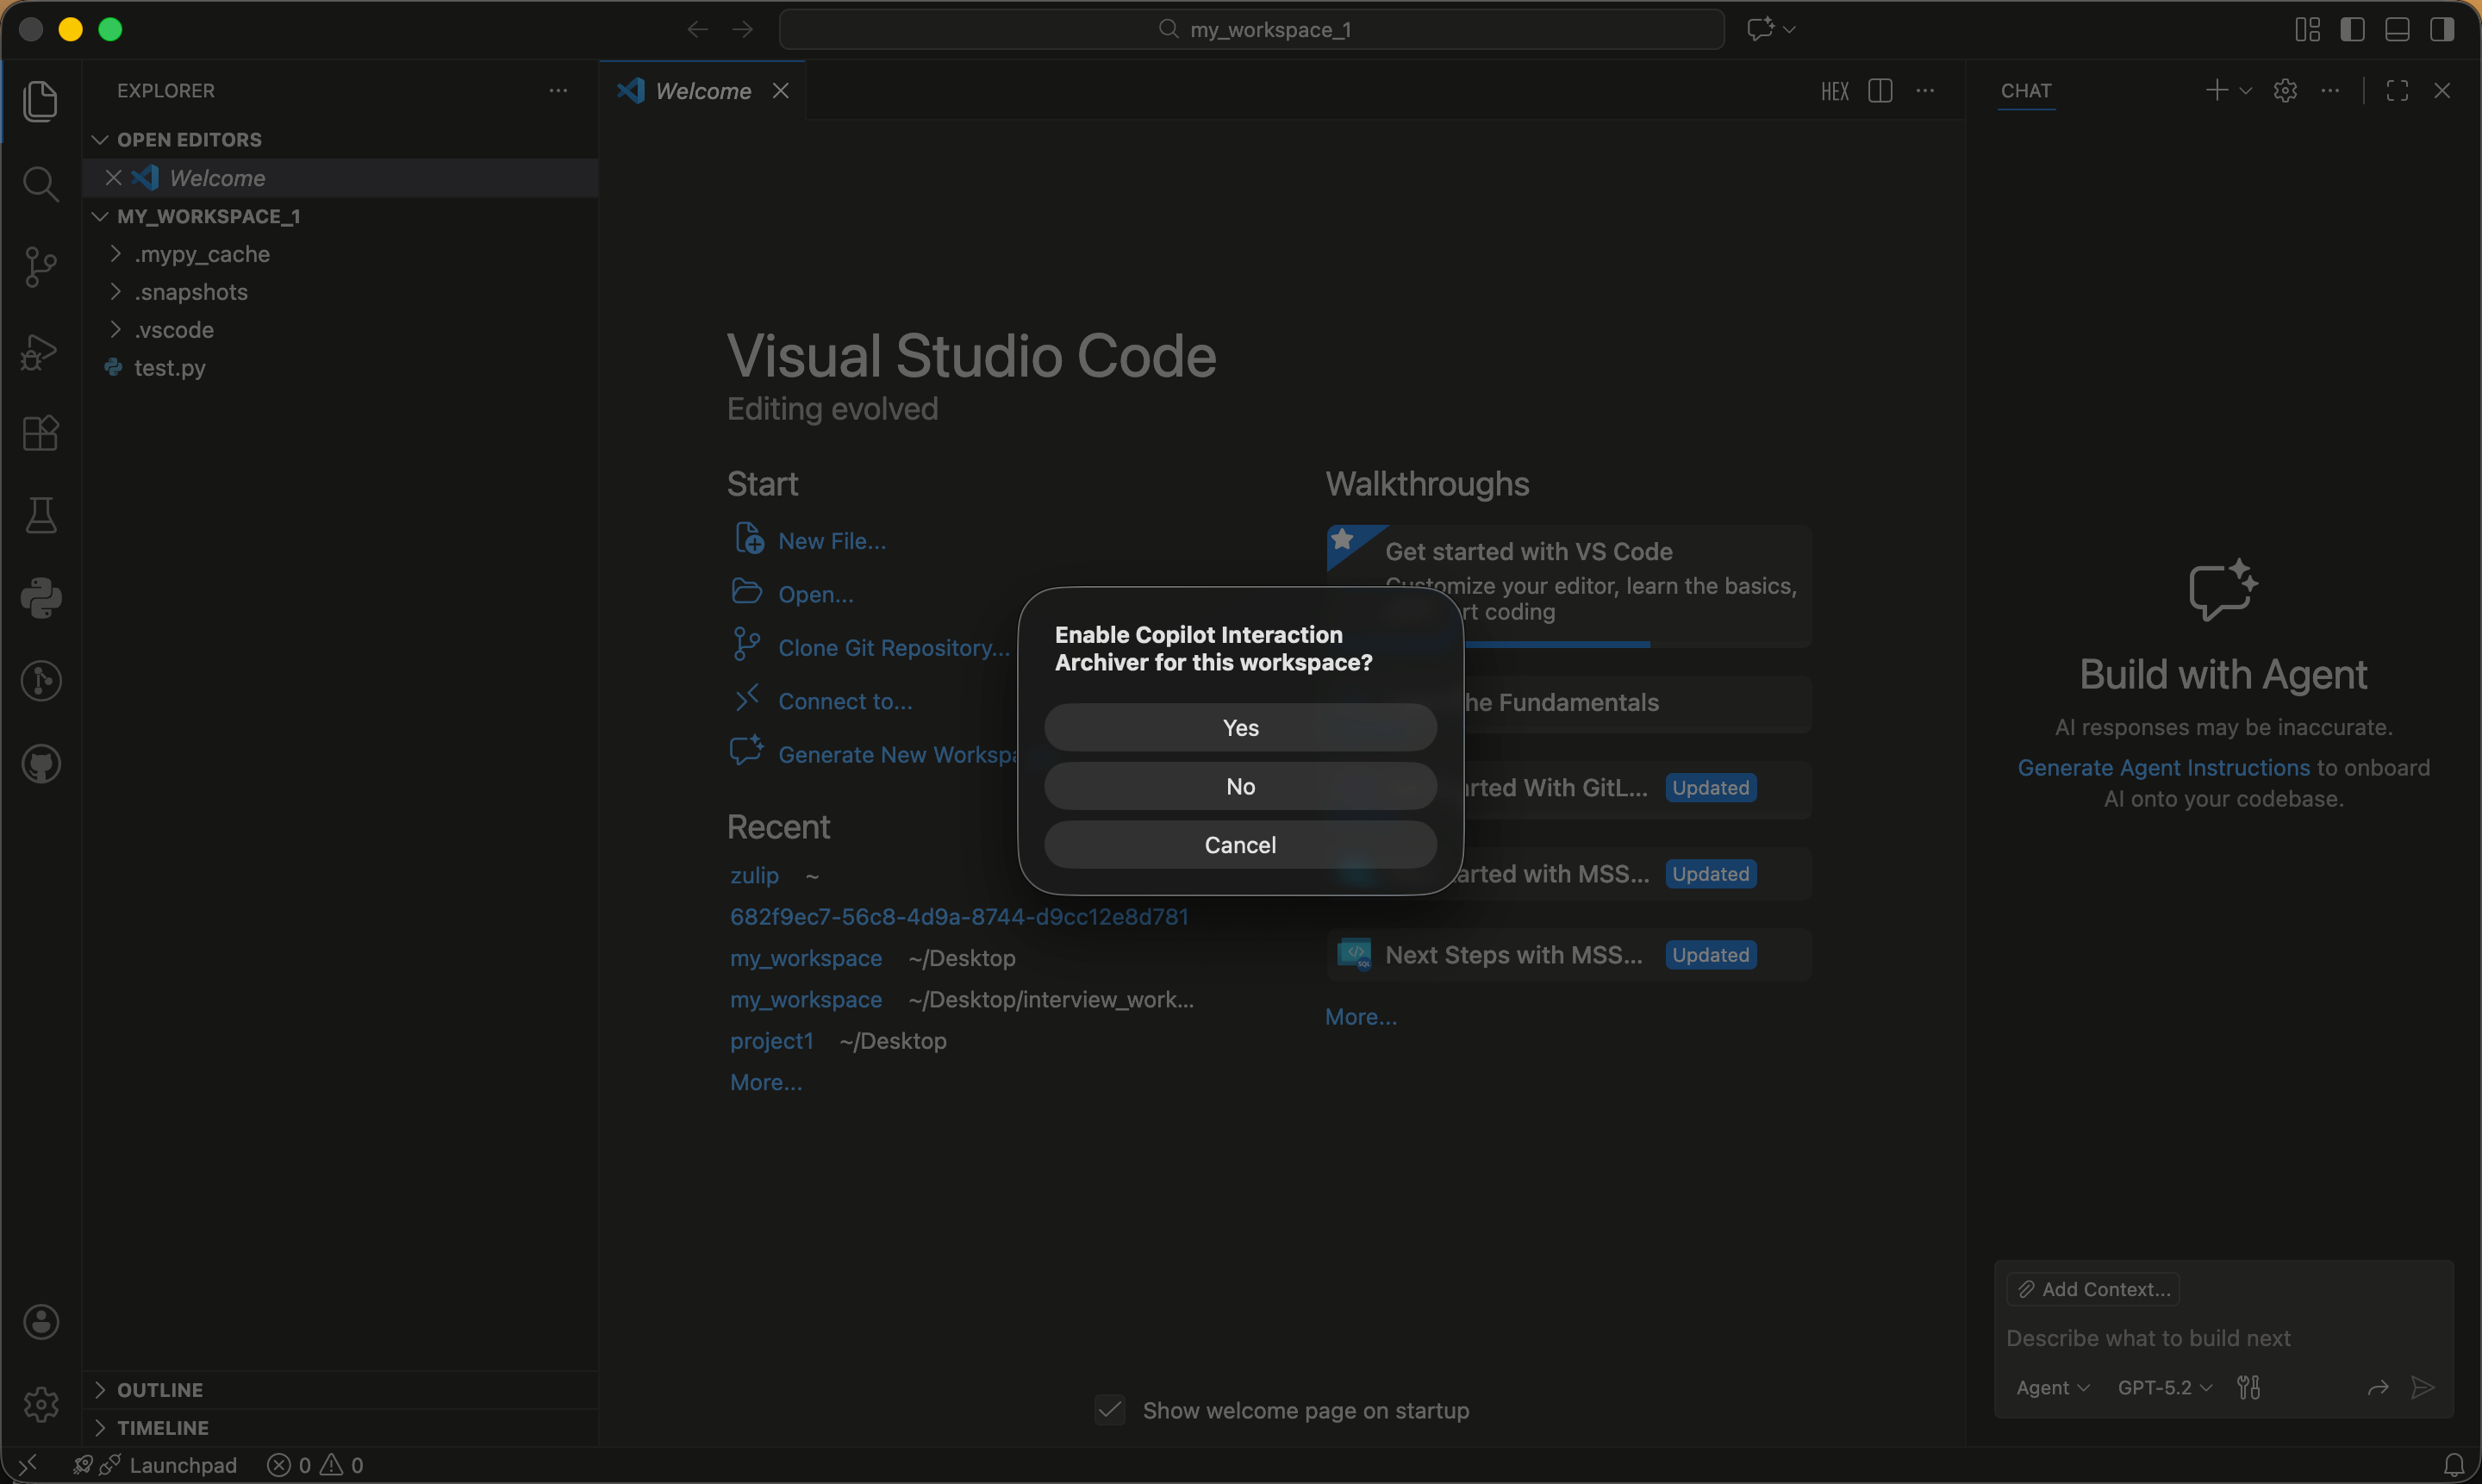
- Click Yes.
- This ensures the archiver only runs on course-related projects.
If you missed the prompt or need to re-enable it:
- Open the Command Palette (
Cmd+Shift+P / Ctrl+Shift+P).
- Run:
Copilot Archiver: Enable for this Workspace.
3. Log In (Upload Mode)
- Open Command Palette (
Cmd+Shift+P / Ctrl+Shift+P).
- Run:
Copilot Archiver: Login.
- Enter your Andrew ID.
- Enter the Class Password.
If you do not have credentials, you can use Local Only Mode instead — everything is captured locally and nothing is uploaded.
4. Enable Debug Logging
For the extension to better capture the interactions, GitHub Copilot Chat should be in Debug mode.
- Open Command Palette (
Cmd+Shift+P / Ctrl+Shift+P).
- Run:
Copilot Archiver: Enable Copilot Debug Logging.
- A modal will appear explaining the steps. Click Open Menu.
- In the menu that appears at the top:
- Select "GitHub Copilot Chat".
- Click the Double Checkmark (Set as Default) icon next to "Debug".
5. Coding & Verification
- If you see the status bar item
⎷ Archiver: <YourID>, everything is working!
- You can start coding on your homeworks as normal.
[!TIP] To use the Copilot Chat, click the Toggle Chat button near the search bar on the top of the editor. This will open the chat panel.
[!TIP] Every time you open a new workspace, the extension will ask you if you want to enable it. Select Yes for course projects.
6. Final Snapshot
- When you are ready to turn in your assignment, please open the Archiver Menu (click the status bar item) and select Capture Repo Snapshot.
[!WARNING]
This uploads your code for research data collection only. You must still submit your homework for grading according to the course instructions.
Local Only Mode (No Login)
If you don't have credentials — or you just want to use the archiver as a personal coding-history tool — pick Local Only when prompted (or click the status bar item and choose Use Local Only / Switch to Local Only Mode).
In Local Only mode:
- The extension never contacts the backend.
- Nothing is uploaded to S3.
- All captures still happen on your machine: chat sessions land in
.snapshots/, file edits are committed to a hidden git repo at .archiver_shadow/, and manual snapshots include a copy of the current workspace.
- You can browse the captured timeline locally with
replay_app/replay_server.py.
You can switch back to Upload Mode any time by clicking the status bar item and choosing Switch to Upload Mode (which triggers the login flow).
You can also flip the mode directly via the setting copilotArchiver.localMode.
Data Privacy & Storage
Your data is stored securely:
- Local: Inside
.snapshots/ and .archiver_shadow/ in your workspace
[!WARNING]
Please do not move / delete files in these two folders. They are necessary for tracking your interactions.
- Cloud: Uploaded to a private, secure S3 bucket managed by the course staff.
Maintainers