CloudAEye VS Code Extension
CloudAEye VS Code extension provides powerful code review, security analysis, and test generation utilities directly within your development environment.
✨ Features
The CloudAEye extension offers the following key features to enhance your development workflow:
🔍 Code Review
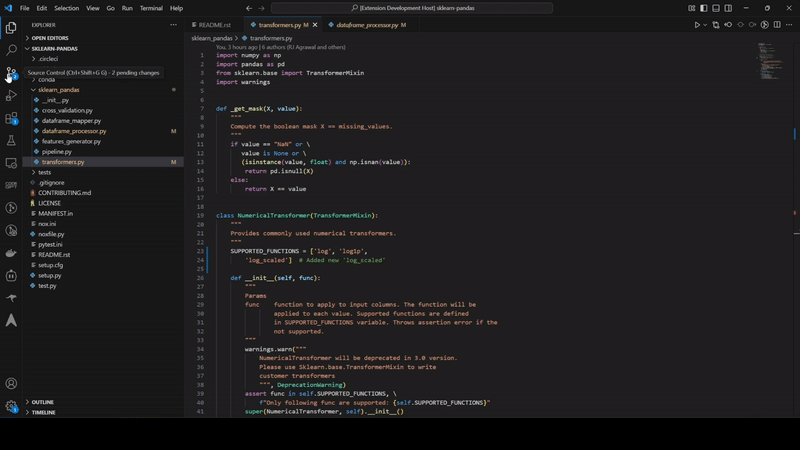 Initiate a code review directly from your SCM view. This feature helps you get quick insights and suggestions for your code changes, improving code quality and maintainability.
🛡️ Security Review
Perform a security review of your code from the SCM view to identify potential vulnerabilities and ensure your applications are secure.
🧪 Generate Tests
Automatically generate comprehensive tests for your code. This can be accessed via a command or through the "Test" view in the CloudAEye activity bar, streamlining your testing process.
📊 CloudAEye Activity Bar View
A dedicated activity bar icon provides quick access to all CloudAEye tools, including a "Test" view to manage and generate tests, and other upcoming features.
🚀 Why choose CloudAEye
- 🔍 Code Review: In depth code review and security review against OWASP and ASI standards
- 🔧 Test RCA: Auto-fix test failures and save 4–8 hours per developer every week.
- ⚡ Test Generation: Accelerate QA by 40% and uncover 50% more bugs early.
- 👨💻 Developer Companion: Dev ramp-up time: under 1 week — not 3 months!
🔗 Integrations
📥 Installation
- Open VS Code.
- Go to the Extensions view (
Ctrl+Shift+X or Cmd+Shift+X).
- Search for "CloudAEye".
- Click "Install".
📖 Usage
Once installed, you can start using the CloudAEye extension:
🔍 Code Review & Security Review
- Open the Source Control (SCM) view (
Ctrl+Shift+G or Cmd+Shift+G).
- Right-click on a file or selection of code you wish to review.
- Select "CloudAEye: Code Review" or "CloudAEye: Security Review" from the context menu.
- Insights and suggestions will appear in a dedicated output panel or webview.
🧪 Generate Tests
- Open the Command Palette (
Ctrl+Shift+P or Cmd+Shift+P).
- Type "CloudAEye: Generate Tests" and select the command.
- Alternatively, click on the CloudAEye icon in the Activity Bar, navigate to the "Test" view, and follow the prompts to generate tests.
⌨️ Commands
The following commands are available via the VS Code Command Palette (Ctrl+Shift+P or Cmd+Shift+P):
CloudAEye: Configure API Credentials: Set up your CloudAEye API credentials securely.CloudAEye: Code Review: Initiates a code review for the selected code.CloudAEye: Security Review: Initiates a security review for the selected code.CloudAEye: Generate Tests: Generates tests for the active file or selected code.
⚙️ Requirements
GitHub CLI (gh)
To use the "CloudAEye: Get Current GitHub User Info" command, you need to have the GitHub CLI installed and configured on your system. You can download it from cli.github.com.
🔧 Configuration
API Key Setup
Before using CloudAEye features, you need to configure your API credentials:
- Open Command Palette: Press
Ctrl+Shift+P (Windows/Linux) or Cmd+Shift+P (Mac)
- Run Configure Command: Type and select "CloudAEye: Configure API Credentials"
- Enter Organization ID: You'll be prompted to enter your CloudAEye Organization ID (input will be masked for security)
- Enter API Key: You'll be prompted to enter your CloudAEye API Key (input will be masked for security)
Configuration Status
You can check your configuration status in VS Code Settings:
- Open Settings (
Ctrl+, or Cmd+,)
- Search for "CloudAEye"
- The "Credentials Configured" field will show:
- ✅ Configured - Your credentials are set up
- ❌ Not configured - You need to run the configure command
For detailed setup instructions, visit our Quick Start Guide
📋 Release Notes
0.0.1
Initial release of the CloudAEye VS Code Extension, providing core code review, security review, and test generation functionalities.