Skip to content
| Marketplace
Sign in
Visual Studio Code>Programming Languages>CleanAI - Dead Code RemoverNew to Visual Studio Code? Get it now.
CleanAI - Dead Code Remover

CleanAI - Dead Code Remover

Clean AI

|
39 installs
| (1) | Free
Clean your code with AI. Find and remove dead code, unused imports, exports, and functions. Works in VS Code and Cursor. Supports TypeScript, JavaScript, Python, Swift.
Installation
Launch VS Code Quick Open (Ctrl+P), paste the following command, and press enter.
Copied to clipboard
More Info

CleanAI

Clean your code with AI

🌐 Website  •  🚀 Get Started Free


🪄 What is CleanAI?

CleanAI finds and removes dead code from your projects — unused functions, stale imports, deprecated exports — so you can ship cleaner, faster code.

Works with: VS Code, Cursor, and any VS Code-based editor.


💀 The Problem

Every codebase accumulates dead weight:

  • Functions nobody calls anymore
  • Imports that do nothing
  • Code that "might be needed later" (it won't)
  • Legacy utils everyone's afraid to delete

This slows your builds, confuses your team, and makes refactoring terrifying.


✅ The Solution

CleanAI scans your entire workspace and tells you exactly what's safe to delete.

One click → Clean code.


✨ Features

Feature Description
🔍 Dead Code Detection Find unused functions, variables, imports, and exports
🌍 Multi-Language TypeScript, JavaScript, Python, Swift
⚡ Instant Scanning Analyze thousands of files in seconds
🧰 Tool-backed Uses best-in-class analyzers per language (Periphery, Vulture, Pylint, ESLint, ts-prune, depcheck)
🤖 AI Chat Ask questions about your workspace (proxied via cleanai.pro)
⚡ Agent (Local) Propose red/green diffs and apply undoable edits using a local model (default: Ollama + qwen2.5-coder:7b)
🔧 Refactor Prompt Generate AI-powered refactoring prompts for large files (>200 lines) with a built-in tutorial explaining the workflow
🎯 Zero Config Works out of the box, no setup required
🟣 Explorer Badges Purple U badges in the Explorer for files with unused-code findings
🗂️ Clean AI Explorer A workspace file explorer inside the Clean AI sidebar, with the same purple U badges

⚡ Agent (Local) setup

CleanAI’s Agent (Local) runs on your machine via Ollama and can propose/apply edits with a red/green diff preview. When available, the Agent also includes generated CleanAI context (for example .cursor/rules/cleanai-context/RULE.md and .cleanai/docs/index.md) as prompt context to improve answers.

  1. In VS Code/Cursor:
    • Open the CleanAI sidebar and click Agent (Local), or
    • Run Clean AI: Open Agent (Local) (opens the panel’s Agent tab)
  2. CleanAI will automatically set up the local runtime:
    • If Ollama isn’t installed, the Agent tab will show a Get Ollama link
    • If the model isn’t downloaded yet, CleanAI will download it for you (default: qwen2.5-coder:7b)
    • If Ollama is installed but not running, CleanAI will try to start the server automatically
    • If anything fails, use Retry and expand Diagnostics in the Agent tab to copy debug info

Optional (terminal):

ollama pull qwen2.5-coder:7b

Settings (VS Code → Settings → Clean AI):

  • cleanai.agenticChat.ollama.baseUrl (default: http://127.0.0.1:11434)
  • cleanai.agenticChat.ollama.model (default: qwen2.5-coder:7b)
  • cleanai.agenticChat.ollama.autoStartServer.enabled (default: true)
  • cleanai.agenticChat.ollama.autoInstall.enabled (default: true, best-effort on macOS via Homebrew)

📥 Installation

VS Code / Cursor

  1. Open the Extensions panel (Cmd+Shift+X)
  2. Search for CleanAI
  3. Click Install

Search for CleanAI

Install CleanAI

💡 Tip: If you don't see it right away, scroll down in the results — we're there!

Command Line

code --install-extension cleanai.cleanai

📊 How It Works

CleanAI Interface

Step Action
1 Install CleanAI from the Extensions panel
2 Click the CleanAI icon in the sidebar
3 Sign in with GitHub
4 Press Analyze Project or Cmd+Shift+A
5 Review and delete the dead code

💡 Tip: After you finish GitHub sign-in in your browser, return to VS Code / Cursor — you’ll see a “Signed in as …” notification.

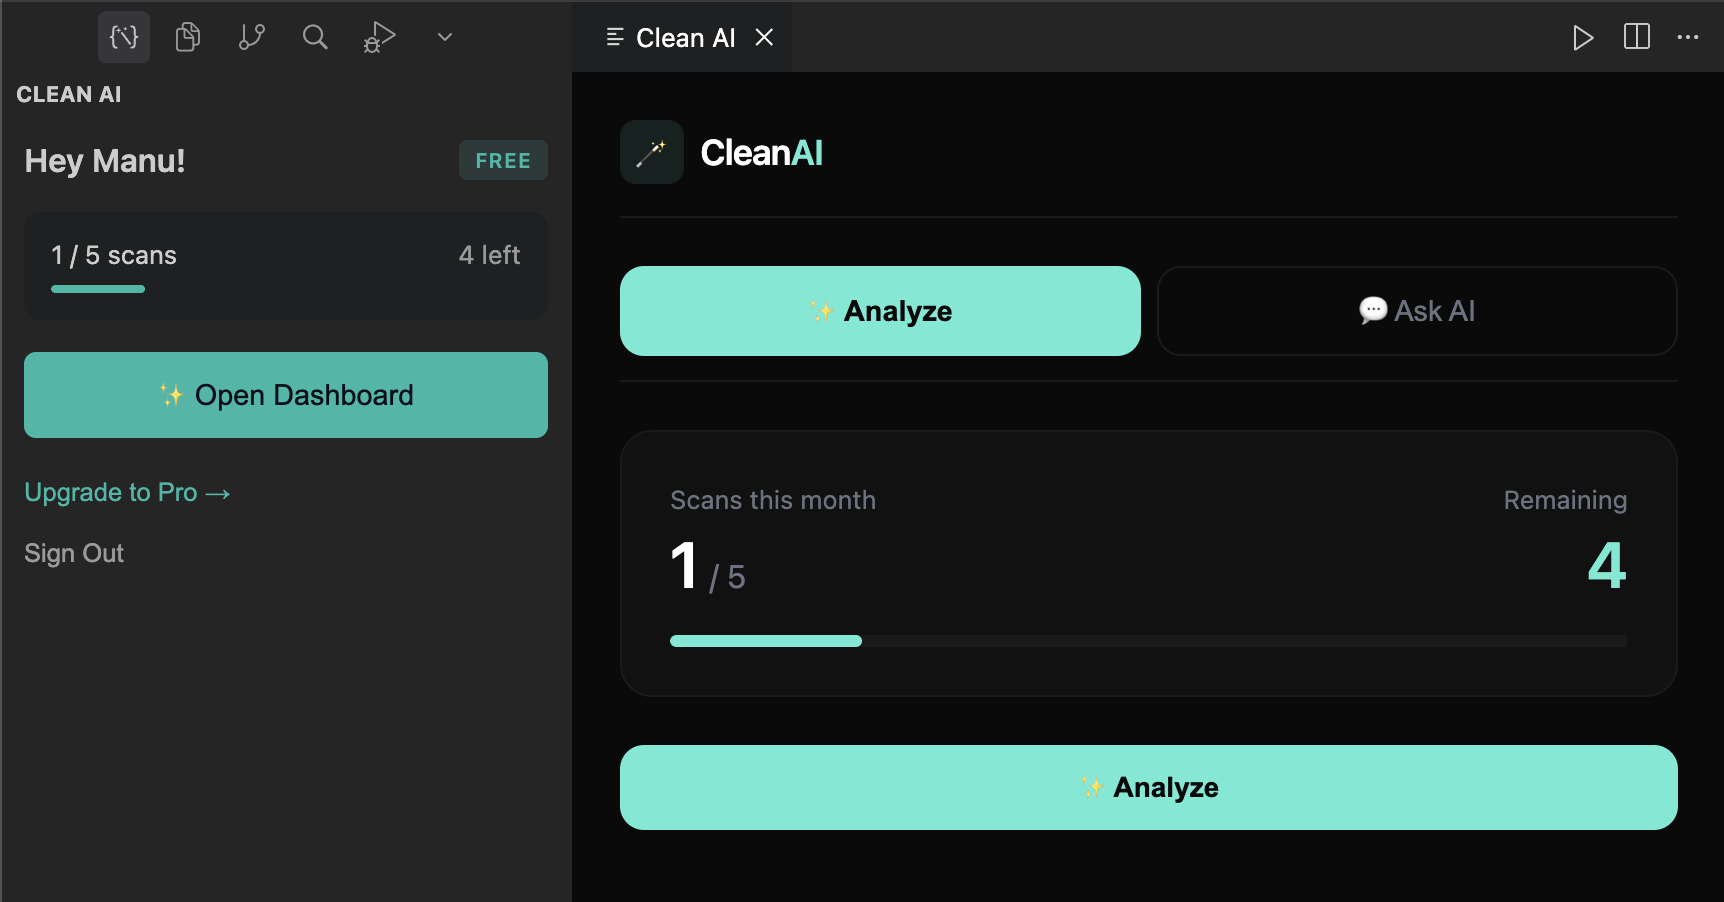
That's it. No configuration, no complex setup.


💰 Pricing

Free Pro Enterprise
Scans/month 5 Unlimited Unlimited
All languages ✅ ✅ ✅
AI analysis ✅ ✅ ✅
Priority support — ✅ ✅
Team dashboard — — ✅
SSO/SAML — — ✅
Custom integrations — — ✅
Price Free $20/mo Contact us

→ Start Free  •  → Go Pro  •  → Enterprise


⌨️ Keyboard Shortcuts

Shortcut Action
Cmd/Ctrl + Shift + A Analyze Workspace
Cmd/Ctrl + Shift + C Open CleanAI Panel

🎯 Perfect For

  • Growing startups — Keep velocity high as code scales
  • Legacy codebases — Finally clean up years of tech debt
  • Pre-release audits — Ship smaller bundles
  • Engineering teams — Maintain code quality standards

🔒 Privacy & Security

  • All analysis happens locally (tool-backed)
  • Your code does not get uploaded as part of analysis
  • AI chat requests are proxied via cleanai.pro (do not paste secrets)
  • We only track scan counts, not code content
  • SOC 2 compliance (Enterprise)

⚙️ Settings

  • cleanai.explorerDecorations.enabled (default: true): Toggle purple U badges in the Explorer for files with unused-code findings.
  • cleanai.cursorExplorer.gitUntrackedColorFix.enabled (default: true): Cursor-only: restore Git "untracked" Explorer color to green to avoid conflicting with CleanAI purple.
  • cleanai.debug.webview.enabled (default: false): Debug webview issues by sending webview errors (and optional debug events) to the Clean AI Output channel (and Telegram if enabled).
  • VS Code / Cursor global settings that can hide all file badges/colors:
    • explorer.decorations.badges
    • explorer.decorations.colors

📱 Telegram Logging

Send CleanAI logs to a Telegram channel for monitoring and debugging.

Setup

  1. Create a Telegram Bot:

    • Open Telegram and search for @BotFather
    • Send /newbot and follow the prompts
    • Save the bot token (format: 123456789:ABCdef...)
  2. Get your Chat ID:

    • Create a channel or group
    • Add your bot as an administrator
    • For public channels: use @your_channel_name
    • For private channels: forward a message to @userinfobot to get the ID
  3. Configure VS Code Settings:

{
  "cleanai.telegram.enabled": true,
  "cleanai.telegram.botToken": "YOUR_BOT_TOKEN",
  "cleanai.telegram.chatId": "@your_channel_or_chat_id",
  "cleanai.telegram.minLogLevel": "Info"
}

Settings

Setting Default Description
cleanai.telegram.enabled false Enable/disable Telegram logging
cleanai.telegram.botToken "" Bot token from @BotFather
cleanai.telegram.chatId "" Channel/group ID (e.g., @mychannel or -1001234567890)
cleanai.telegram.minLogLevel Info Minimum level: Debug, Info, Warn, Error

Log Levels

  • Debug: All logs (verbose, includes internal details)
  • Info: Normal operations and progress updates
  • Warn: Potential issues that don't stop execution
  • Error: Only errors and exceptions

🧩 Swift / iOS notes (Periphery)

Periphery is the source of truth for Swift dead-code detection, but like any static analyzer it can report false positives for runtime / Interface Builder entrypoints.

False Positives (What Periphery Docs Say)

Periphery is excellent, but it is still a static analyzer. The official docs call out that false positives can happen depending on project structure (e.g. Objective‑C runtime usage, Codable synthesis, XCTest inheritance, Interface Builder limits, and multi-target scans).

CleanAI’s default behavior is to show raw Periphery output.

Optional Conservative Filtering

If you want fewer “gotchas” in the UI, you can enable:

  • cleanai.swift.periphery.falsePositiveFiltering.enabled

This only filters high-confidence runtime entrypoint files (e.g. AppDelegate.swift, SceneDelegate.swift, main.swift). It does not apply message-based heuristics.

CleanAI also passes --retain-objc-accessible to Periphery to reduce false positives in mixed Swift/Objective‑C projects.

Optional AI Recommendations (Container + Scheme)

If your workspace has multiple .xcworkspace / .xcodeproj files (or many schemes), you can enable:

  • cleanai.workspaceConfiguration.aiAssistance.enabled

This uses AI to recommend the best container/scheme, but you still confirm via the picker (it never auto-selects silently).

Manual Overrides

If a file is still incorrectly flagged:

  • Ignore in CleanAI: Click Ignore in findings (writes to .cleanaiignore).
  • Configure Periphery directly:
    • Use inline comment: // periphery:ignore:all
    • Retain files via: --retain-file <glob>
    • Use .periphery.yml for project-wide configuration

Multi-Target Projects

If you have multiple targets (app + framework, app + tests), ensure:

  1. Select the correct scheme: Choose a scheme that builds all relevant targets
  2. Use a workspace: If targets are in different projects, use .xcworkspace
  3. Check target membership: Files may be used by targets not in the selected scheme

Reset Configuration

If you selected the wrong Xcode scheme/workspace/project:

  • Run: CleanAI: Reset Swift Periphery Configuration
  • Re-run Analyze to pick again

🧩 TypeScript notes (ts-prune)

In monorepos, TypeScript often has multiple tsconfig.json files (one per package/app). CleanAI will:

  • Use the single tsconfig.json automatically when unambiguous
  • Prompt you to pick tsconfig(s) when multiple candidates exist

Your selection is cached for the workspace so subsequent runs are stable.

🖥️ CLI Usage (Running Separately)

CleanAI can be run from the command line for CI/CD integration or batch analysis:

# Basic usage
node dist/cli/RunCleanAiAnalysisCli.js --workspace /path/to/project

# Swift project with specific Xcode container and scheme
node dist/cli/RunCleanAiAnalysisCli.js \\
  --workspace /path/to/project \\
  --swift-container MyApp.xcodeproj \\
  --swift-scheme MyApp

# Output as JSON for CI integration
node dist/cli/RunCleanAiAnalysisCli.js --workspace /path/to/project --json

# Verbose output for debugging
node dist/cli/RunCleanAiAnalysisCli.js --workspace /path/to/project --verbose

CLI Options

Option Description
--workspace <path> Path to the project root (required)
--swift-container <path> Relative path to .xcworkspace or .xcodeproj
--swift-scheme <name> Xcode scheme name for Periphery
--json Output full analysis result as JSON
--verbose Print progress updates

Requirements

  • For Swift: Periphery must be installed (brew install peripheryapp/periphery/periphery)
  • For Python: Vulture must be installed (pip install vulture)
  • For TypeScript/JavaScript: No additional installation (uses npx)

🤝 Support

  • 📧 team@beloyal.app
  • 🌐 cleanai.pro
  • 📖 Documentation

Stop maintaining dead code. Start shipping faster.

Get CleanAI →

  • Contact us
  • Jobs
  • Privacy
  • Manage cookies
  • Terms of use
  • Trademarks
© 2026 Microsoft