Bunnyshell (HopX) VS Code Extension
Manage your Bunnyshell cloud workspaces natively from Visual Studio Code.
Features
- List and manage your Bunnyshell workspaces directly in the VS Code sidebar
- Create new workspaces with a native form
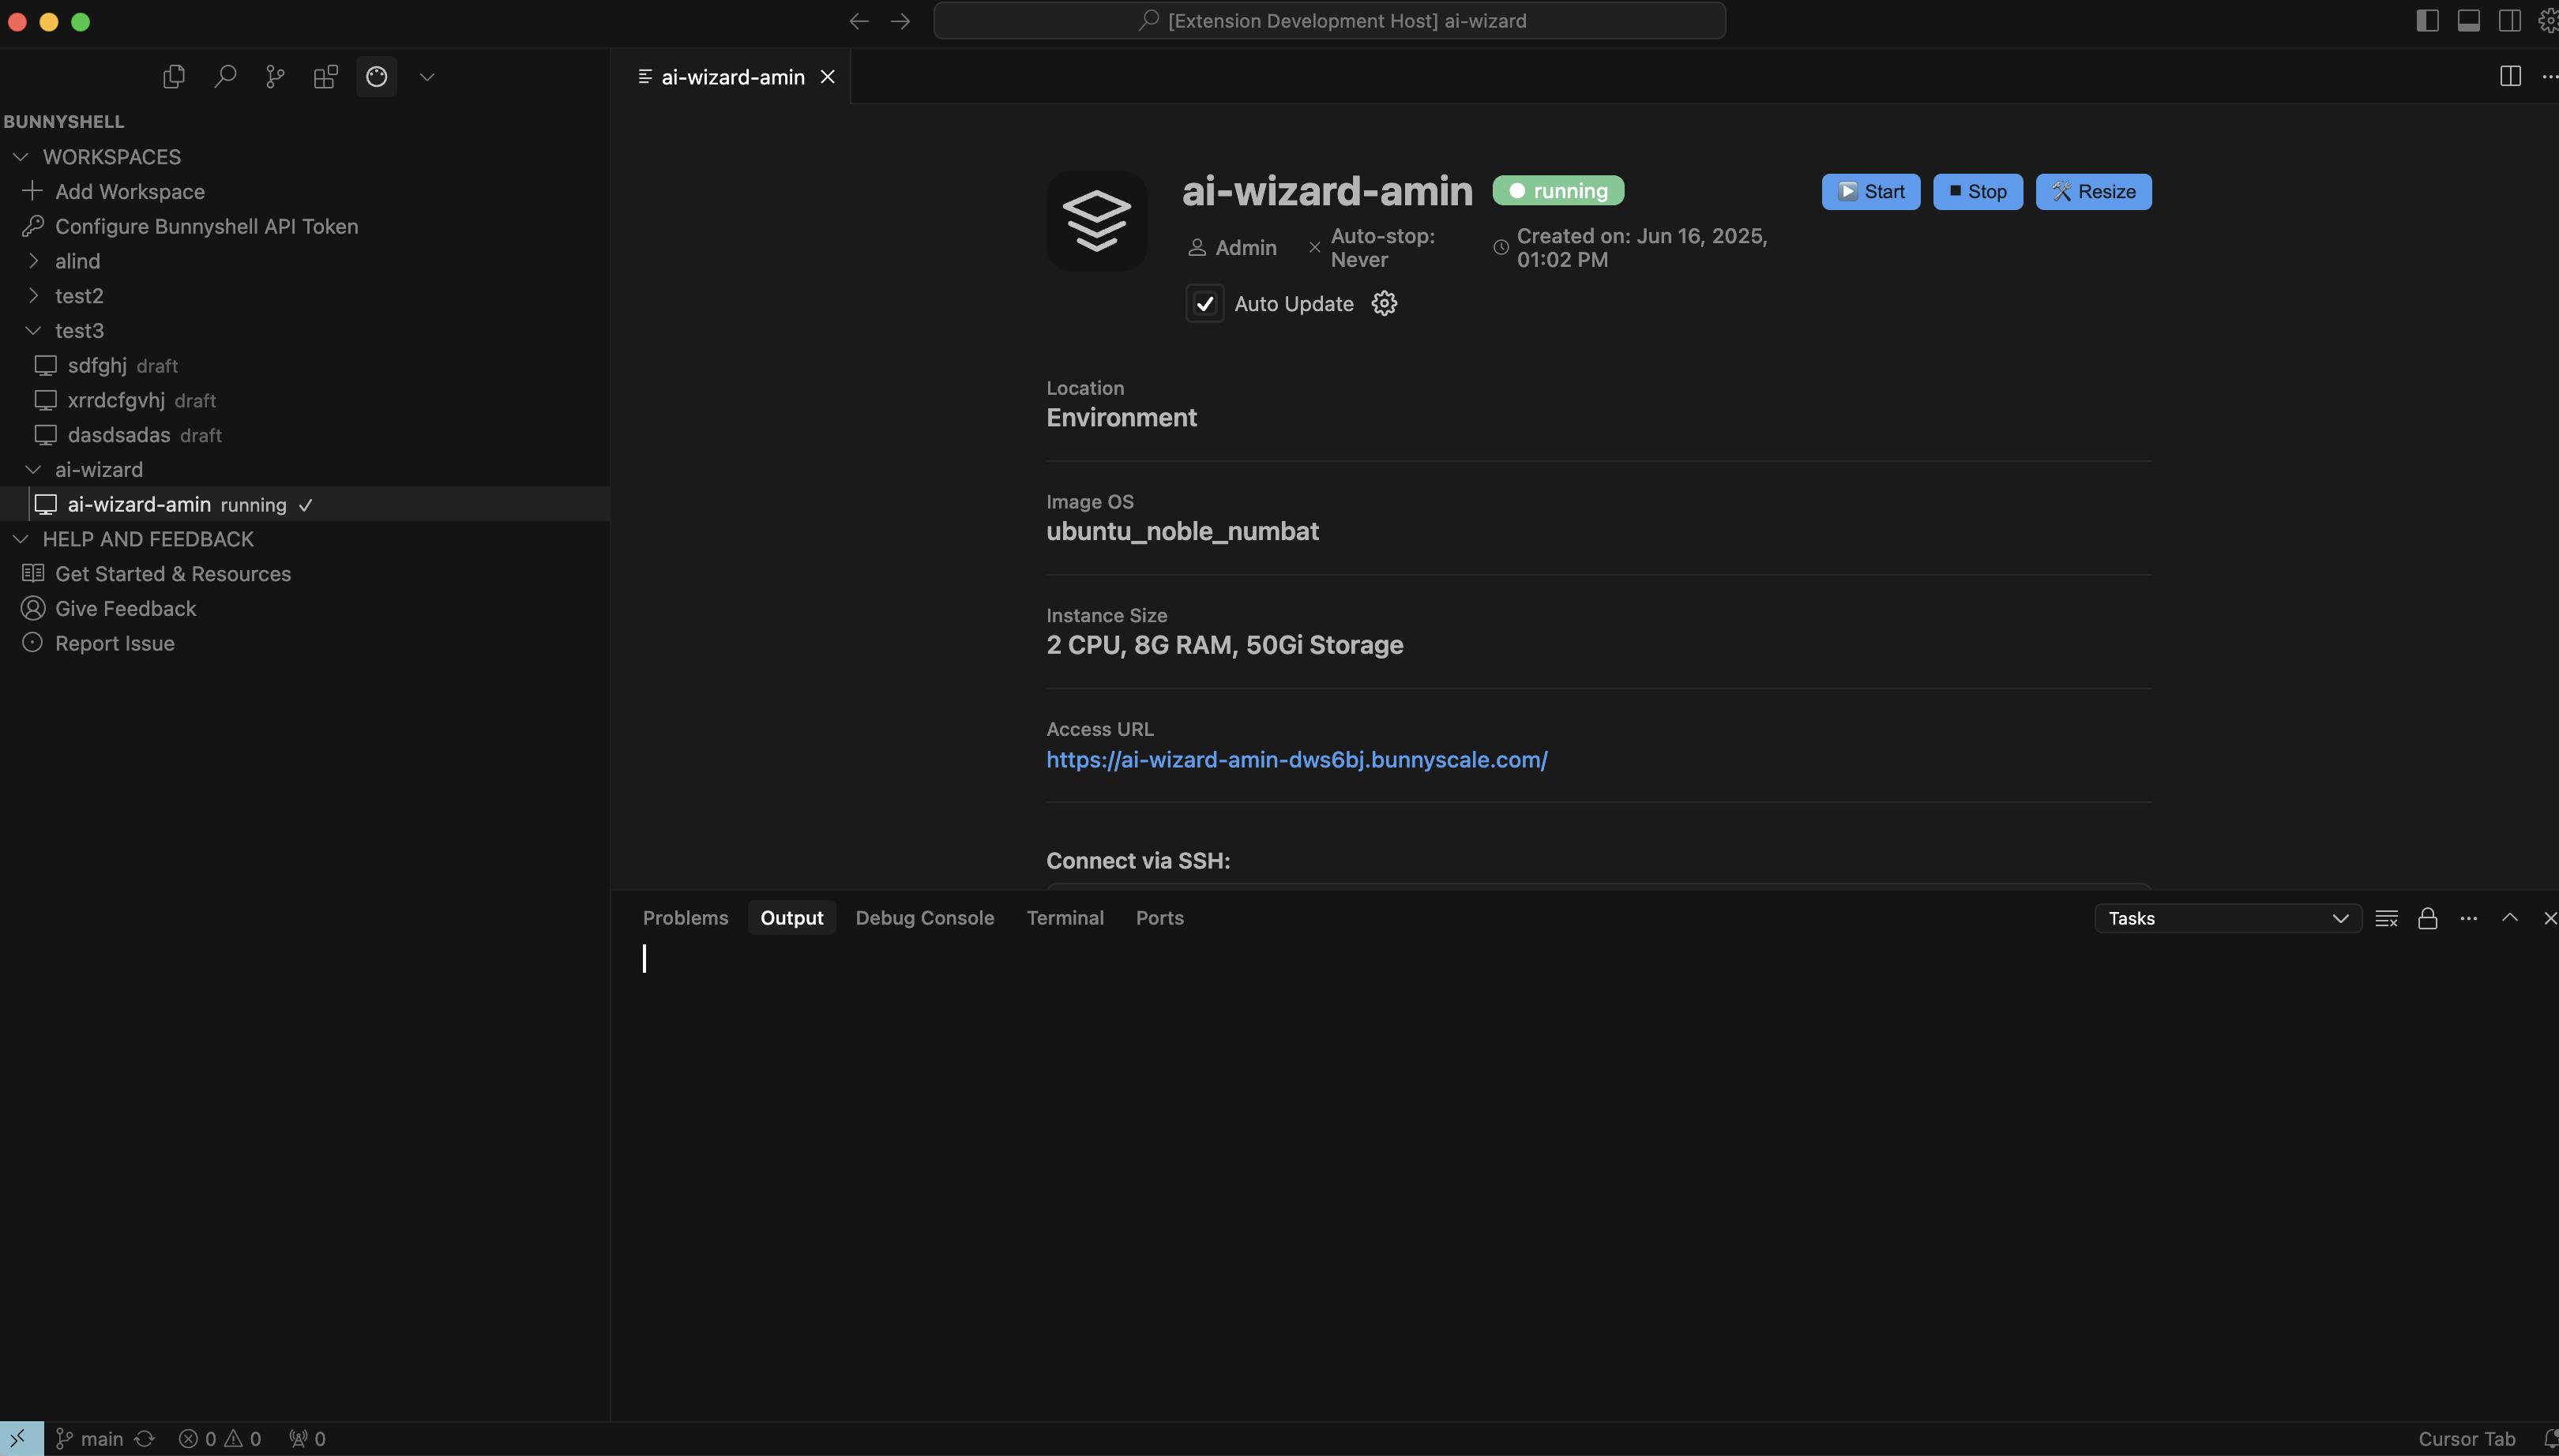
- View workspace details, status, and SSH info
- Quick access to documentation, feedback, and support
Getting Started
1. Install the Extension
- Search for Bunnyshell in the VS Code Marketplace, or
- Install from VSIX:
code --install-extension bunnyshell-x.x.x.vsix
- Click Configure Bunnyshell API Token in the sidebar
- Paste your Bunnyshell API token (format:
1:bd273c4b94bb775211c9adaeb1aacc85)
- The extension will securely store your token and load your workspaces
3. Using the Extension
- Add Workspace: Create a new cloud workspace with a guided form
- View Details: Click any workspace to see status, SSH, and more
- Help & Feedback: Quick links to docs, feedback, and support
Requirements
- A valid Bunnyshell account and API token
- VS Code 1.85.0 or newer
Troubleshooting
- If you see errors or blank screens, check the HopX Output Channel (View → Output → HopX)
- Make sure your API token is valid and has access to your organization
- Reload the window if the sidebar does not update after changes
Feedback & Support
© 2025 Bunnyshell. This extension is not affiliated with Microsoft or Visual Studio Code.
| |
