Fei IDEInstallation Launch VS Code Quick Open ( Ctrl+P), paste the following command, and press enter.Copied to clipboard |

Autonomy VS Code Extension DocumentationWelcome to the Autonomy VS Code Extension Documentation! This guide will walk you through the installation process and usage of the Autonomy extension, which enables you to generate code from Figma designs. OverviewAutonomy is a comprehensive AI-driven development tool. It integrates directly into your IDE, using a large language model (LLM) alongside micro-agents to offer code analysis, improvement suggestions, and auto-refactoring. Emphasizing traceability, Autonomy encapsulates changes within git patches. Its unique strength lies in assimilating project context from supplementary documents like User Stories, Style Guides, and Software Design Documents. Autonomy serves three primary users: ongoing developers, newcomers to the code, and team leads overseeing project management. Start Here - First Time SetupSetupAfter installing the Autonomy extension, follow these steps to set up Autonomy: 1. Initial Login and Authentication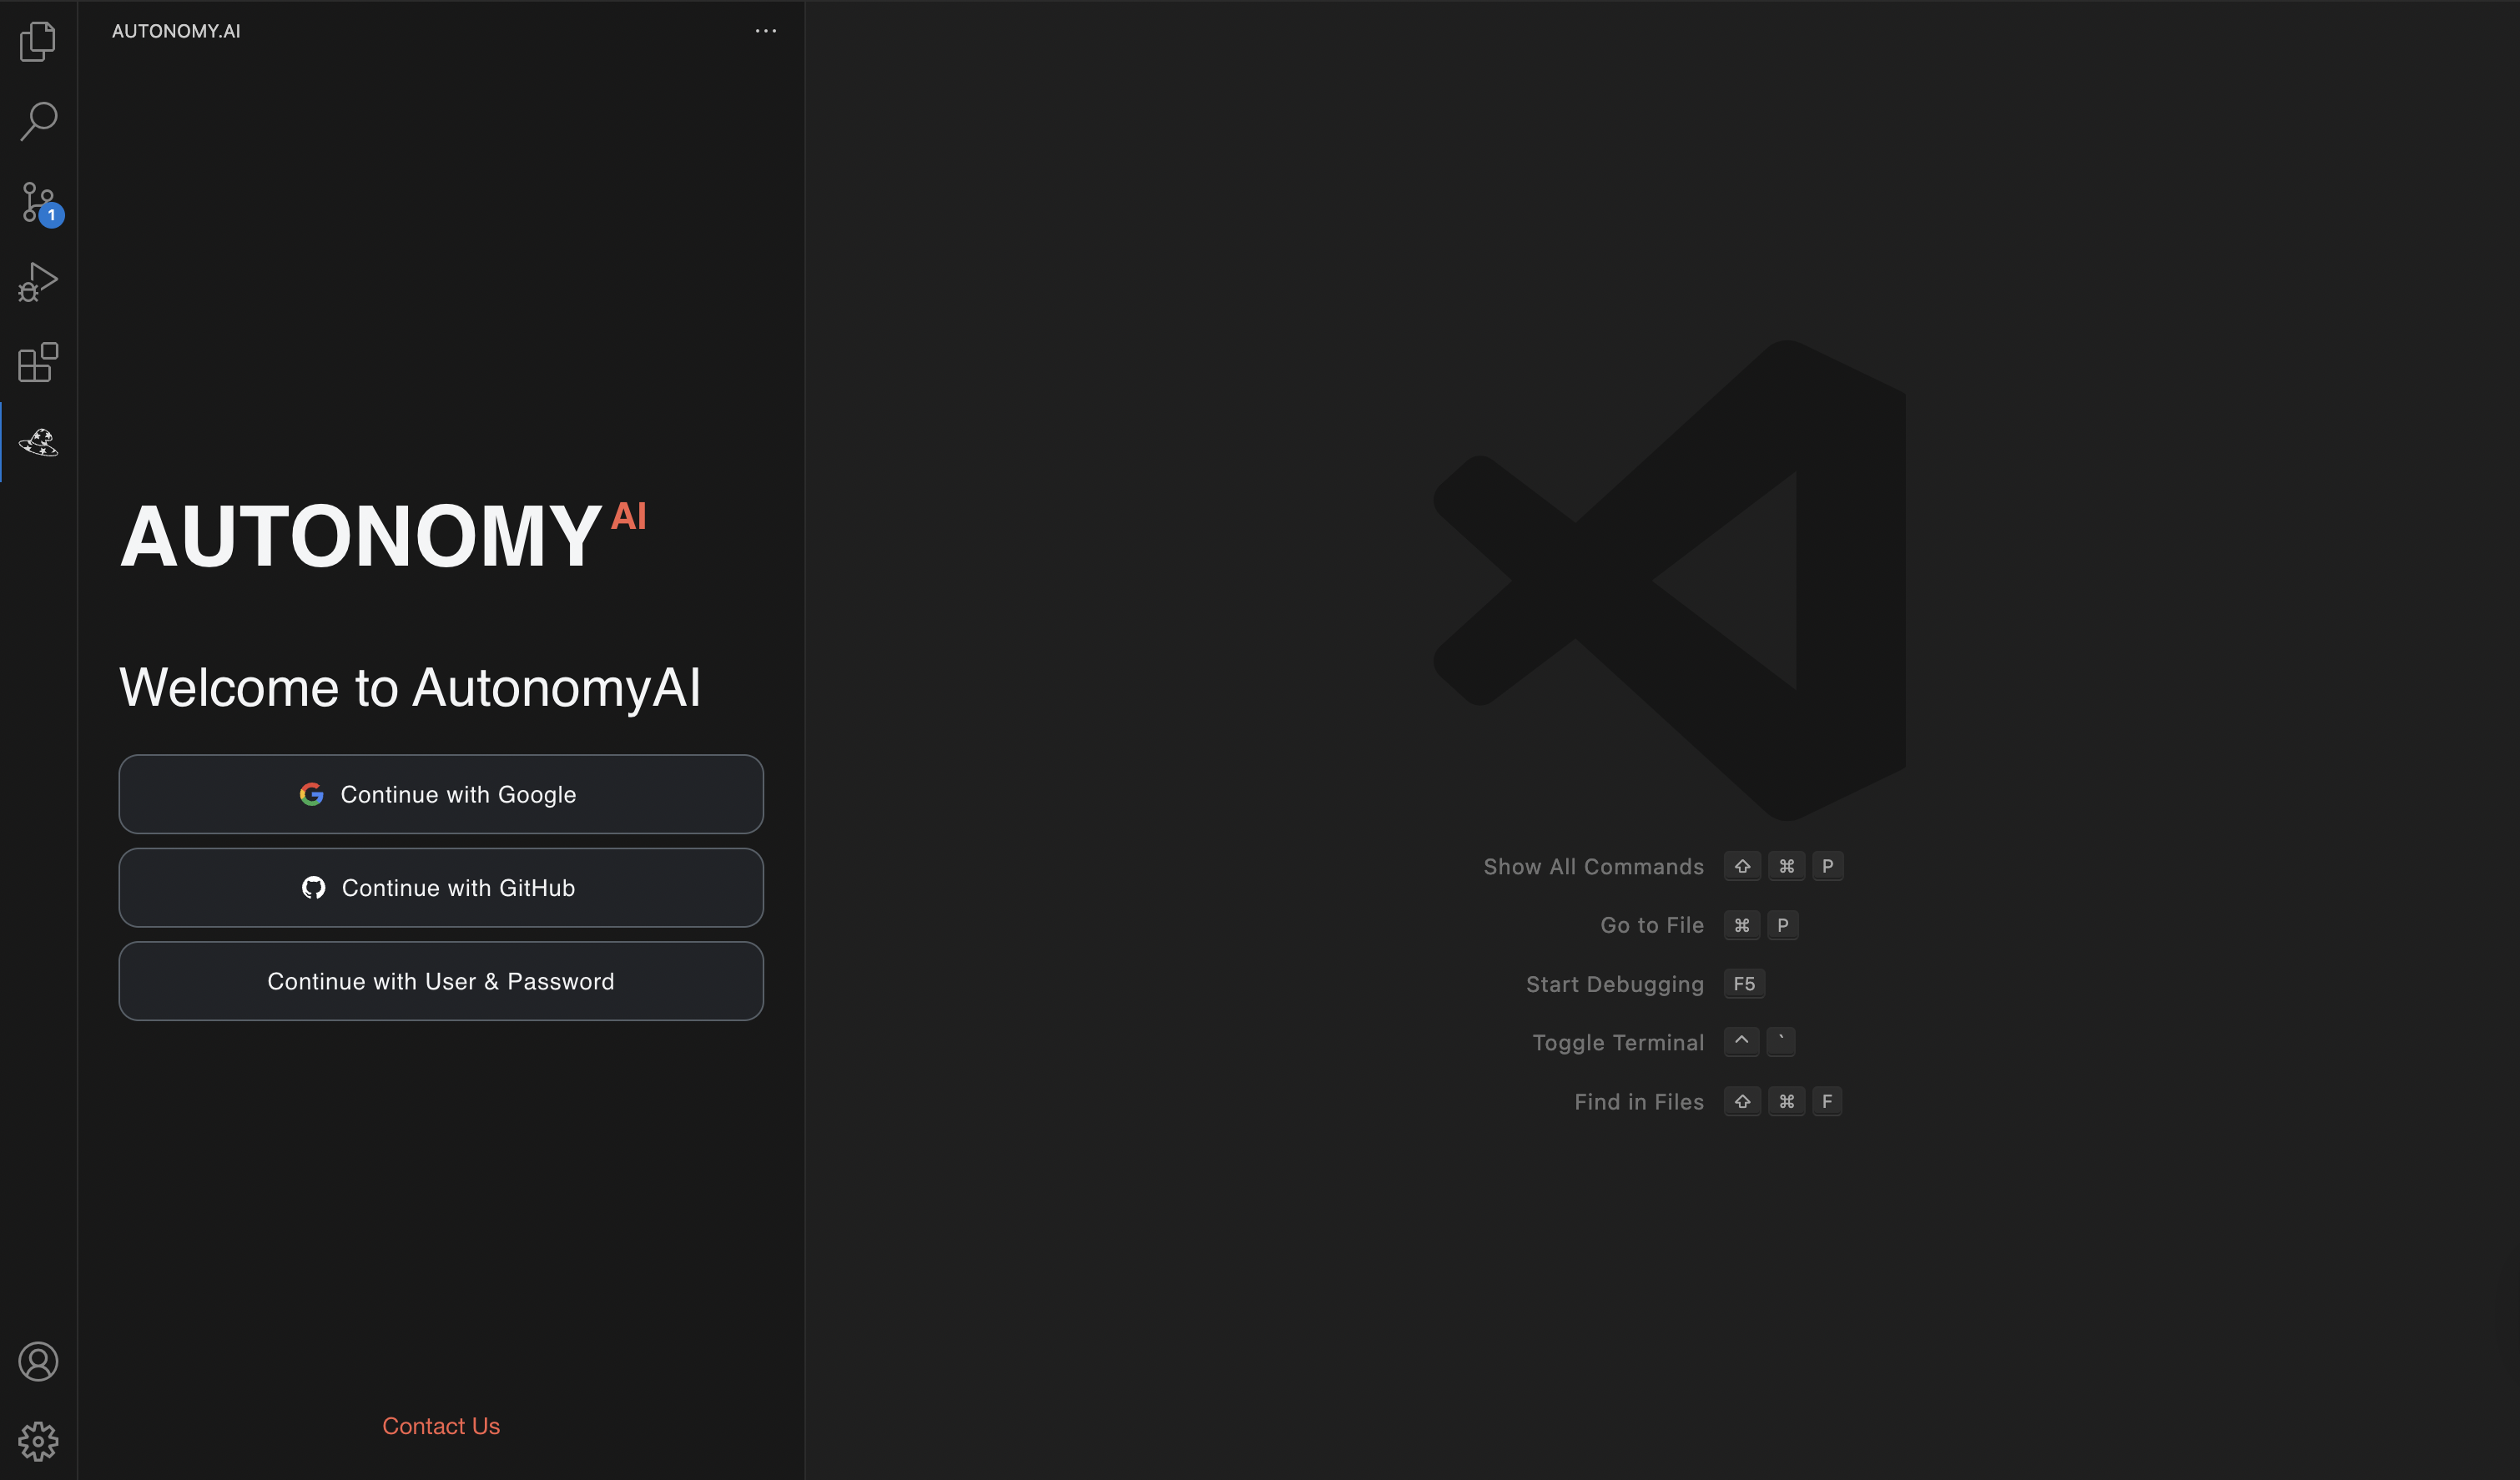
For email/password login:

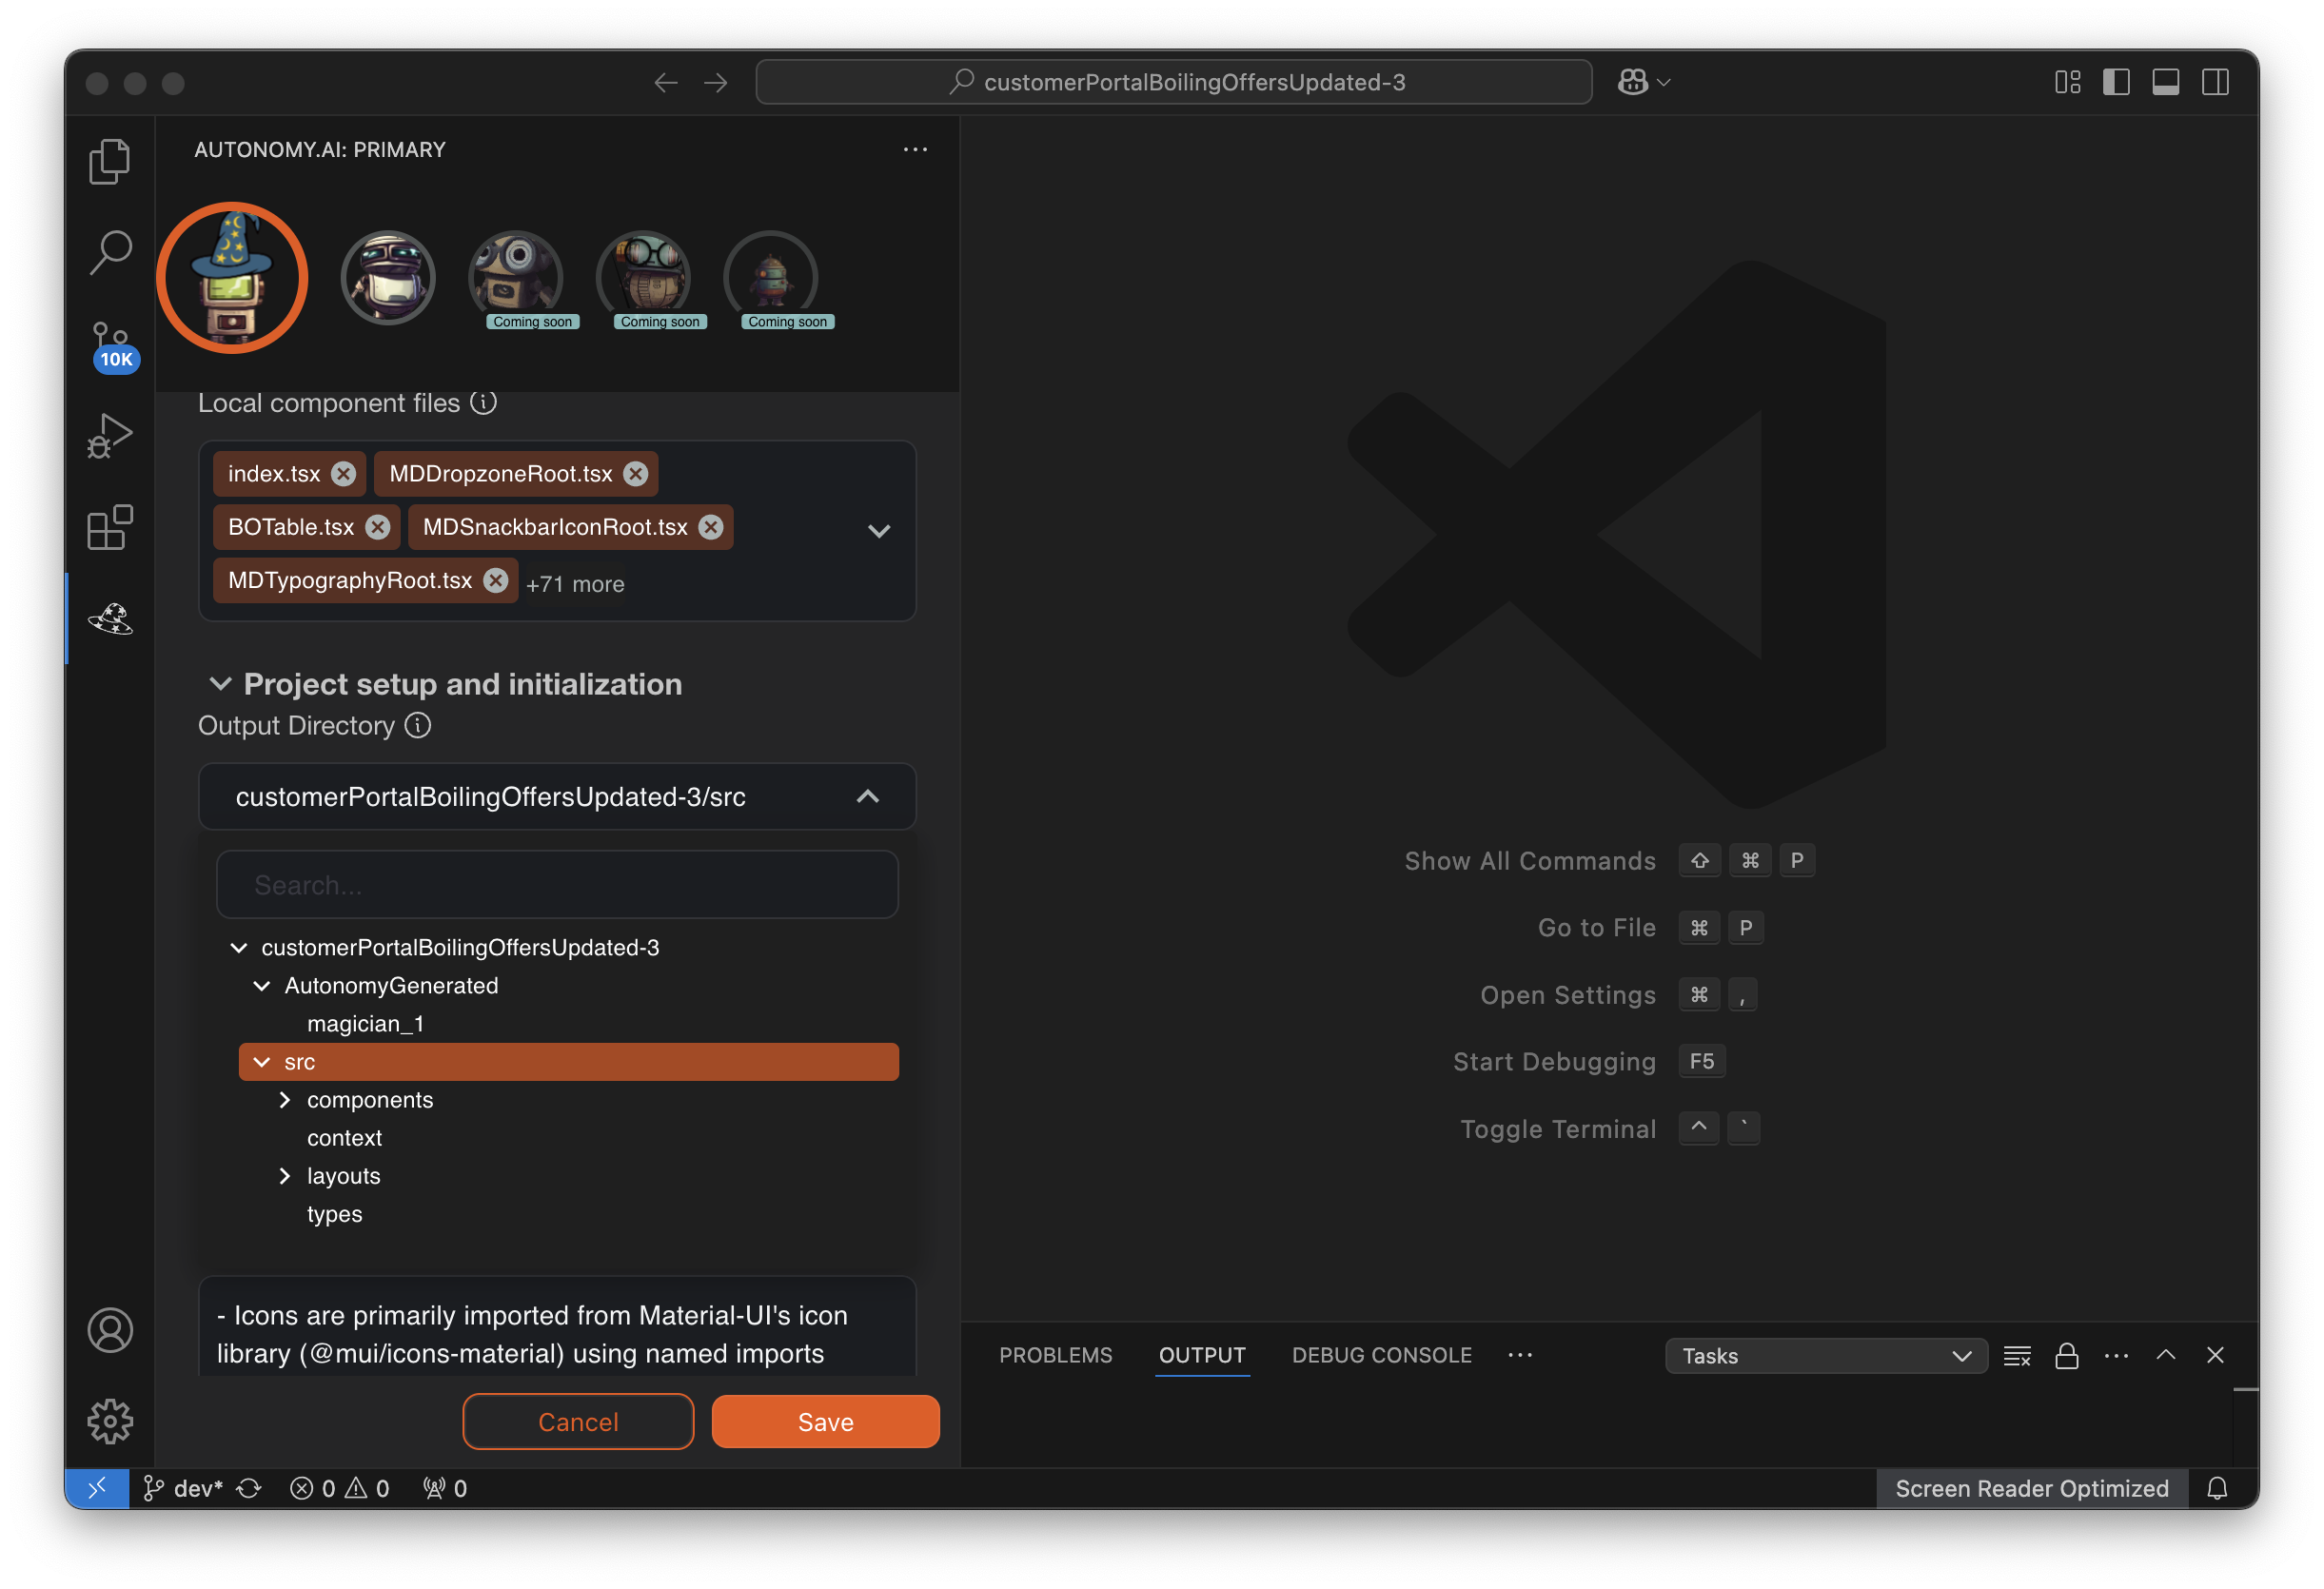
2. Magician Configuration Panel
Output Directory (Optional)You can specify an Output Directory - this is where the Magician will place the new files it generates. It's best to choose a directory that is already exposed to your local development server, so that the components can be rendered immediately without additional setup.
Customize Code StyleChange the style of code the Magician creates! The Magician automatically learns how the code is written in your codebase and matches it. If it learns practices you want to change (often due to looking at legacy code from previous standards), you can easily correct them by editing them in free text! 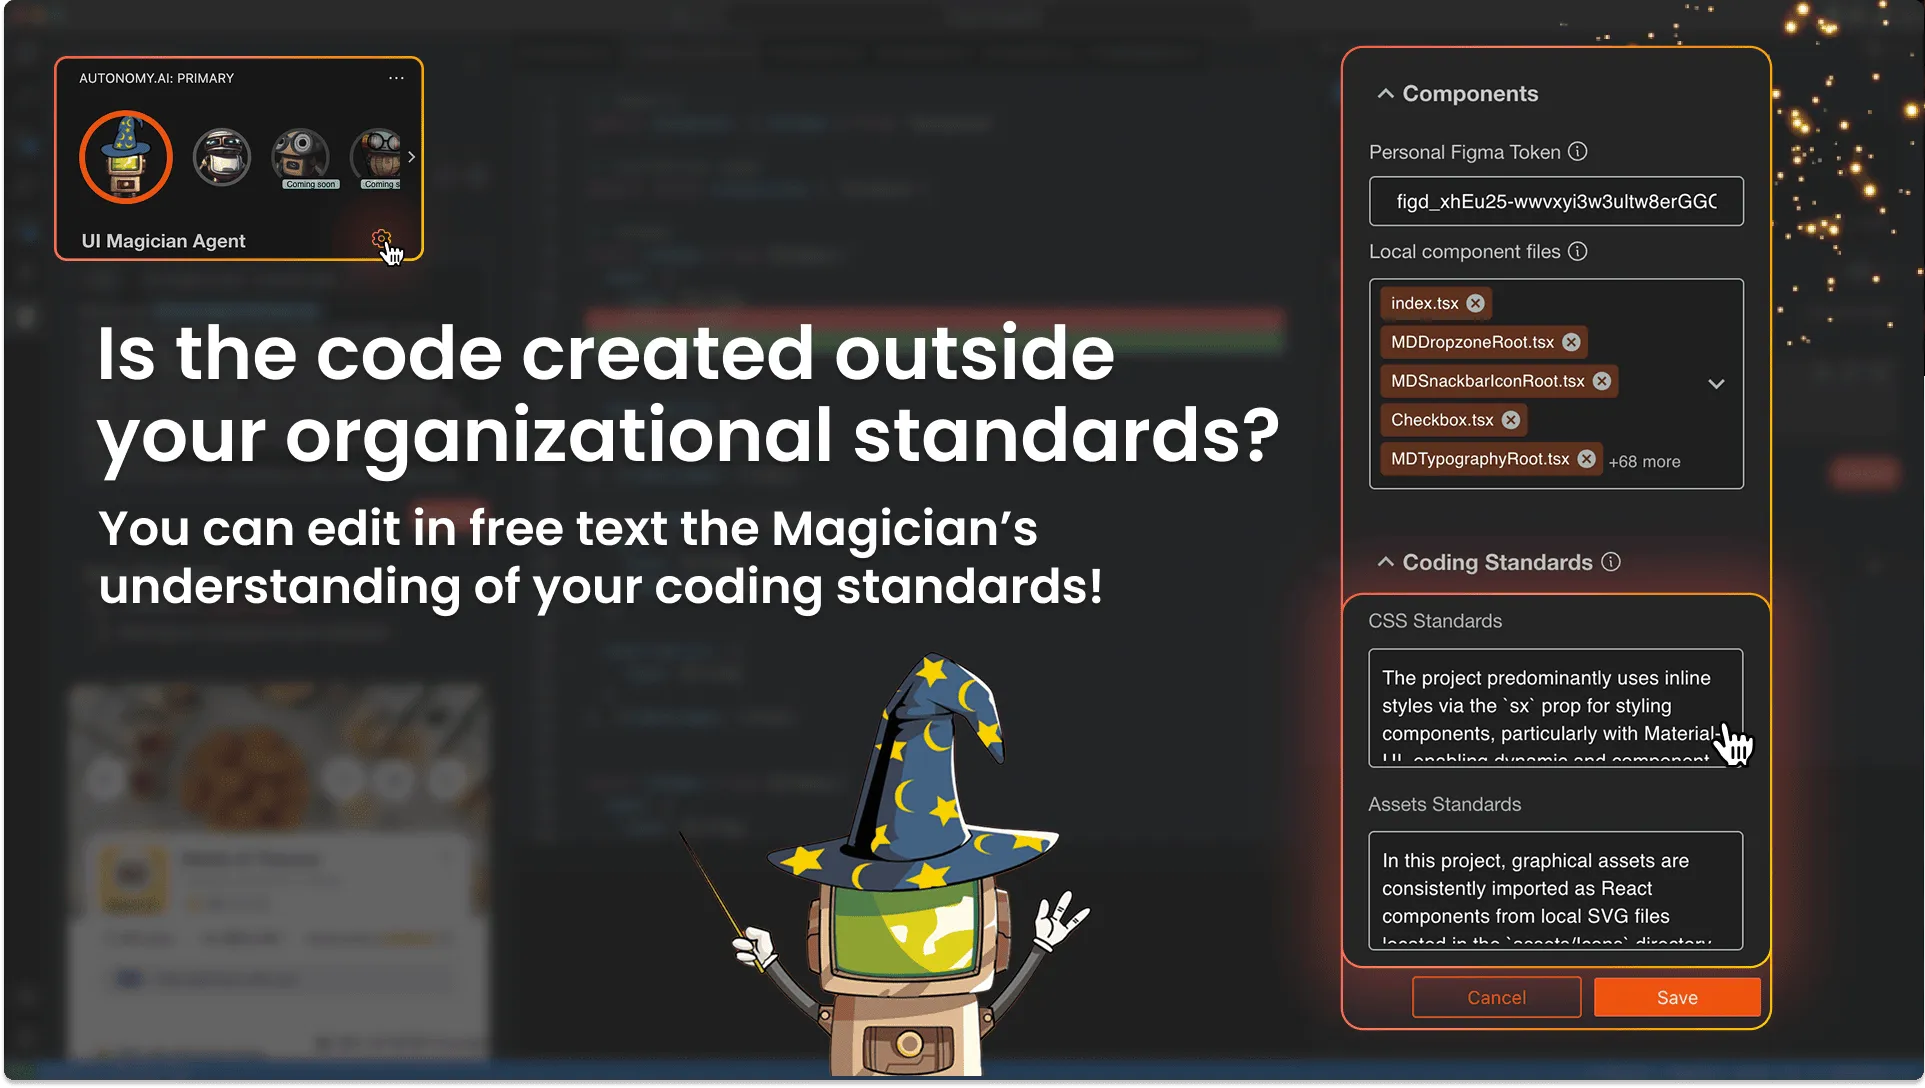
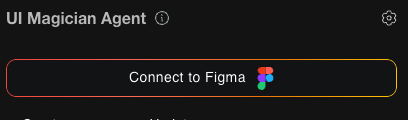
3. Connect to Figma
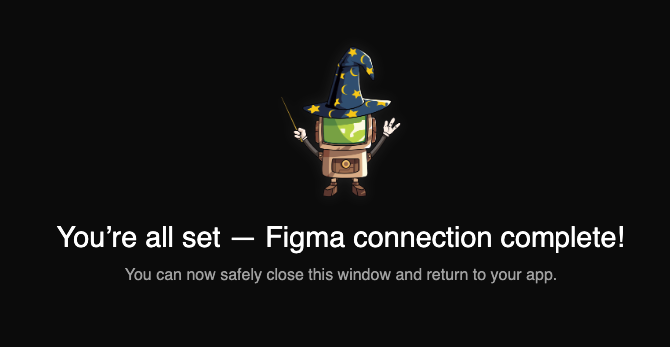
Your IDE may open a security dialog window, click "Open" to proceed in your browser.
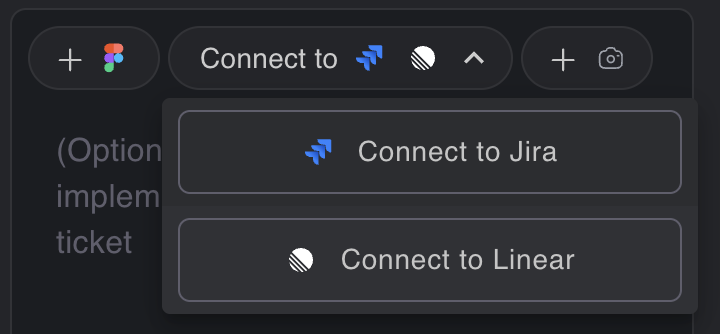
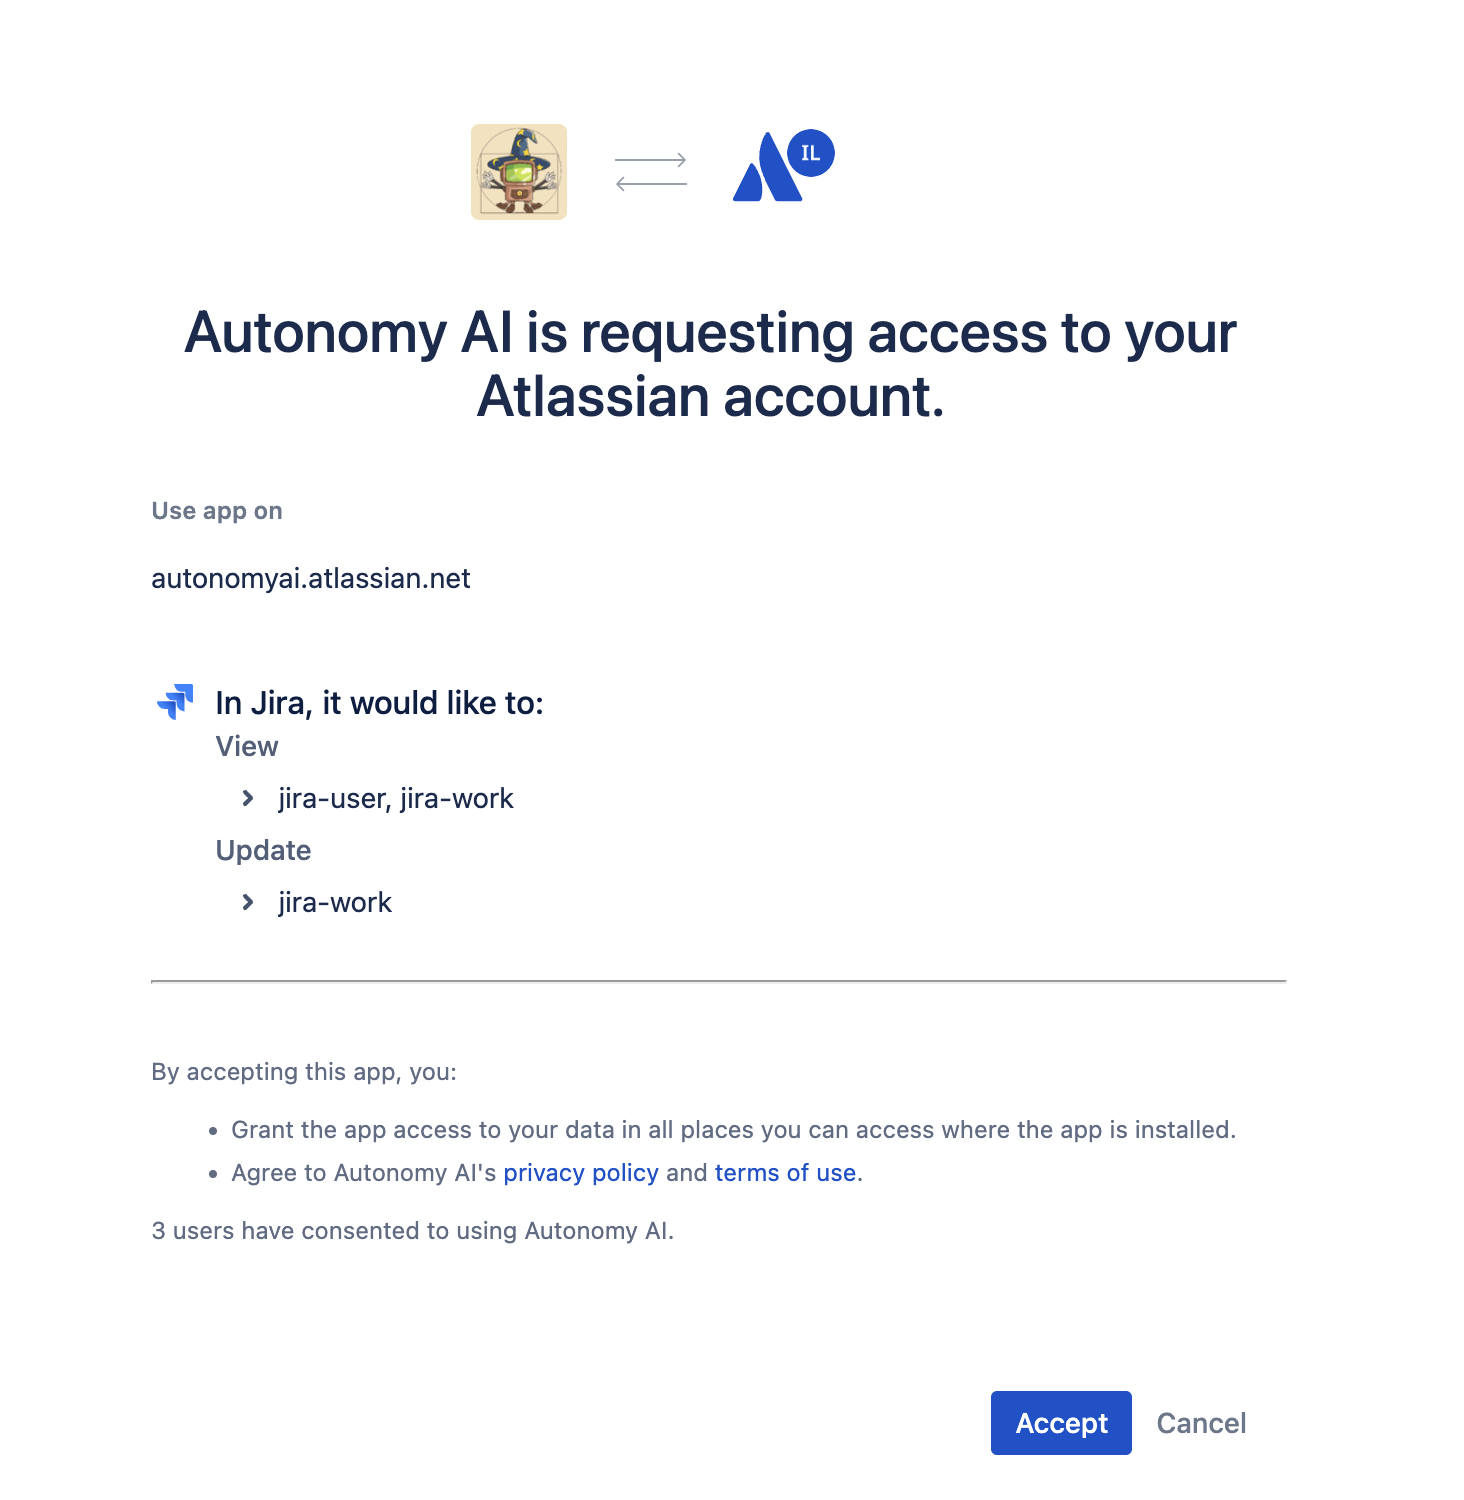
4. Connect to JiraYou can connect to Jira in two ways: Option A: From Use Case Tiles
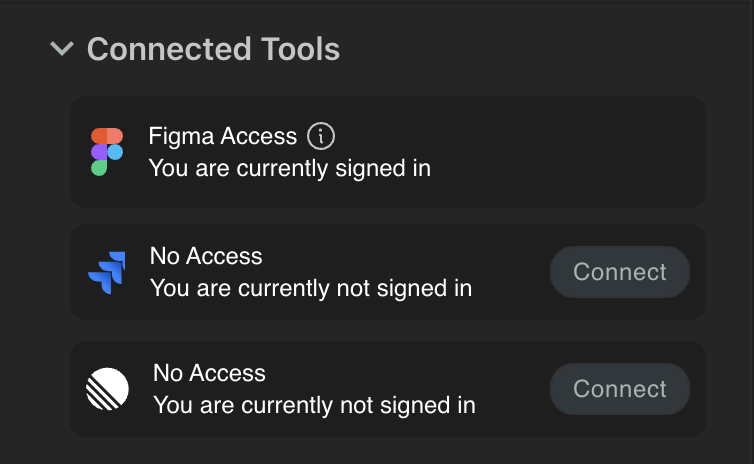
Option B: From Configuration Panel
Connection Process: Your IDE may open a security dialog window, click "Open" to proceed in your browser.
5. Connect to LinearYou can connect to Linear in two ways: Option A: From Use Case Tiles
Option B: From Configuration Panel
Connection Process: Your IDE may open a security dialog window, click "Open" to proceed in your browser.
Next StepsNow that you're all set up, it's time to start your first run and choose the kind of use case you want to work on. 😊 First run: How to: Start a Run with the Magician 📖 Learn more: FAQ: Use Cases in the Magician Your IDE may open a security dialog window, click "Open" to proceed in your browser. |