Onion architecture with ASP.NET Core WebAPI
WhiteApp or QuickApp API solution template which is built on Domain-Driven Design (DDD) based with all essential feature using .NET Core
Onion architecture
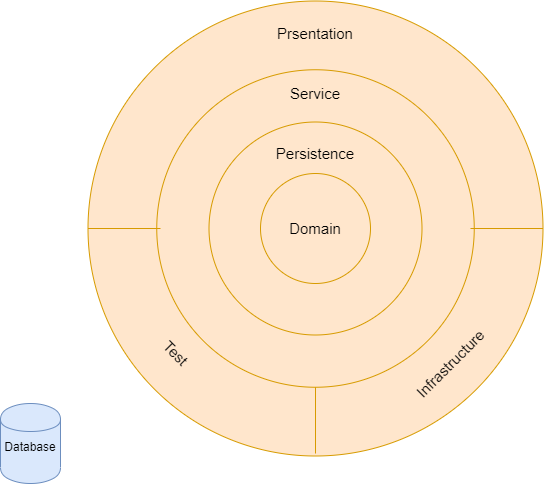
Whiteapp Onion architecture with ASP.NET Core API
This is default white application for ASP.NET Core API development
This whiteapp contains following features, uncheck feature need to implement yet.
- [x] Application is implemented on Onion architecture
- [x] .Net 5.0
- [x] Web API
- [x] Entityframework Core
- [x] Expection handling
- [x] Automapper
- [x] Unit testing via NUnit
- [x] Integration testing via NUnit
- [x] Versioning
- [x] Swagger UI
- [x] CQRS Pattern
Below features will be implemented in infrastructure layer. You can plug and play based on your project.
- [x] Loggings - seriLog
- [x] Email
- [x] Health checks UI
- [x] JWT authentication with Microsoft Identity
- [x] Role based Authorization
- [x] Fluent validations
- [x] Database Seeding
- [x] Enable CORS origin
- [x] Enable feature flag (Make it true when you configure your email configuration)
Getting Started
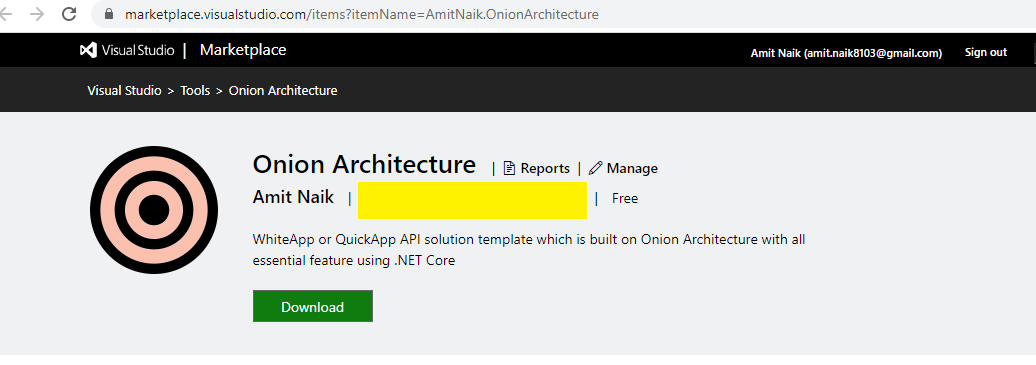
Step 1: Download extension from project template
Download from Marketplace
Step 2: Create Project
Select project type as API, and select Onion Architecture
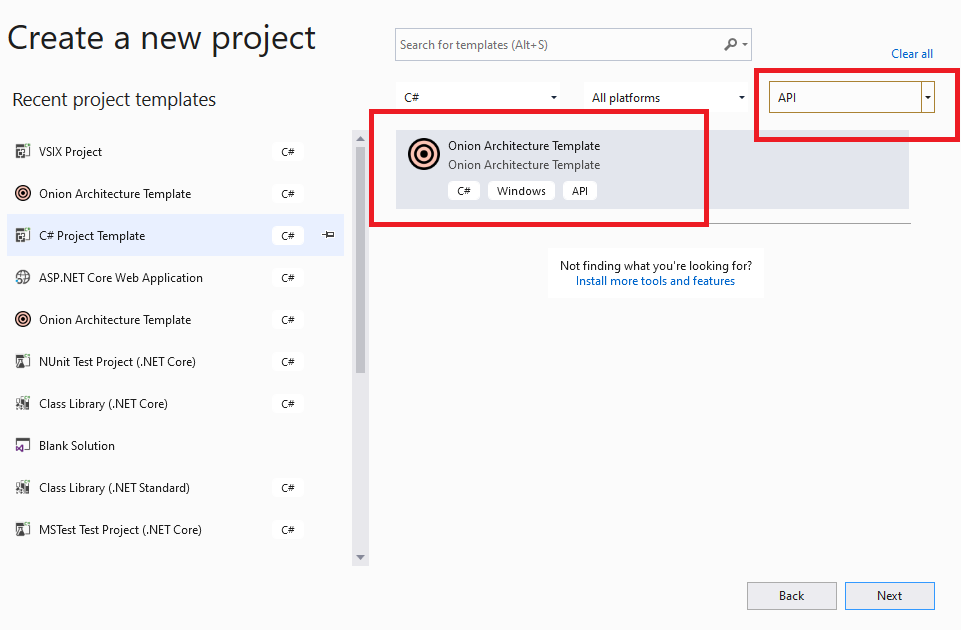
Step 3: Select Onion Architecture project template
Select project type as API, and select Onion Architecture
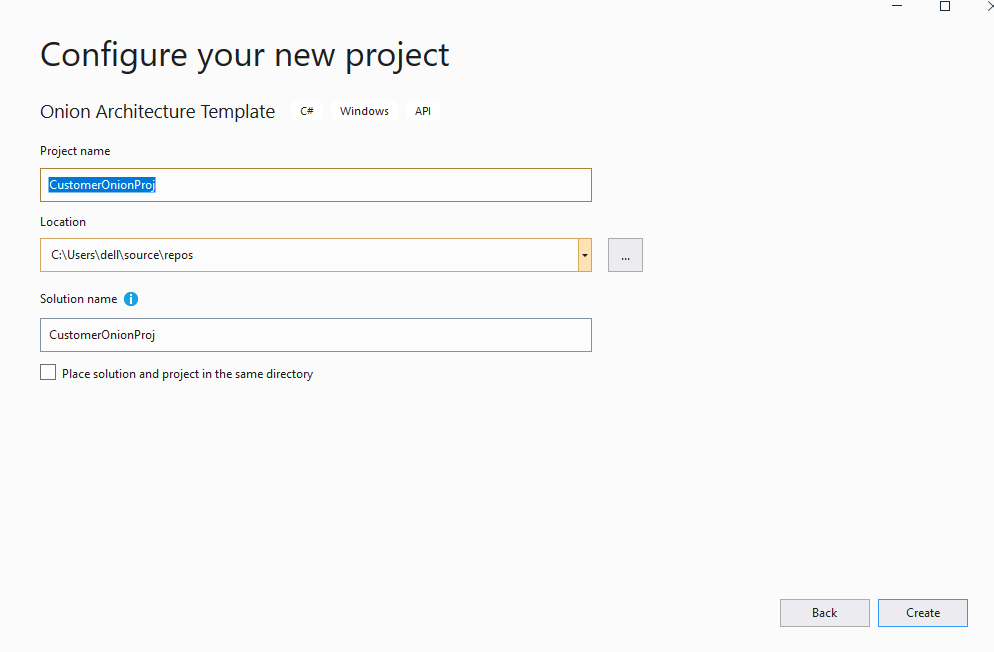
Step 4: Project is ready

Make sure to connect proper database
  "ConnectionStrings": {
    "OnionArchConn": "Data Source=(local)\\sqlexpress01;Initial Catalog=OnionDb;Integrated Security=True",
    "IdentityConnection": "Data Source=(local)\\sqlexpress01;Initial Catalog=OnionDb;Integrated Security=True"
  },
and connect to logging in DB or proer path
  "Serilog": {
    "MinimumLevel": "Information",
    "WriteTo": [
      {
        "Name": "RollingFile",
        "Args": {
++          "pathFormat": "D:\\Logs\\log-{Date}.log",
          "outputTemplate": "{Timestamp:yyyy-MM-dd HH:mm:ss.fff zzz} [{Level}] {Message}{NewLine}{Exception}"
        }
      },
      {
        "Name": "MSSqlServer",
        "Args": {
++          "connectionString": "Data Source=(local)\\sqlexpress01;Initial Catalog=OnionDb3;Integrated Security=True",
          "sinkOptionsSection": {
            "tableName": "Logs",
            "schemaName": "EventLogging",
            "autoCreateSqlTable": true
          },
          "restrictedToMinimumLevel": "Warning"
        }
      }
    ],
    "Properties": {
      "Application": "Onion Architecture application"
    }
  },
Step 6: Create Database (Sample is for Microsoft SQL Server)
For Code First approach (To run this application, use Code First apporach)
For running migration:
- Option 1: Using Package Manager Console:

- Option 2: Using dotnet cli:
- Install dotnet-ef cli:
dotnet tool install --global dotnet-ef --version="3.1"
- Navigate to OA and run these commands:
$ dotnet ef migrations add Initial-commit-Application --context ApplicationDbContext -o Migrations/Application
$ dotnet ef migrations add Identity-commit-Identity --context IdentityContext -o Migrations/Identity
$ dotnet ef database update --context ApplicationDbContext
$ dotnet ef database update --context IdentityContext
For Database First approach
In Package Manager console in << ProjectName >>.Persistence, run below command
scaffold-dbcontext -provider Microsoft.EntityFrameworkCore.SqlServer -connection "Data Source=(local)\SQLexpress;Initial Catalog=OnionArchitectureDB;Integrated Security=True"
Step 7: Build and run application
Health check UI
Navigate to Health Checks UI https://localhost:44356/healthcheck-ui and make sure everything is green.
** Change port number according to your application

Swagger UI
Swagger UI https://localhost:44356/OpenAPI/index.html
** Change port number according to your application

Support This Project
If you have found this project helpful, either as a library that you use or as a learning tool, please consider buying me a coffee:

I do coding for fun during leisure time, but I have to pay the bills, so I also work for money :P

