Aladdin
💡 What is Aladdin?
Aladdin (Alaya AI addin) is an operational addin developed by DataCanvas based on Serverless architecture, specifically designed for users managing VKS on the Alaya NeW platform. With this addin, users can remotely connect to VKS for efficient development, debugging, and model training. Supported by Aladdin, users can complete model training and optimization with the most efficient computing power configurations, thereby significantly improving resource utilization and development efficiency.
🌟 Advantages of Aladdin
🍓Development Experience Free from Operation and Maintenance
The Aladdin enables direct connectivity to VKS, seamlessly integrating local development environments with cloud computing resources. By eliminating the complexities of underlying Operation and Maintenance (O&M), it empowers developers to focus on model iteration and algorithmic innovation.
🍓Zero-Idle-Resource Architecture
Based on the Serverless intelligent scaling mechanism, computing resources can dynamically scale at the millisecond level, with instances released immediately upon task completion. Additionally, the service is billed according to the actual compute duration, thereby eliminating idle costs.
🍓Cost-effective computing resource utilization
Aladdin dynamically allocates GPU/NPU heterogeneous computing resources on demand, enabling large model training tasks to resume seamlessly from checkpoints after interruptions. This ensures every unit of computing power directly contributes to achieving business objectives.
🚀 Getting Start
Activate VKS: Complete login and activate VKS on the Alaya NeW platform. For registration and login, refer to:Account registration and user management; For VKS activation, refer to:VKS activation and management
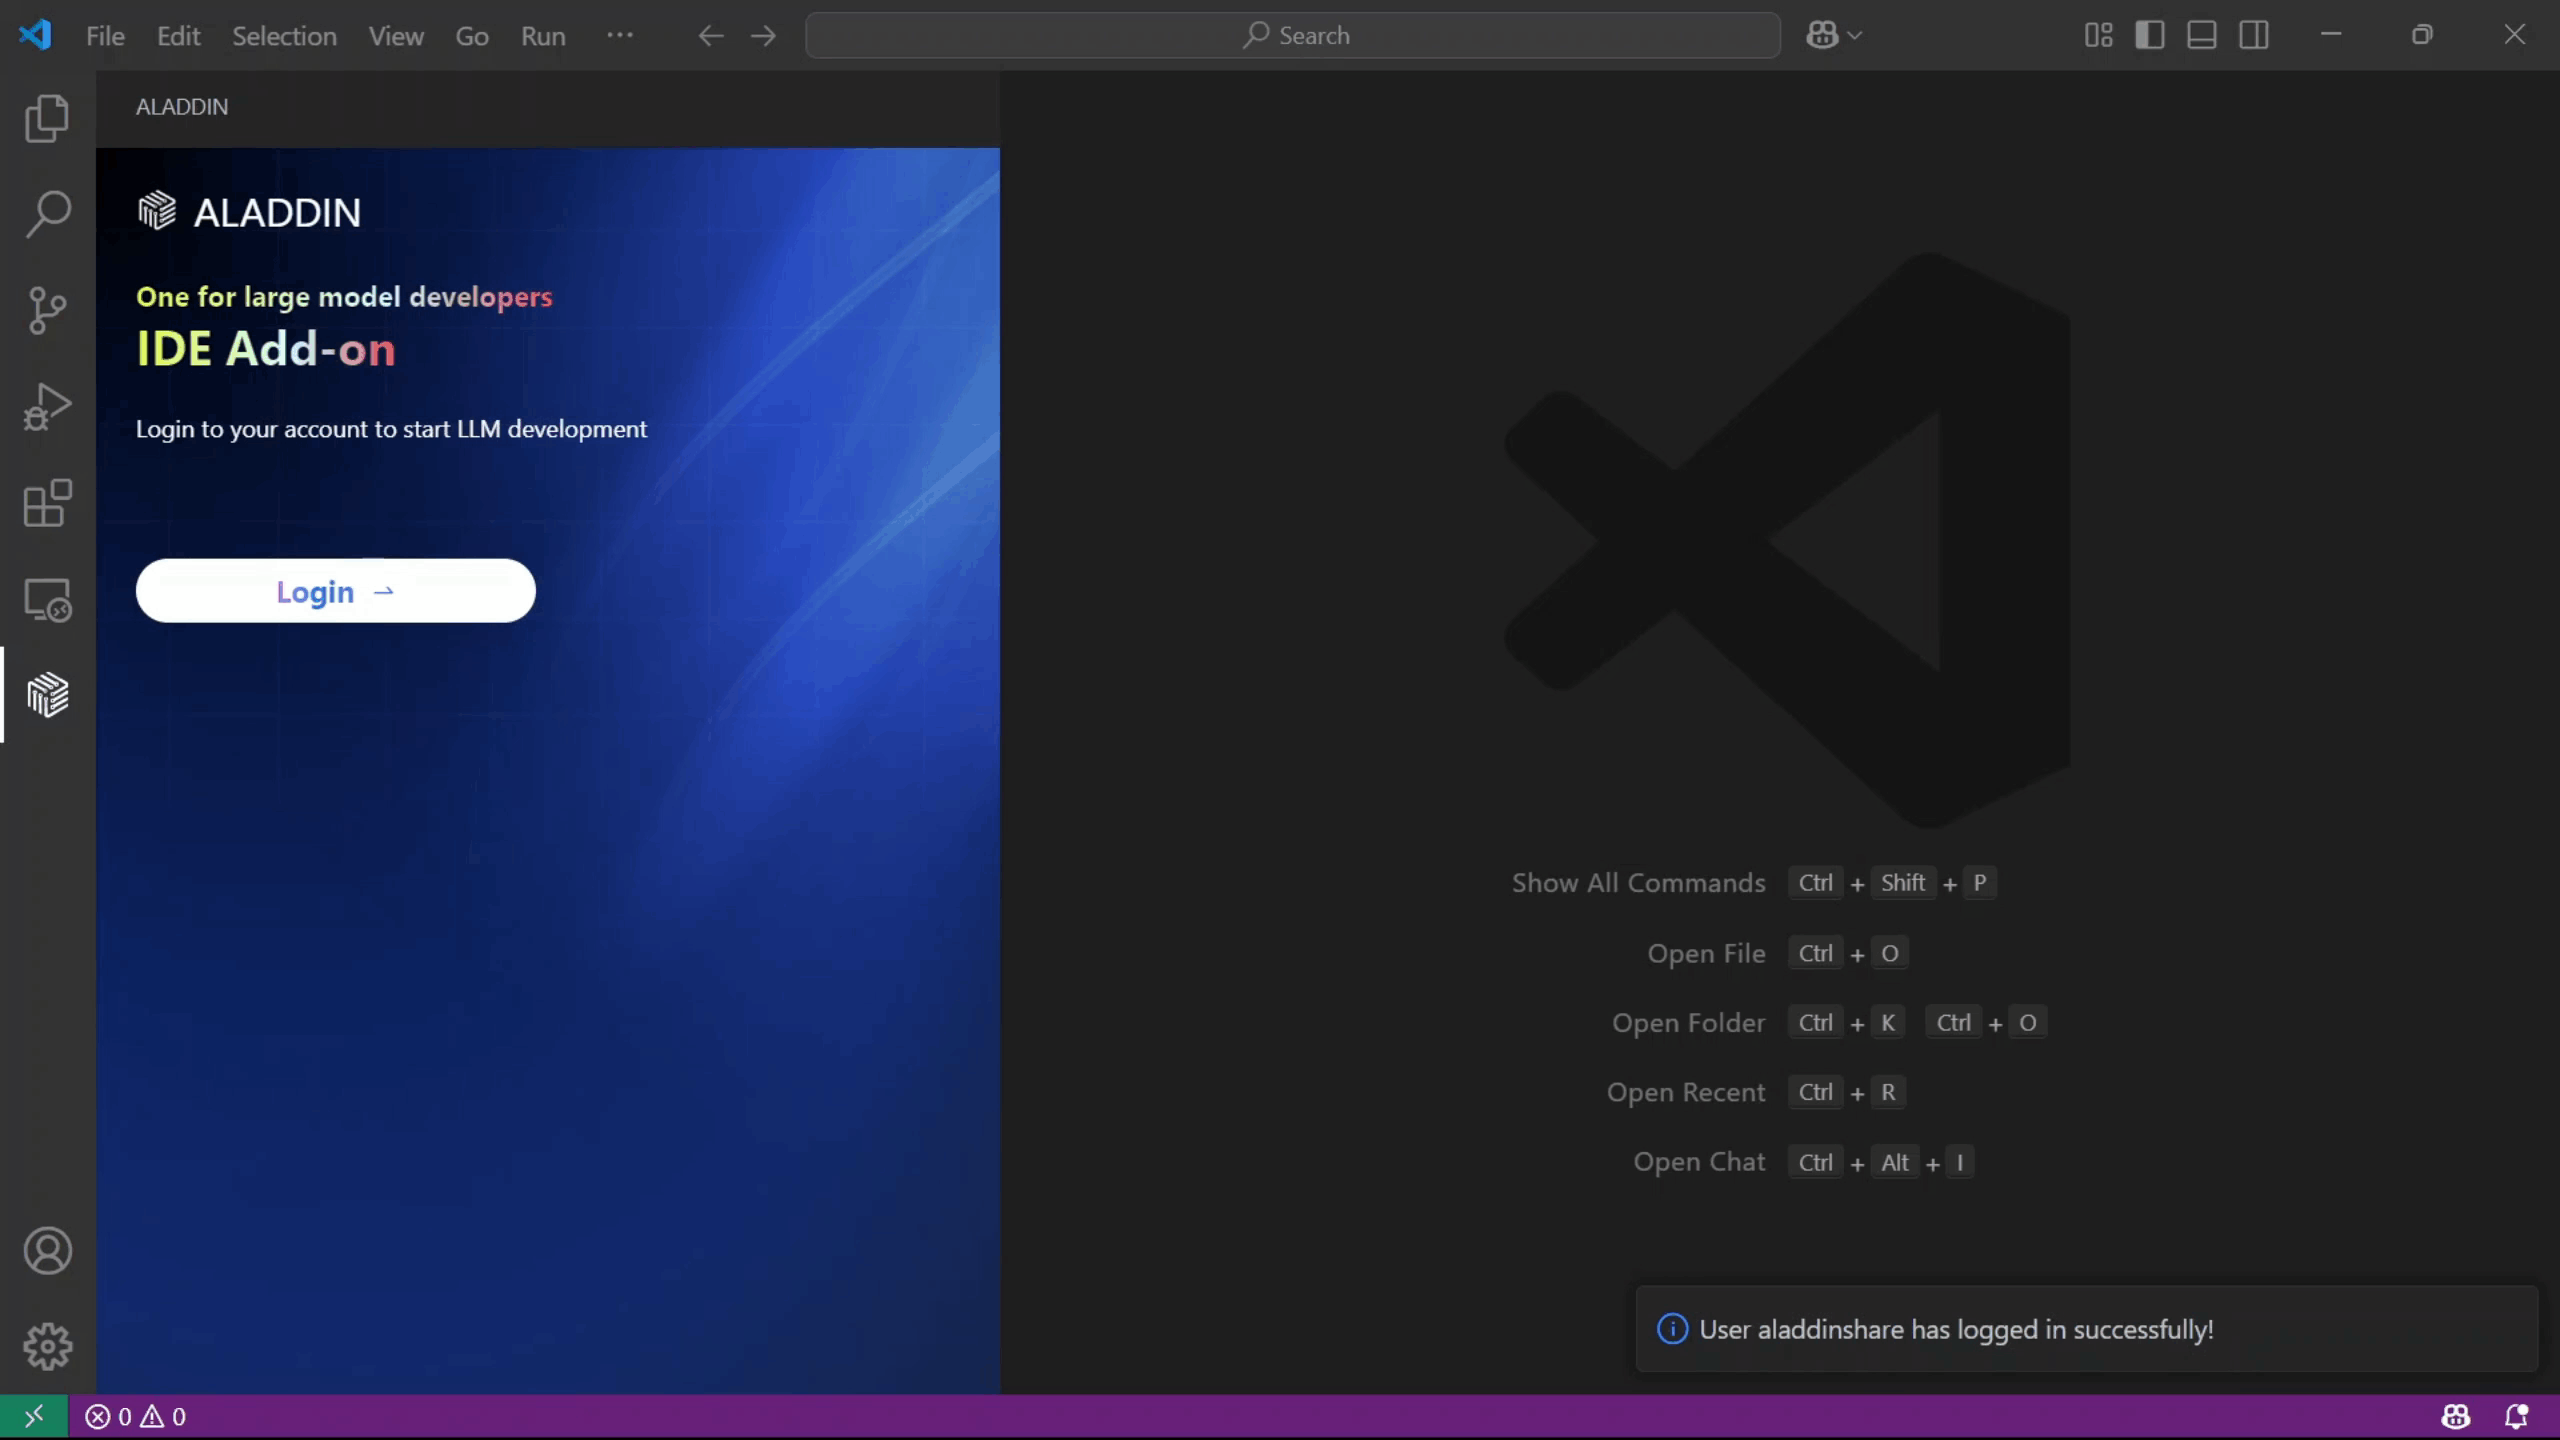
Install Aladdin and Log In:After installing Aladdin from the Extensions, click Log In in the Aladdin toolbar. Enter your username and password on the pop-up login page to log in, and then select AI Data Center.
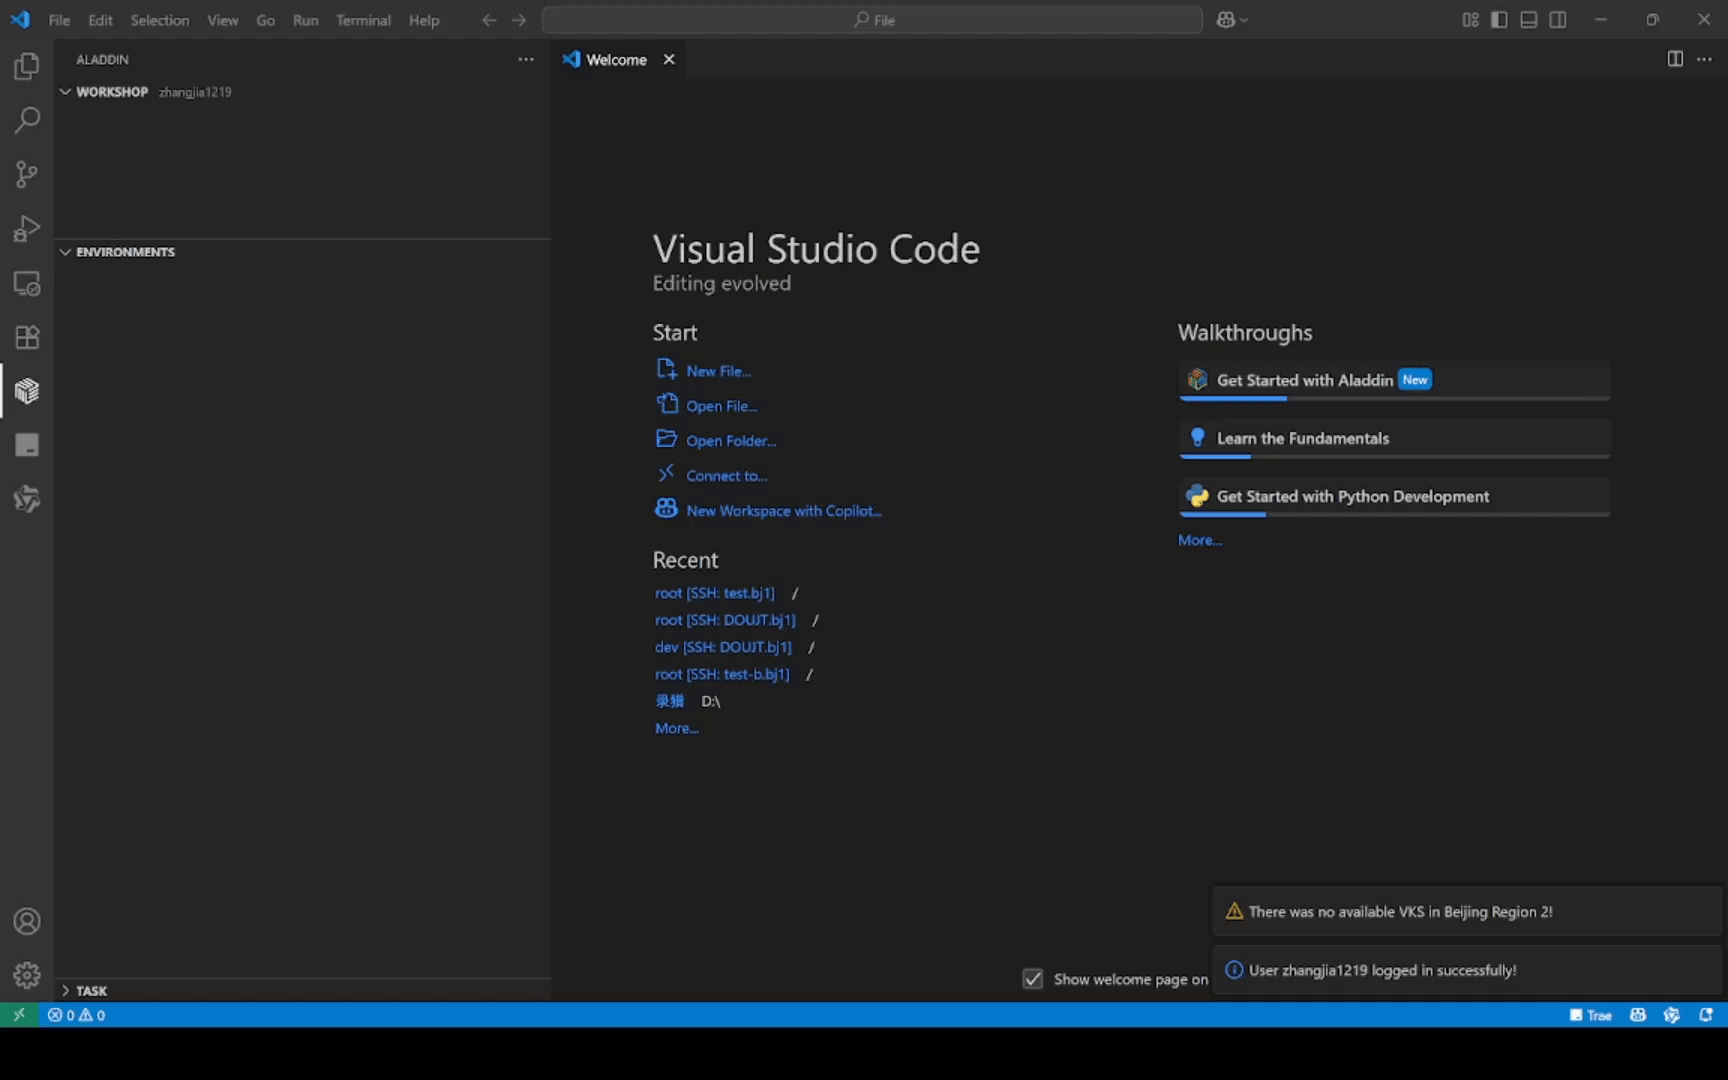
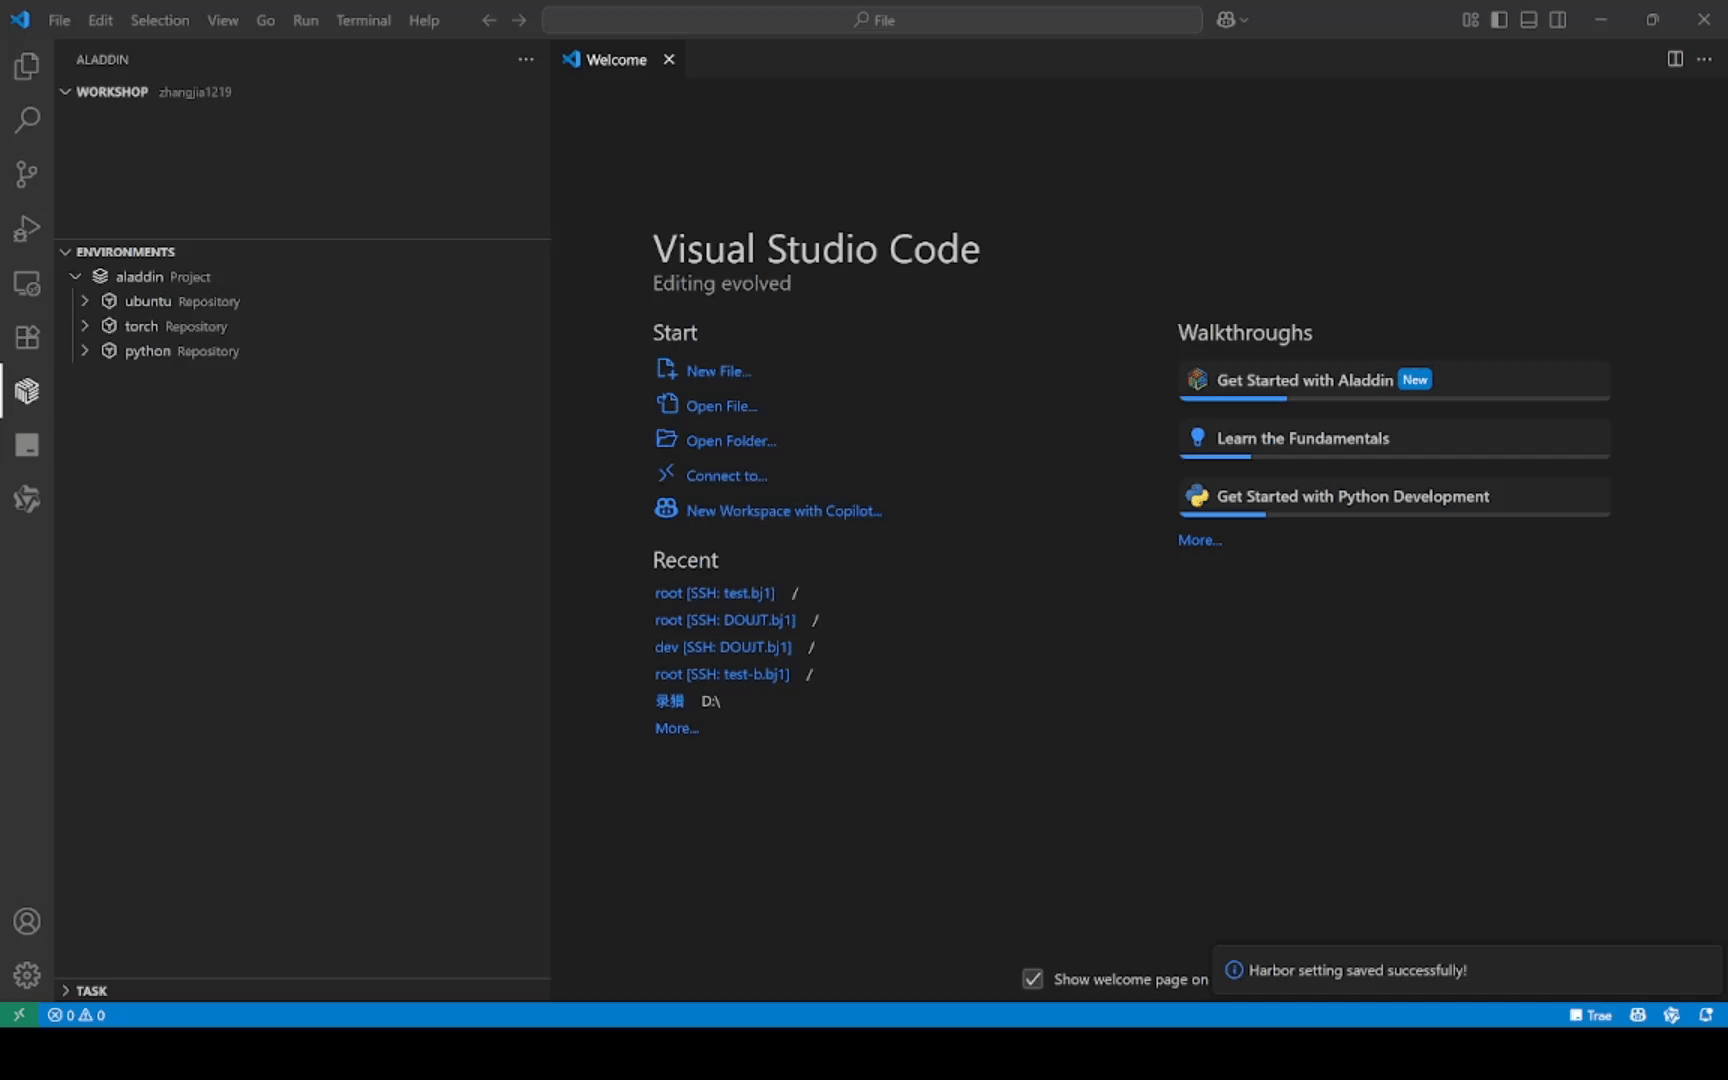
Configure Image Registry:Under the Environments, you can configure images required for launching workshops, debugging, and running programs. The Environments provides pre-configured public images, supports connecting to both enterprise image registry and third-party Harbor image registries. Public images are available for direct use, while enterprise image registry require activation and configuration of a username/password for access. For enterprise image registry activation, refer to:Storage activation and management
Configure Enterprise Image Registry:Click Environments -> Setting Registry, select 'AlayaNeW' as the image registry type, then configure the username and password for the image registry to connect to the Alaya NeW image registry. This includes both public image projects and enterprise image registry projects.
Configure third-party Harbor image registries:Click Environments -> Setting Registry, select 'Custom' as the image registry type, then configure the registry URL, username, and password to connect to a third-party image registry.
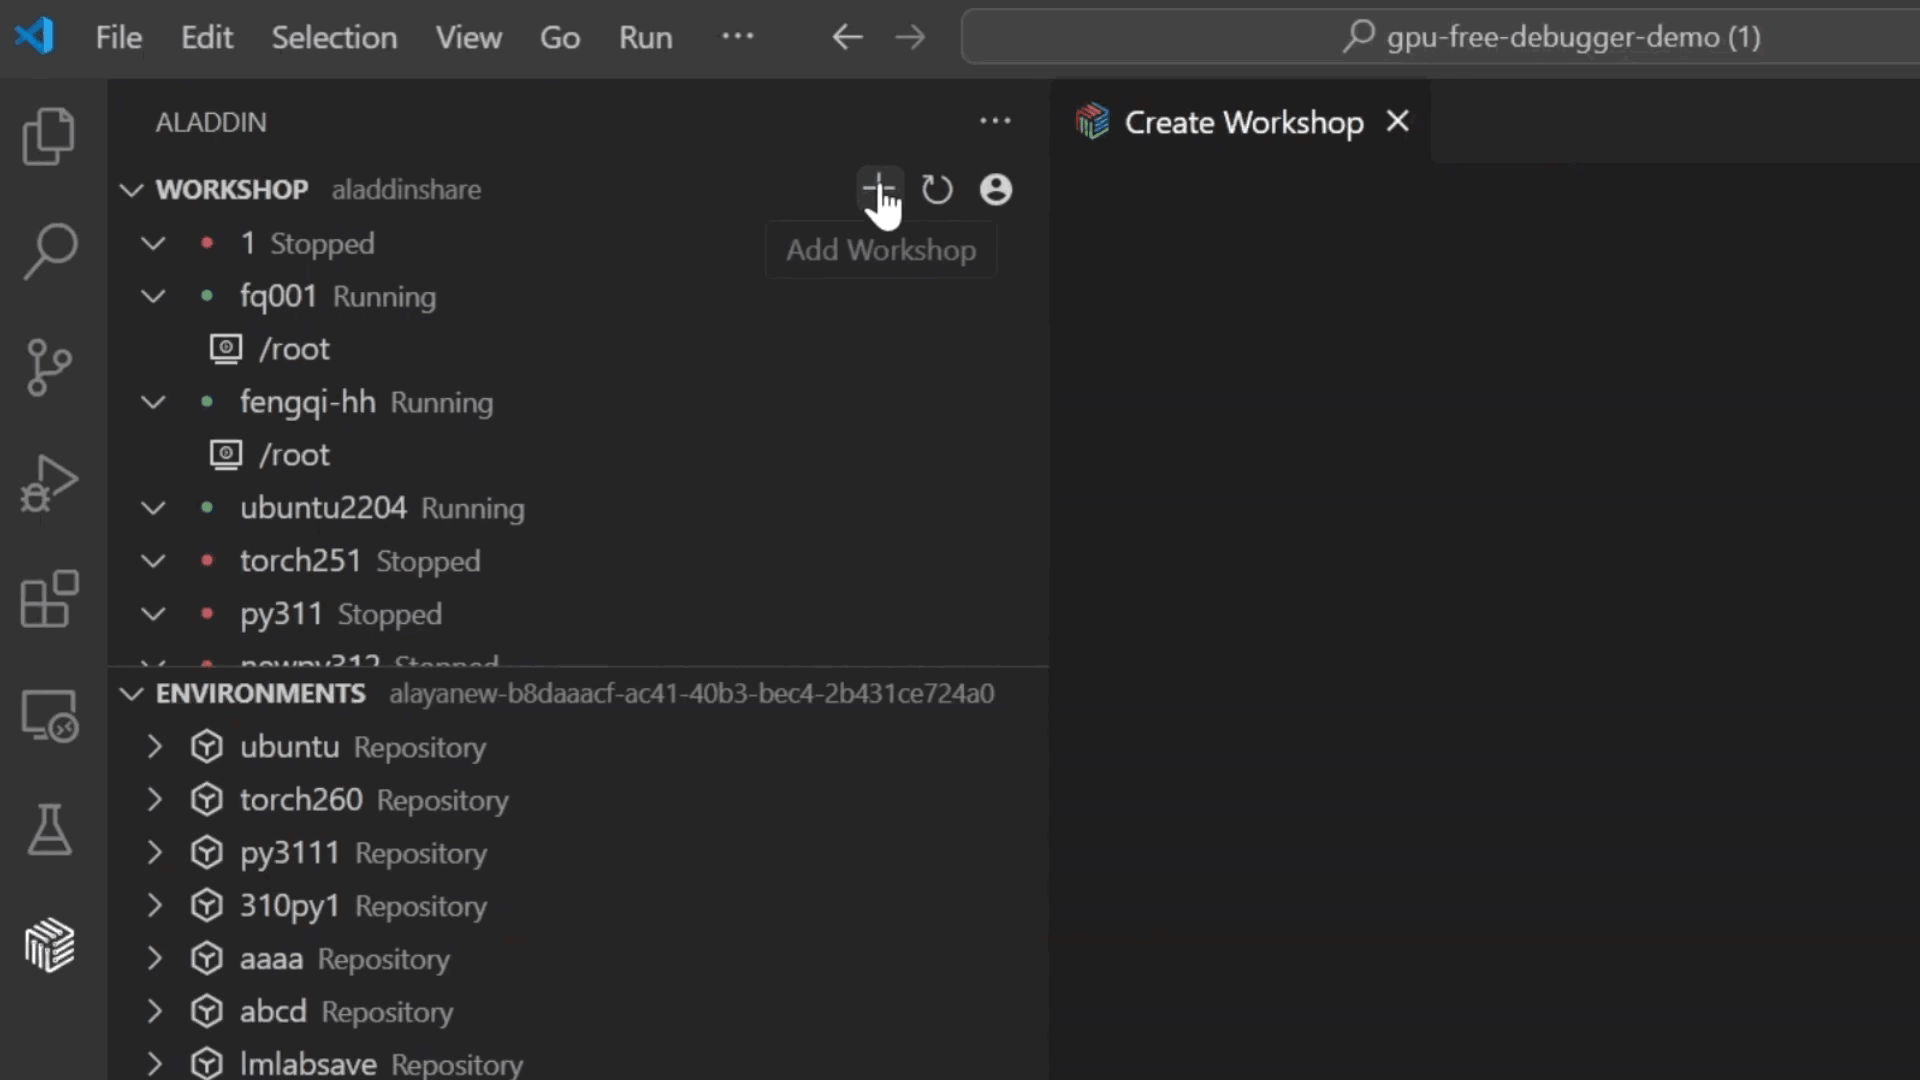
Create and Launch Workshop:After configuring the username and password for the image registry (Environments), click Add CodeSpace on the right side of the Workshop under the Aladdin toolbar and fill in the configuration details. You can select resources under VKS and images from the image registry (Environments) as needed, with support for mounting storage.After clicking Submit, remote workspace will be launched.
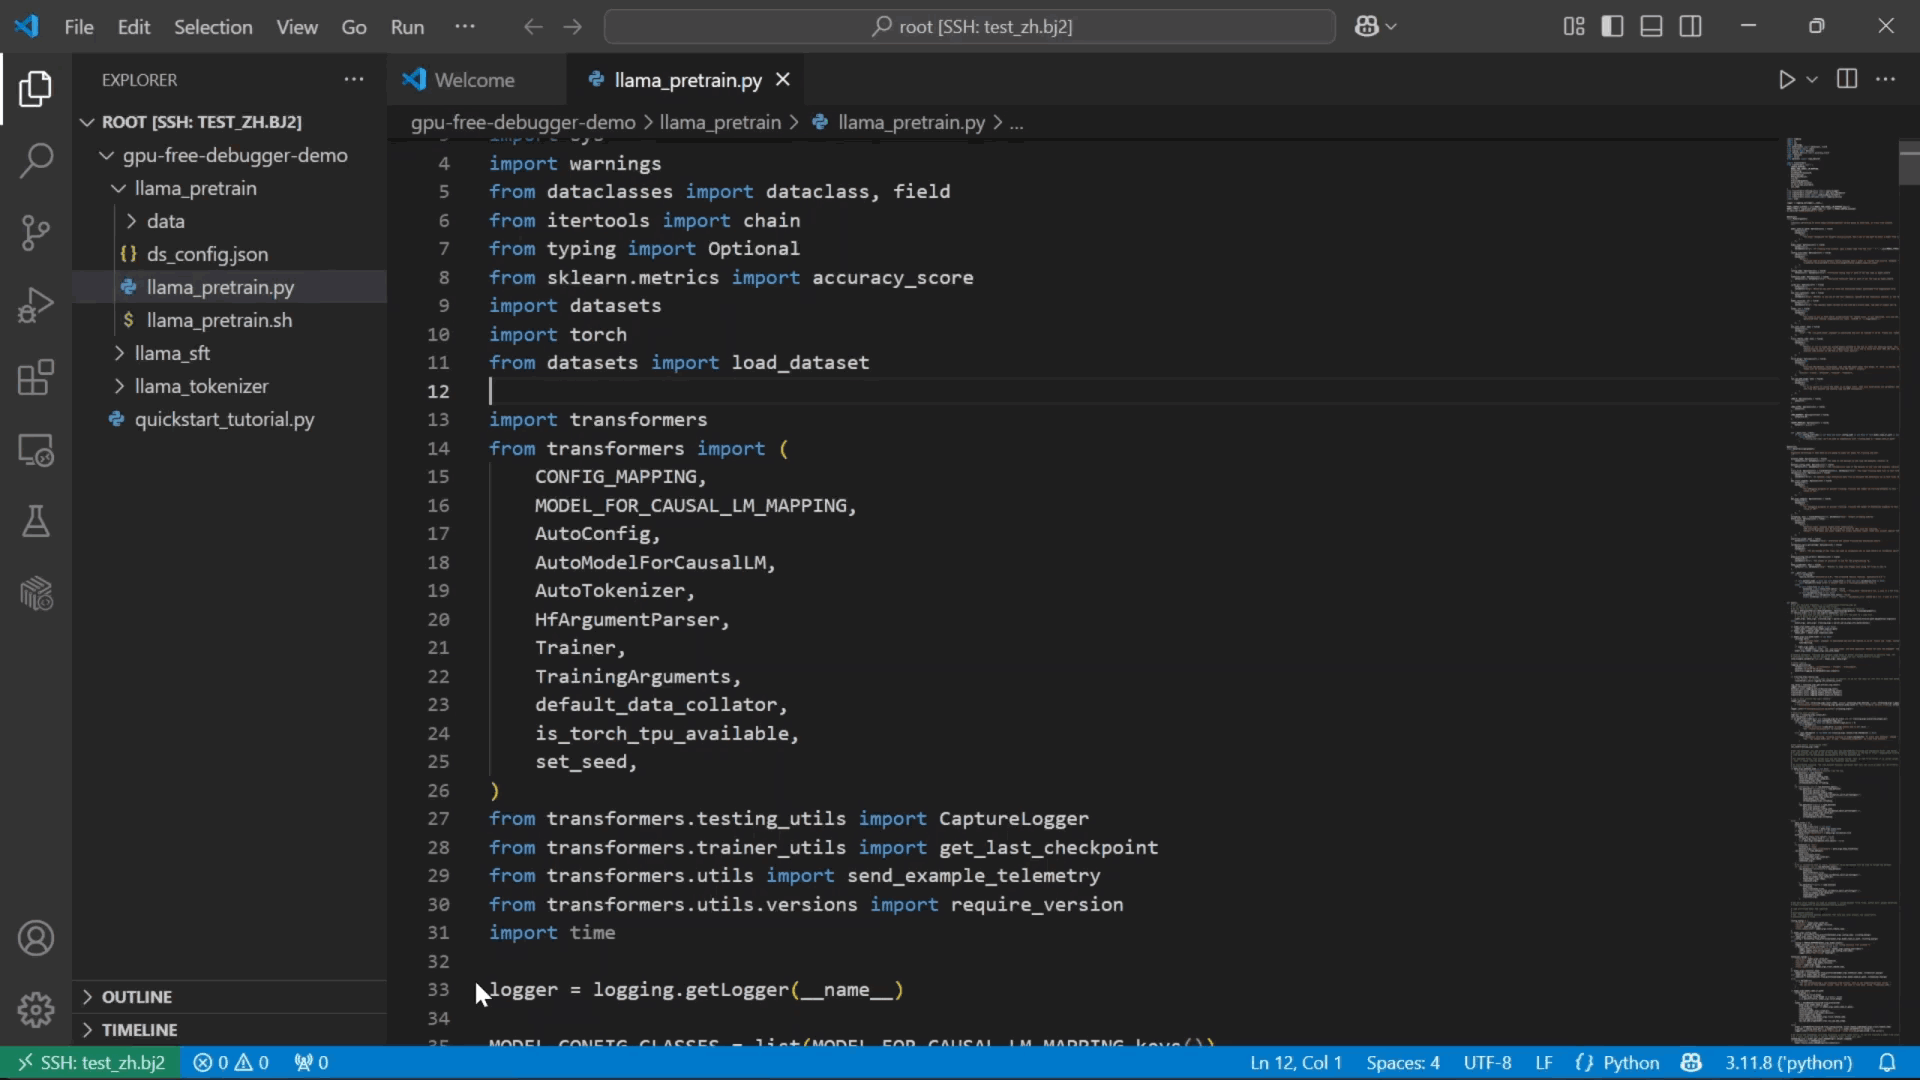
Code and Debug:In a remote workspace, you can utilize VSCode for model development, debugging, and training. By installing Aladdin to connect remotely to VKS, you can leverage VKS resources for code running and debugging, with files and data stored on shared storage.
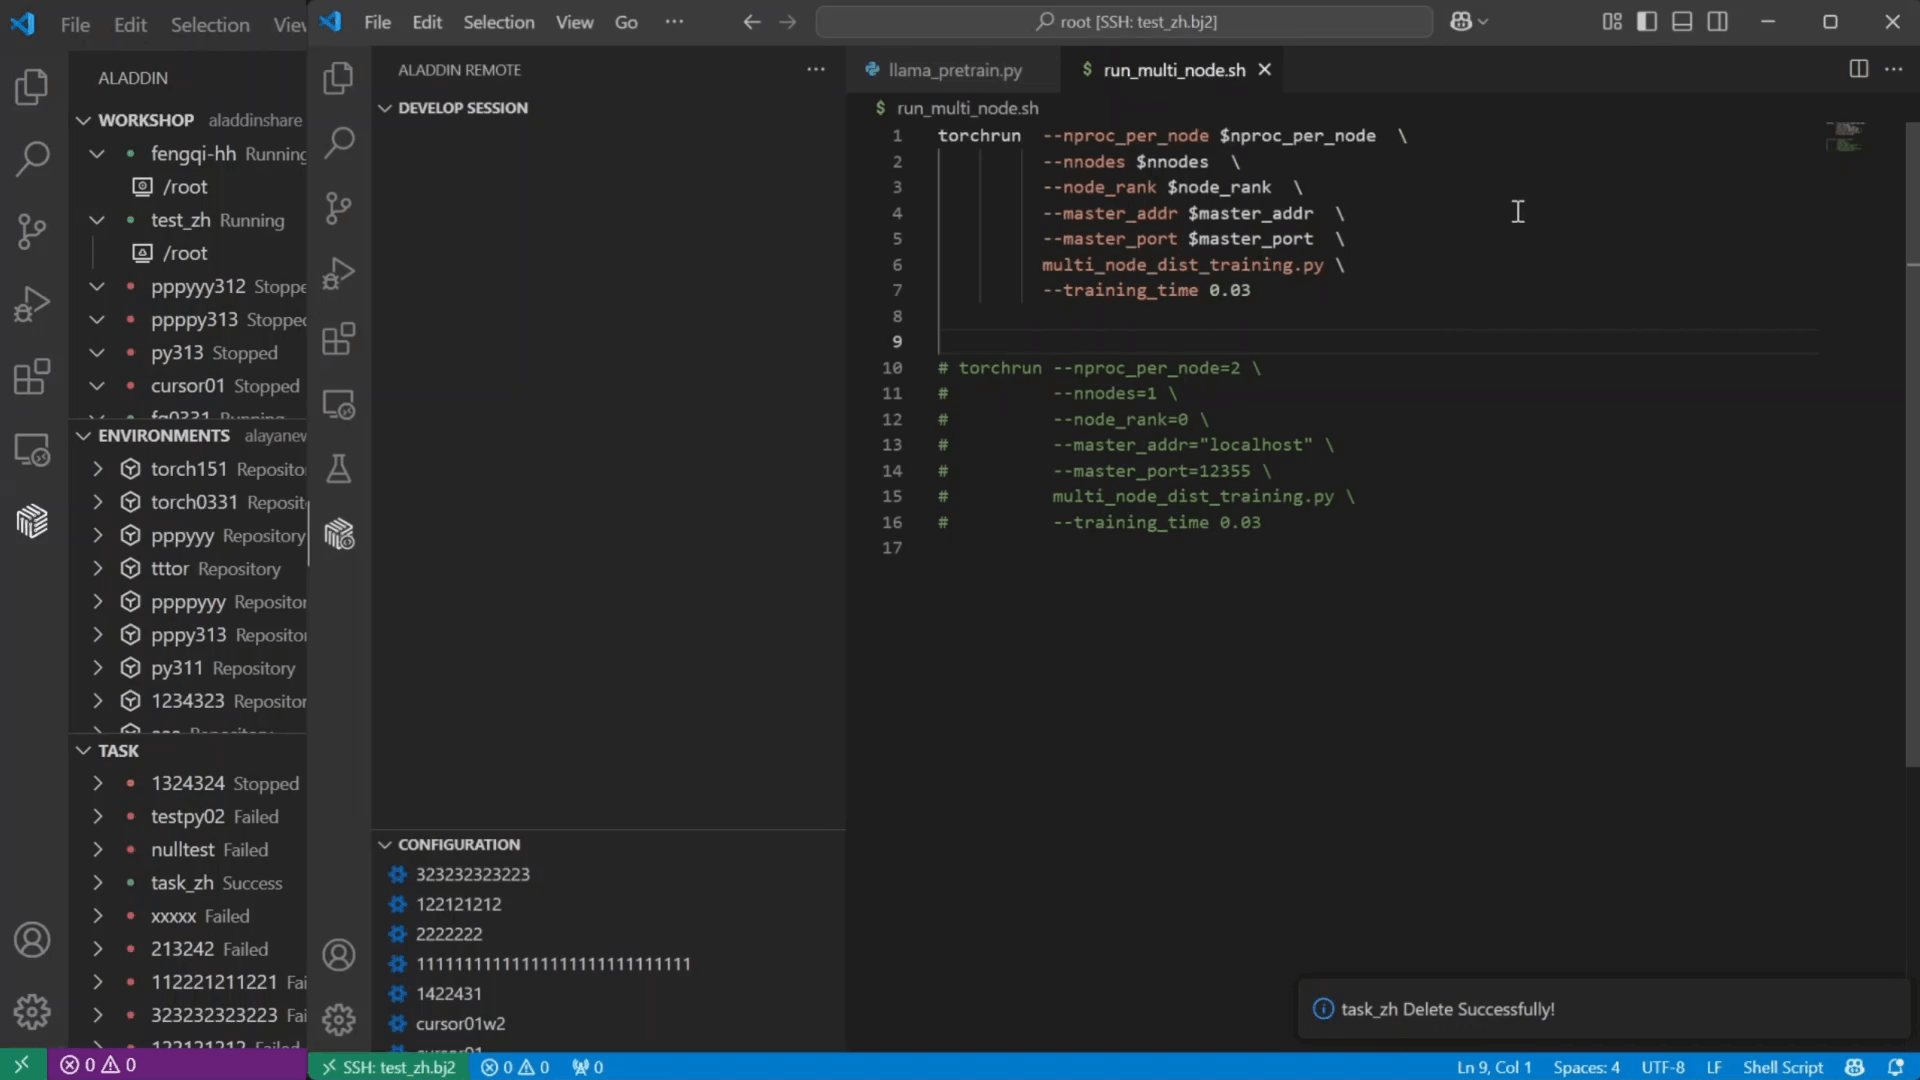
Run Task:After completing the coding, you can right-click on the target file and select "Run Task". After selecting the image, setting the number of workers, configuring the GPU resources allocated to each worker, and specifying other parameters, you can leverage the resources from VKS to execute the task. Additionally, you can view the task log information under the Task and Develop Session sections.
📖 Key Features Overview:
workshop
Workshop serves as the user's workspace (data is stored on shared storage). Users can customize the image, compute resources, environment variables, and mount storage volumes as needed to create their workspace. Within each workspace, users can develop, debug, and train models using the remote VSCode environment, and utilize VKS resources to debug and execute programs.
Environments
Under the Environments, you can configure images required for launching workshops, debugging, and running programs. The Environments provides pre-configured public images, supports connecting to both enterprise image registry and third-party Harbor image registries.
Development with VKS Resources
Within the Workshop workspace, you can utilize VKS resources to execute programs. Aladdin offers multiple execution methods, supporting Python programs and Shell scripts, and also enables distributed tasks. Each execution allows real-time configuration of required images and resources, with automatic resource release upon success or failure, ensuring model training and optimization are completed with the most optimized computational configuration.
GPU Debug: Remotely launch computing resources to perform remote debugging; the computing resources will be automatically released upon successful/failed debugging or manual disconnection from the remote debug session. Information within the session is accessible during code execution but becomes unavailable once the execution is completed.
GPU Run: Remotely launch computing resources to run Python programs; the computing resources will be automatically released upon successful or failed execution. Information within the session is accessible during code execution but becomes unavailable once the execution is completed.
Run Shell: Remotely launch computing resources to execute a Shell script, the computing resources will be automatically released upon successful or failed execution. Information within the session is accessible during code execution but becomes unavailable once the execution is completed.
Run Task: Submit a distributed task in the workshop, the computing resources will be automatically released upon successful or failed execution. Session logs are accessible during execution, upon completion, or in the event of failure, while a corresponding Task will be generated to enable resource utilization monitoring and training metric tracking.
|
GPU Debug |
GPU Run |
Run Shell |
Run Task |
| running Python programs |
√ |
√ |
|
√ |
| running Shell scripts |
|
|
√ |
√ |
| Supporting runtime access to session information |
√ |
√ |
√ |
√ |
| Supporting access to session logs after an execution failure |
|
|
|
√ |
| Supporting access to session logs after successful execution |
|
|
|
√ |
| supporting distributed task |
|
|
|
√ |
Session Management
GPU RUN, RUN shell, and GPU DEBUG each generate a session. Click the GPU Debug plugin icon in the Workshop to view the session list, which supports accessing session logs and Terminal.
Task
Under the Task panel, you can manage training tasks with operations such as stopping, starting, deleting tasks, and viewing task logs. It also provides resource monitoring for tasks, including metrics like MEM), GPU Utilization, and GPU Memory Clock. For distributed tasks, the resource usage metrics of each worker are displayed. Additionally, users can navigate to AIM to access comprehensive monitoring metrics.
Image saving
If development environments or dependency packages are installed in the Workshop, the Workshop can be saved as an image. Right-click the target Workshop in the Workshop list, select Save Environment, and enter an image name to complete the save. Once the image is successfully saved, you can optionally replace the Workshop's image with the newly saved one.
IDE Version Description
- Aladdin supports VS Code version 1.93 and above.
- Aladdin supports Cursor based on VS Code 1.93 or higher.
