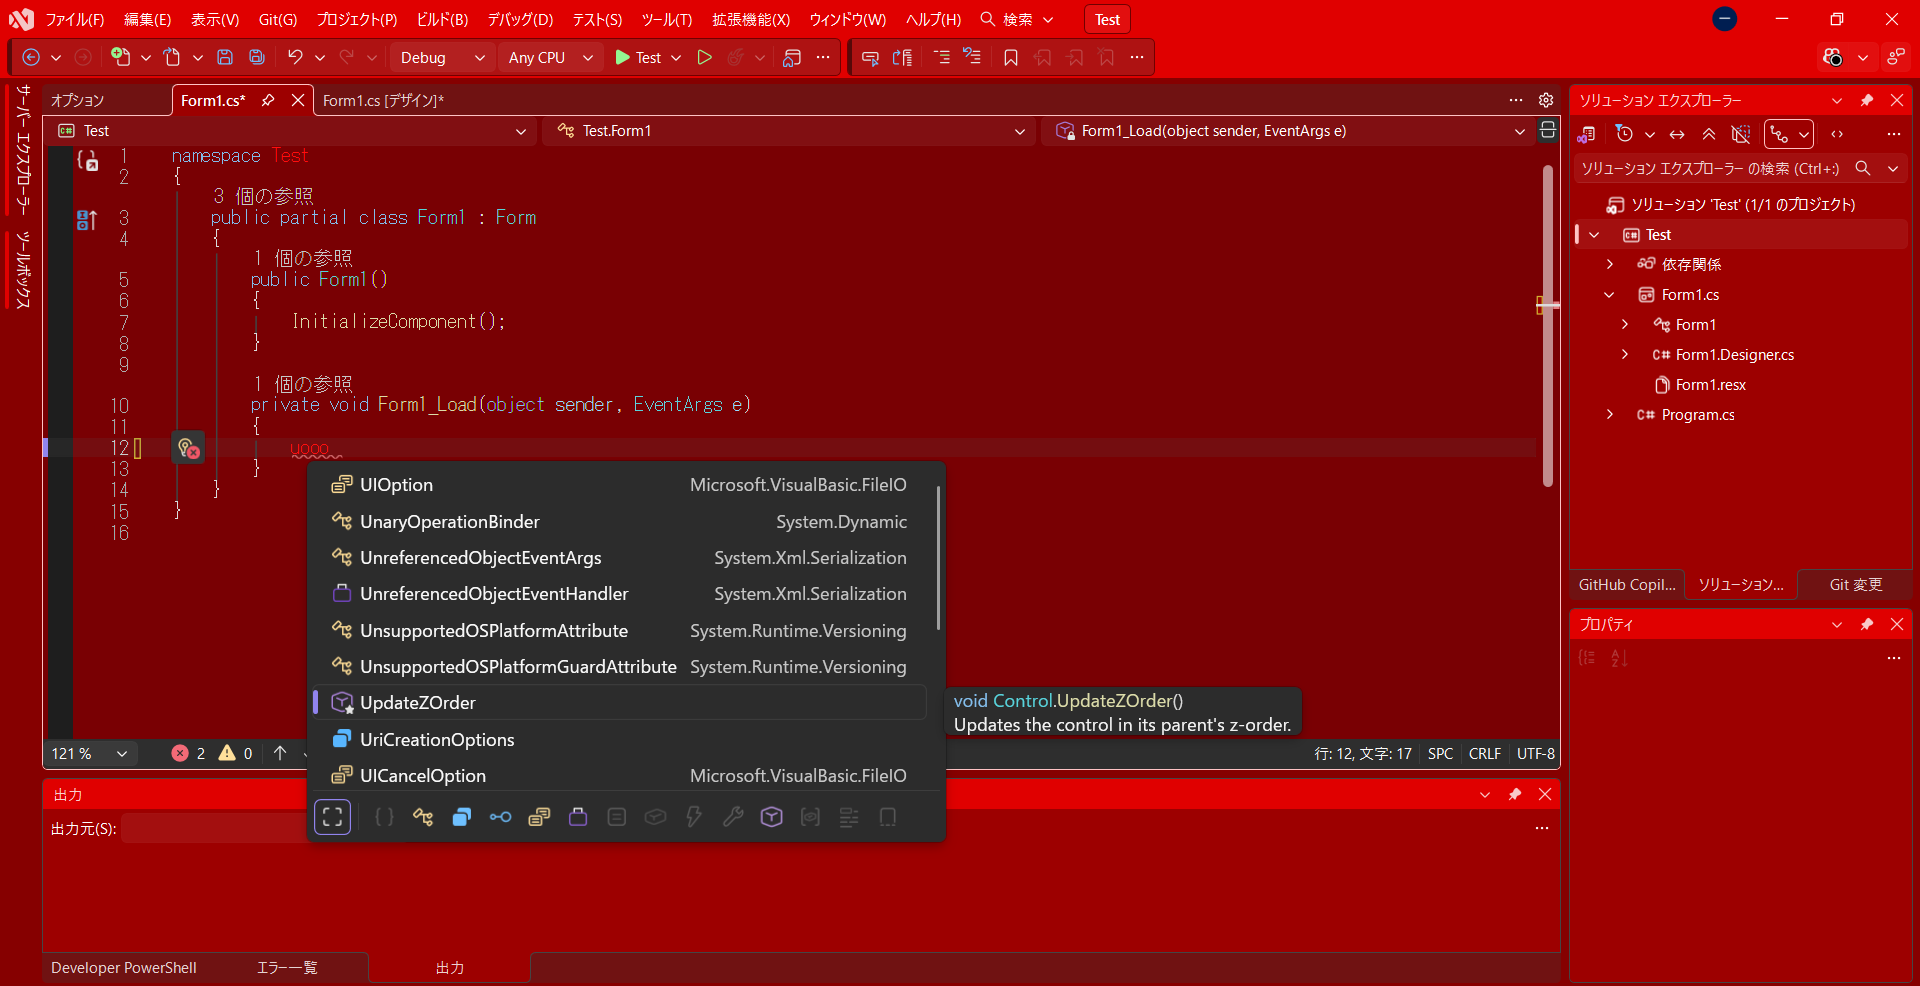
WineRedMetallicStudioWine Red Metallic Studio is a color theme extension for Visual Studio, featuring a wine-red-based color palette.
This extension changes the appearance of the Visual Studio frame and user interface, i |

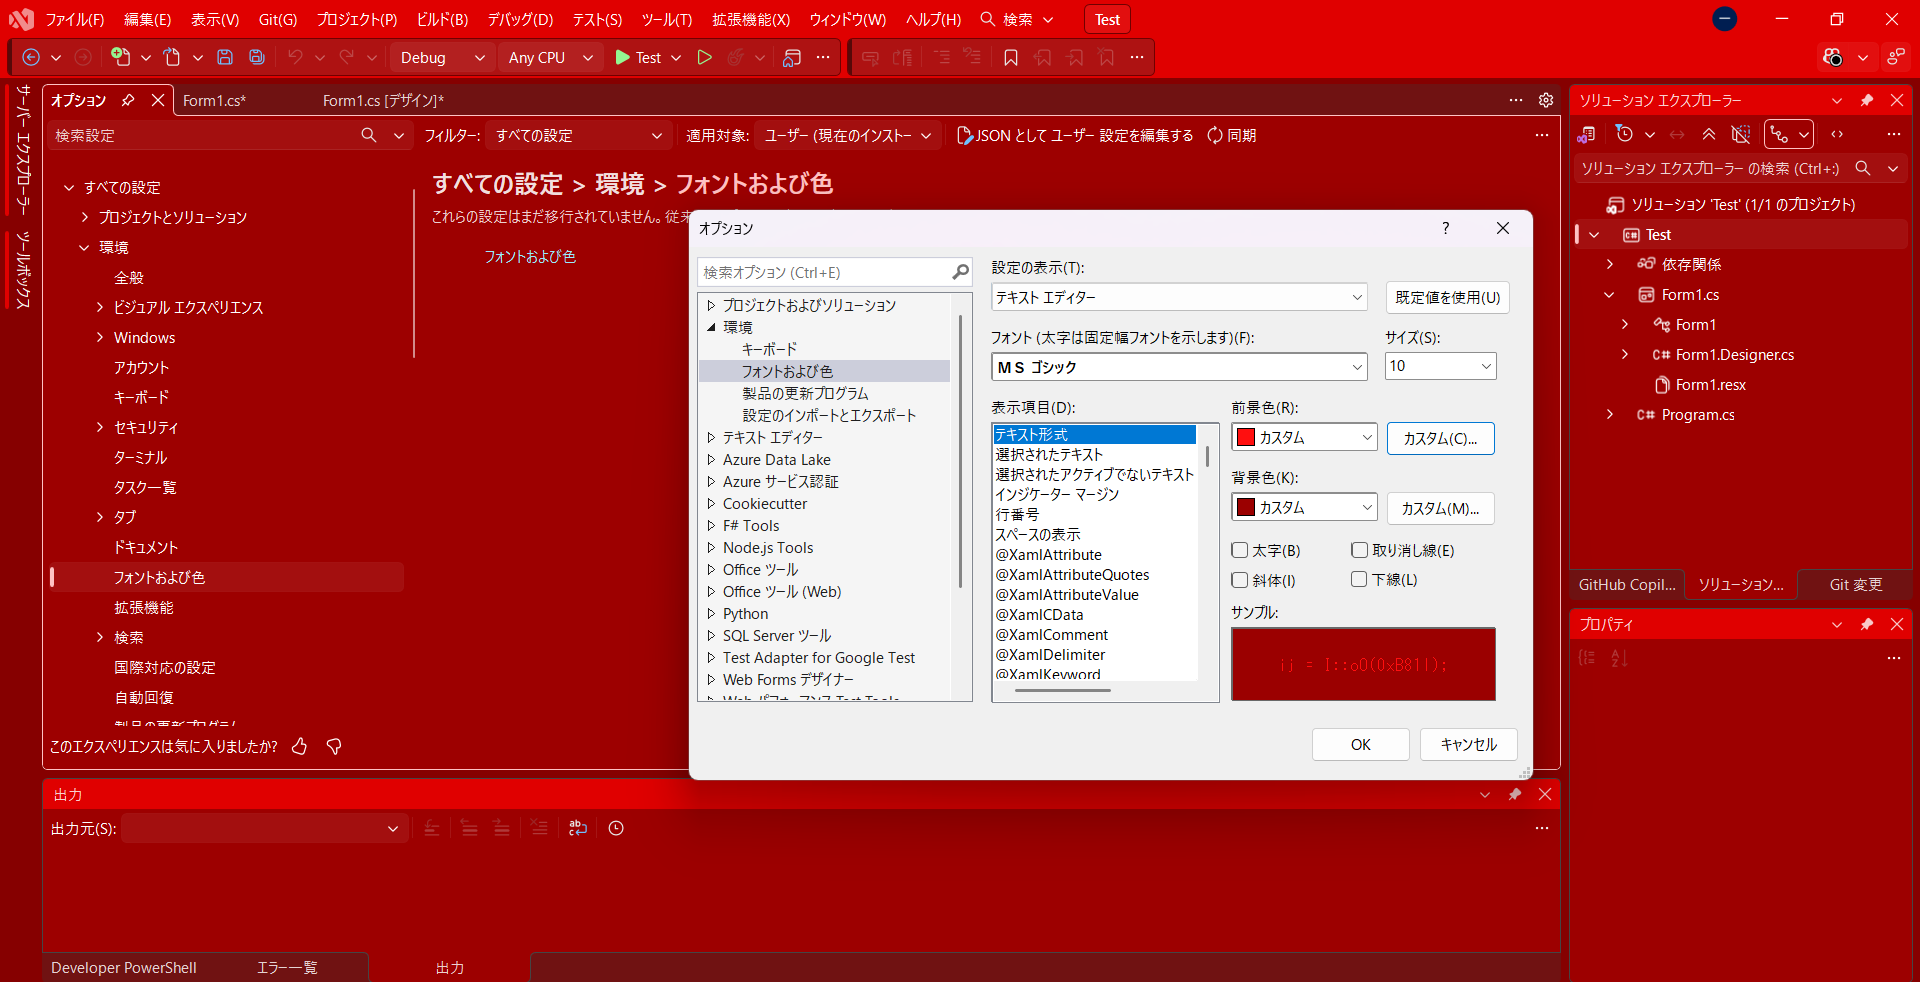
How to Change the Code Editor Background ColorWine Red Metallic Studio changes the main Visual Studio interface, including menus, tool windows, tabs, panels, and other IDE elements. However, the code editor background color is managed separately by Visual Studio. If you would like the code editor to match the Wine Red Metallic Studio theme, you can change it manually by following the steps below. Step 1: Open Visual Studio Options
Step 2: Open Fonts and Colors
A separate Fonts and Colors settings window will appear. Step 3: Select the Text EditorAt the top of the window, find: Show settings for Select: Text Editor This ensures that the changes apply to the code editor. Step 4: Select Plain TextIn the Display items list, select: Plain Text This item controls the basic appearance of the code editor. Step 5: Change the Background ColorOn the right side of the window, locate: Item background Select Custom and choose the background color you want to use. For a consistent Wine Red Metallic Studio appearance, a dark wine-red color is recommended. Step 6: Optional — Change the Basic Text ColorIn the same section, you can also change: Item foreground This controls the basic text color. Please note that programming-language-specific elements such as keywords, comments, strings, class names, and other syntax-highlighted elements may use their own individual color settings. Step 7: Apply the ChangesAfter selecting your colors:
Important NoteWine Red Metallic Studio does not automatically change the code editor background or syntax highlighting colors. This is because Visual Studio manages editor colors separately from the main IDE theme. Users who want the code editor to visually match Wine Red Metallic Studio must configure the editor colors manually using: Tools → Options → Environment → Fonts and Colors → Text Editor → Plain Text These settings can be changed at any time without modifying or reinstalling Wine Red Metallic Studio. |