Overview
Microsoft Dynamics CRM Web Resources Updater gives you an easy way to work with web resources directly from Visual Studio. The main reason this tool was created is JavaScript's development process speed up.
What does this tool do?
- Uploads web resources into Microsoft Dynamics CRM
- Downloads web resources from Microsoft Dynamics CRM
- Publishes updated web resources
- Creates new web resources
How does it work?
As soon as you have add-on installed you will get new menu items for each project:
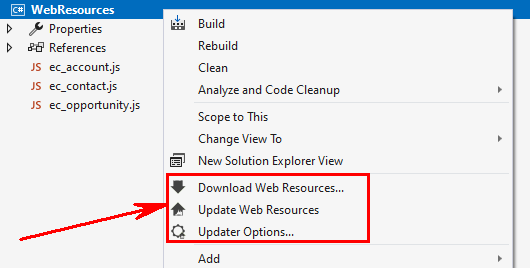
Use "Updater options..." menu item to setup connection to Microsoft Dynamics CRM. Once connection is configued you can use all functionality of the tool.
To upload all web resources you have in project just press "Update Web Resources".
You can publish selected web resource, to do that just right click on web resource and press "Update Web Resource(s)" menu item:
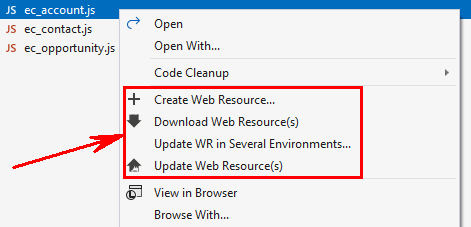
Tool allows to download particular web resources. Select one or more files and select "Download web resource(s)" menu item.
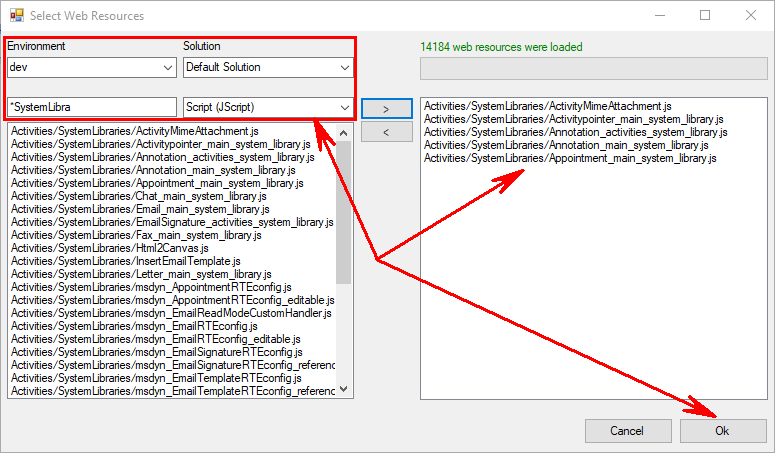
You can also use menu item "Download web resources..." on project or folder level. It gives you additional options for web resources filtering:
Important
Add-on defines web resource to be updated by comparing file name (with extension) and web resource name. Let's say we have ec ̲ contact.js in the project.
Add-on will look for a web resource with name ec ̲ contact.js to update its content.
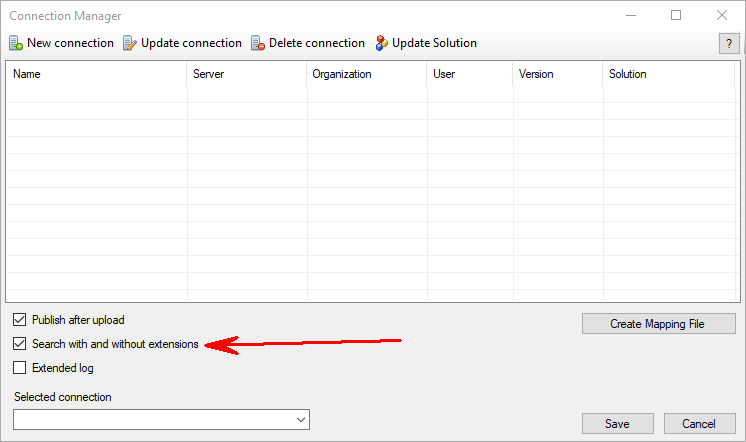
You can set-up tool to search web resource by file name with and without extension:
You can also use mapping file to map files in your project to web resources (see section "Mapping File" below).
How to configure?
To configure add-on for a project right-click on project and select "Updater Options...". Following window will be opened:
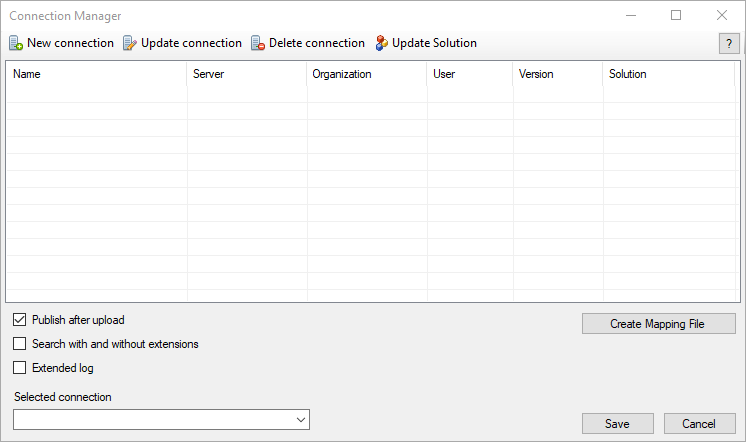
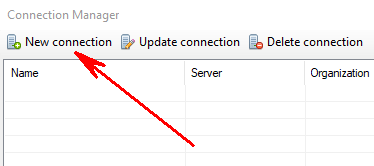
Press "New connection" as shown:
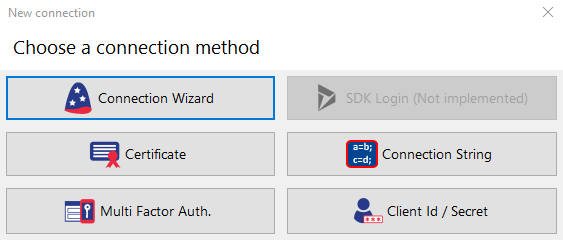
Connection wizard will be opened:
Once connection is cretaed it will be listed in the grid as shown:
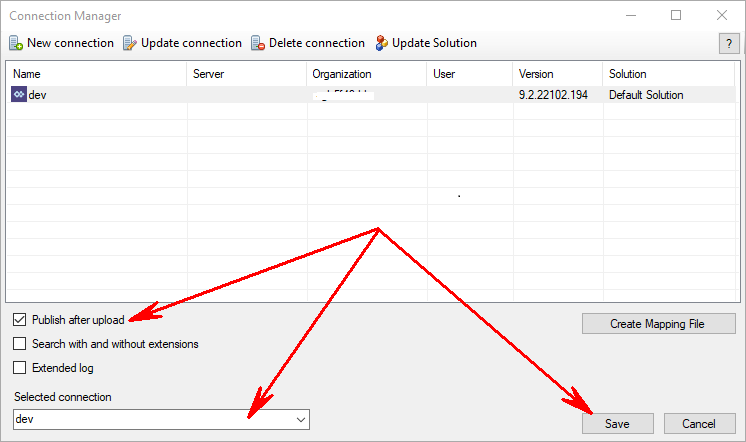
Select just created connection using dropdown list. Set check box if you want updated web resources to be published. Press button "Save".
That's all. Now you are ready to use add-on.
Mapping File
Mapping files allows having custom mapping between files in your project and web resources names. To create mapping file just press on “Create mapping File”:
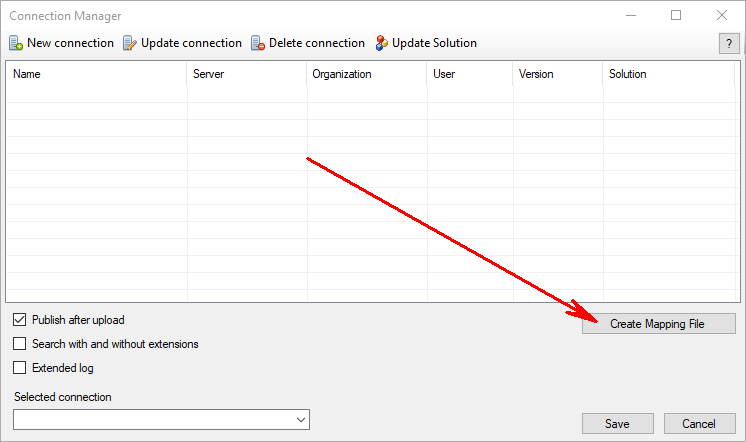
New file will be added to your project. Use following syntax to define mapping:
<Mapping localPath="scripts\contact.js" webResourceName="new_contact"/><Mapping localPath="account.js" webResourceName="new_account"/>
Support
If you have any issue with addon, question or comment feel free to leave a comment at the Q&A section.