Product Overview
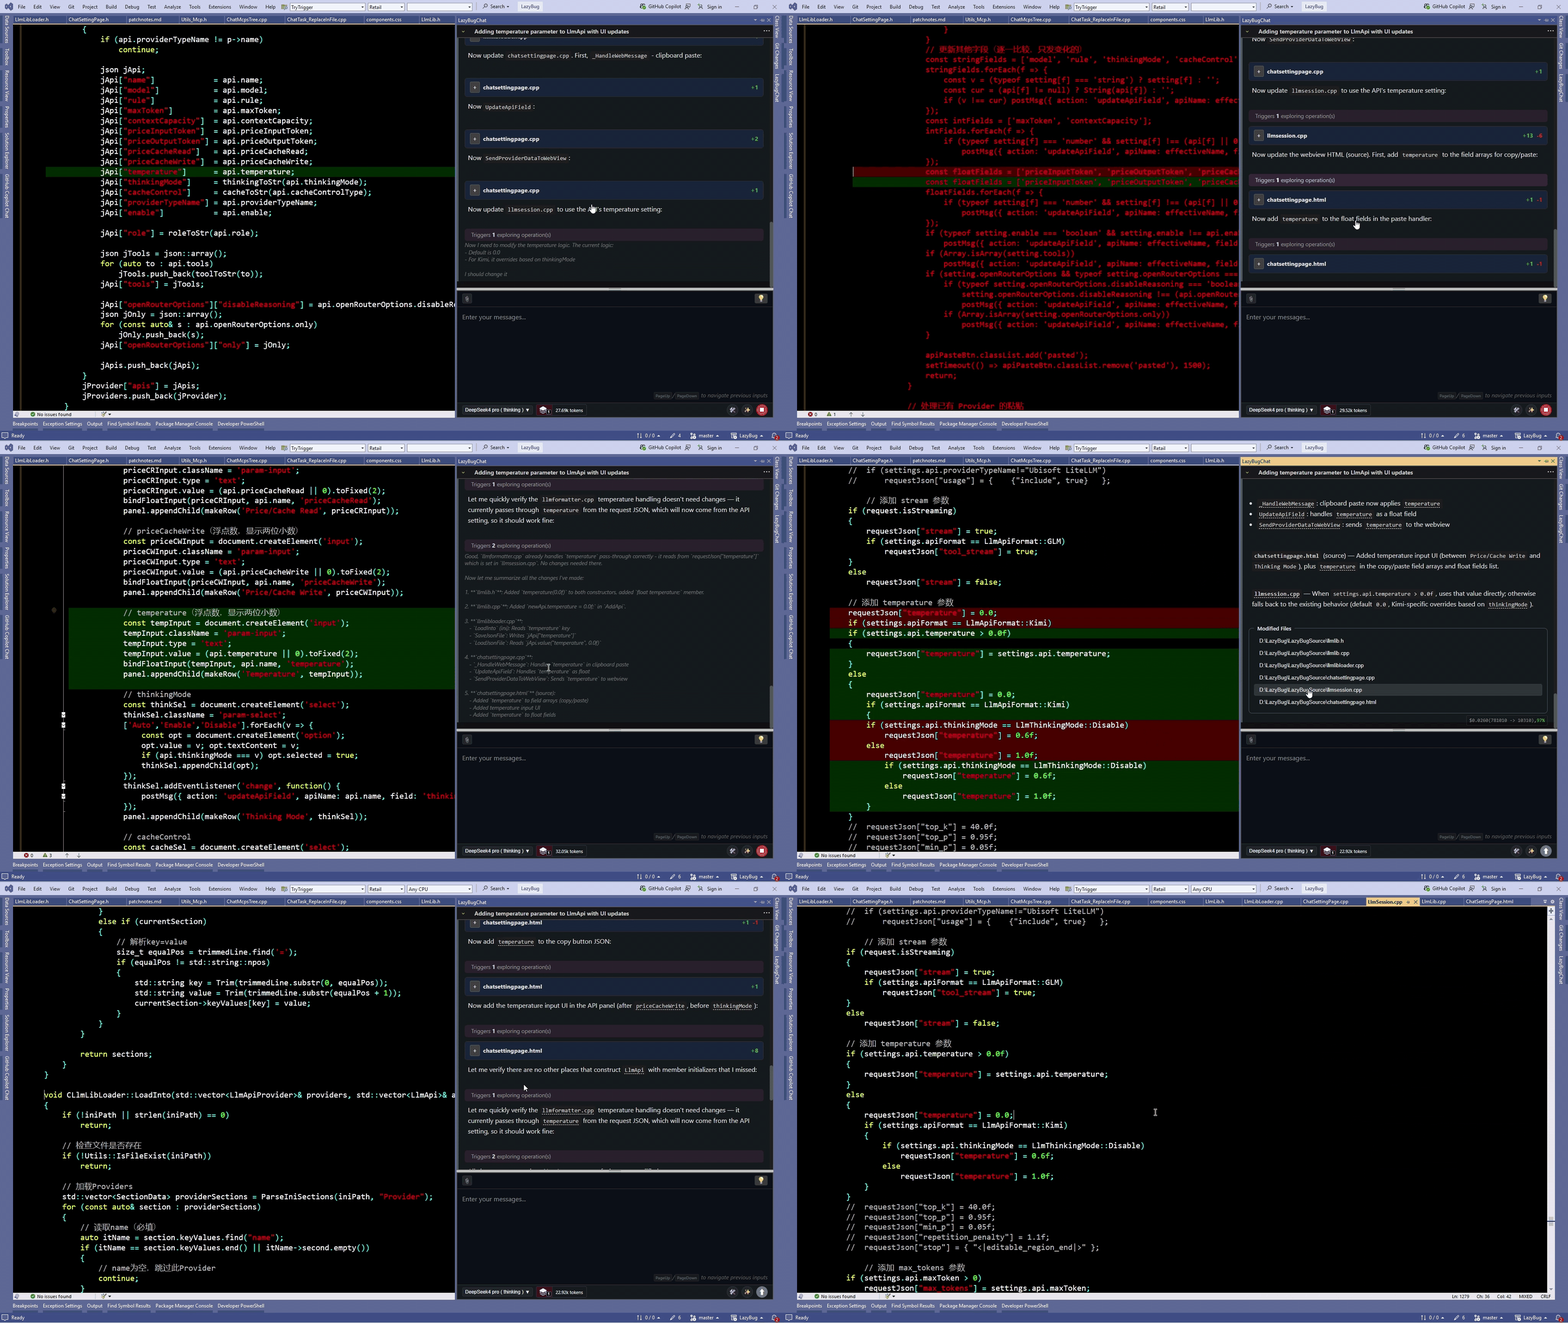
LazyBug Copilot is a "Cursor-like" intelligent coding assistant extension designed specifically for Visual Studio. It integrates Large Language Model (LLM) capabilities to provide developers with intelligent code creation, refactoring, and Q&A experiences. The extension supports multiple mainstream AI service providers, enabling developers to enjoy AI-assisted programming within their familiar IDE environment.
Version 0.27 Release Notes
- Play a prompt sound when the AI conversation ends
- Allow adding relay points for modifying tracking
- Fix an issue where a file's symbols were not re-parsed after undoing a file change
See patchnotes.md for full version history.
Core Features
Multi-Turn Intelligent Chat — Markdown-based chat content. Session history stored per VS solution.
Multi-Model Support — Customizable API endpoints. Supports mainstream LLMs: OpenAI, Anthropic, Google Gemini, OpenRouter, Moonshot (Kimi), z.ai (GLM), DeepSeek and more. Also supports local LLMs (Ollama, LM Studio).
Multi-API Format — Supported API formats: OpenAI-compatible, OpenAI Responses, Anthropic, and Gemini.
Session Management — Switch between historical sessions, session favorites management, and cost statistics per session.
Symbol Link Recognition — Clickable symbol links in the chat window for quick navigation to definitions.
Smart Code Editing — AI directly modifies project files with multi-file support, before/after Diff View, modification tracking, one click undo/redo, and file backup.
Automatic Code Database — Automatically builds a code database from all files in your solution, automatically monitors file changes and updates incrementally.
Codebase Search — Fast text search for ultra-large projects (million-line scale). Significantly faster than ripgrep. In large projects, search time can be reduced from tens of seconds to less than 100ms.
Symbol Search — Fast symbol search for C/C++/C#/JavaScript/Java/Python/TypeScript codes. Works out of the box — no LSP configuration required.
Watch Folder — Add arbitrary folders to the workspace for exploring with glob, grep, and find symbol operations. Ideal for referencing external code/data without adding them to your solution.
Smart Input Box — Tag-based file attachment system, @ auto-completion, input history (PageUp/PageDown), quick model switching, and input hint completions while typing.
Image Attachment — Paste images directly into the chat input to send to vision-capable LLMs. Supports jpg, png, webp, gif, dds, tga, tiff and other file formats.
Skill System — Browse, create, rename, and toggle skills via a management panel. Supports BuiltIn, Global, and Project-level skills. Allow using AI to edit or create new skills.
Custom Prompts — global_rules.txt and project_rules.txt for customized prompts;
CLI Tool Integration — Execute cmd.exe, bash.exe, python.exe scripts directly from the chat, extending capabilities beyond coding.
Context Usage Control — Real-time context usage display with 5 context levels. Allow keeping context under relatively low level (< 30k tokens) even in extremely long conversations while maintaining high response quality. Automatic compression/decompression when context level changes.
MCP Support — Model Context Protocol server support via stdio and URL, with a built-in UI to manage them.
UI Scaling — Hold Ctrl and scroll the mouse wheel to freely zoom the chat interface and text size.
Quick Start Guide
Step 1: Install from Visual Studio Marketplace
Download and install LazyBug Copilot from the Visual Studio Marketplace.
After installation, restart Visual Studio to activate the extension.
Step 2: Open LazyBug Chat Panel
From the Visual Studio menu bar, select:
View → Other Windows → LazyBug Chat
The LazyBug chat panel will appear, typically docked on the right side of the IDE.
Tip: You can also bind the View.LazyBugChat command to a keyboard shortcut for quick access:
- Go to
Tools → Options → Environment → Keyboard.
- In the Show commands containing box, type
View.LazyBugChat.
- Select the command and assign your preferred shortcut keys (e.g.,
Ctrl+Shift+L).
- Click Assign and then OK.
Step 3: Verify API Key for Existing Providers
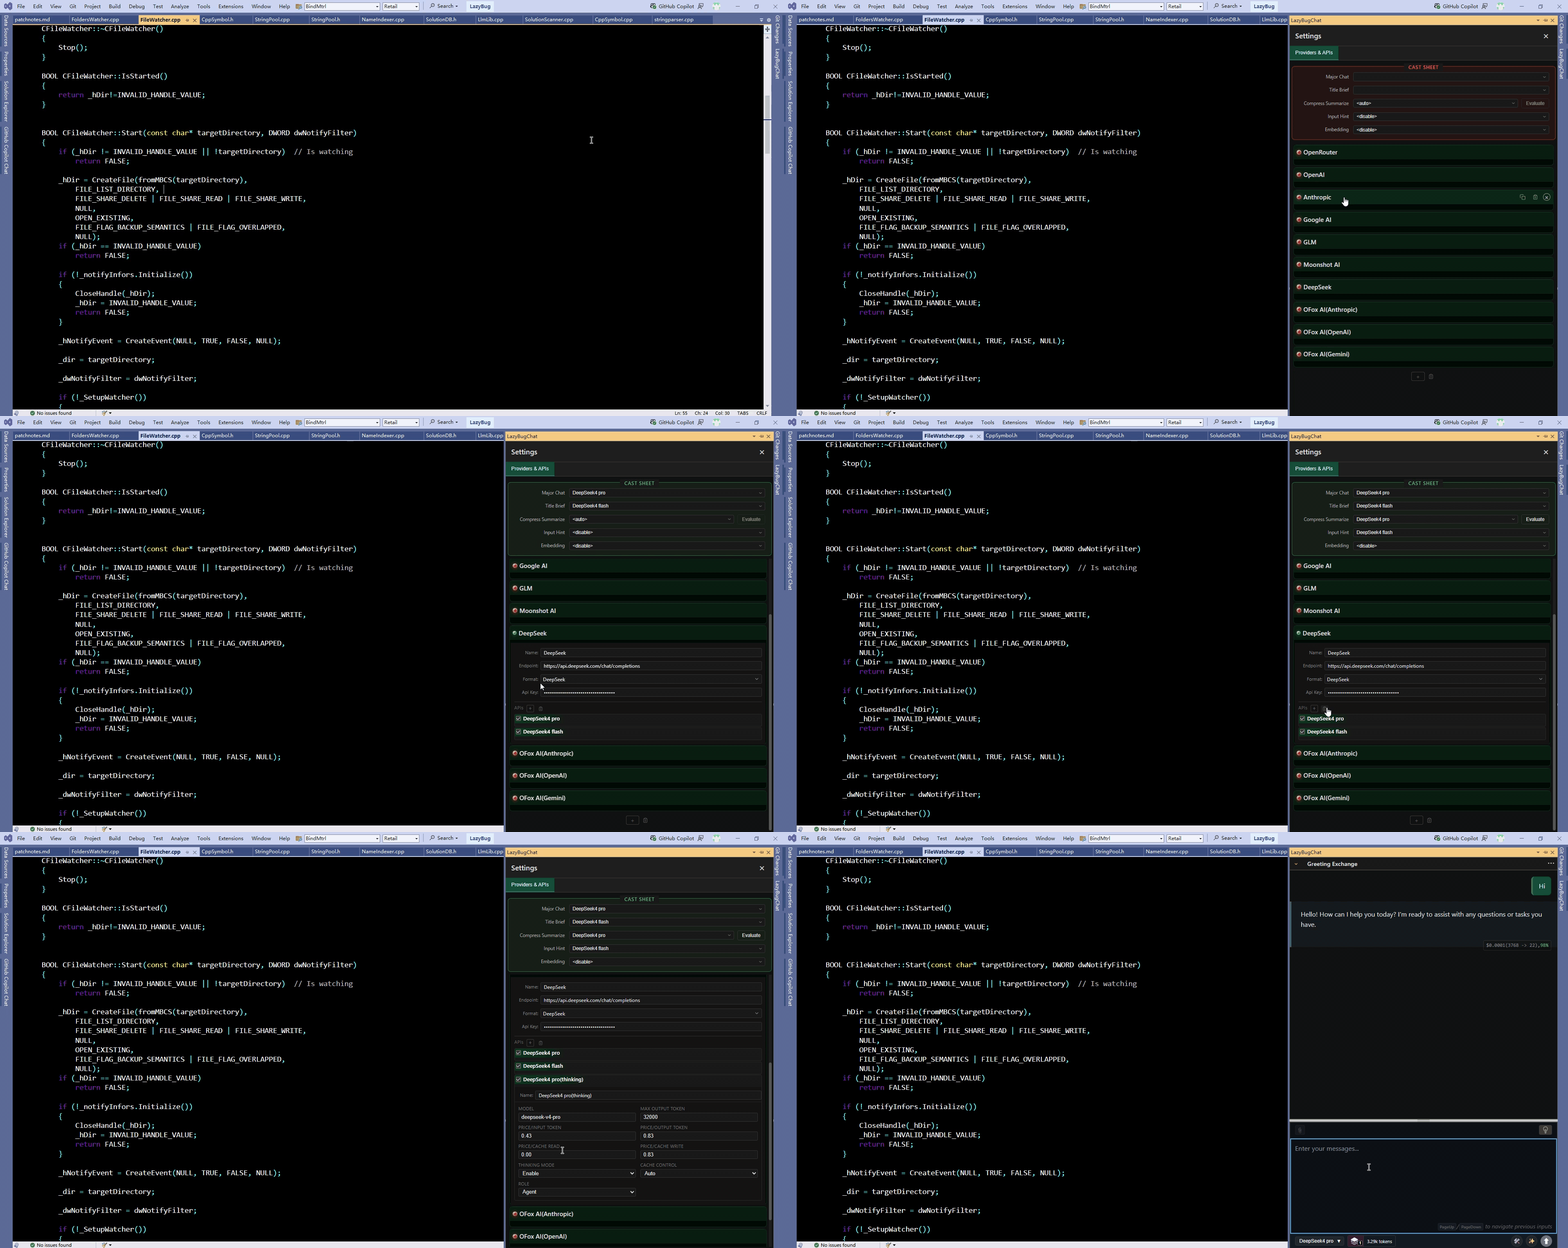
LazyBug comes with several pre-configured providers. To verify or update an API key for an existing provider:
- Open the Settings menu in the LazyBug chat panel.
- Select Provider & API.
- Choose the provider you want to verify.
- Paste your API key and press Enter.
- If verification succeeds, the red indicator next to the Provider name will turn green.
Step 4: Add a New Provider
To add a custom LLM provider:
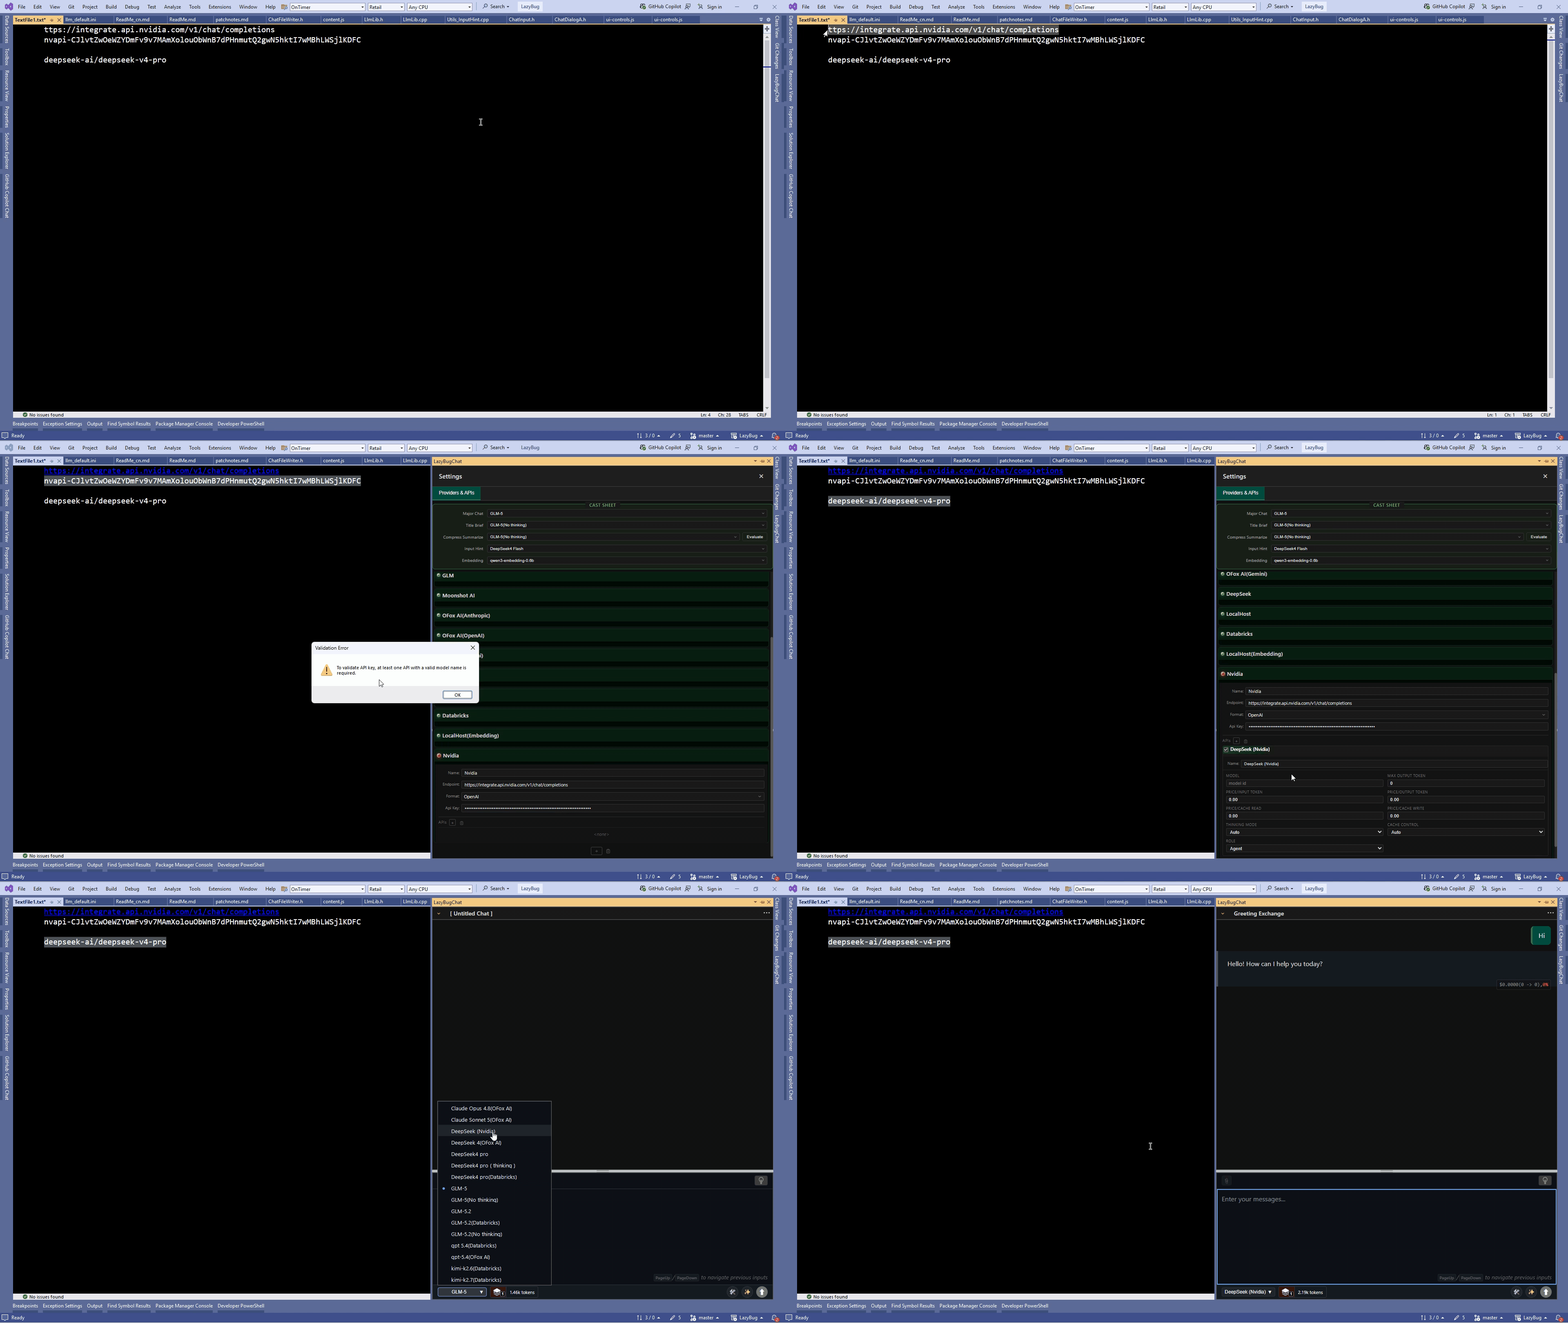
- Open the Settings menu in the LazyBug chat panel.
- Select Provider & API.
- Click the "+" button below all existing providers to add a new provider.
- Fill in: Name, API Endpoint, and select API Format (if unsure, choose OpenAI by default).
- You need to add at least one API under this provider before you can verify the API key.
- Click the "+" button on the right side of APIs to add an API.
- Enter at least the API Name and Model Identifier to ensure it is usable.
- Finally, paste your API key and press Enter to start verification. If verification succeeds, the red indicator next to the Provider name will turn green.
Once your provider is configured, you can select an API under this Provider in the chat panel and start chatting with the AI assistant.
| |