With IT Hit WebDAV wizards you can create your own WebDAV server, add WebDAV support to your existing .NET project or DAV-enable your CMS/DMS/CRM. You can enable opening documents for editing from a web page and save back to server without download and upload steps. You can also Create CalDAV/CardDAV and DelatV servers. Engine can publish data from database, file system, SQL database, your DMS/CMS/CRM or virtually any other storage.
Follow steps below to create your WebDAV server using wizards:
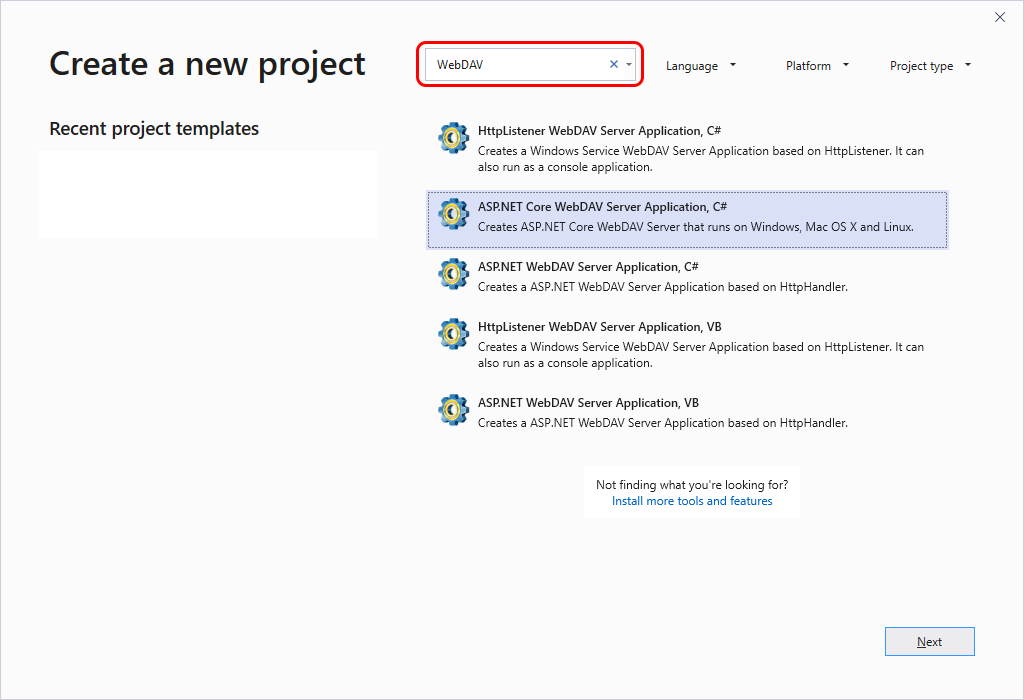
In Visual Studio go to File->New Project. Enter “WebDAV” in search field in Create New Project dialog. You will see IT Hit WebDAV wizards. Select WebDAV wizard and click “Next”.
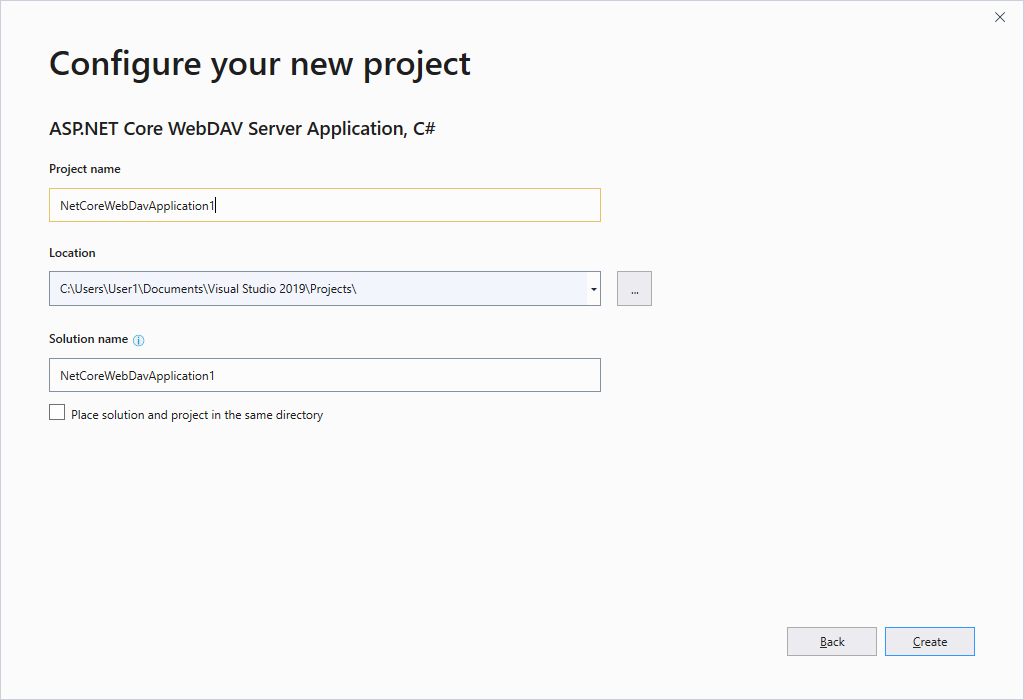
Specify project name and location.
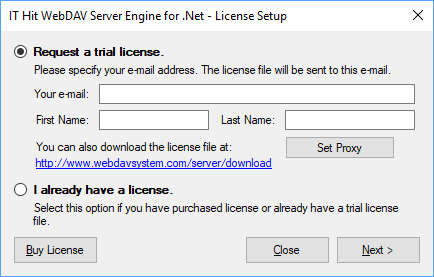
Set license. During first wizard run you will be requested to set your license file. You can download a trial license here.
Select your WebDAV server options.
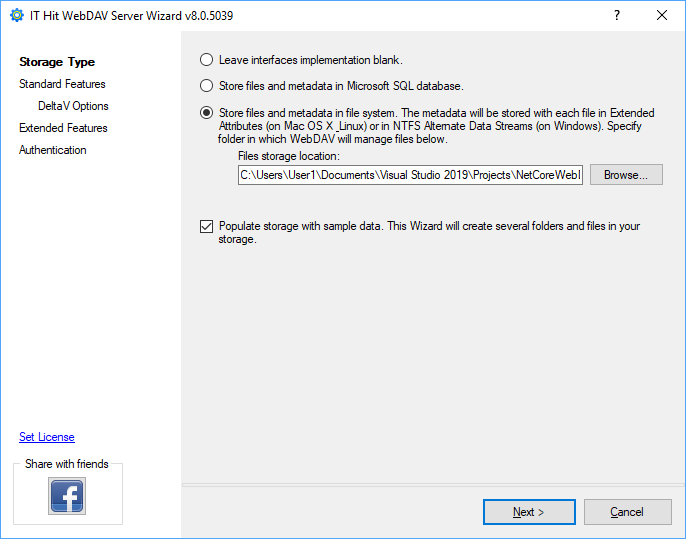
By default, your documents will be located under your project folder. Make sure your web application can update and create files and folders in your documents folder.
Typically, your Documents folder (C:\Users<User>\Documents) has enough permissions to manage documents by the loged-in user. If you run your WebDAV project from Visual Studio in IIS Express, storing documents under Documents folder is the simplest approach and requires no permissions configuration.
When wizard is completed you are ready to run your WebDAV server. Select “Start Debugging” (F5) to run your project.
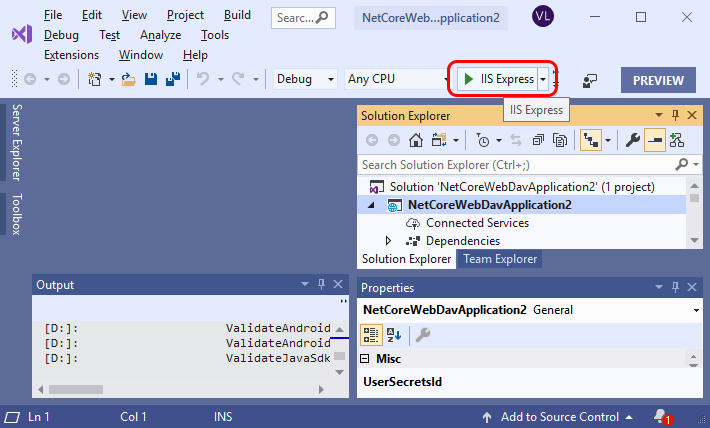
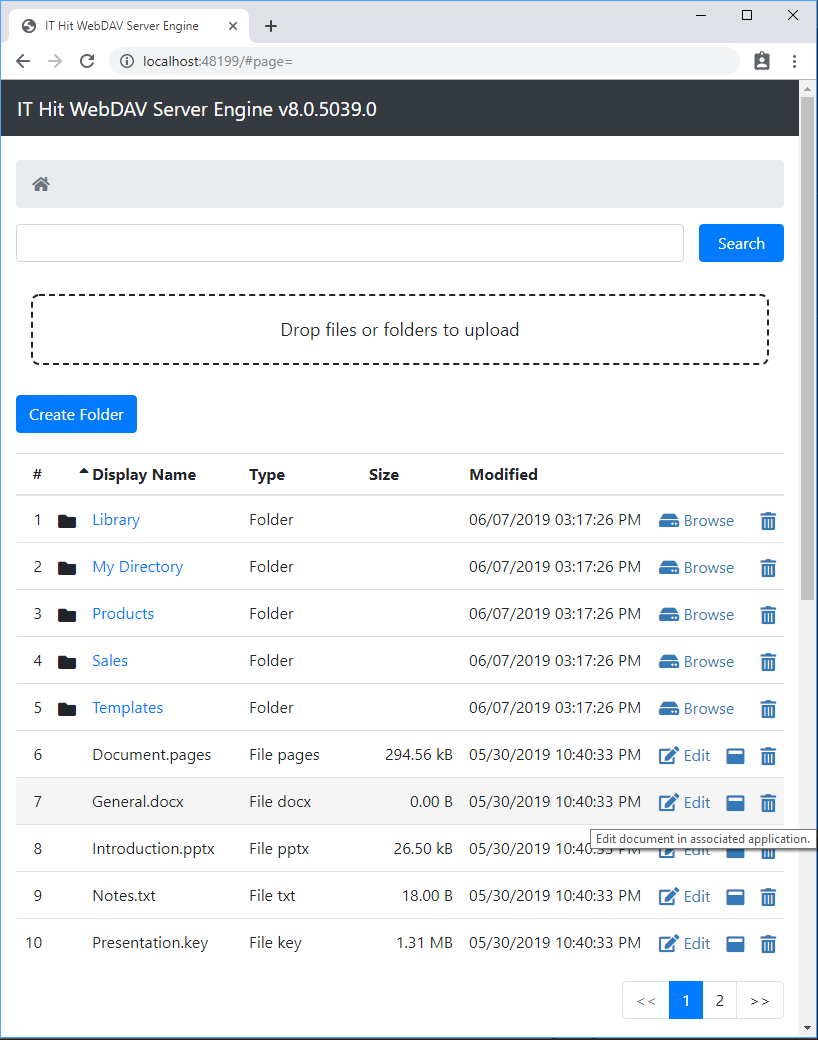
The project will open default web browser and you will see the list of files and folders in your storage.
Now you can select “Edit” to open documents for editing directly from a web page and save back directly to server. You can also upload and manage documents from a web page as well as manage documents using WebDAV clients.
You can modify your project sources to publish data from virtually any storage such as file system, SQL, any DMS via its API, etc.
Read the following articles for more details about programming:
See also:


